

It’s the final shove in the The Big Push – Day 5!
We’re pretty much finished now. Everything is installed, attached or bolted down. With the exception of some wiring for the front repeaters it’s all about tidying things up and getting all the finishing touches done for the IVA test.
So lets get on the that pesky wiring…
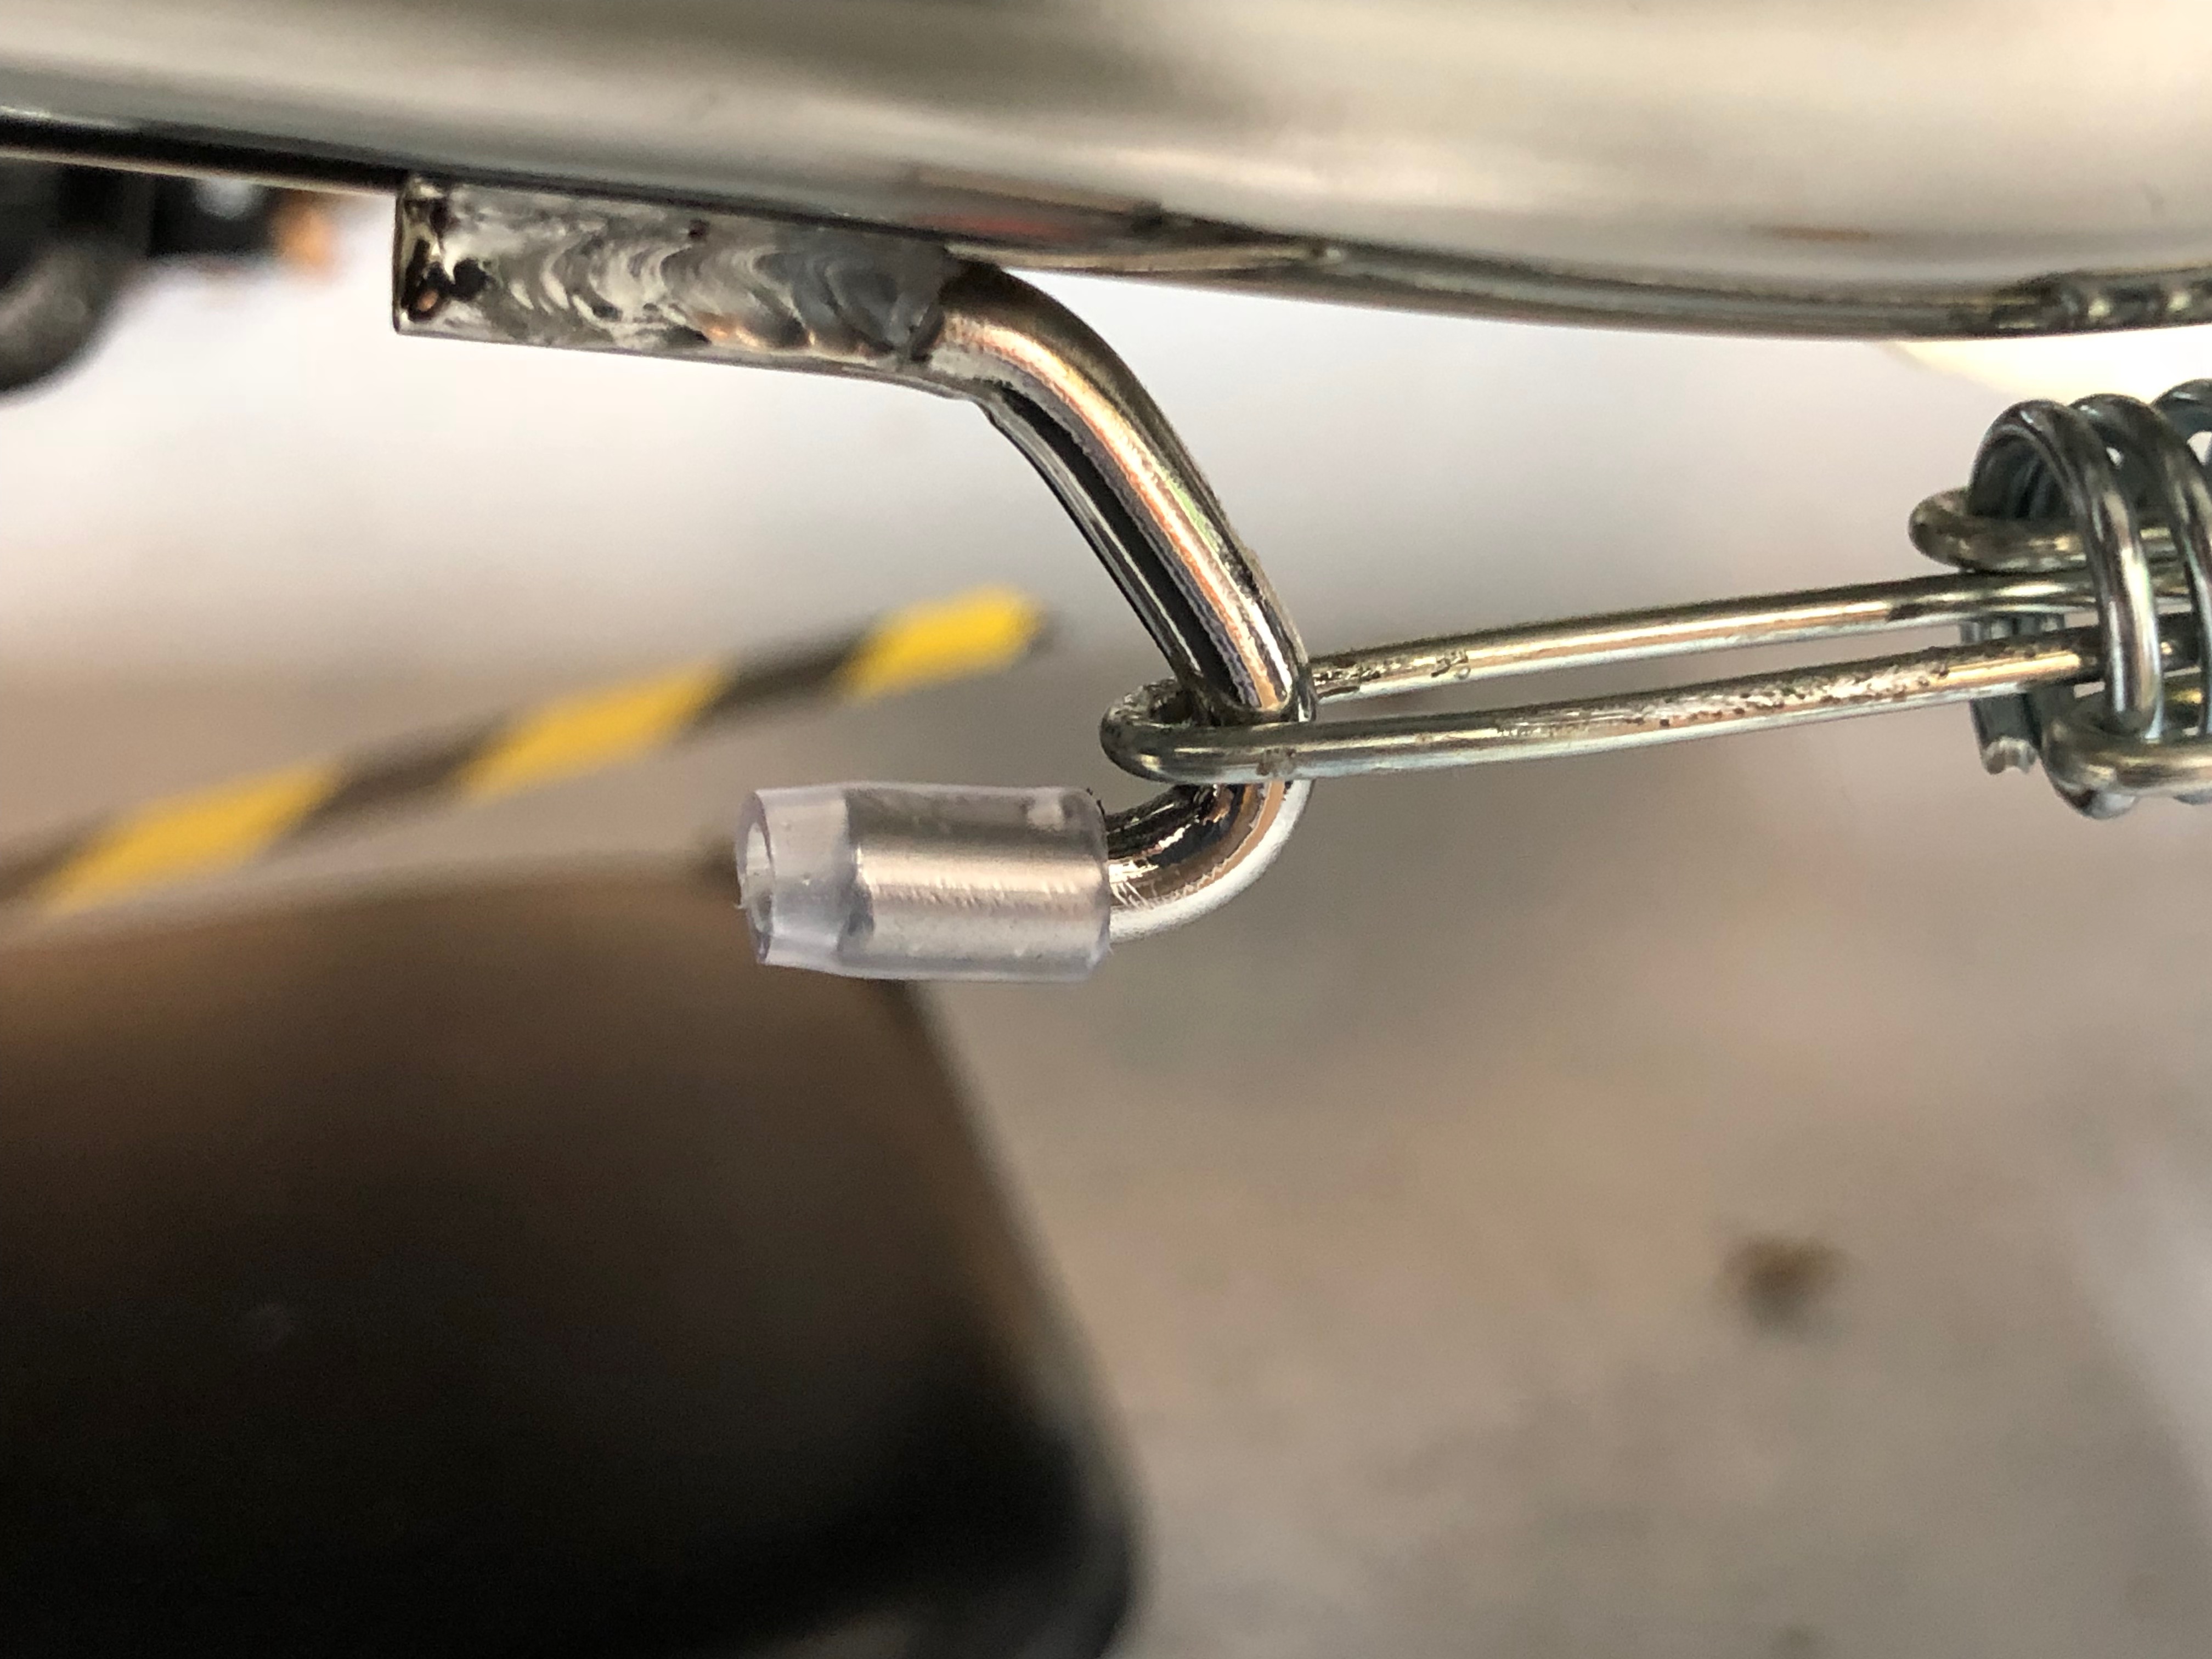
Front Repeater Wiring
Now the front wings are on the car I could finish up the wiring of the repeaters.
The grommets were included and inserted into the holes at the bottom of the wing stays…

Heat shrink is in place from the repeater into the wing stay and I aded another layer of Sikaflex. The Sikaflex looks a little untidy here but I found I could mould/flatten it once a thin skin had formed on it.
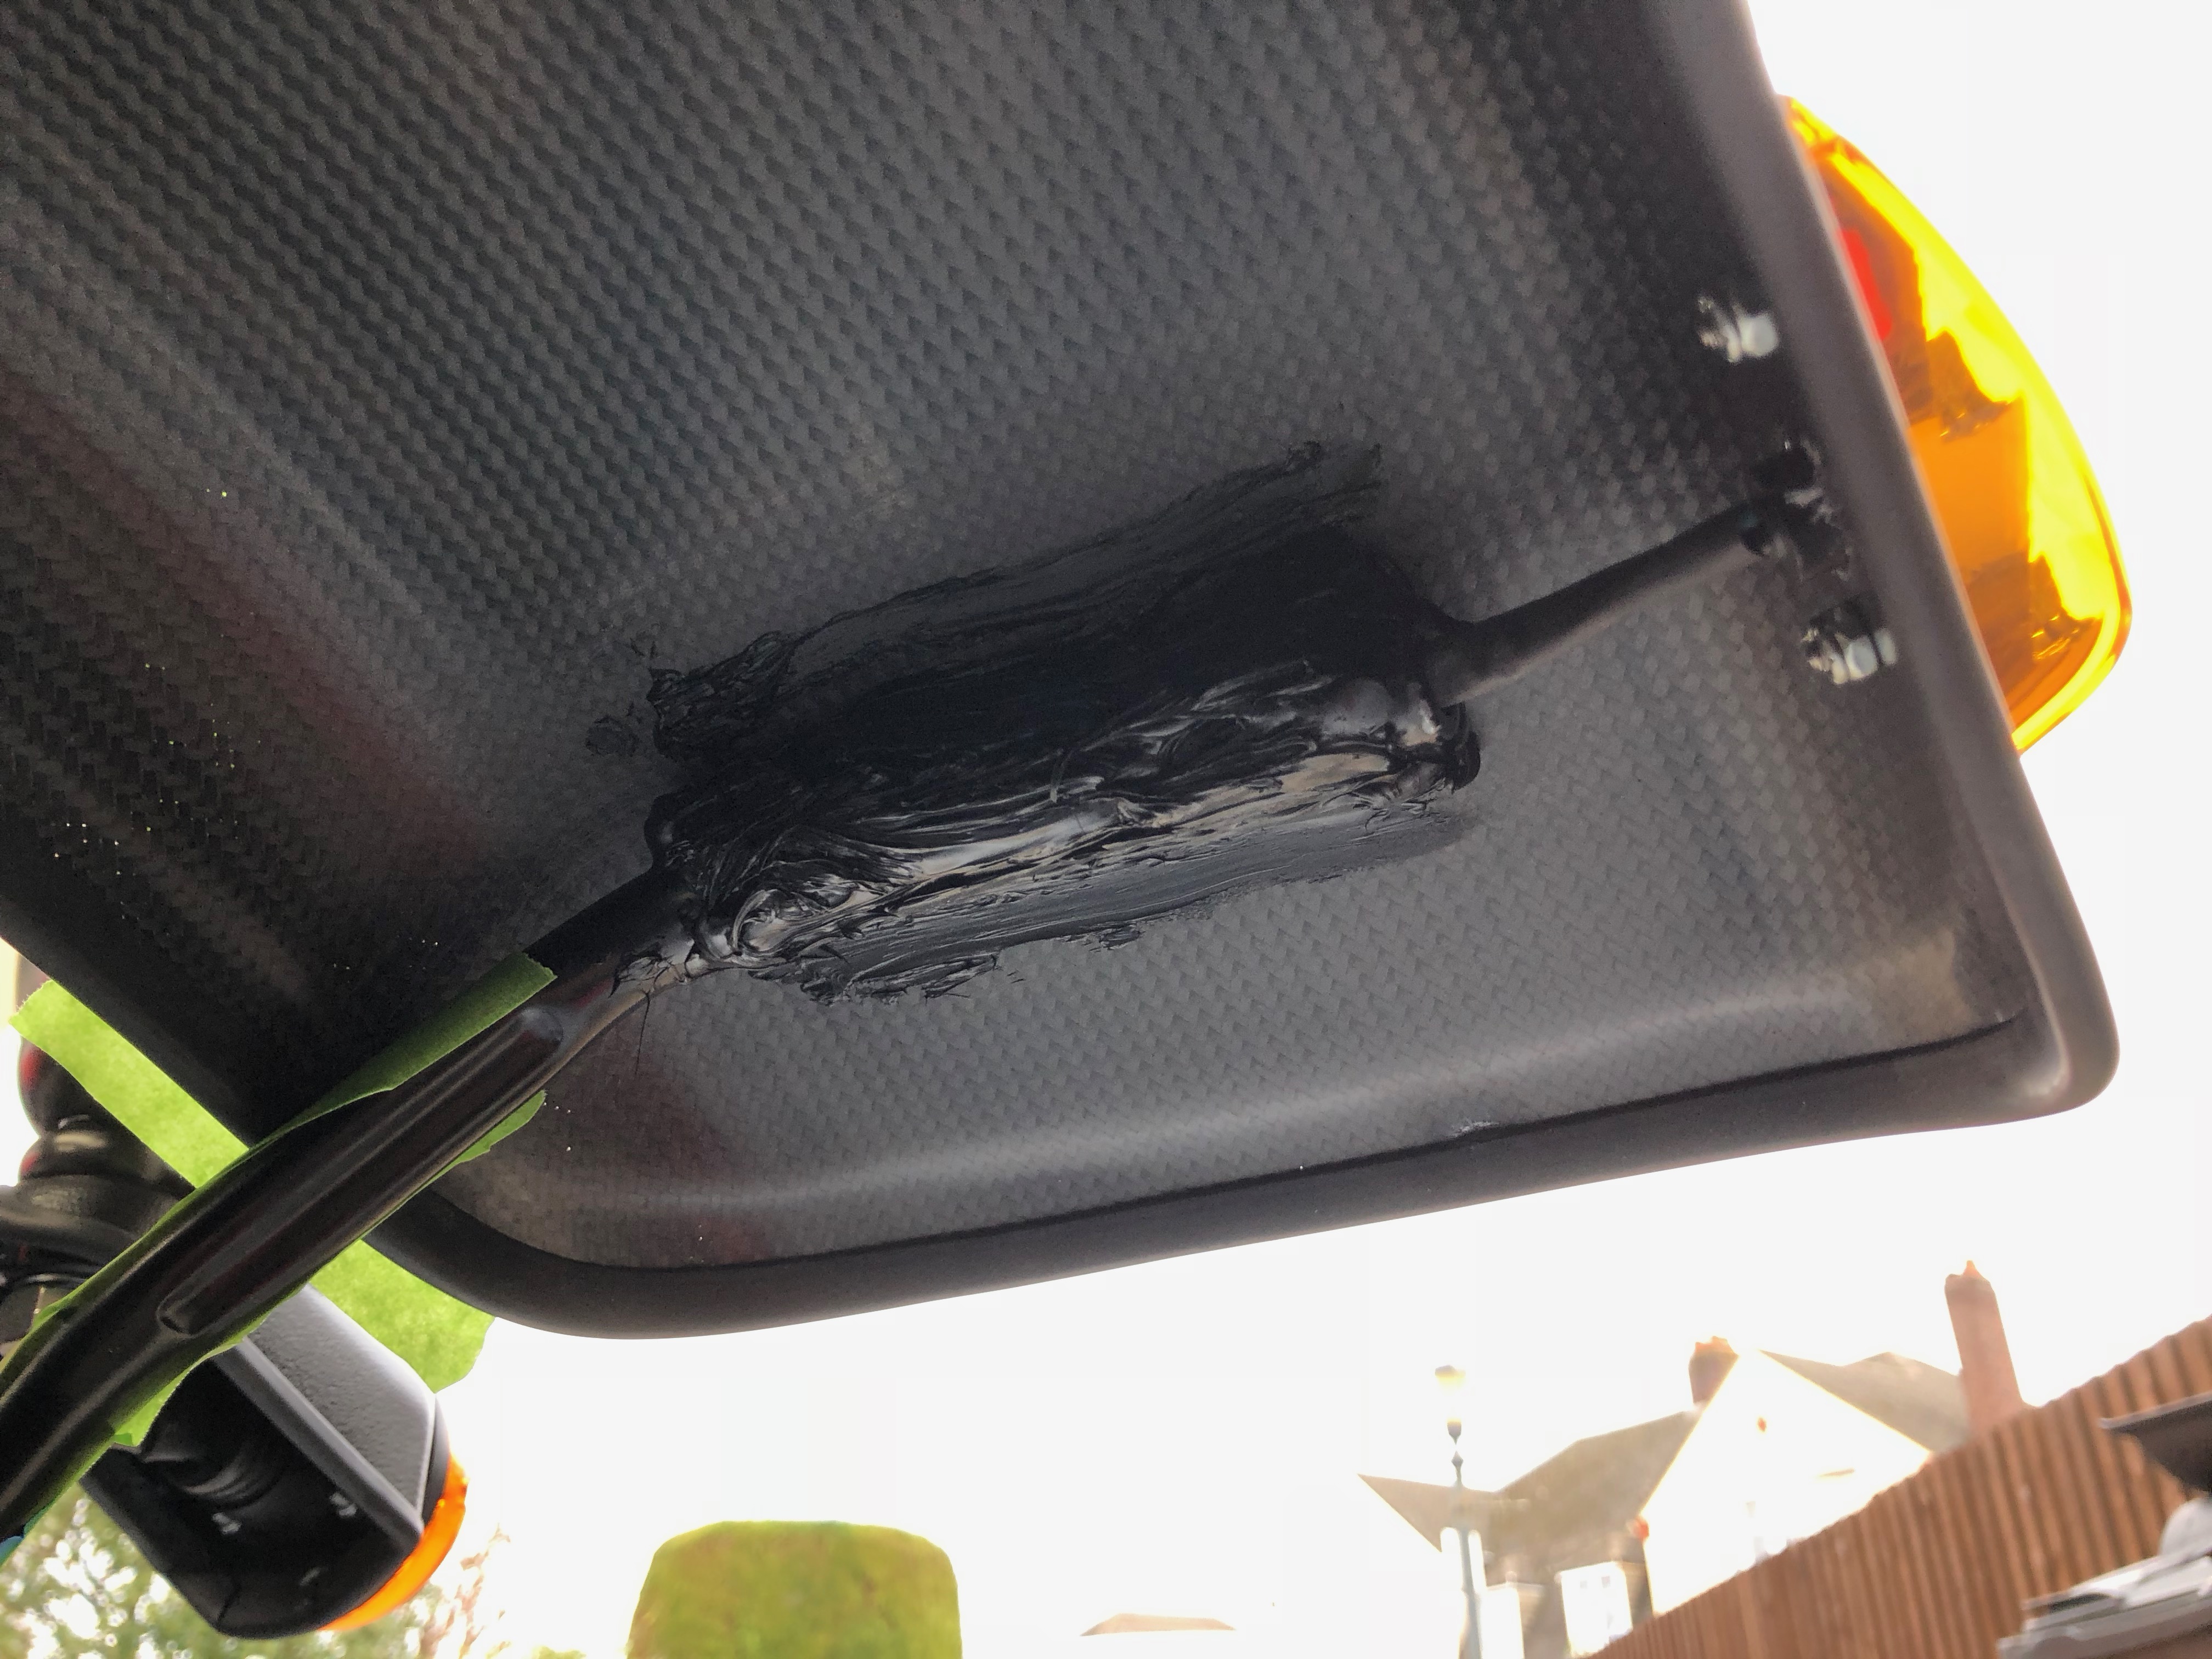
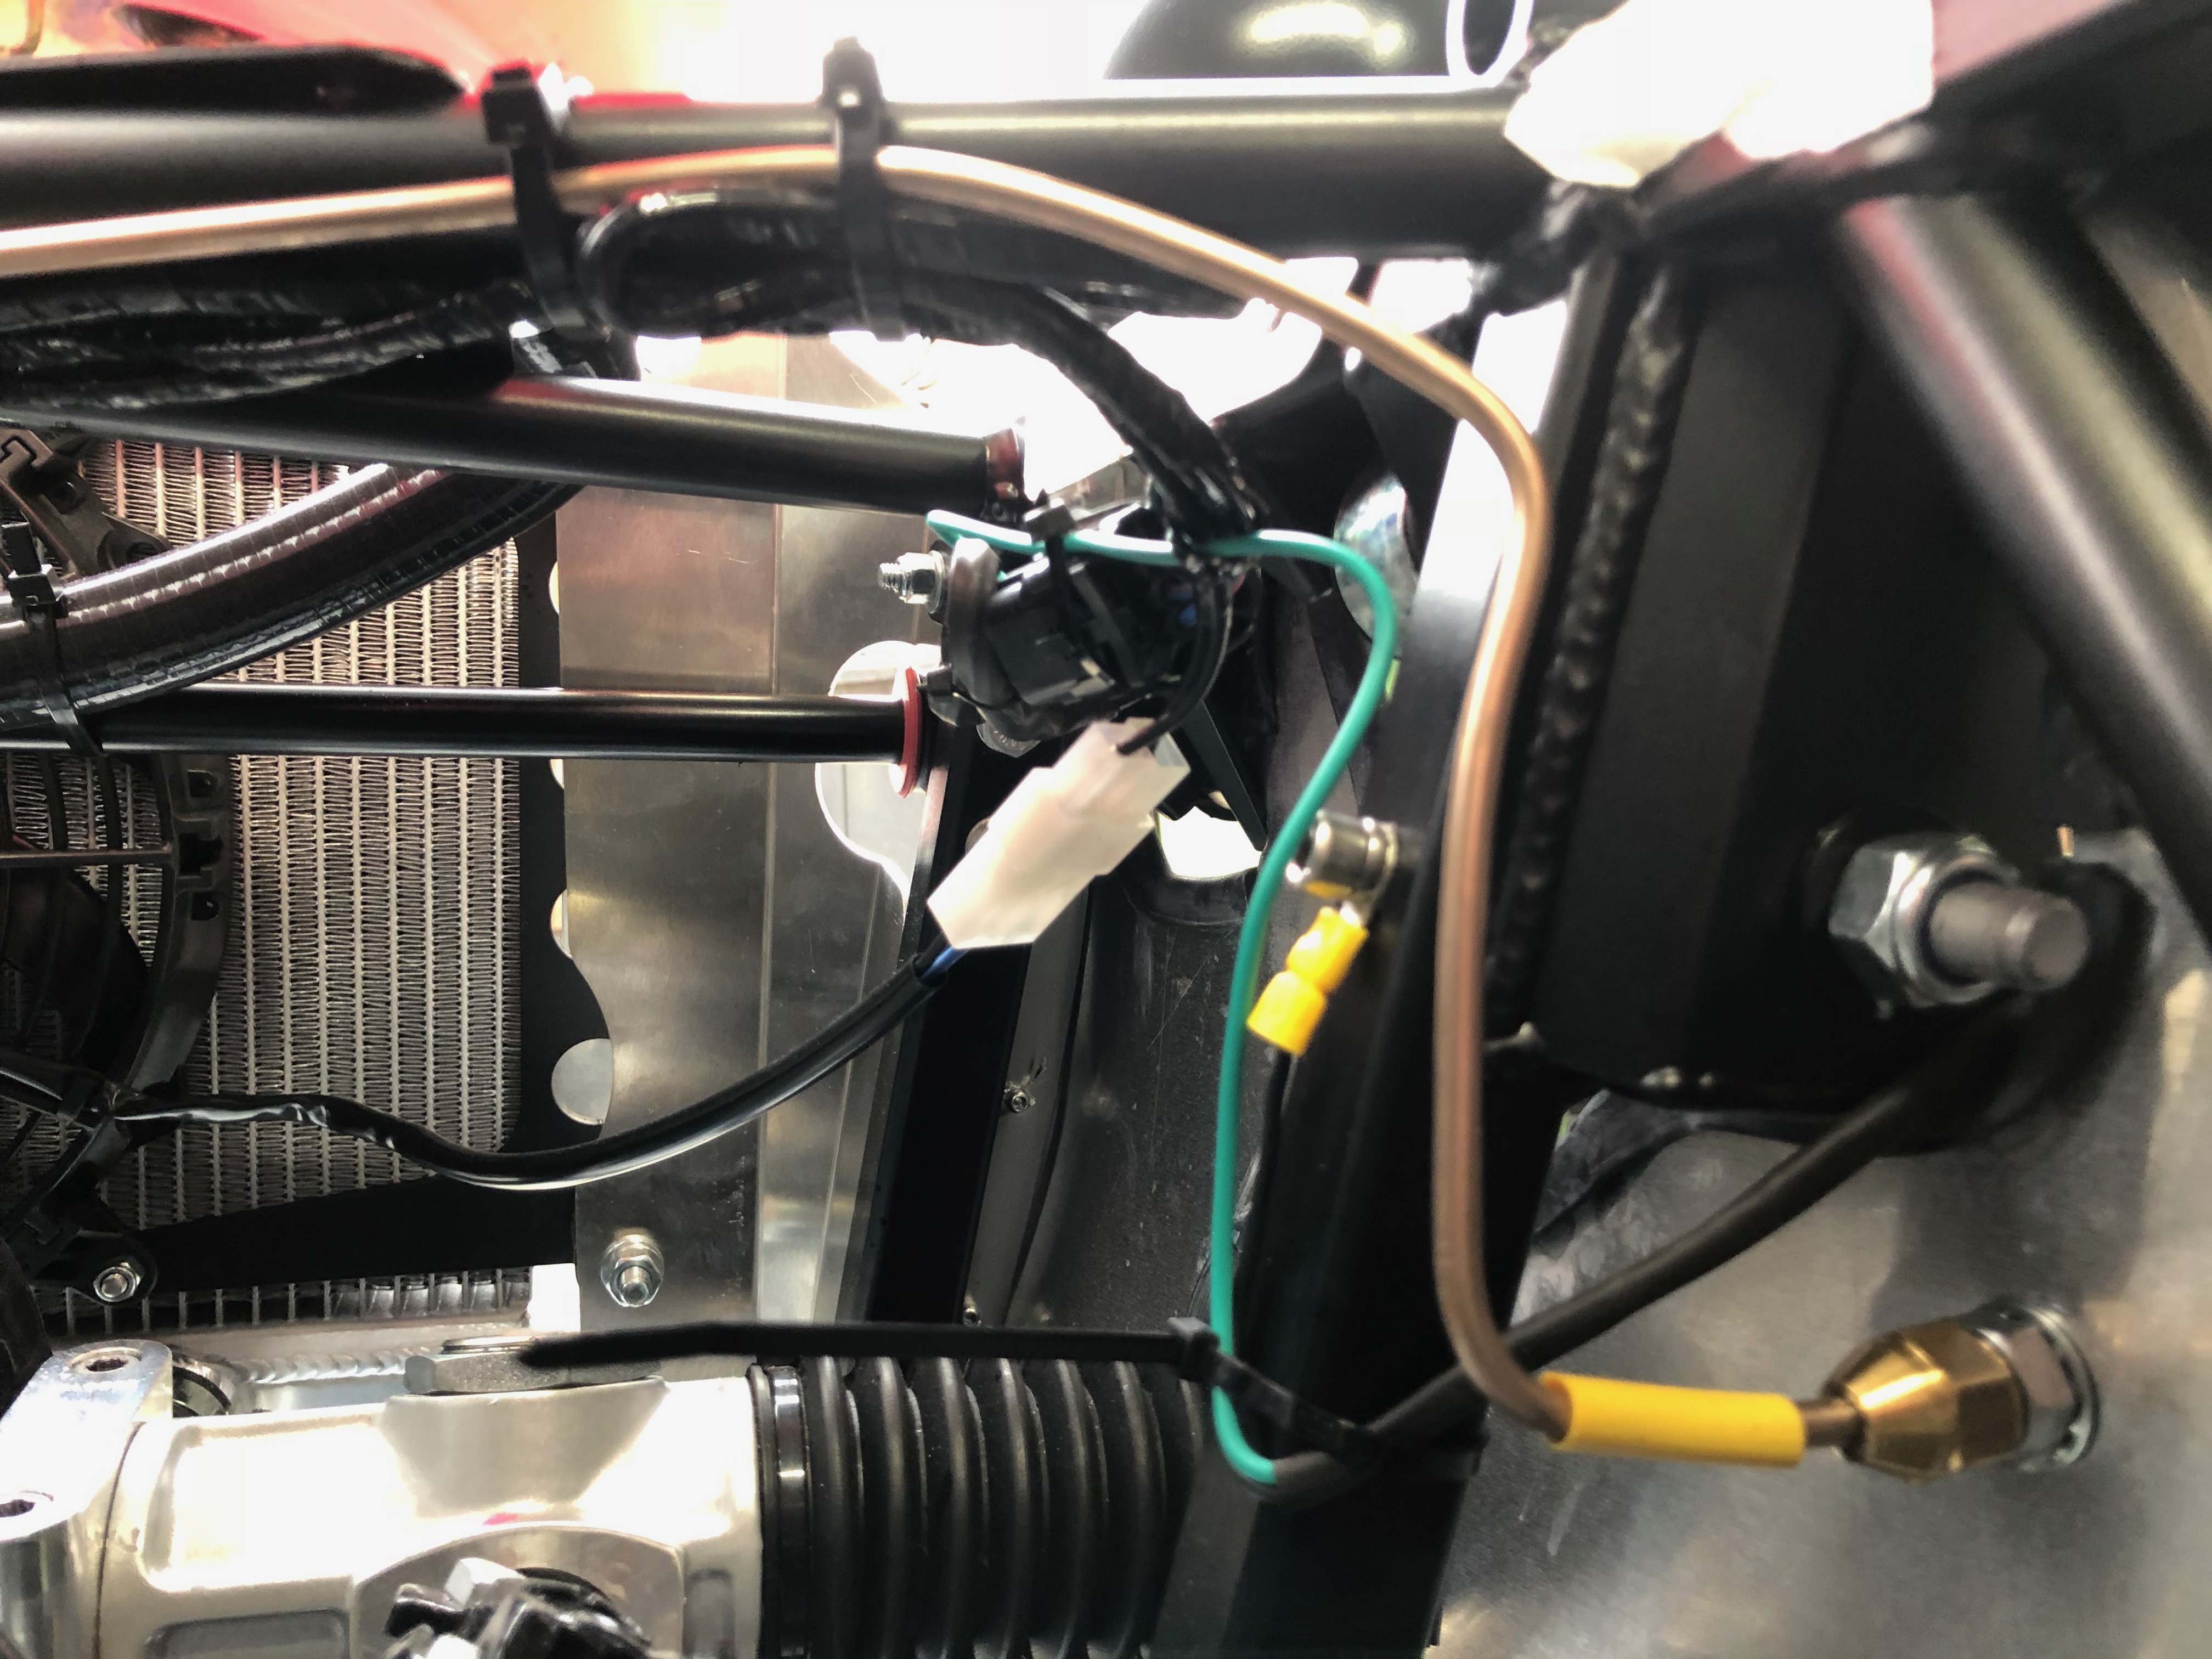
RHS wiring looks like this from the front…
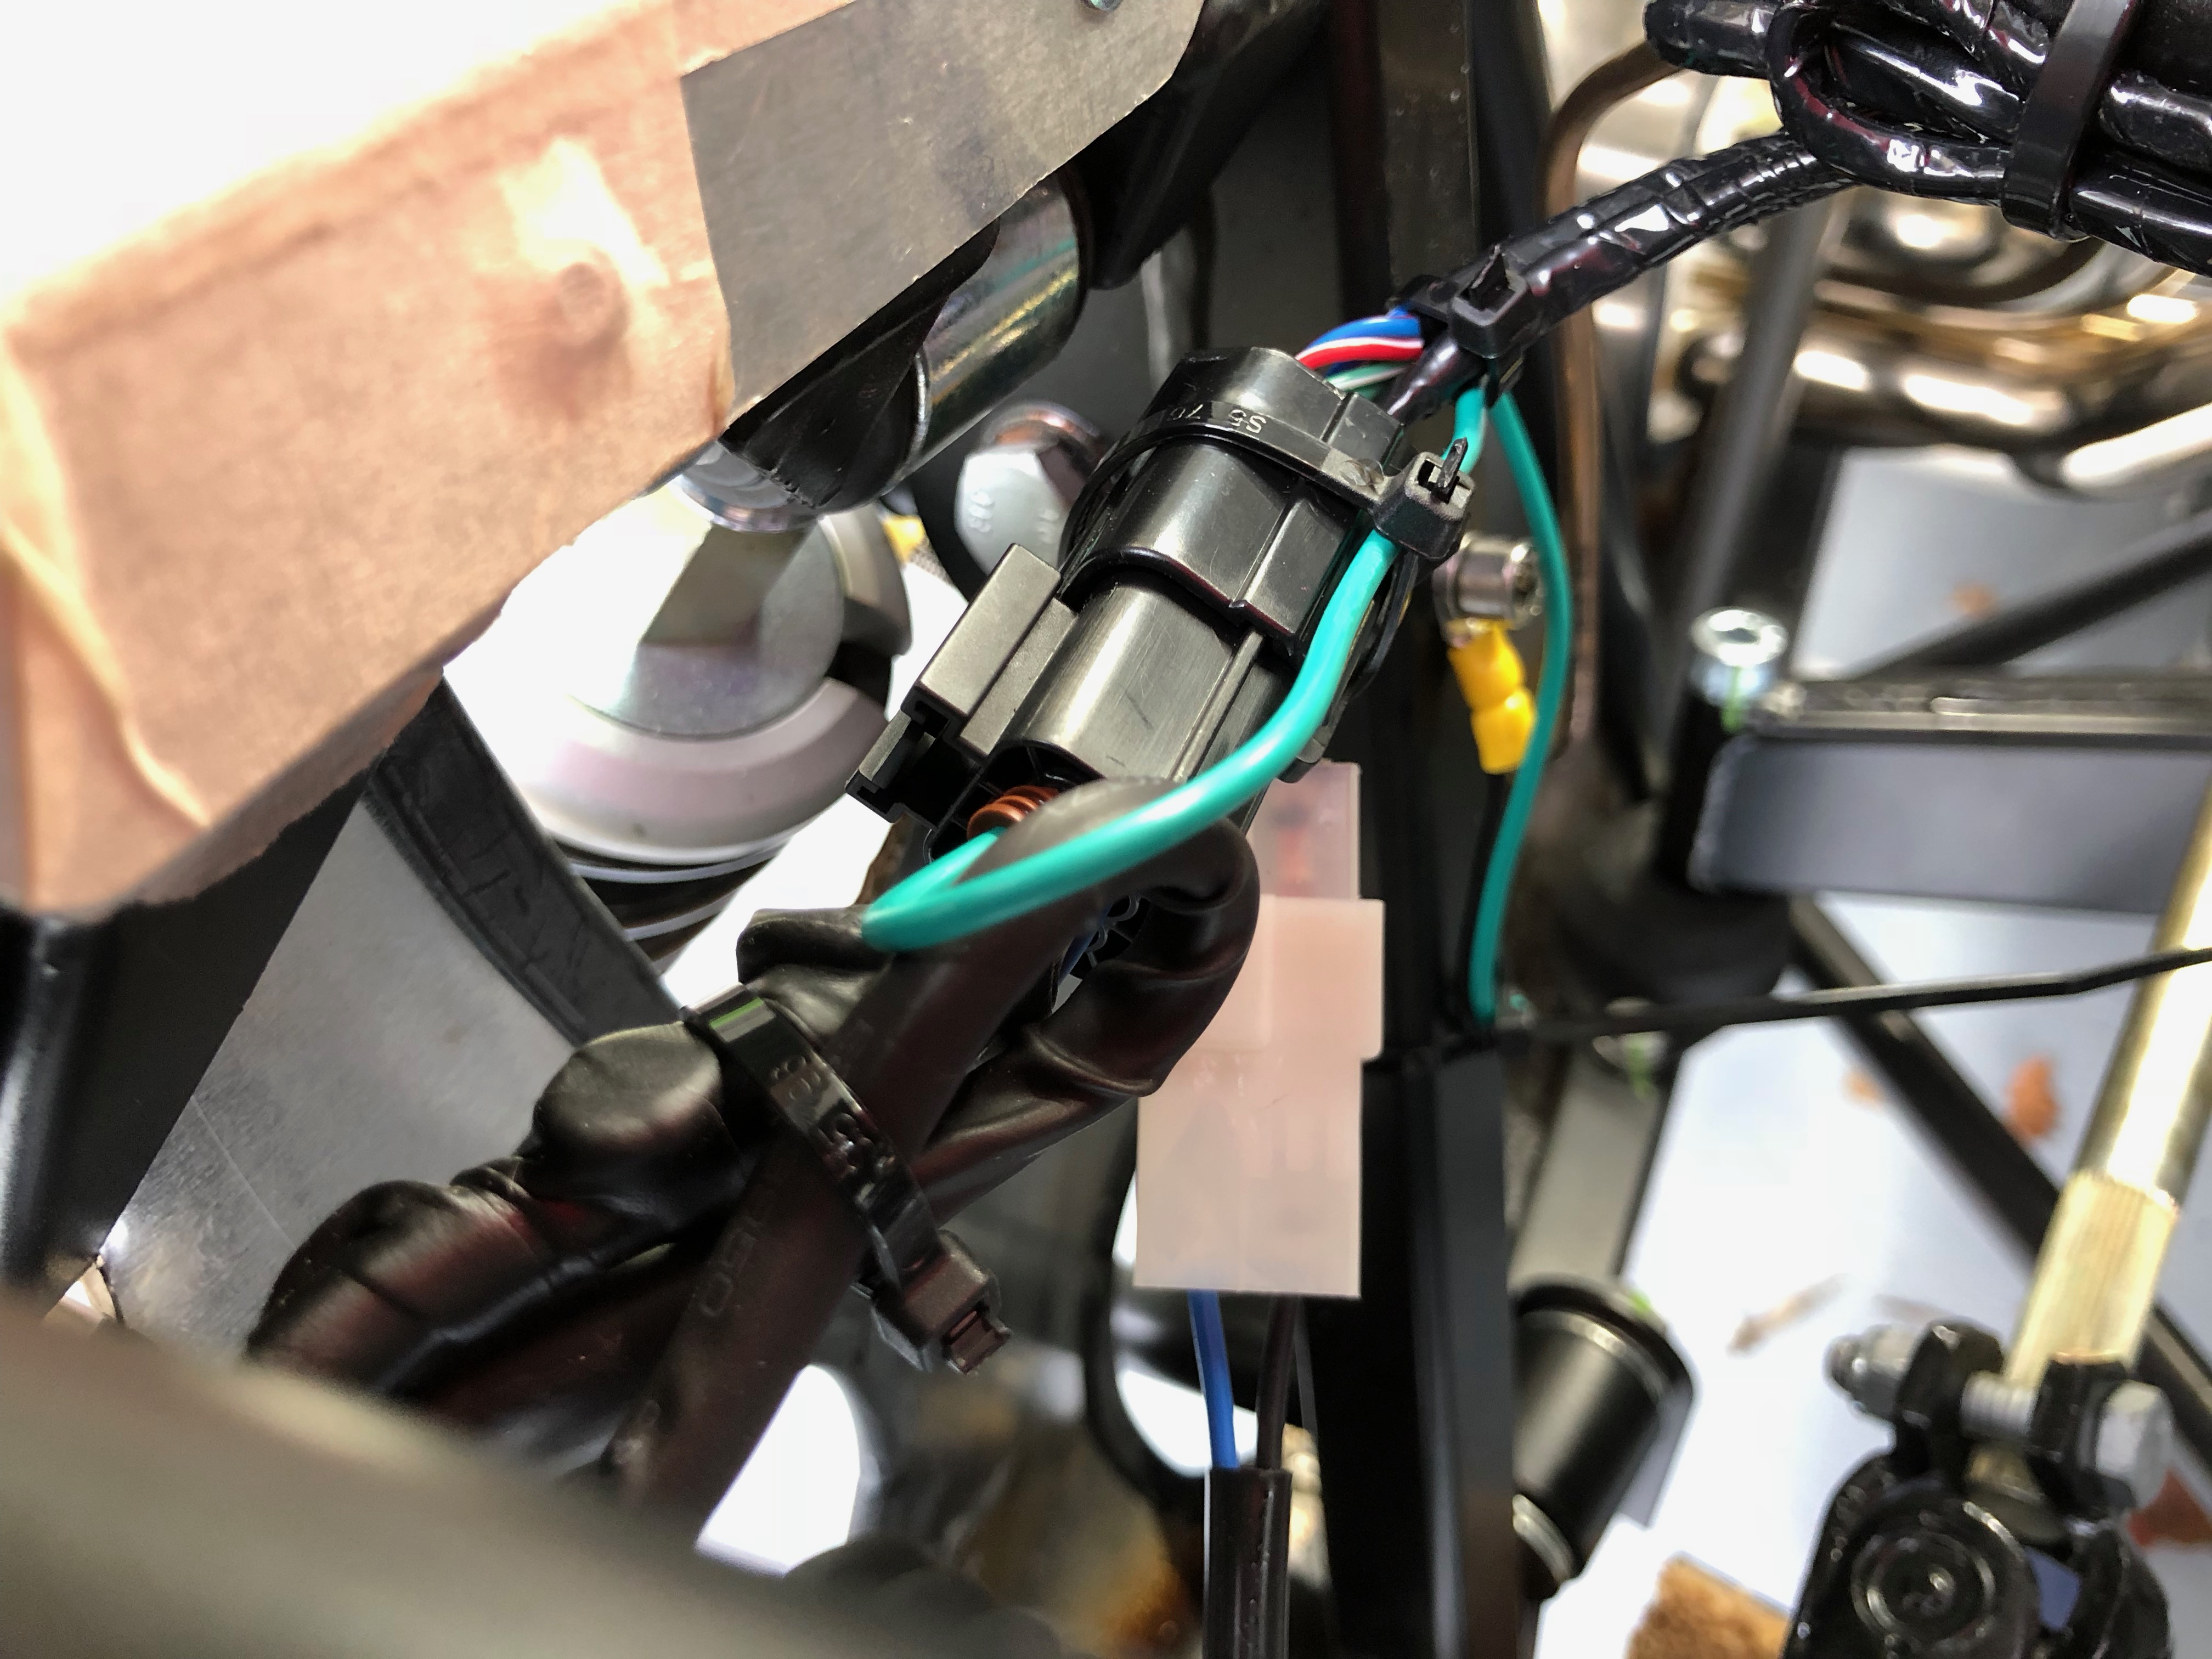
… and looks like this from the back looking forwards…
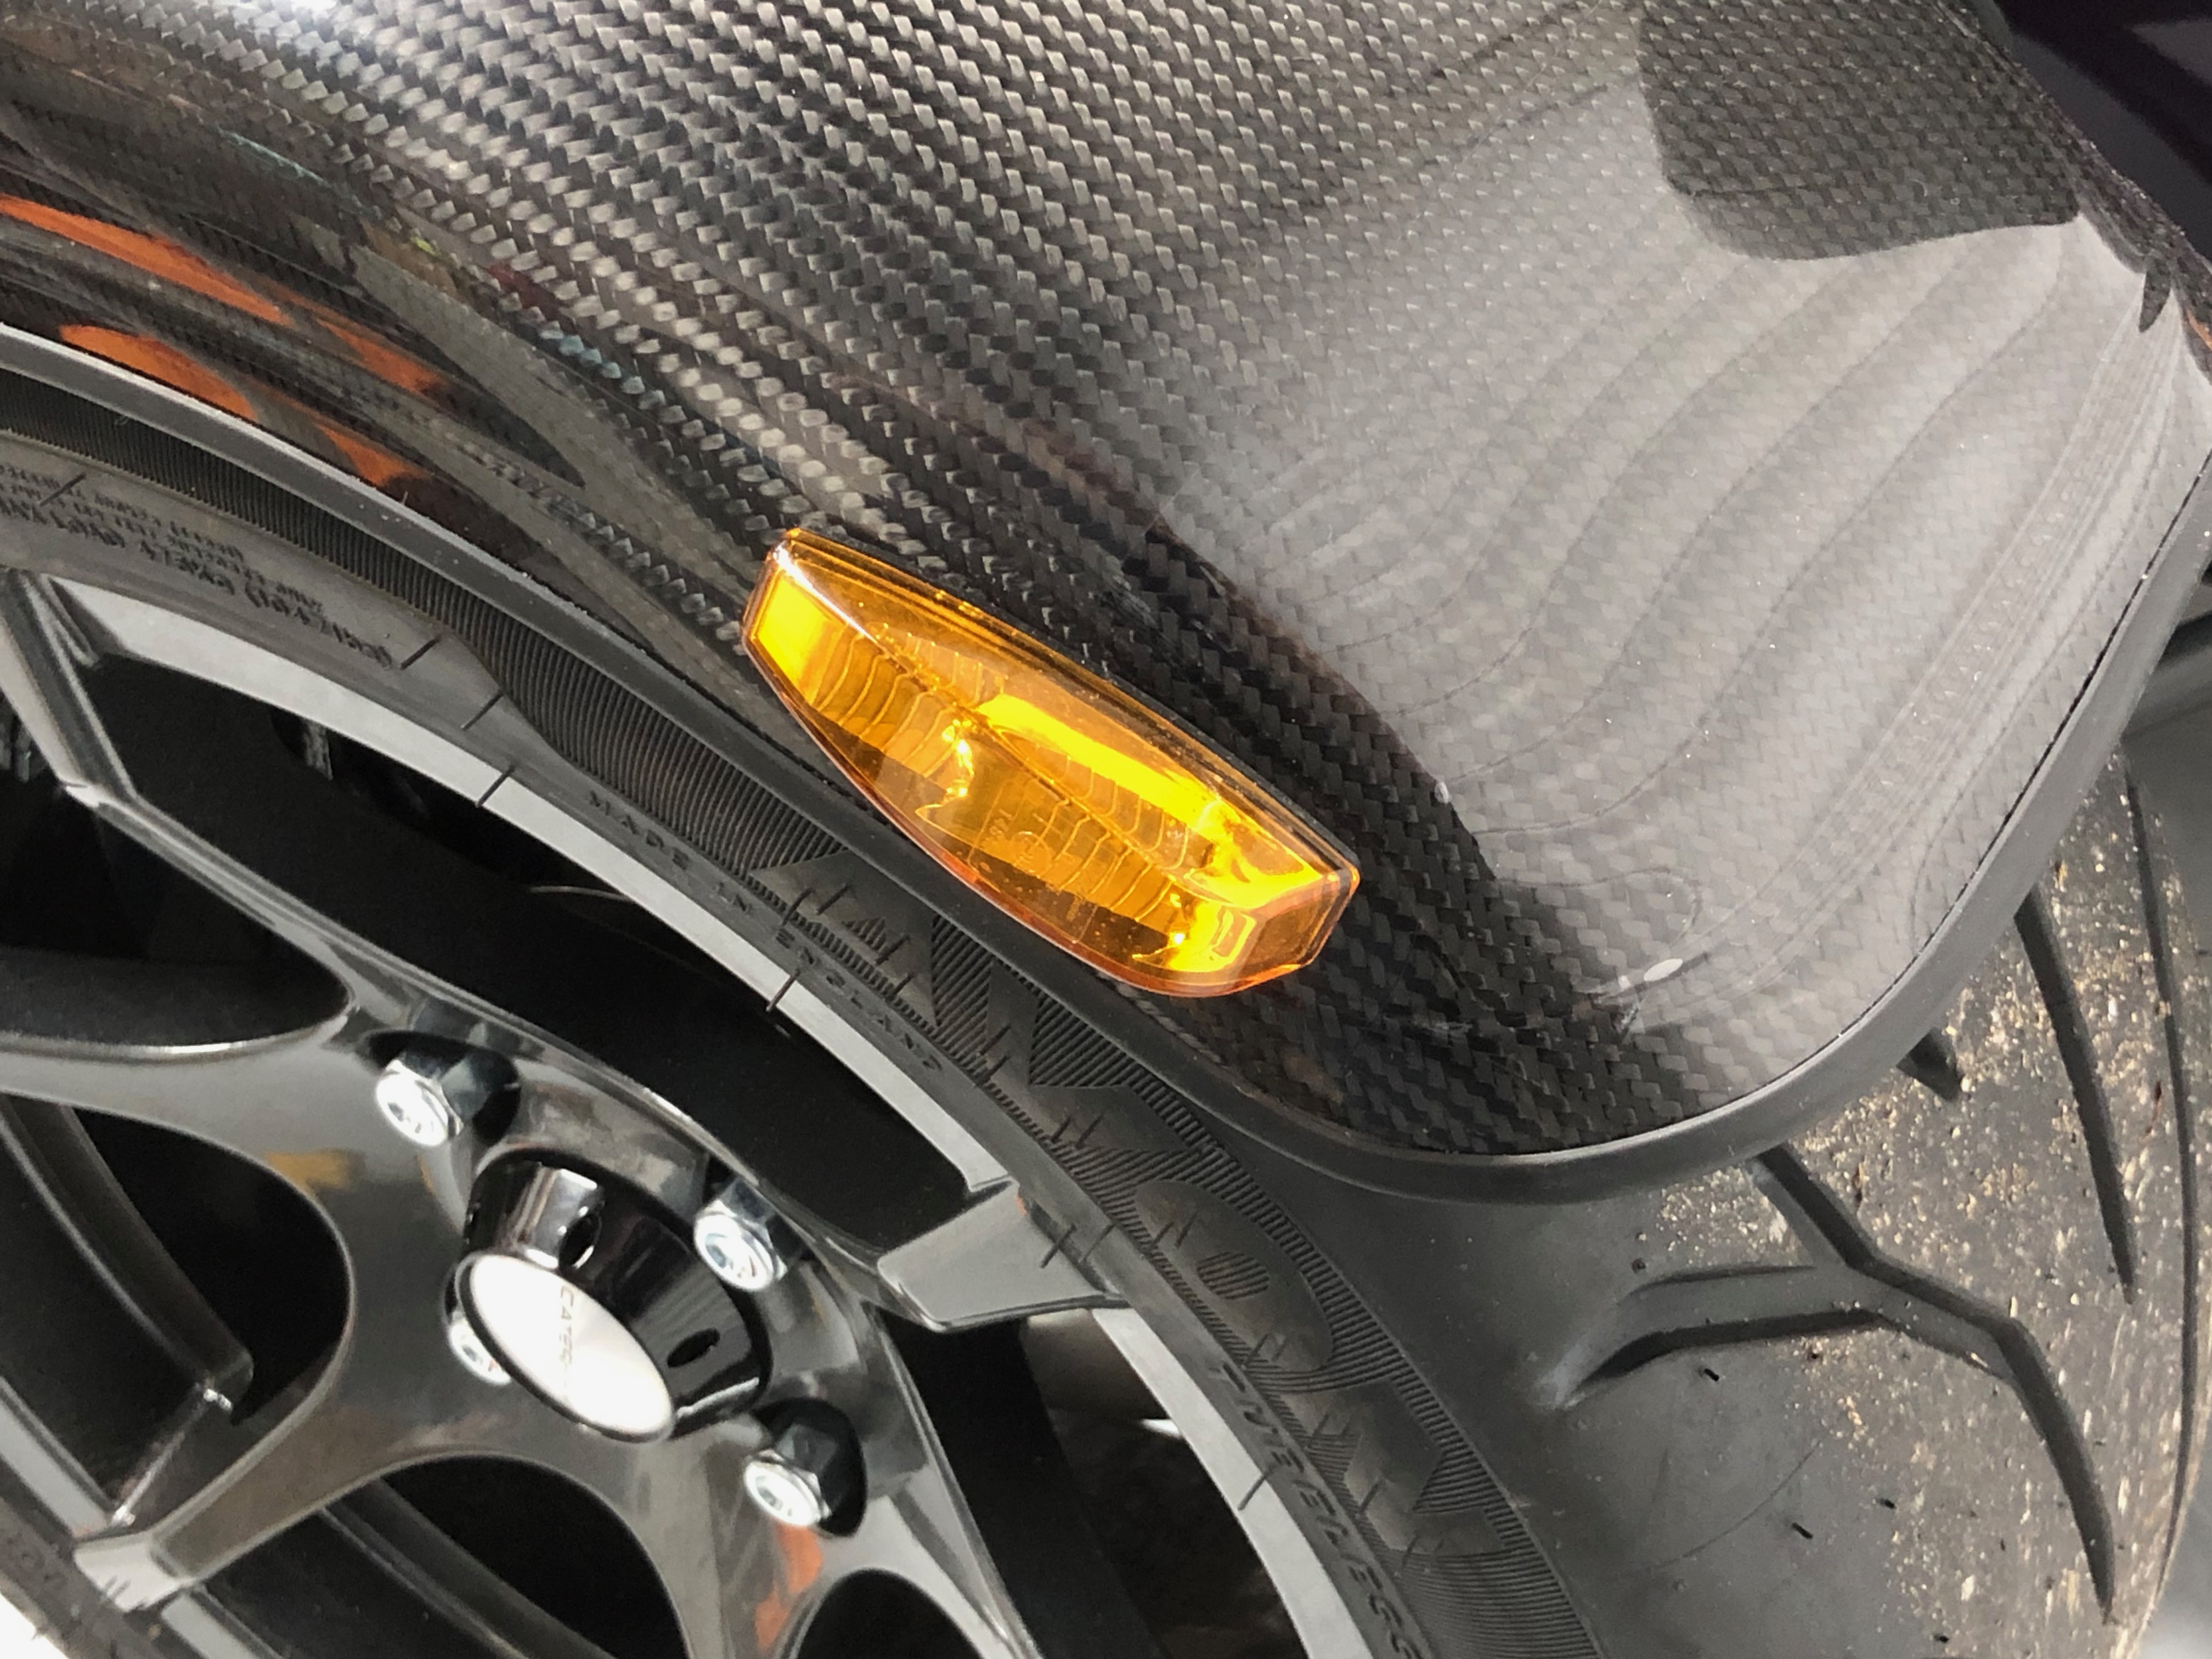
Here’s what a repeater looks like on the wing…
With that wiring done, time to get on with some other jobs.
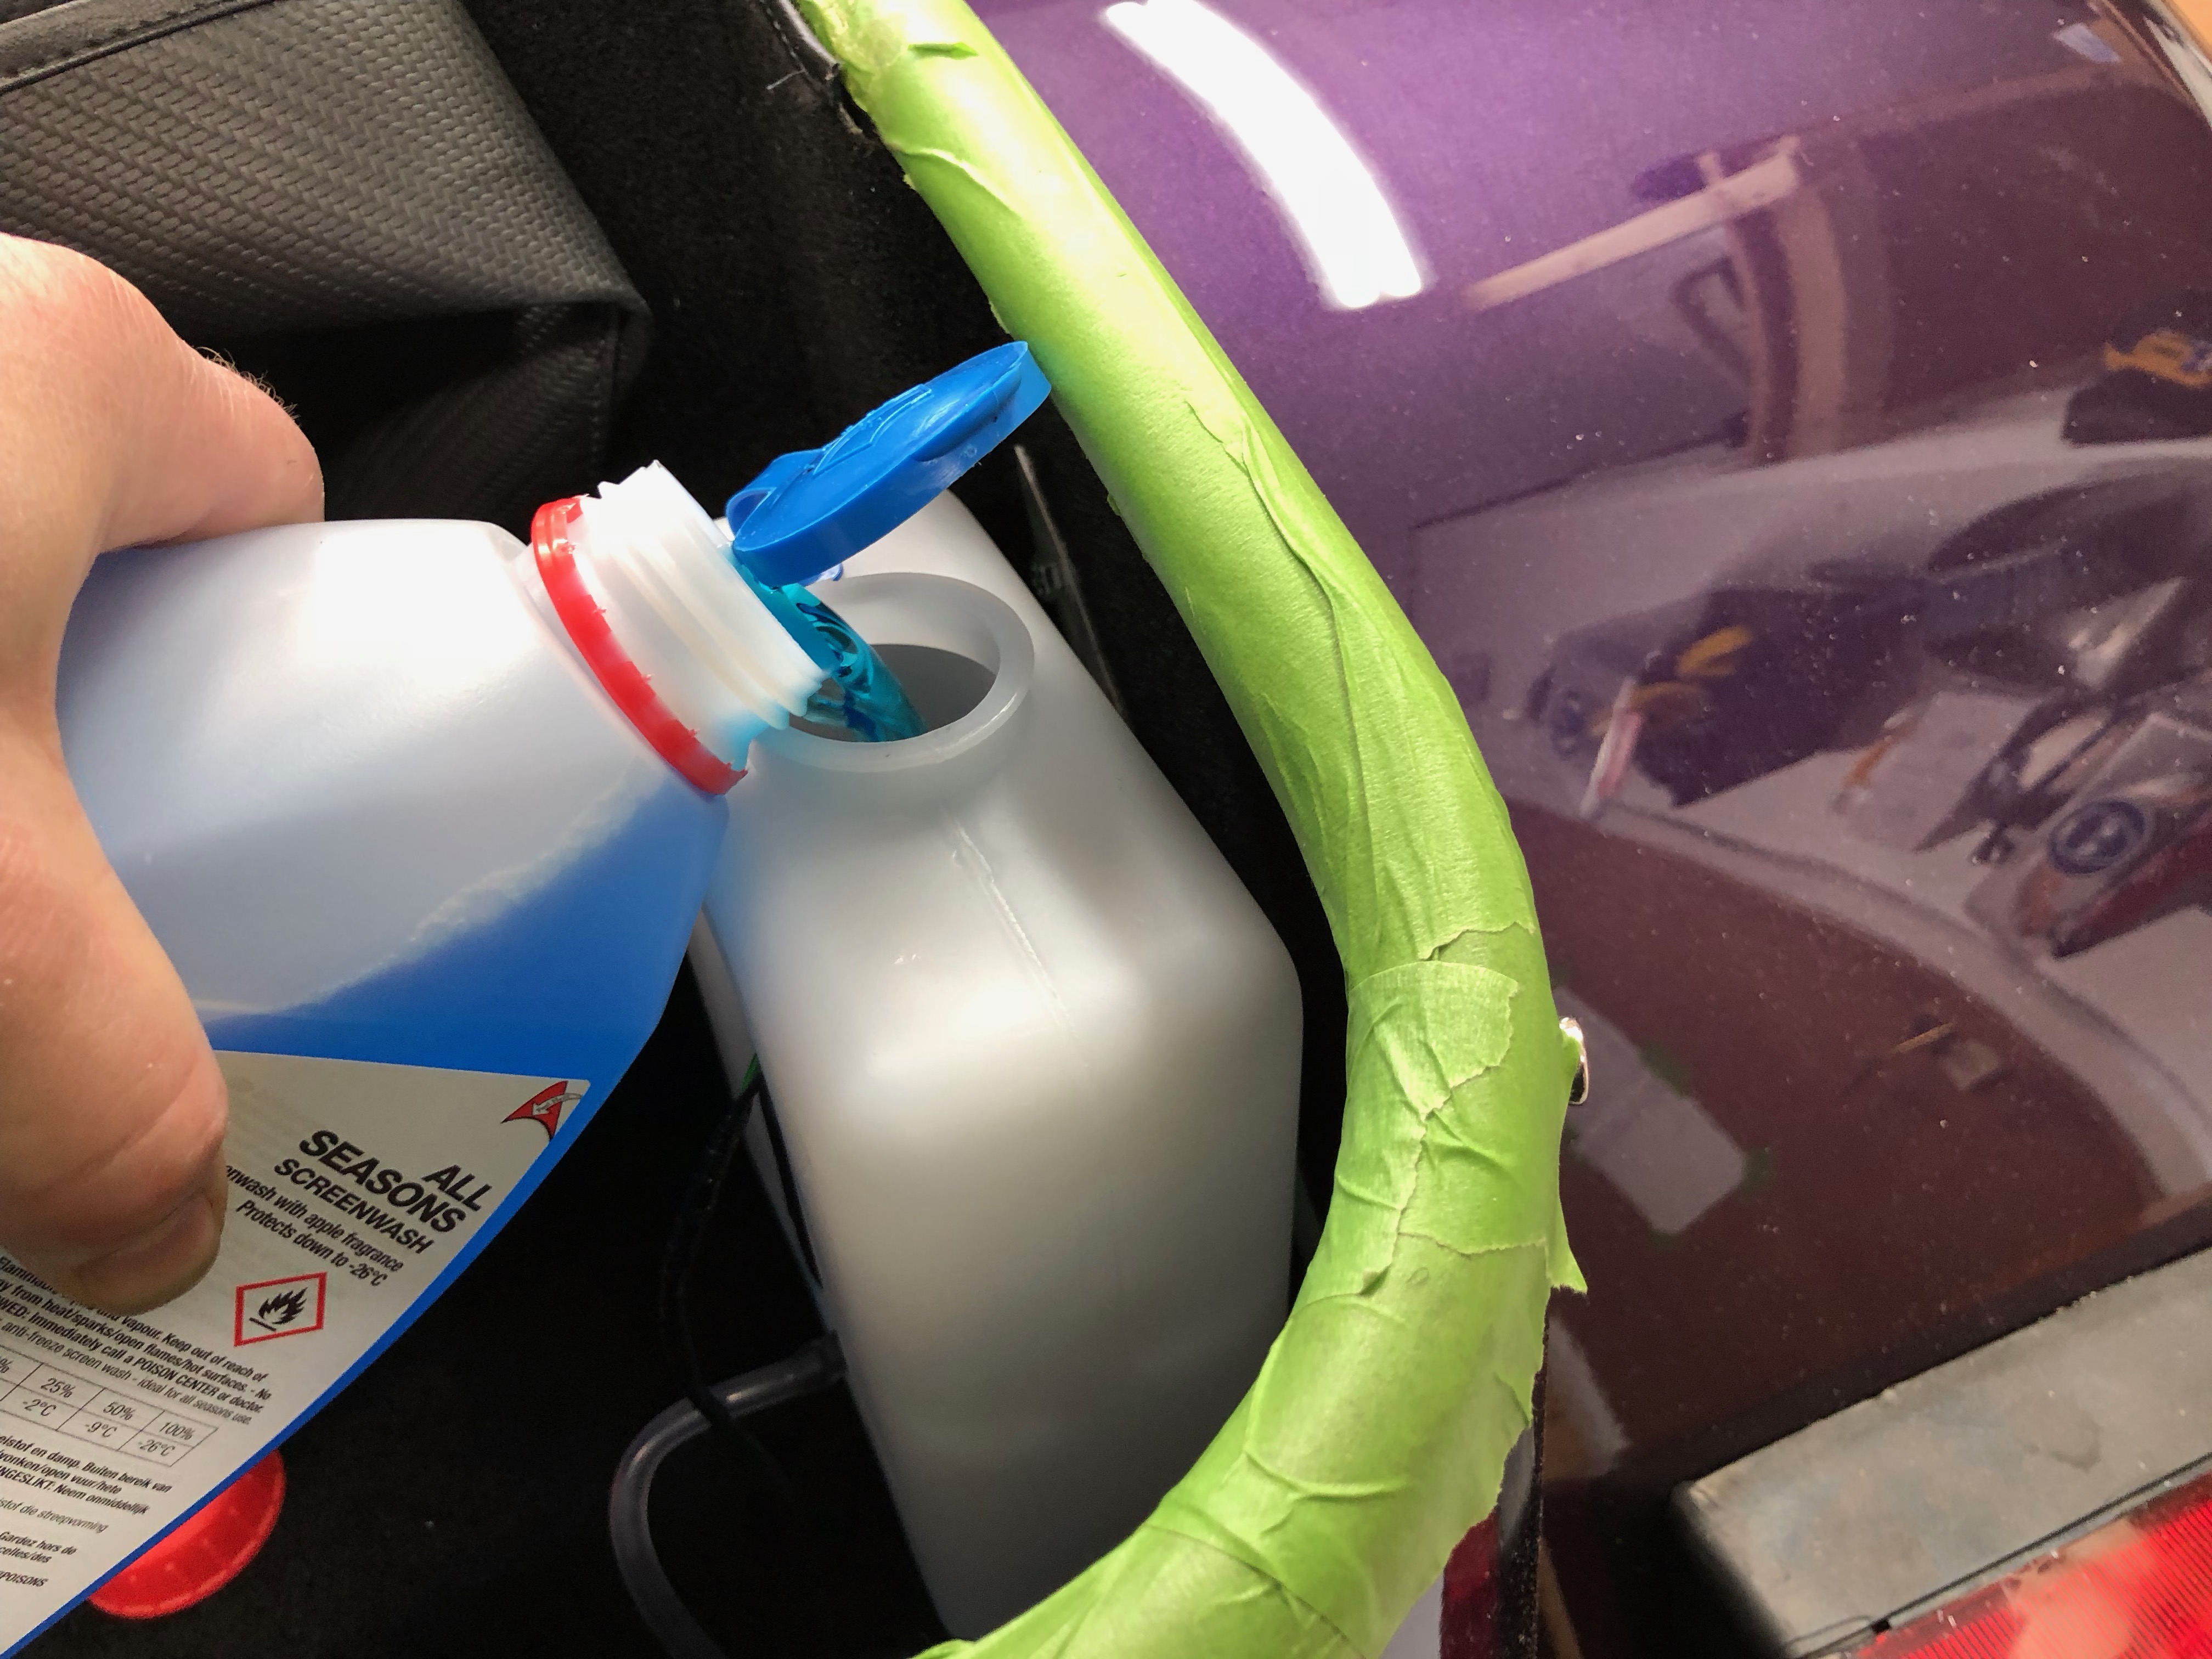
Washer Fluid Fillup
Caterham provide washer fluid, just needs to be added to the bottle and then diluted…
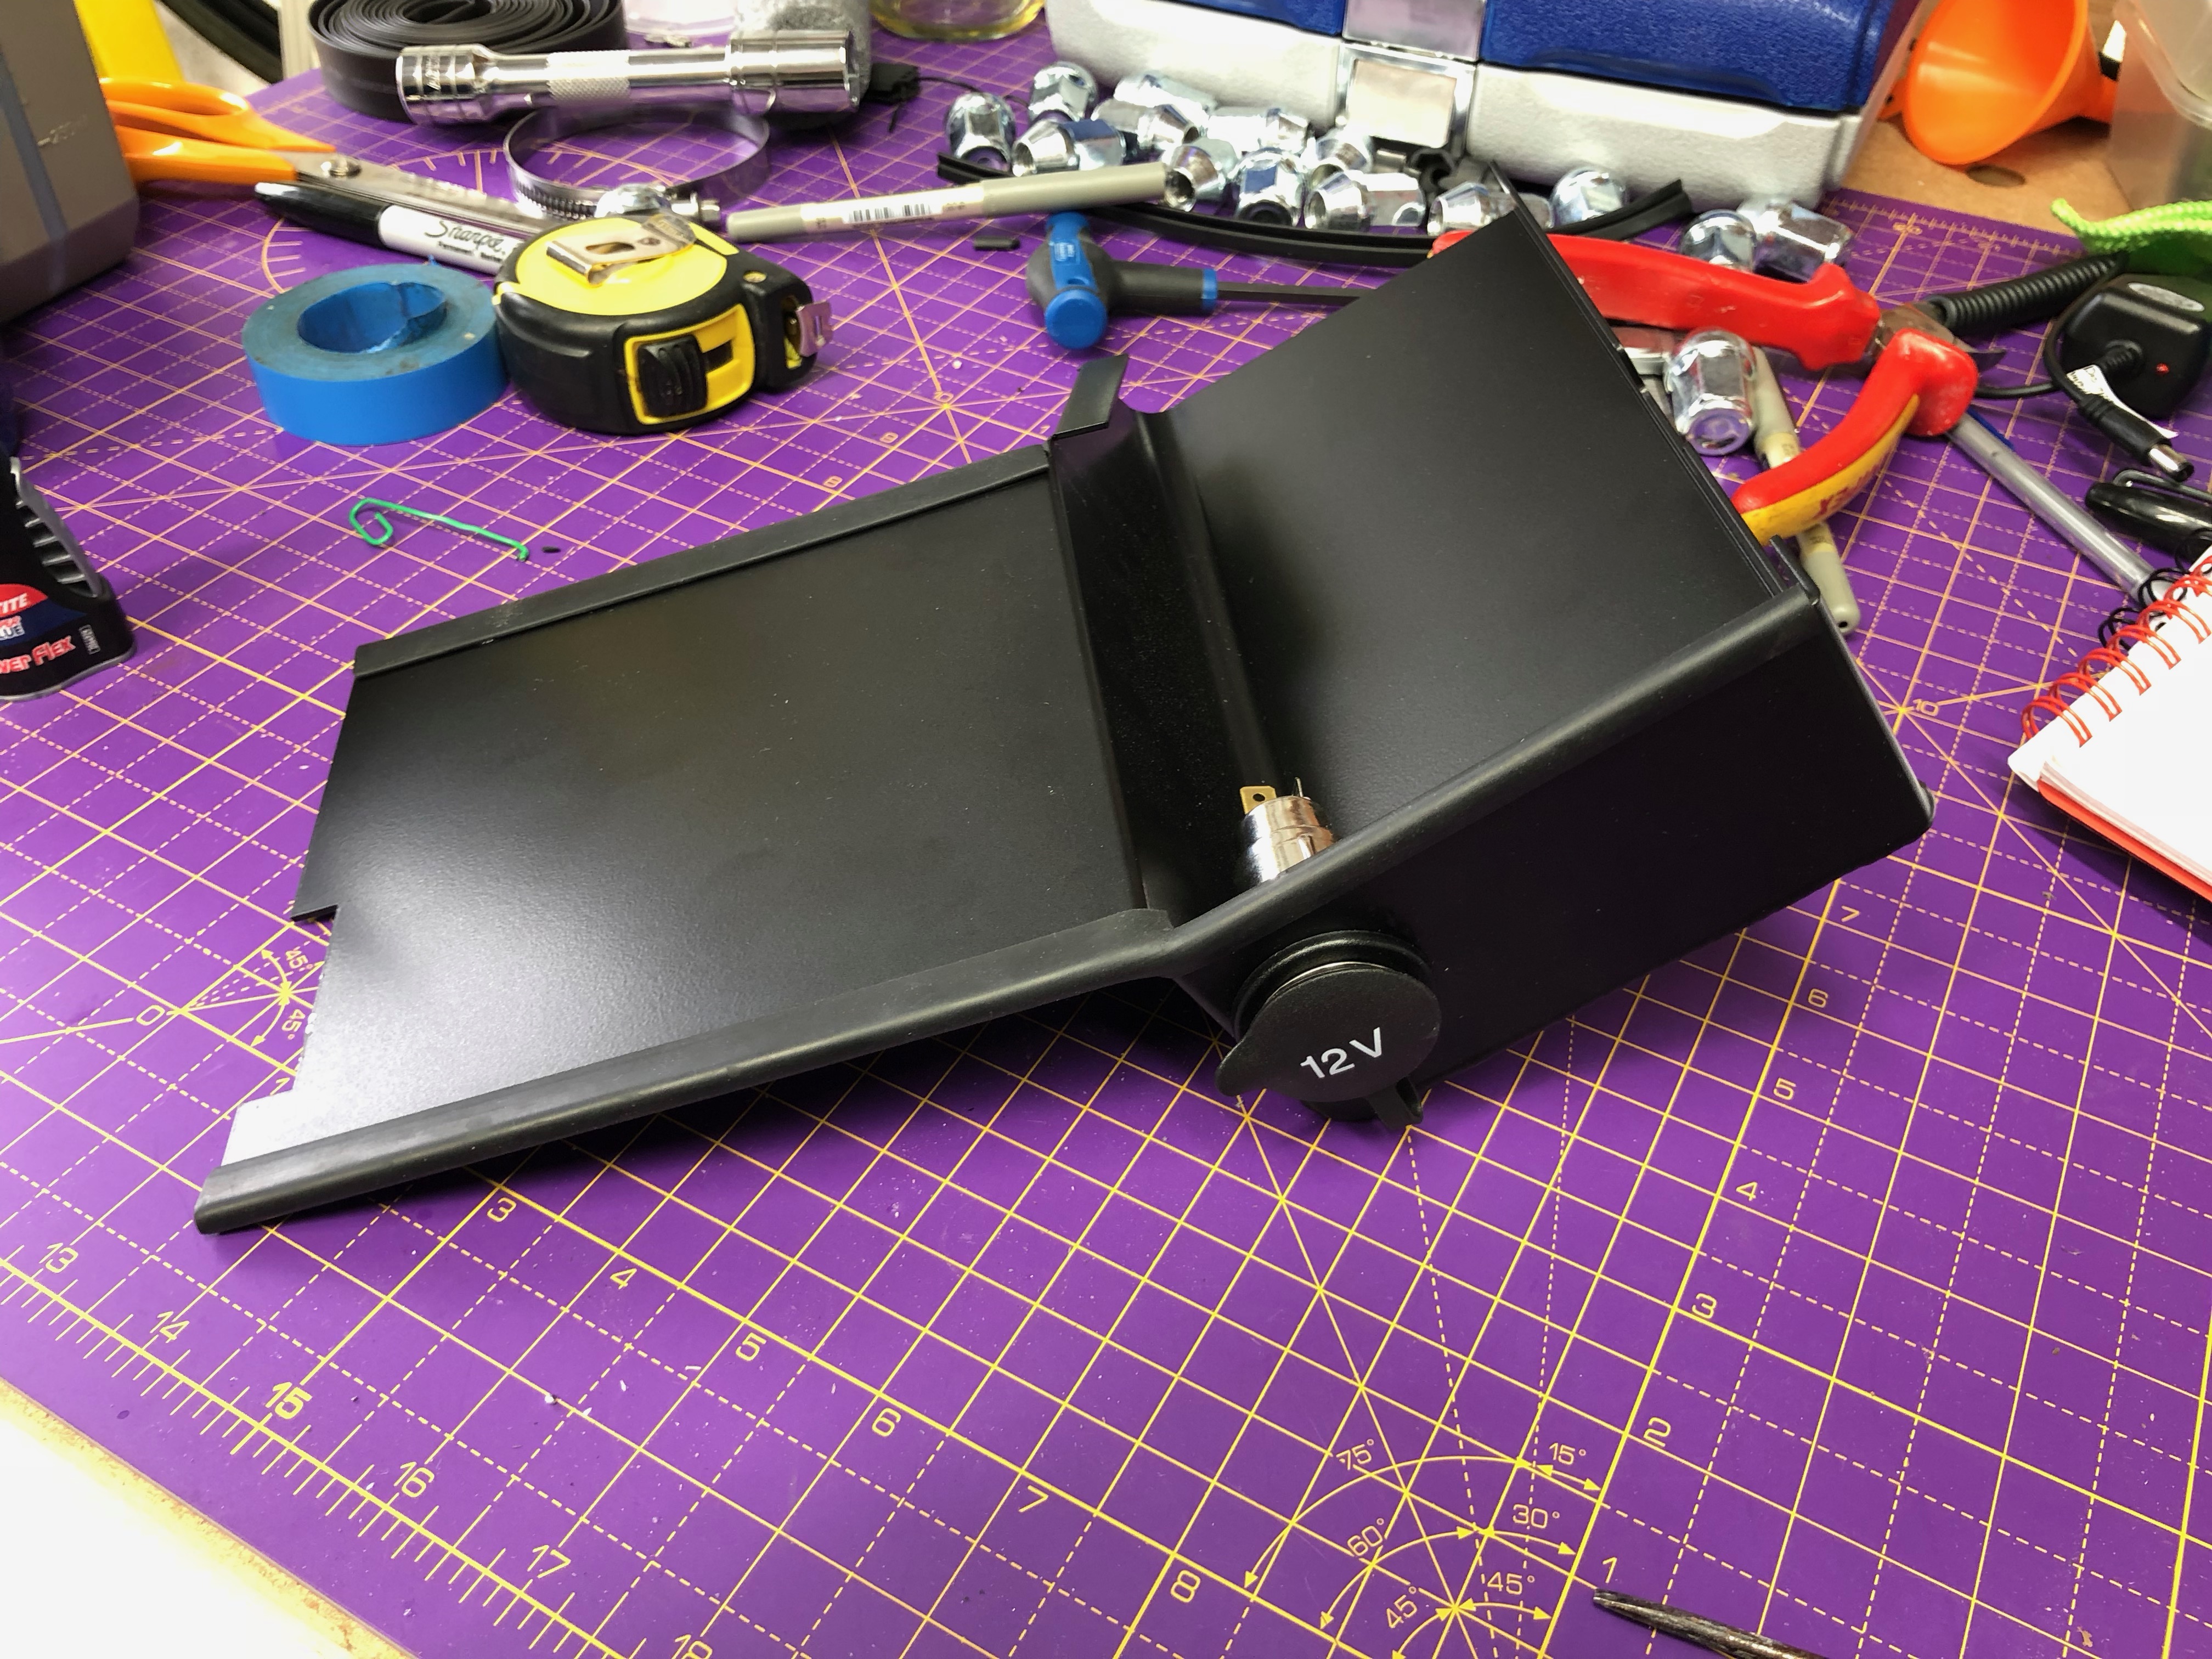
Fuse Box Cover IVA Trim
Next up is to add IVA trim to the fuse box along the long and short edges…
And then installed…
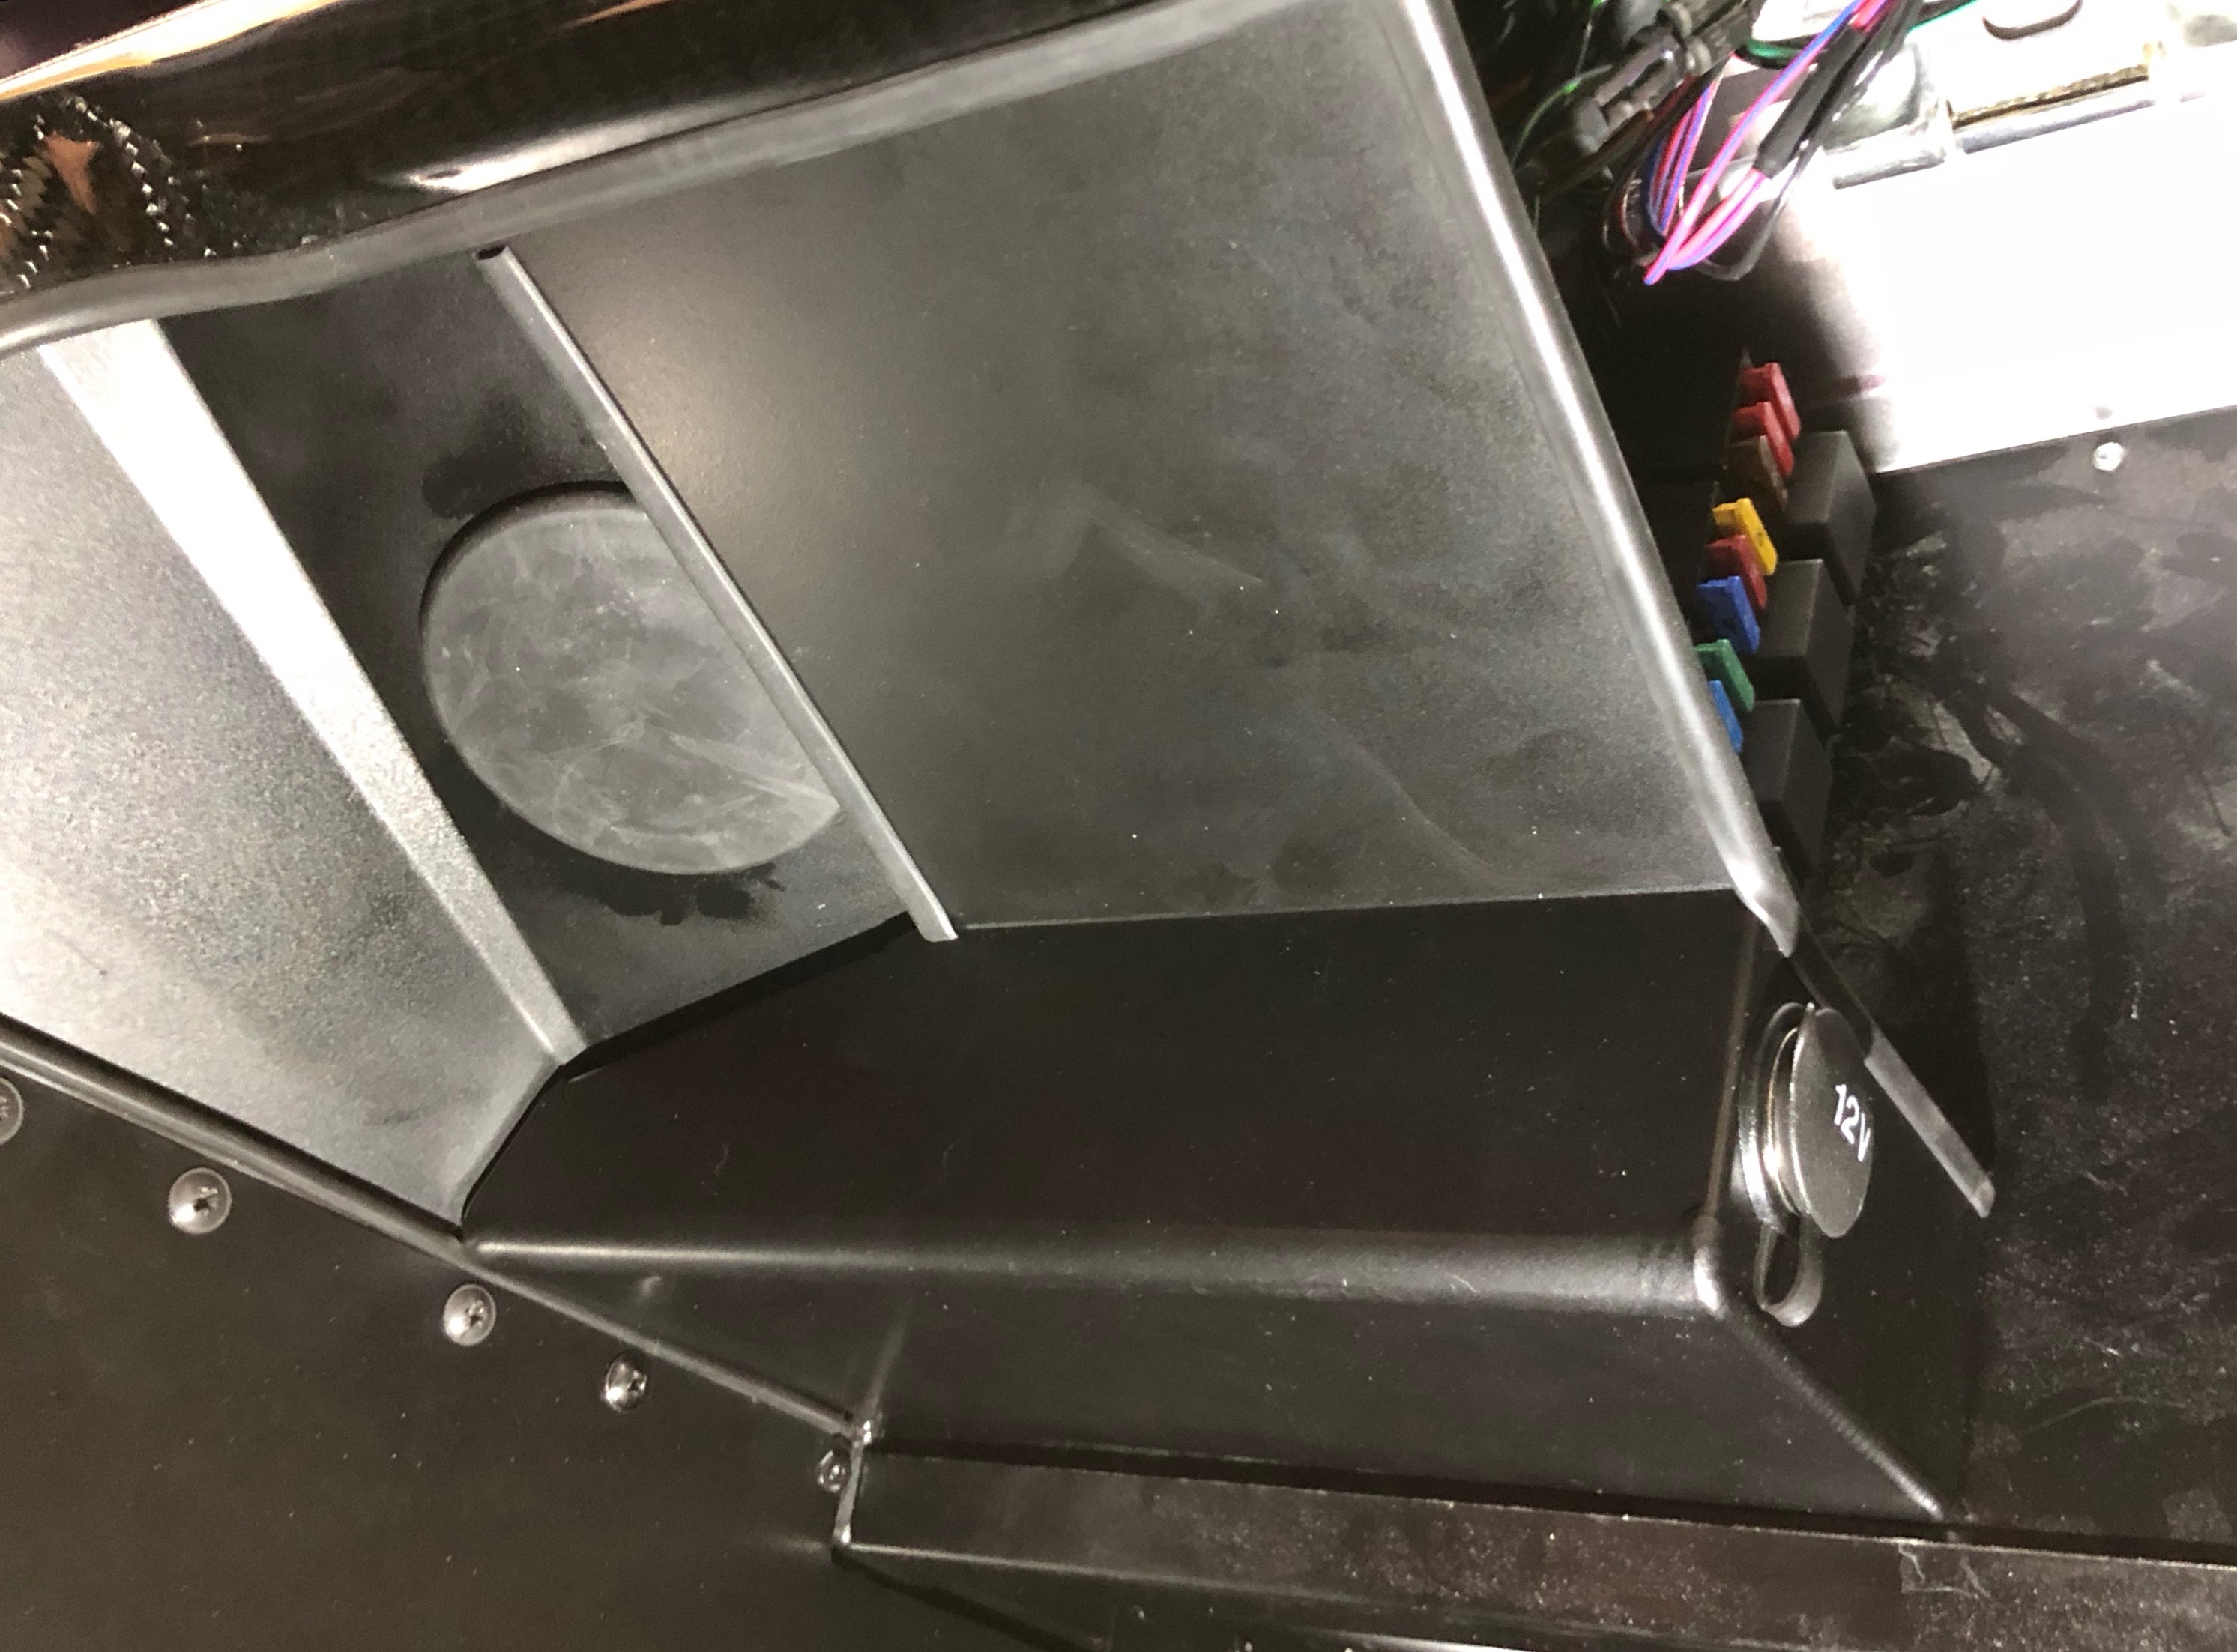
The build manual calls for velcro to be used to attach the fuse box to the bulk head. It seemed to me that the fuse box was perfectly snug enough inserted in between the bulk head and the dashboard, so I didn’t bother with the velcro step.
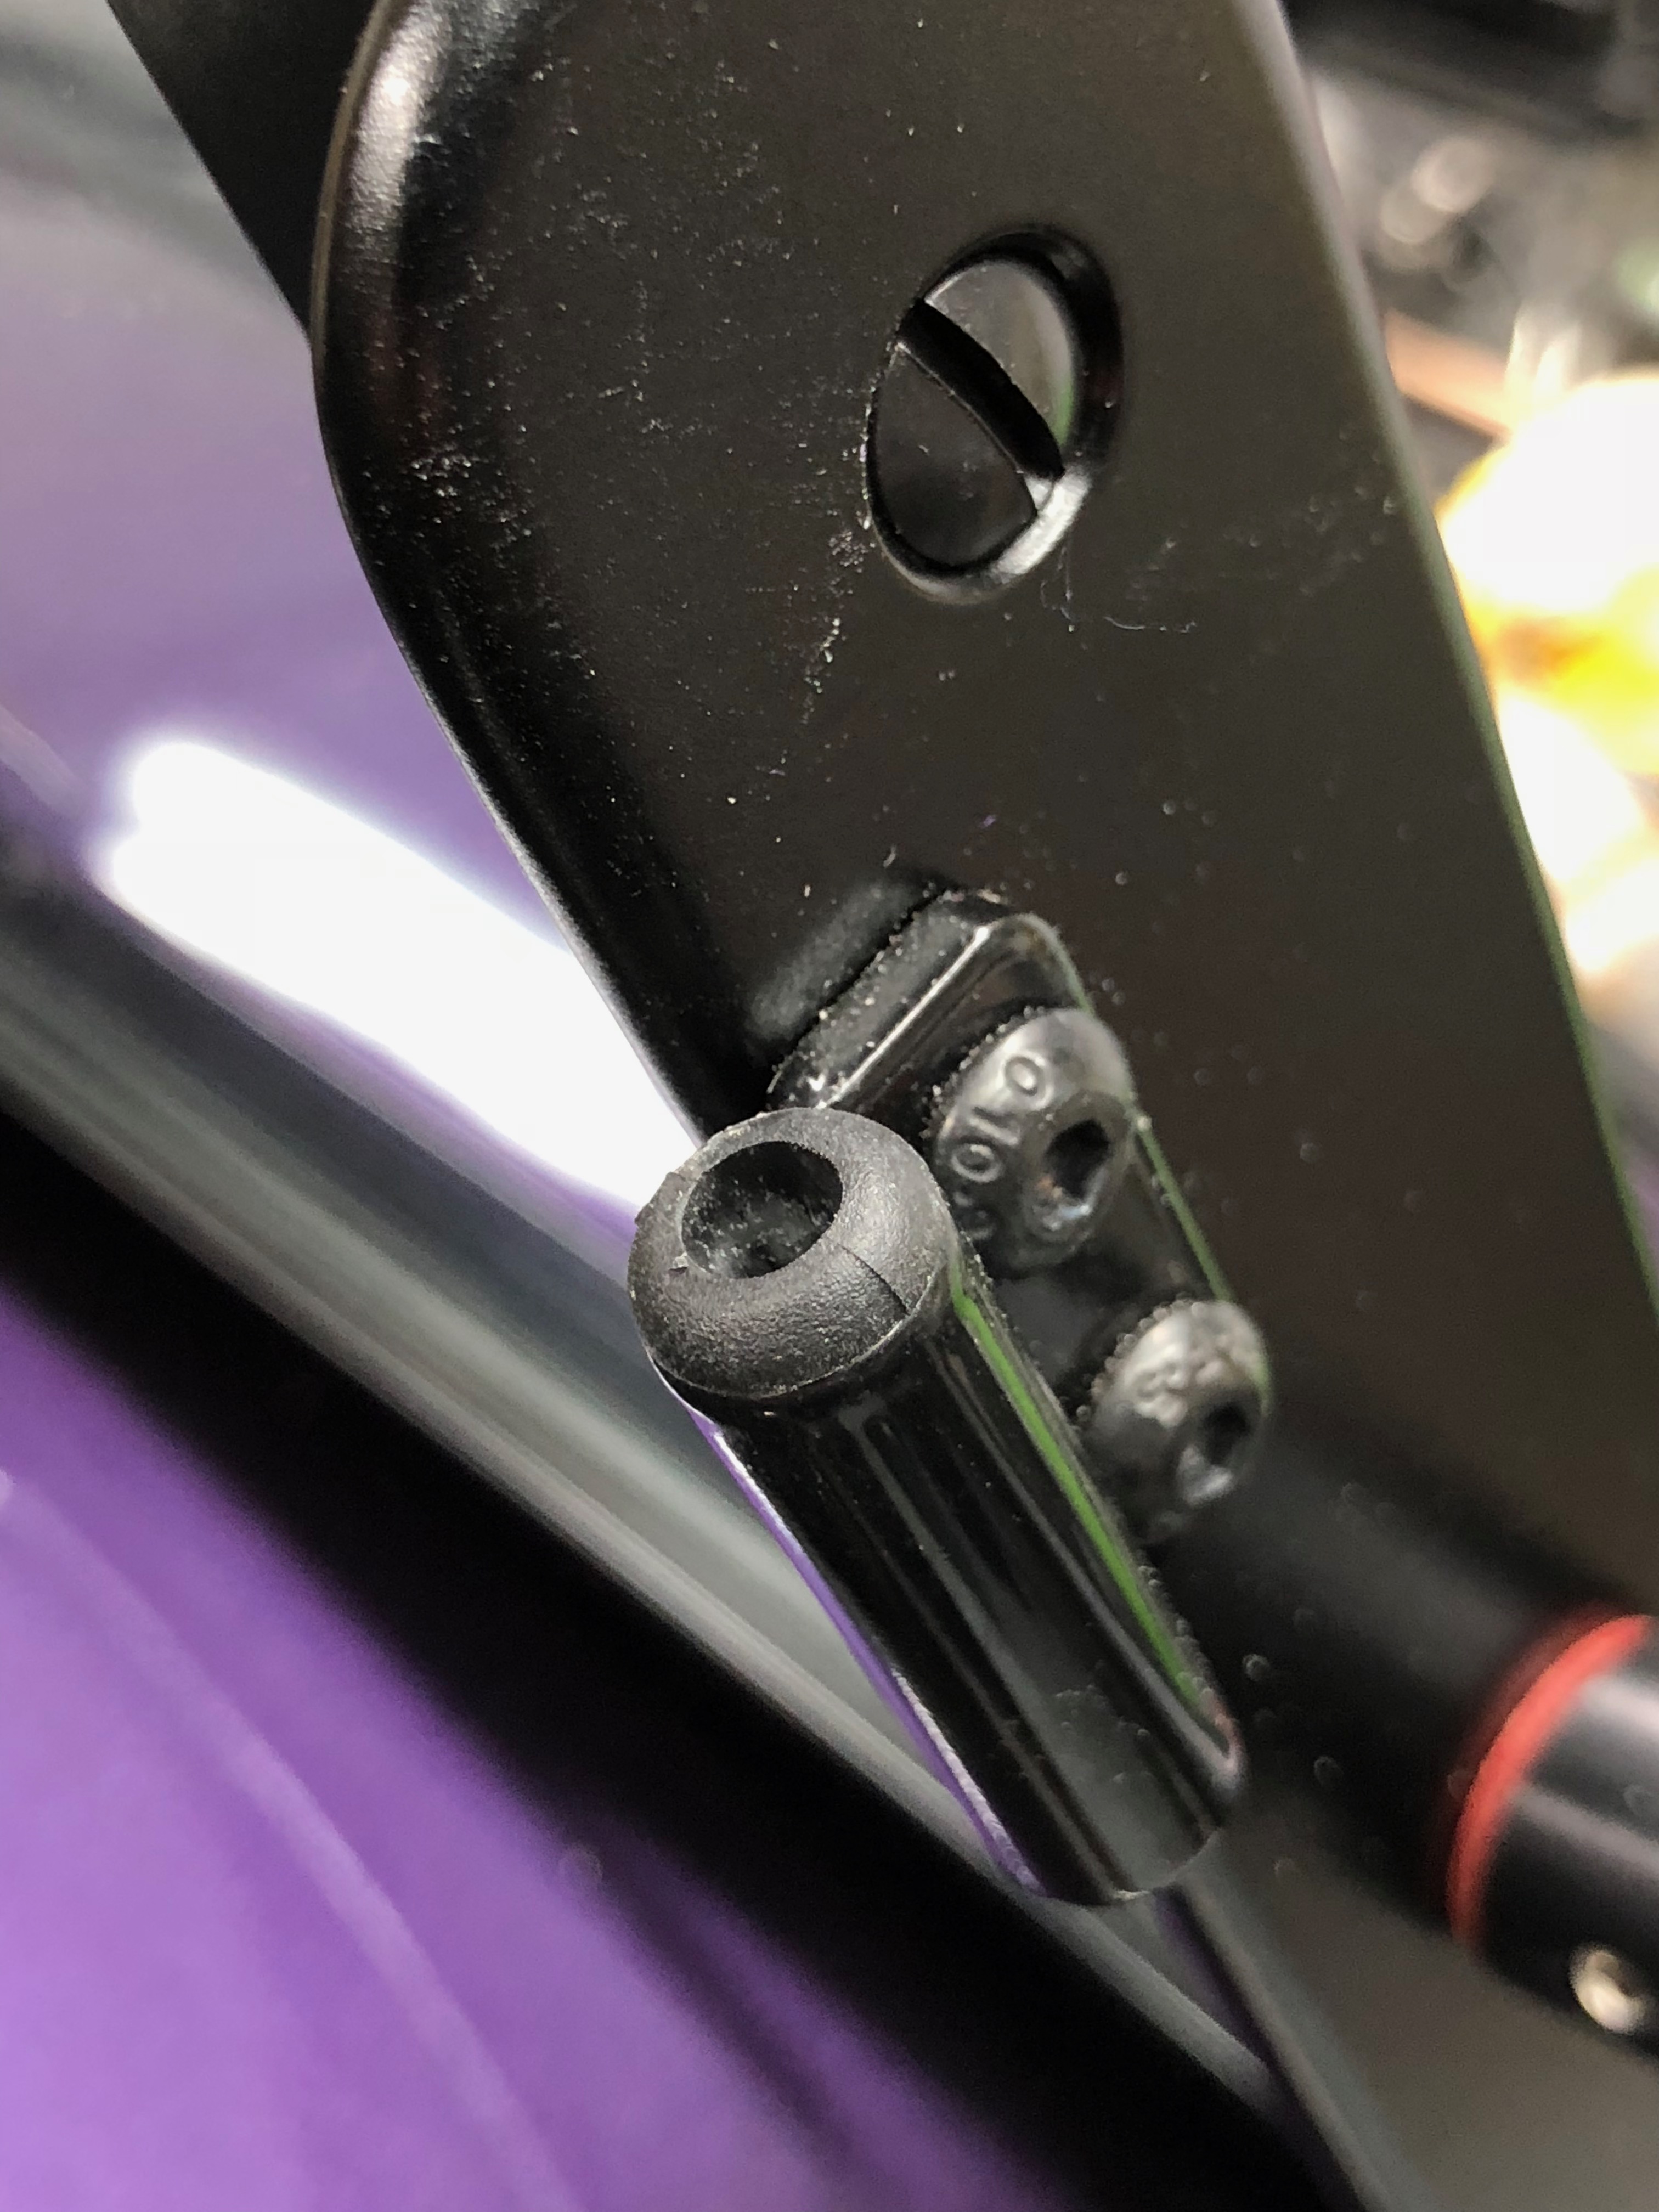
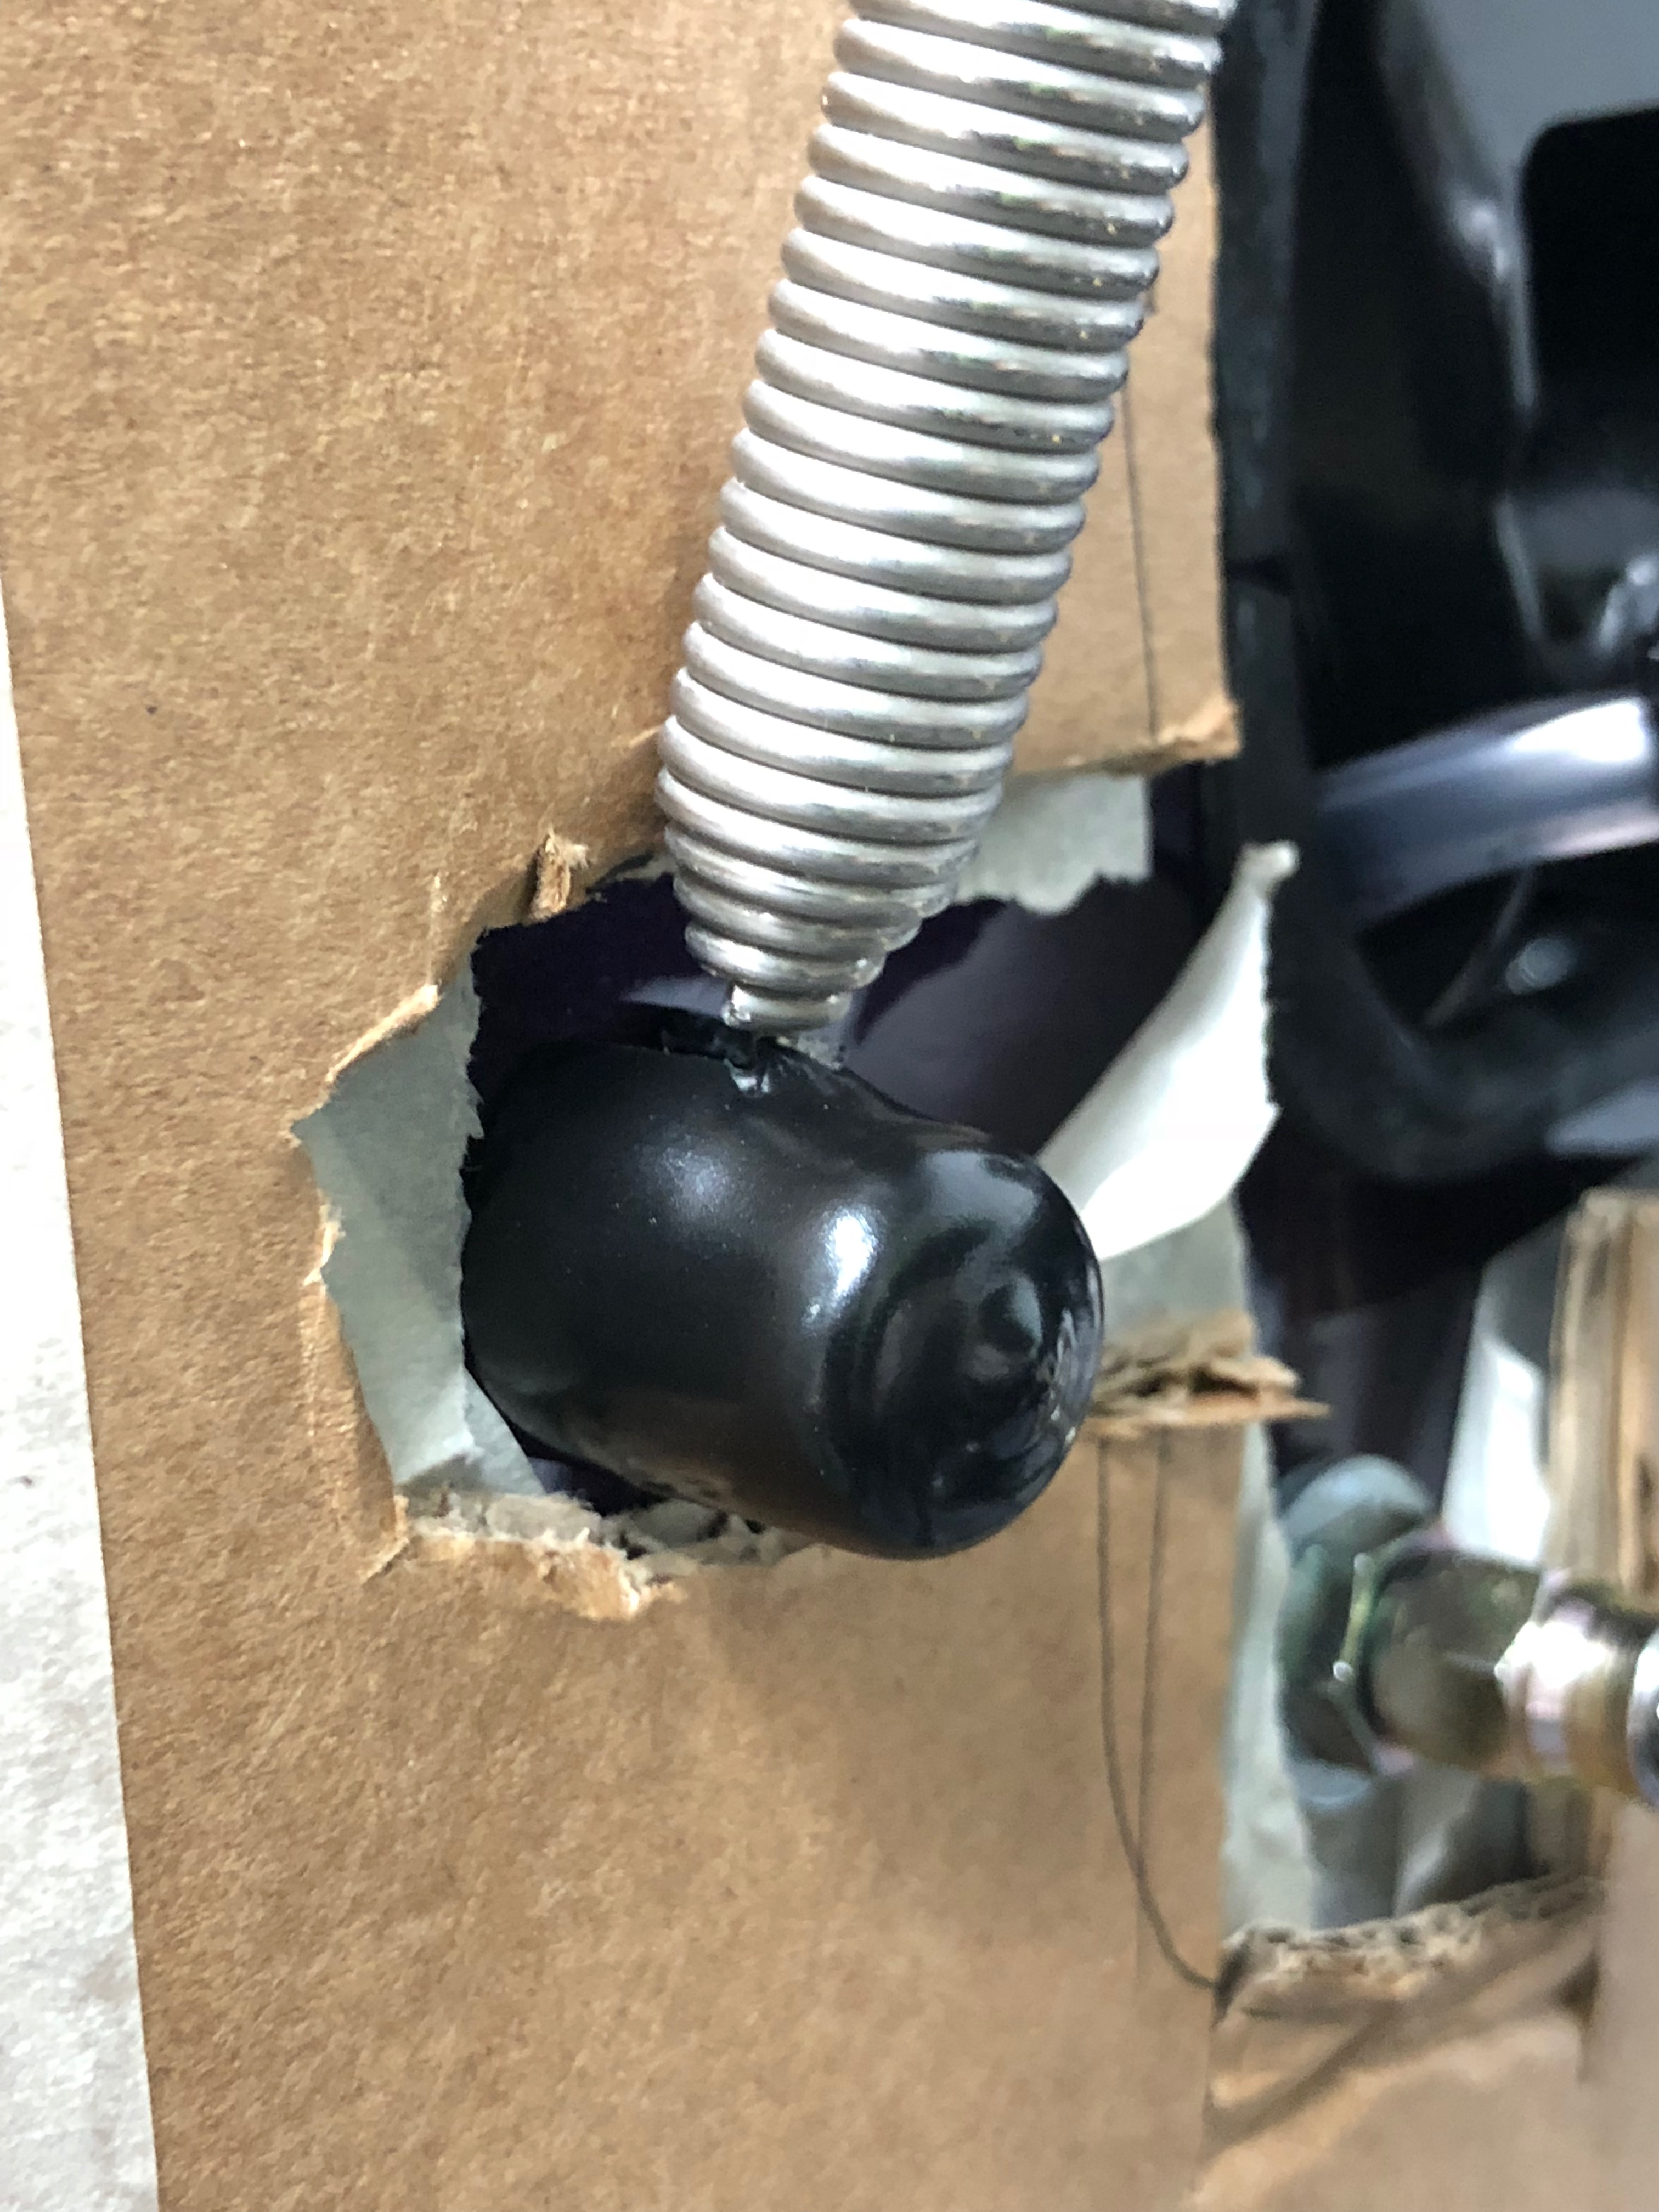
Protection Around Repeater Wires
The build manual suggests that the repeater wiring be protected from chaffing when it passes through the bodywork. It recommends using spare washer bottle tubing…
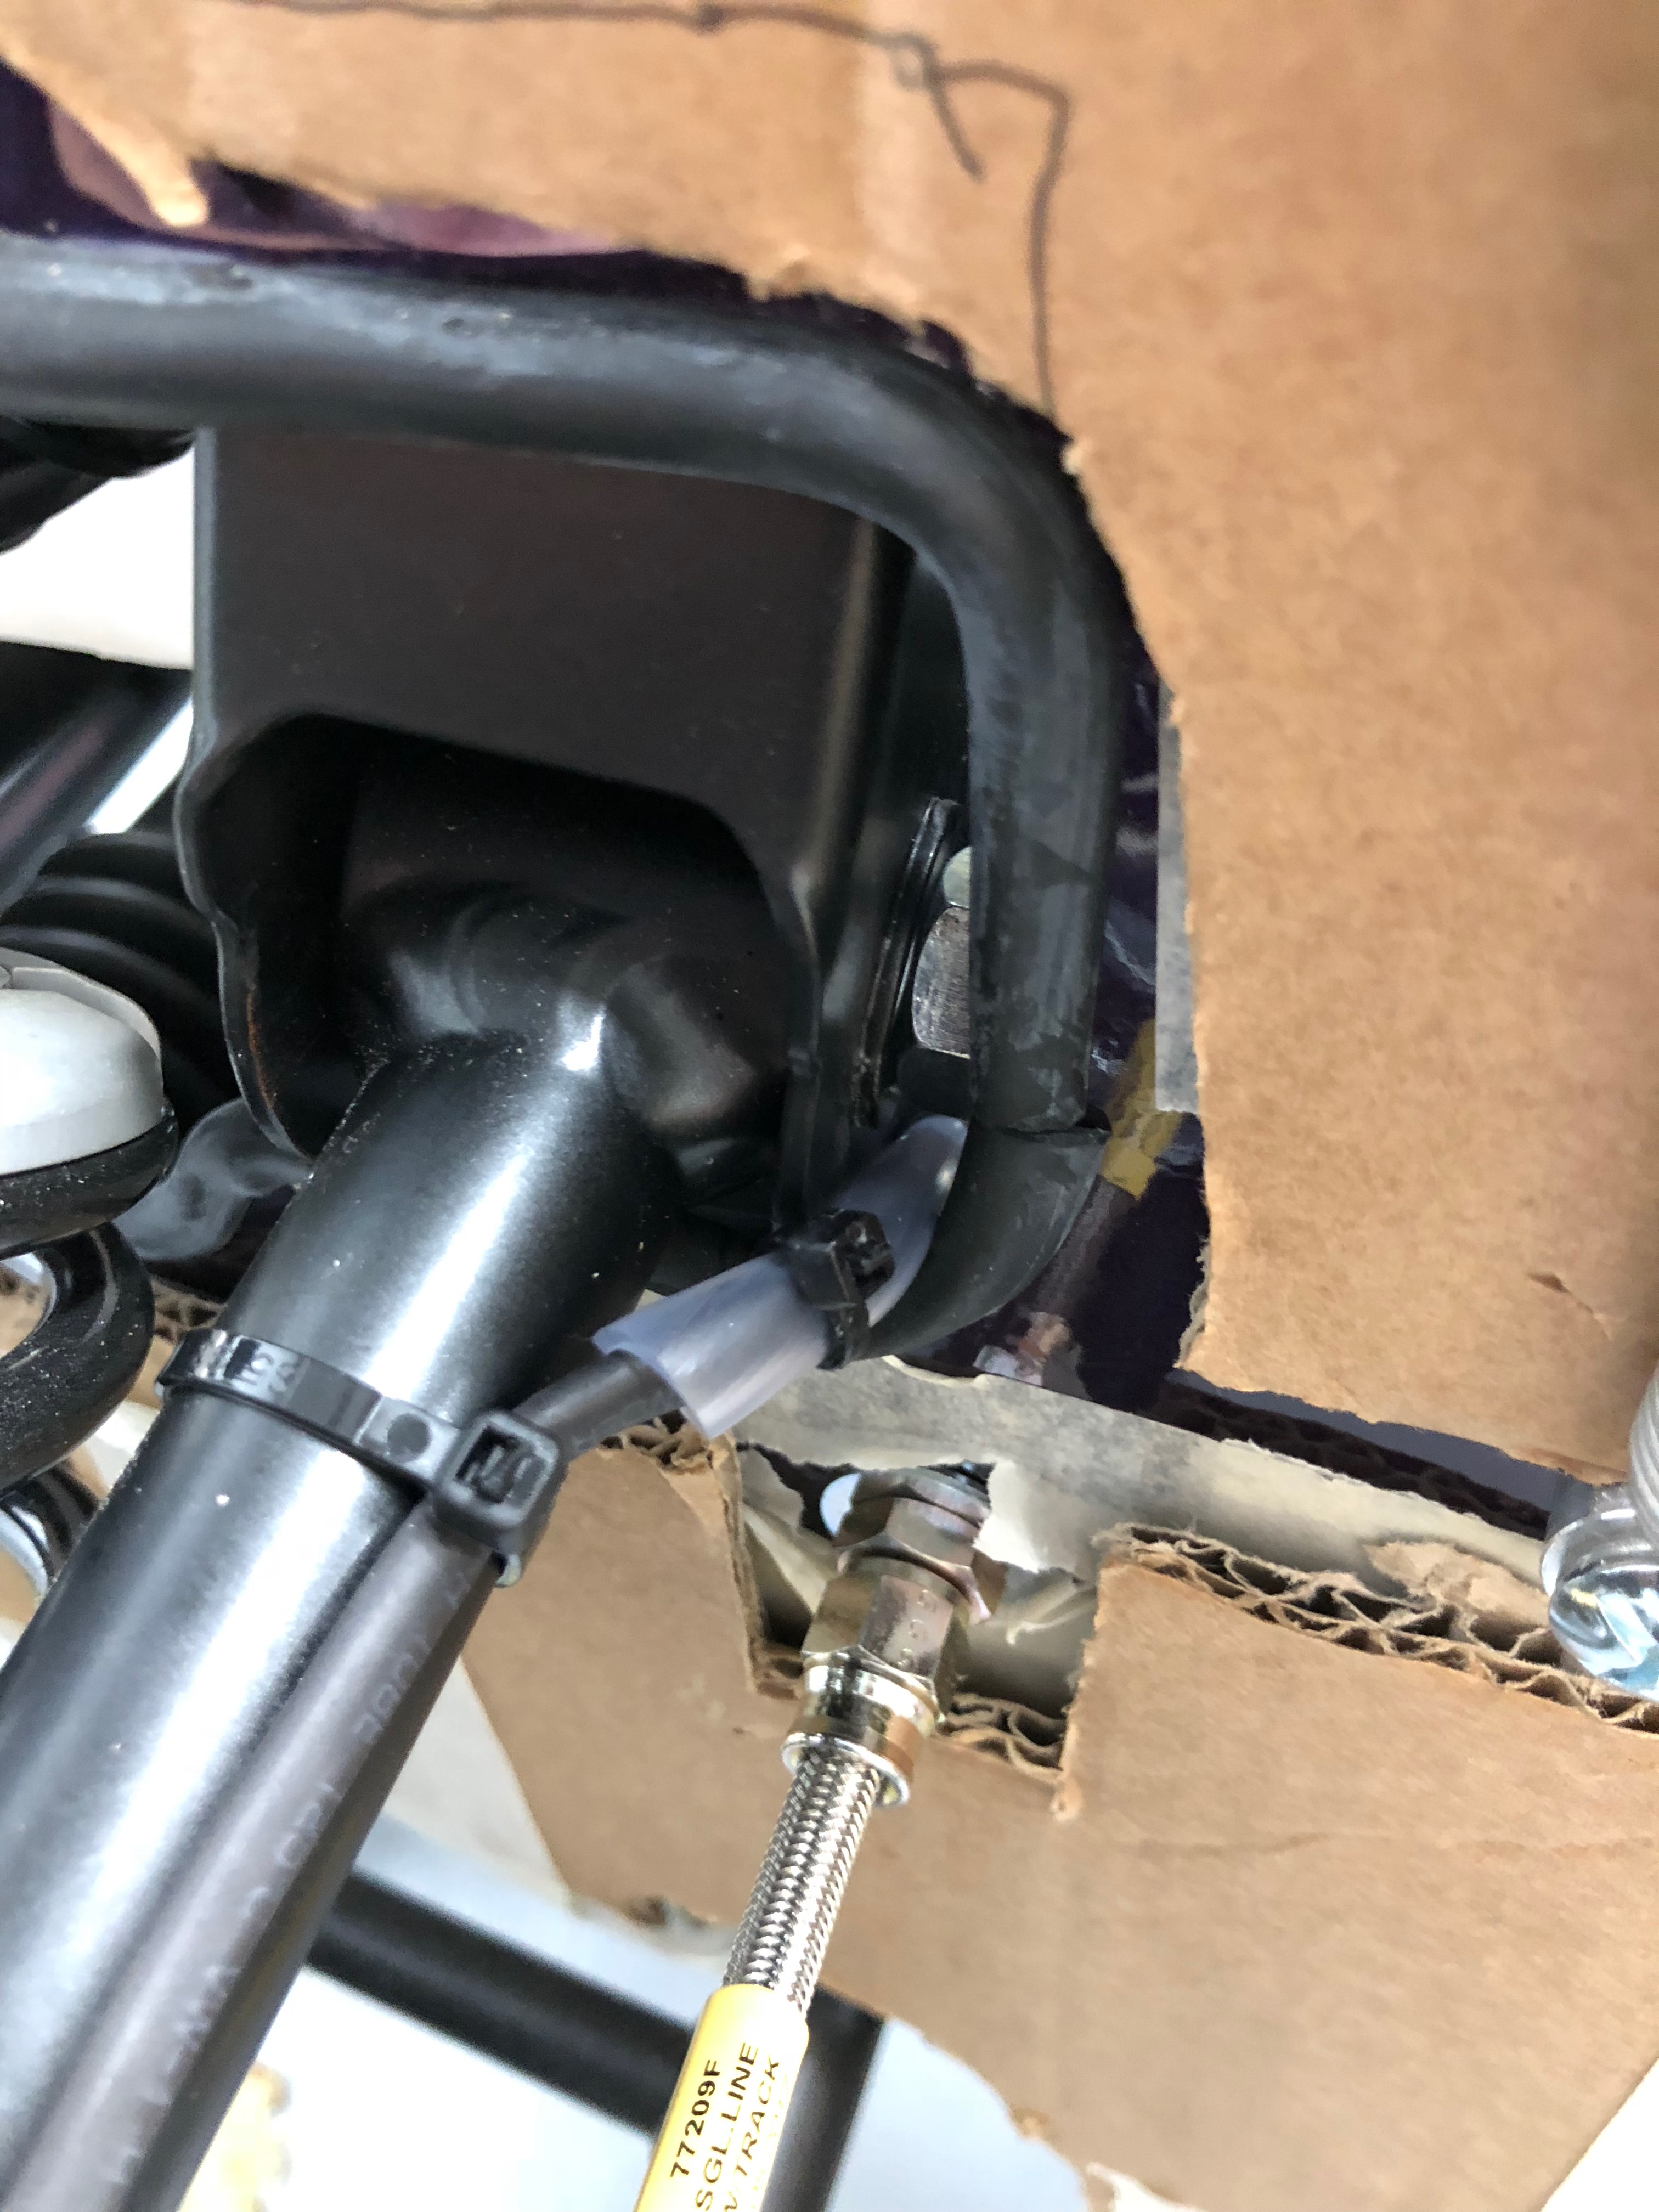
I probably only added a couple of inches of tubing to my wiring which I think is probably a bare minimum. I’d recommend putting a longer length on but I only spotted the recommendation to use more in the build manual after I’d finished both sides. It was tricky to get the tubing onto the wiring, possibly because I have two wires running here which makes the wiring thicker, but there’s not much space around that aperture. I got there in the end though and got the cable ties on.
Exhaust Springs IVA Treatment
Another chance to use some of that spare washer bottle tubing. You have to put some of it on the brackets used to hold the reverse springs on the exhaust. This step seems a little facile or superficial – I’m not sure adding tubing here is going to fool too many people about how “safe” this makes these hooks… But its a requirement for IVA… so on they go…
Door Bracket IVA Treatment
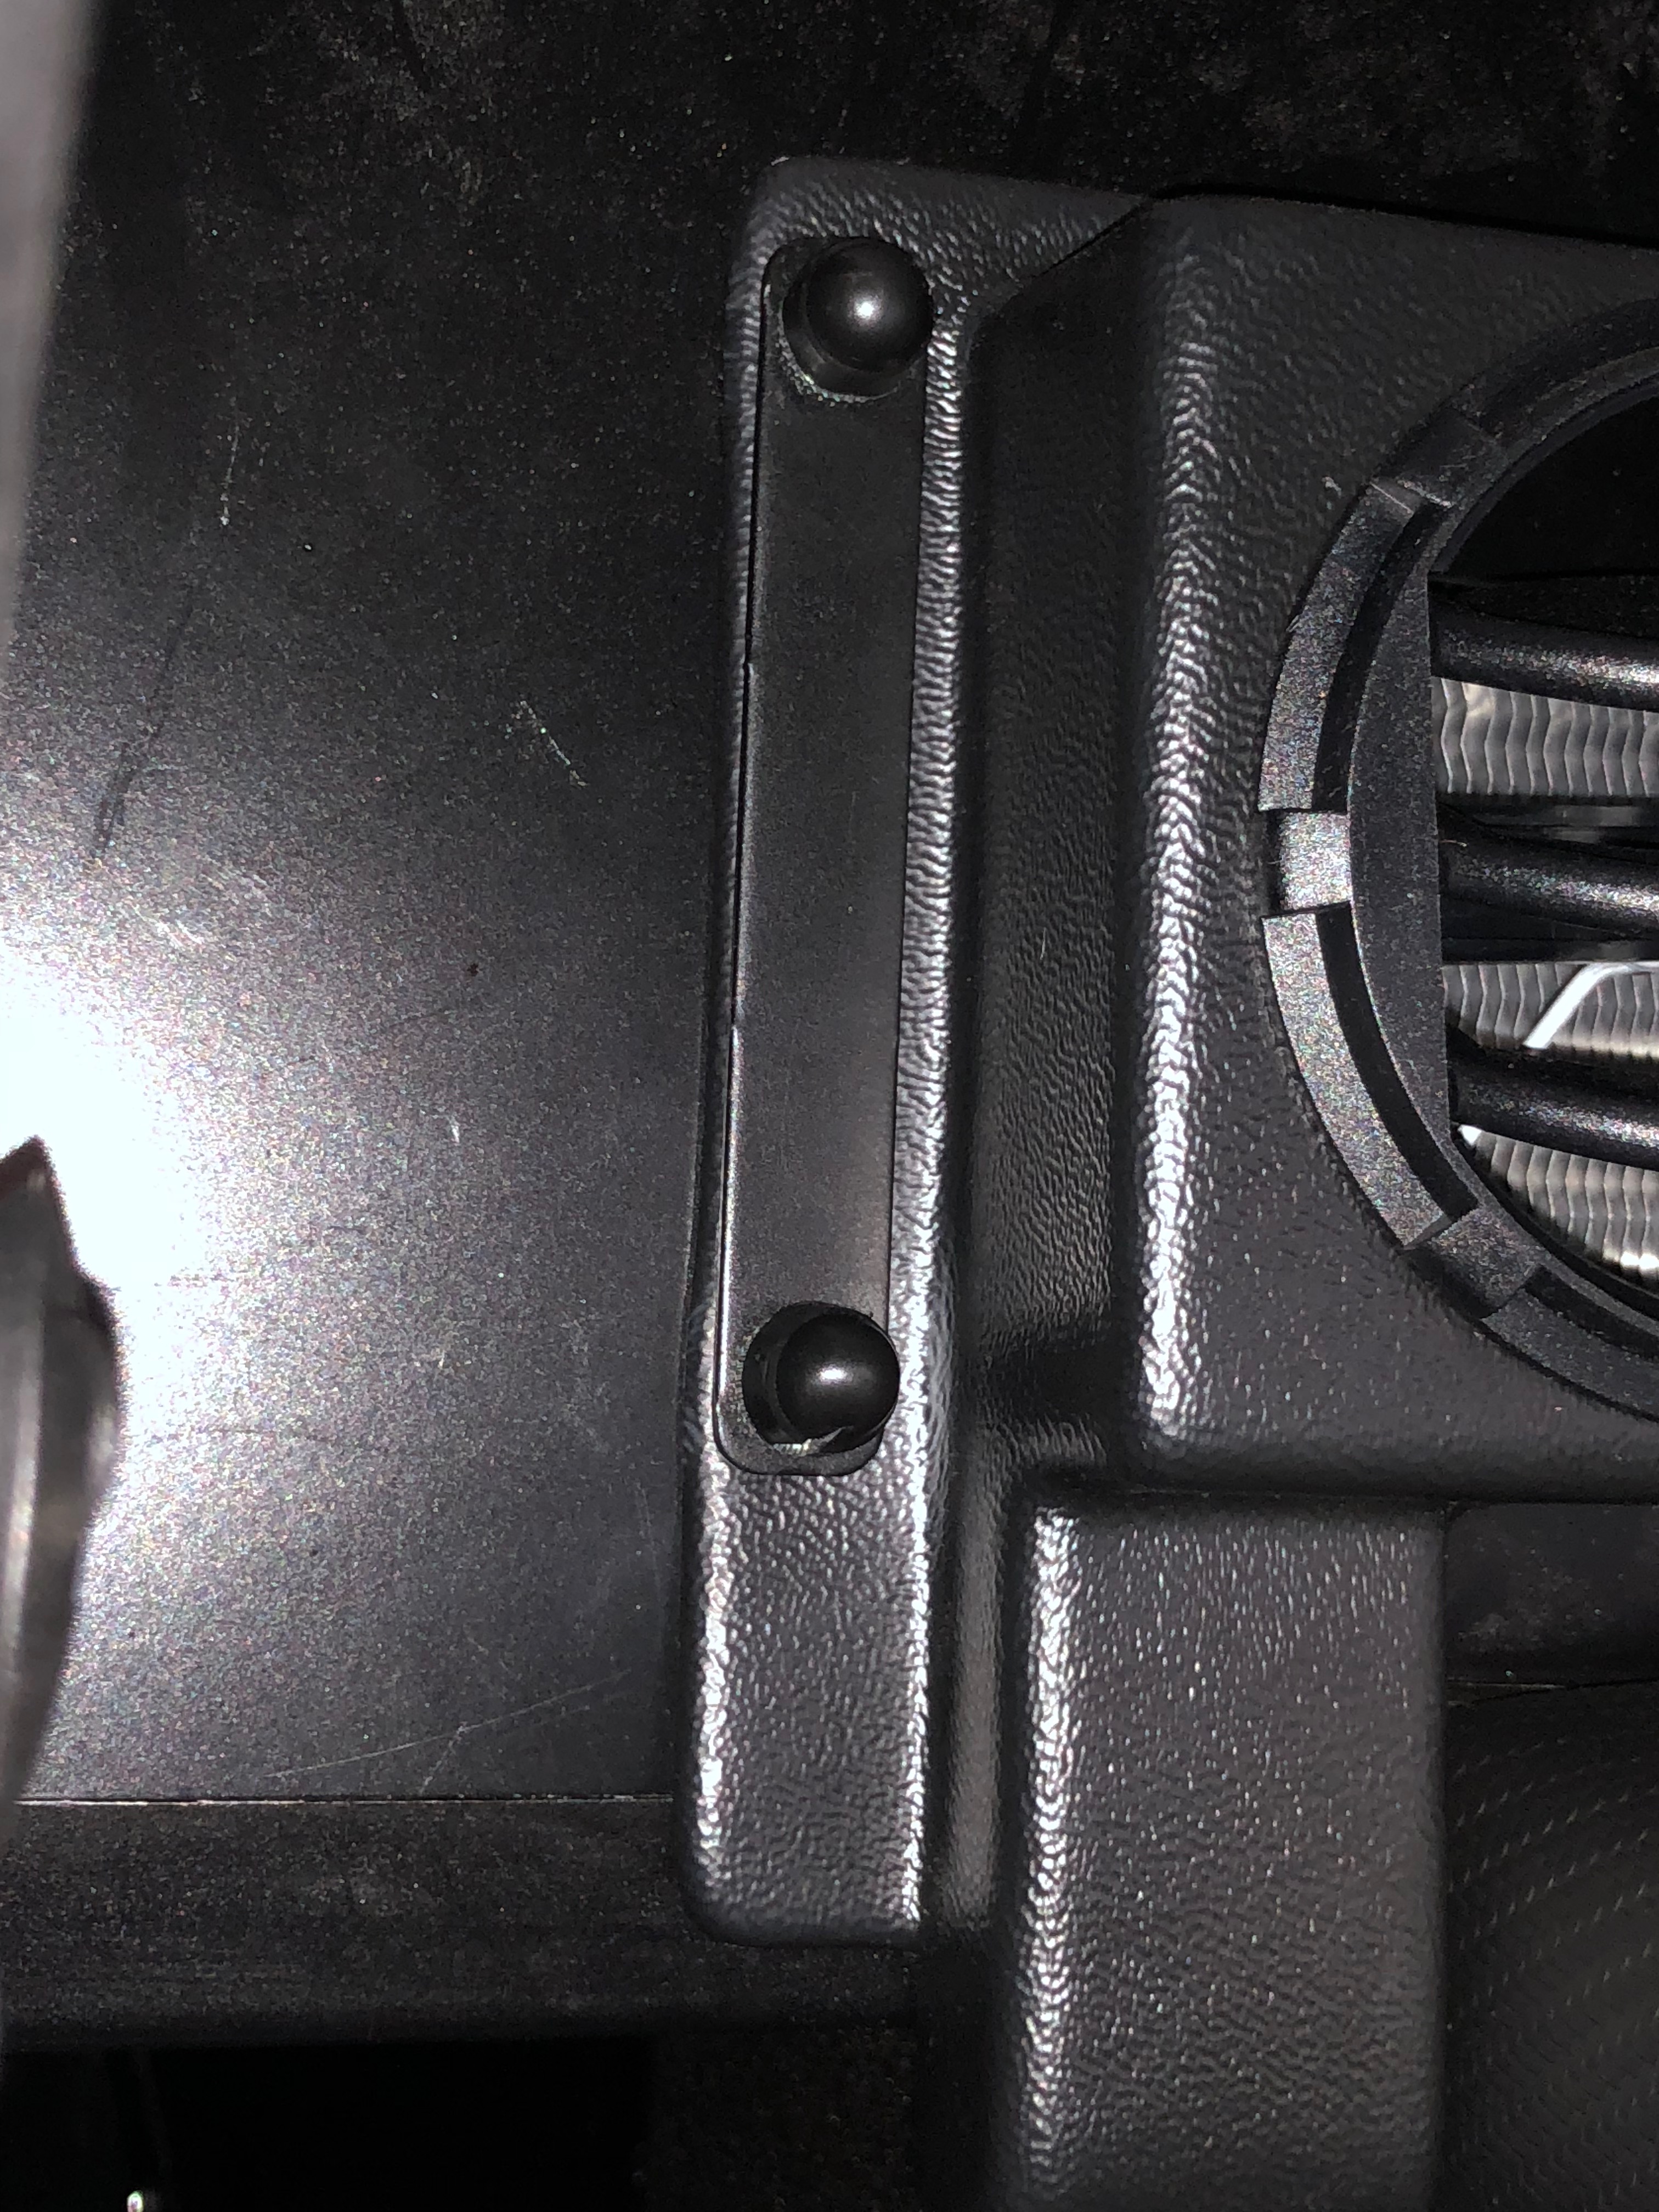
This one doesn’t seem quite as bizarre as the reverse springs above, but its getting there. You need to add grommets, that have been cut in half, to the brackets that would normally hold the doors onto the windscreens. I’ve seen people post in blogs to say that Caterham now supply these brackets with rounded tops and that you don’t need the grommets. Mine didn’t seem that rounded, so I added the grommets on the basis that anything I do to mean I don’t have a double IVA visit has to be a good idea. They were fixed to the brackets with SuperGlue/KrazyGlue.
Nut Caps In the Footwells
I can’t remember quite where I saw this, I think it was in Caterham’s addendum IVA document that came along with build manual, but it talks about making sure all the exposed nuts in the footwells have nut covers on them. So out with the Superglue again and I glued some nut covers wherever I could think to look. Some didn’t need SuperGlue, but I didn’t know how much poking the inspector would do and if they’d fall off on the way to the test.
Bonnet Springs IVA Treatment
Again, the Caterham IVA addendum talks about making sure the screws that hold the bonnet springs onto the bodywork needing to be rounded. Mine looked reasonably rounded but I decided to go OTT and added plastic caps to them. I had to put a slot in the side of the cap, but it seemed to do the job…
Catalytic Converter IVA Treatment
Another IVA point… the front of the Catalytic Converter Shield needs to have spare IVA trim as used on the dashboard…
Lower Oil Pipe IVA Treatment
One of the changes I’ve seen done during a PBC is that some of the aforementioned spare dashboard IVA trim gets used to protect one of the lower oil pipes from chaffing on the underside of the steering rack cross member. This one makes sense to me, I can see that pipe chafing on that cross member.
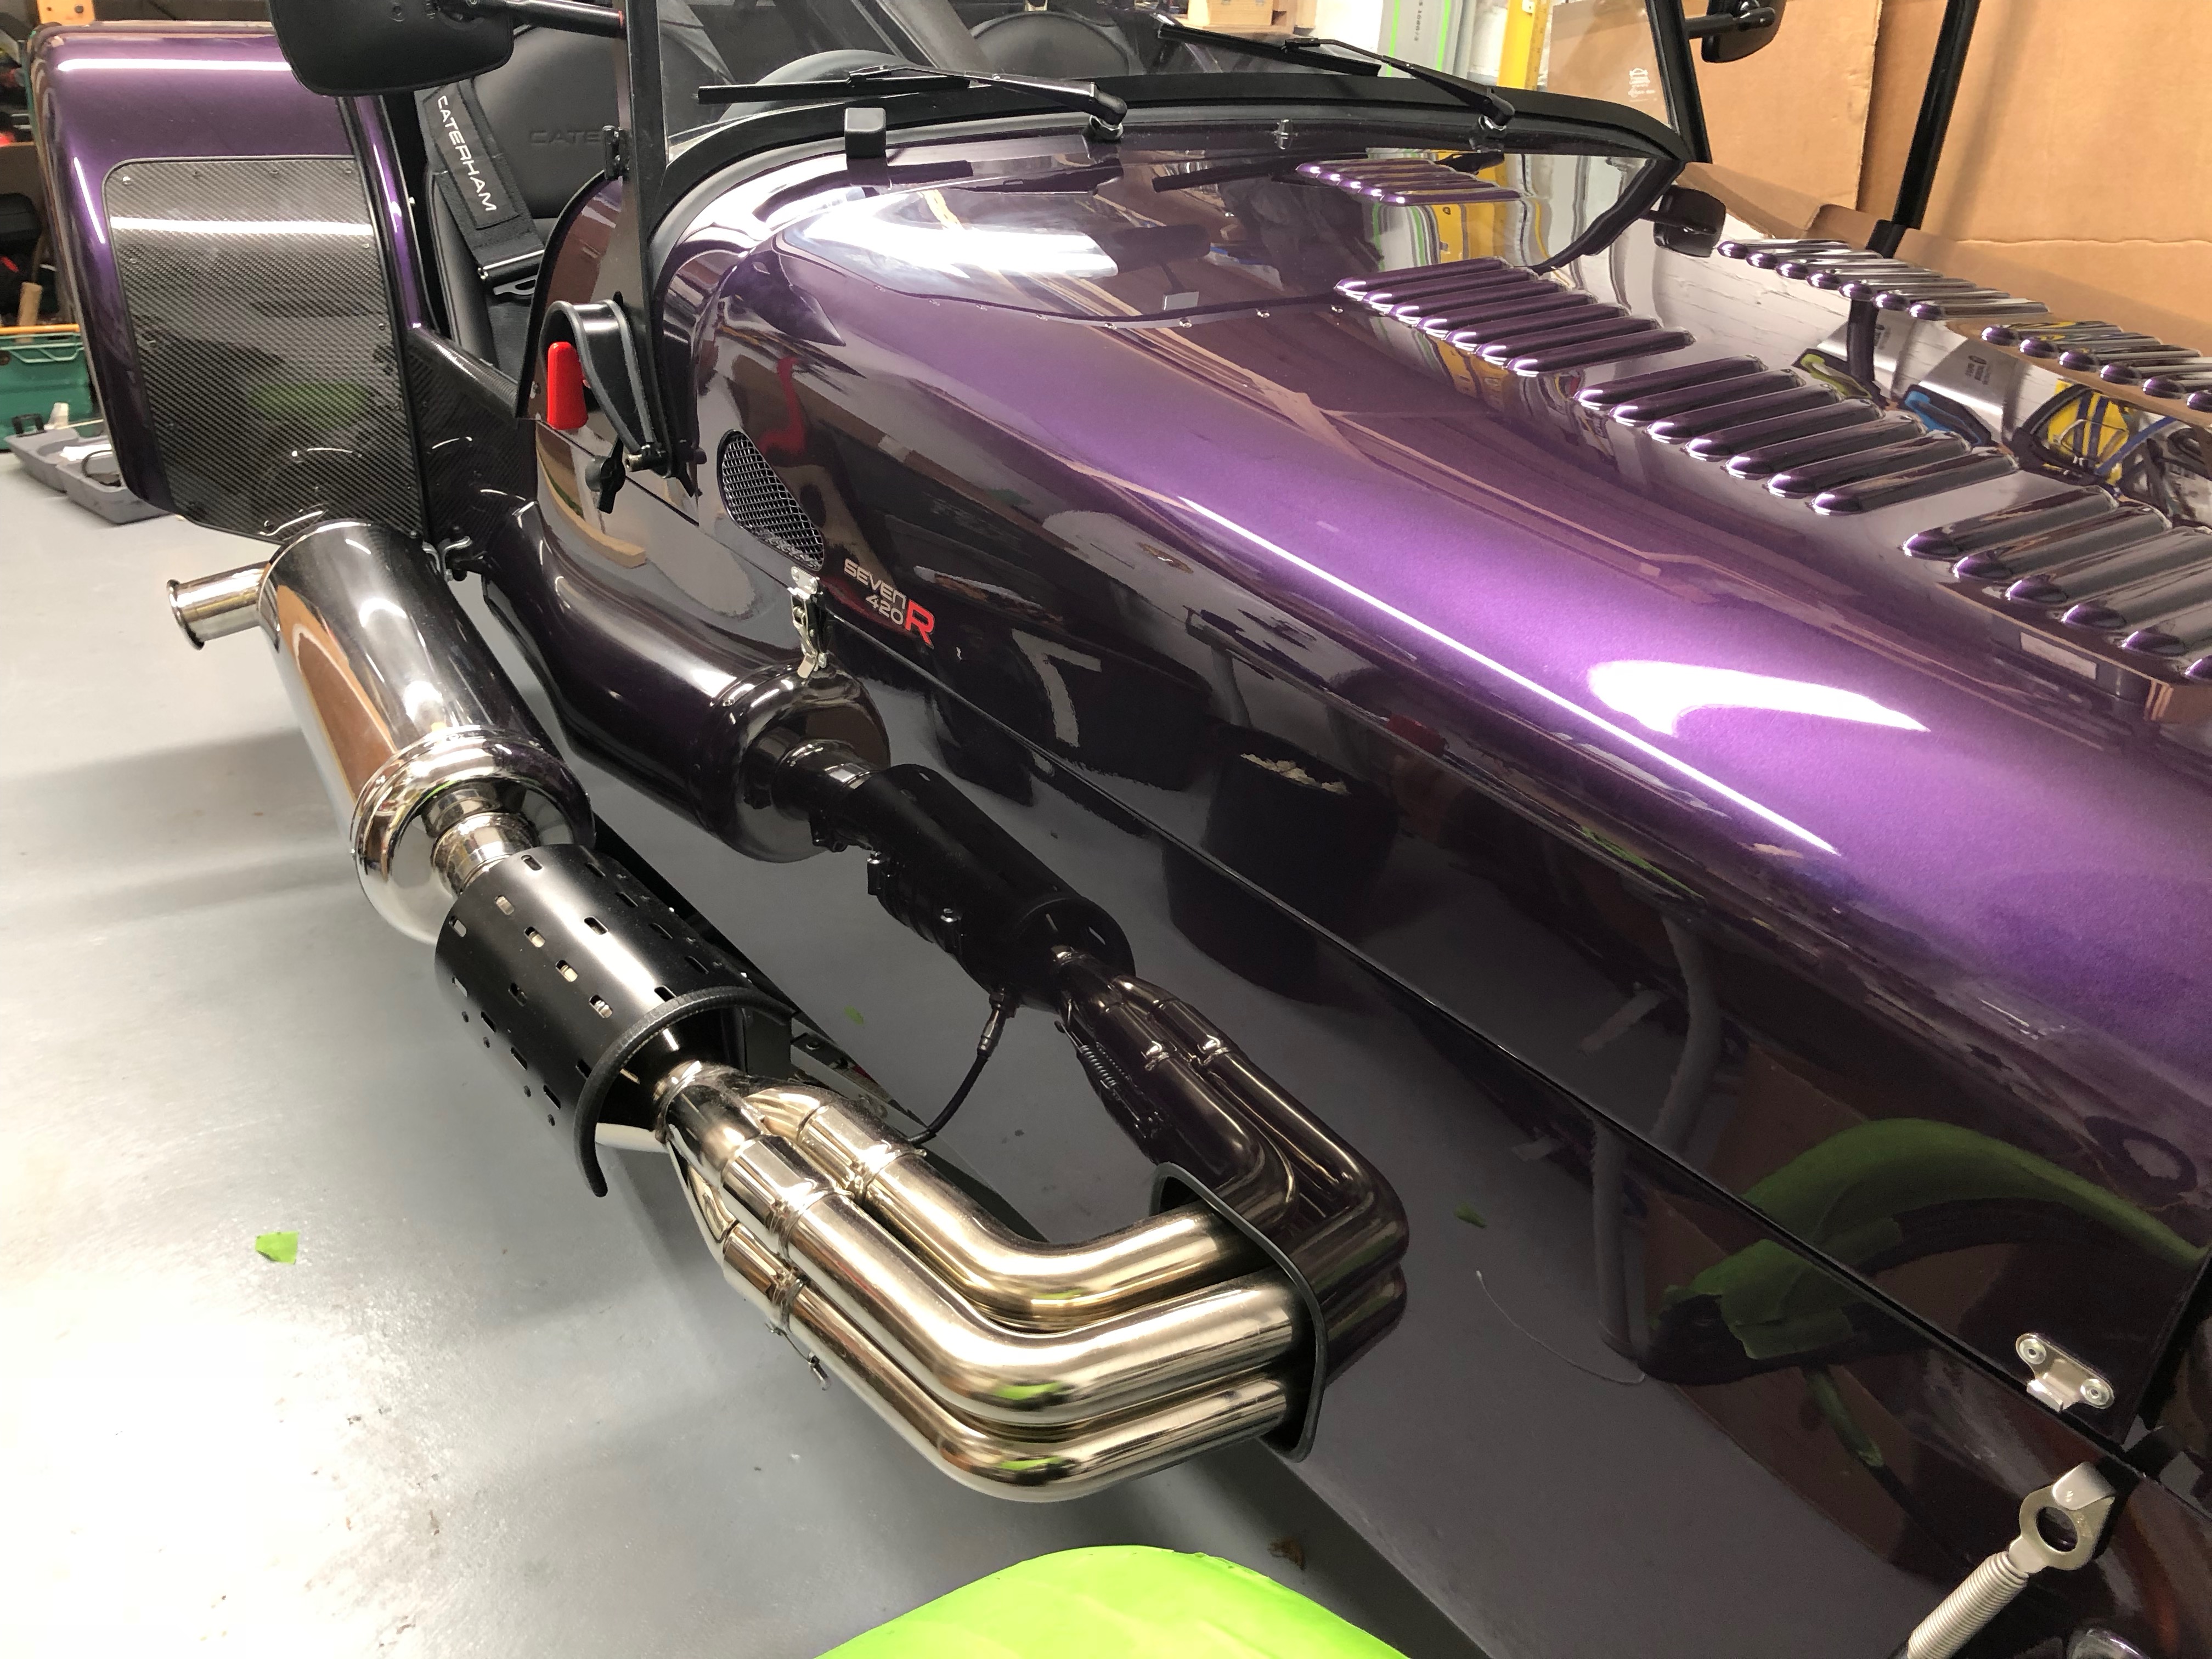
Cladding Removed
One last task for today was to remove the cardboard and masking tape that had been protecting various bodywork sections for the past few weeks. We can now see the full effect of the hours of fun we’ve had…

I’m Done… ish
For the moment… I’m done. It’s the end of my 5 day big push and I’ve got as much done as I need to for the PBC. There’s a bunch of IVA items that I need to do, like adding “soft” protection on nuts/bolts where they might be deemed to be dangerous by an IVA inspector. However, whoever is doing the PBC is going to want to get access to these various nuts and bolts to check they’re tightened… so I’m leaving this last IVA step until after PBC.
Another two areas I’ve not addressed are Headlight Setup and Suspension Setup. I can sort the headlights after PBC and I’ve a mind to let Williams do the suspension setup as I suspect they’ll have an opinion on that anyway.
Finally, I didn’t get a chance to flush the brake system through again. The pedal is ok in my mind, but probably still needs another bleed. I’ll see what Williams say about this.
I’m (for the moment) done. Phew!

Leave a Comment