
Just had a couple of hours to work on a few things tonight. I’m now working on the assumption that I’ll be able to get the engine into the car this coming weekend – a holiday weekend. It’s now Wednesday and we have plans to meet up with family at the weekend too, but I should be able to spend the holiday Monday on the engine install. Therefore, I need to get today’s jobs done along with washer bottle and some engine prep. I also want to get some corrosion protection into the engine bay before the engine goes in – all to do before Friday when we leave for a couple of days.
Front Brake Pipes
Simple job this. Pulled all the pieces out of their poly bag and set them out on the bench.
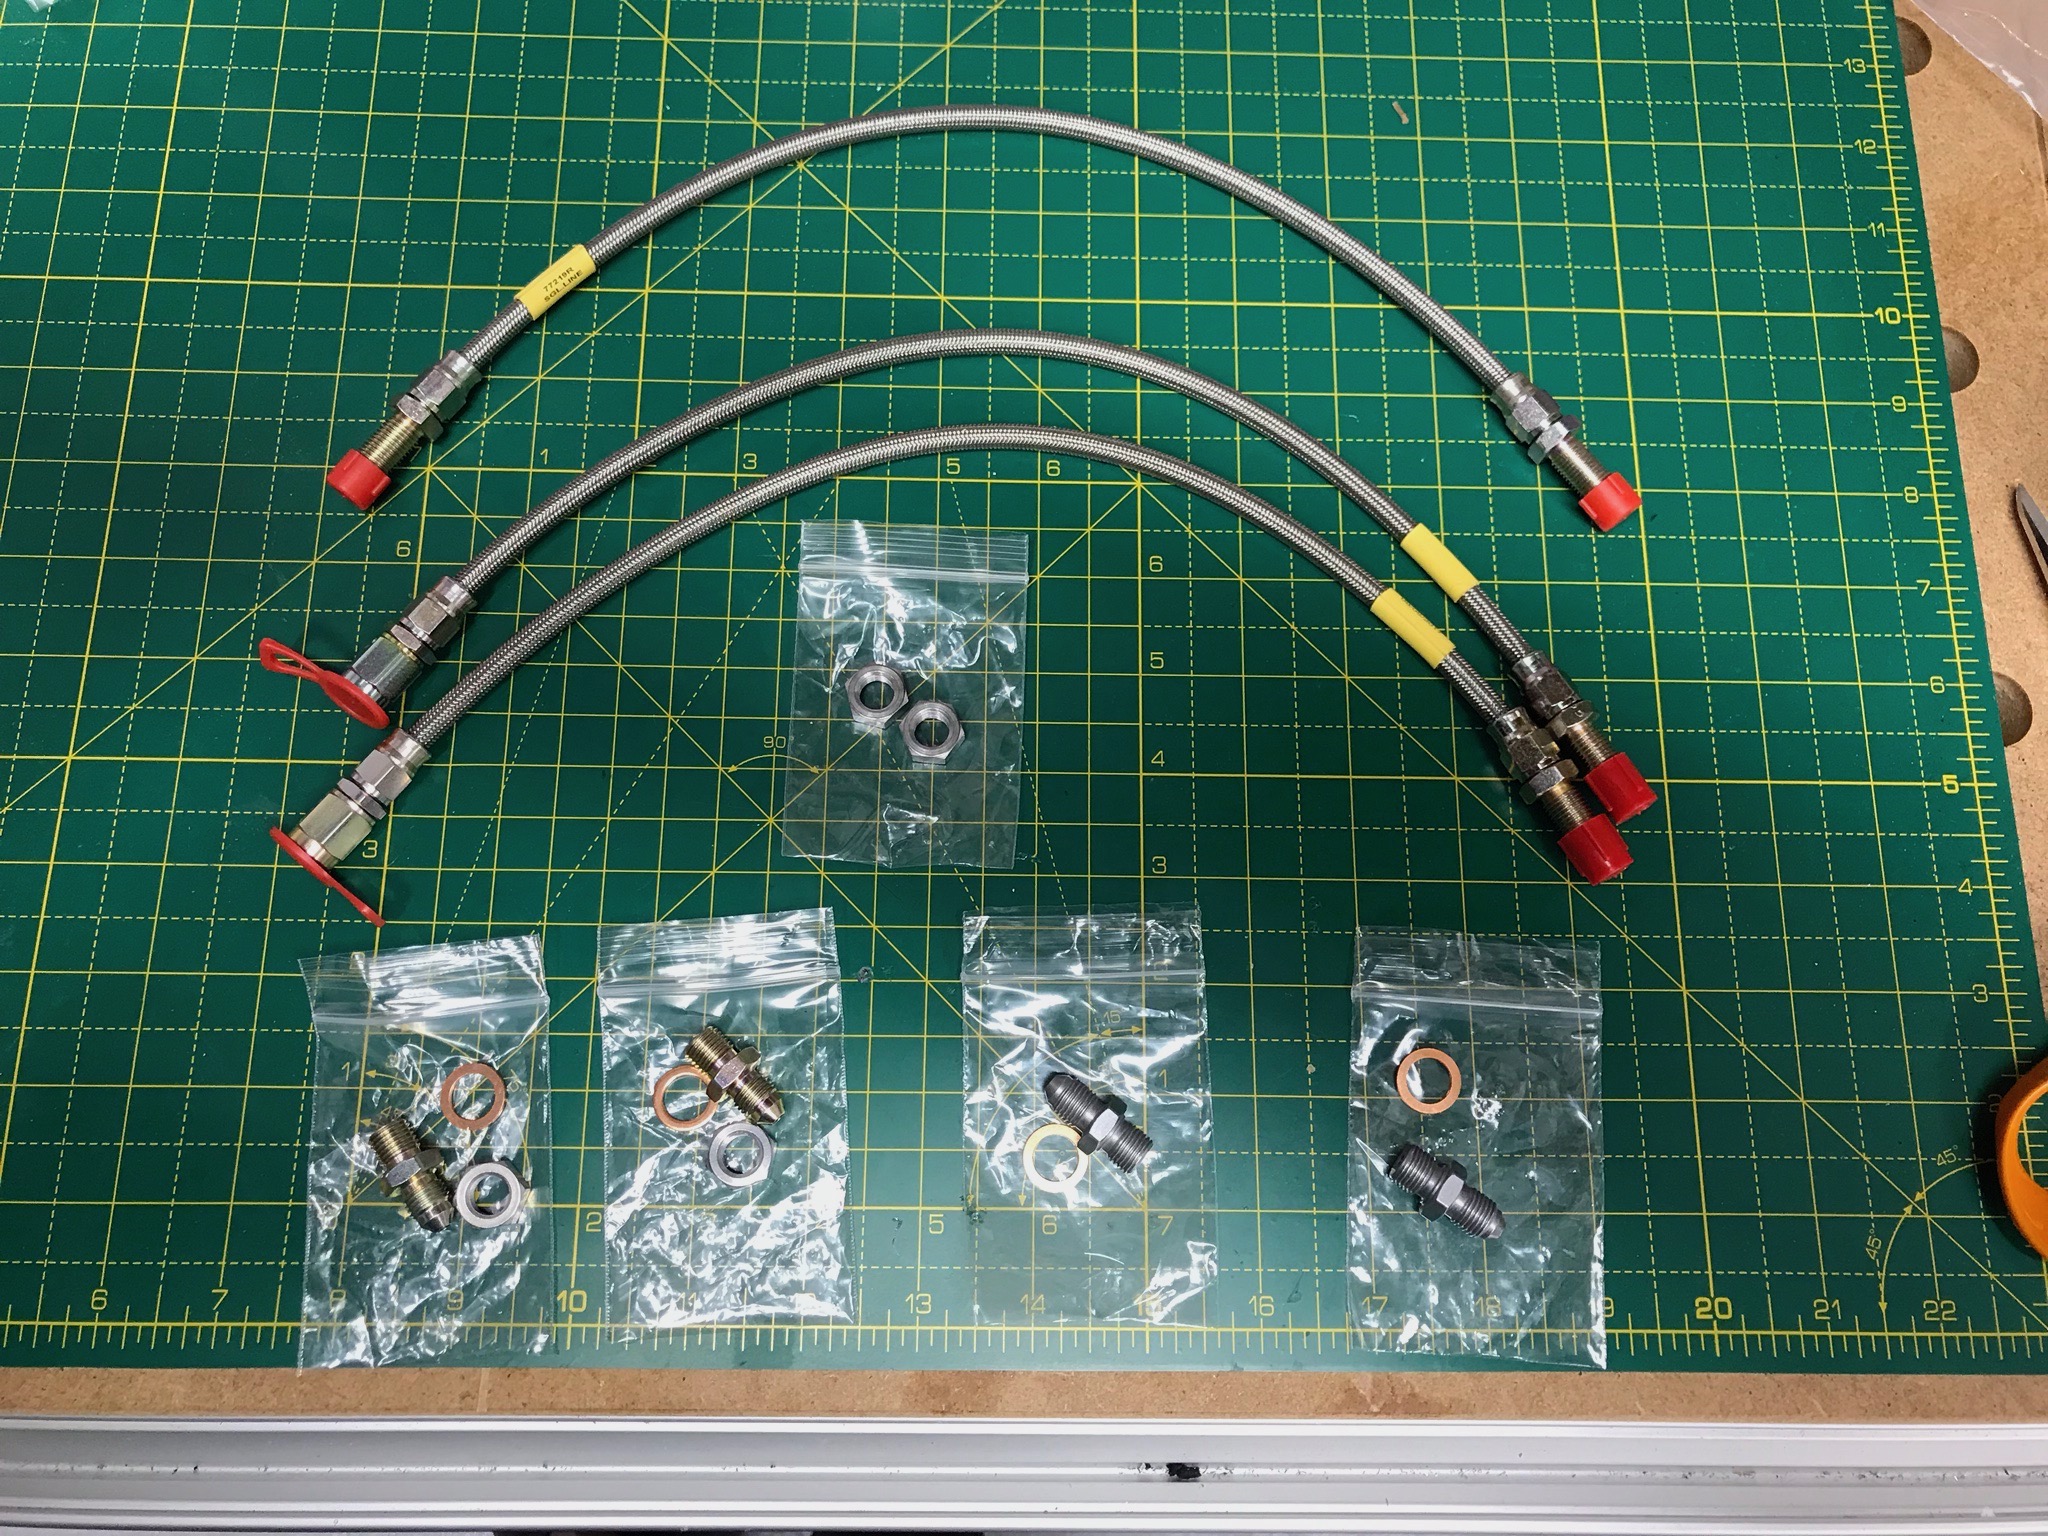
The manual says there are two hoses of the same length for the front and a further hose used at the rear of the car. It seemed to me that all three were very similar length. However, it’s clear that two of the hoses have the same coupling setup and so they’re the front ones.
It’s a simple job then of attaching the hoses as per the manual using a nut and star washer on the inside of the bodywork…
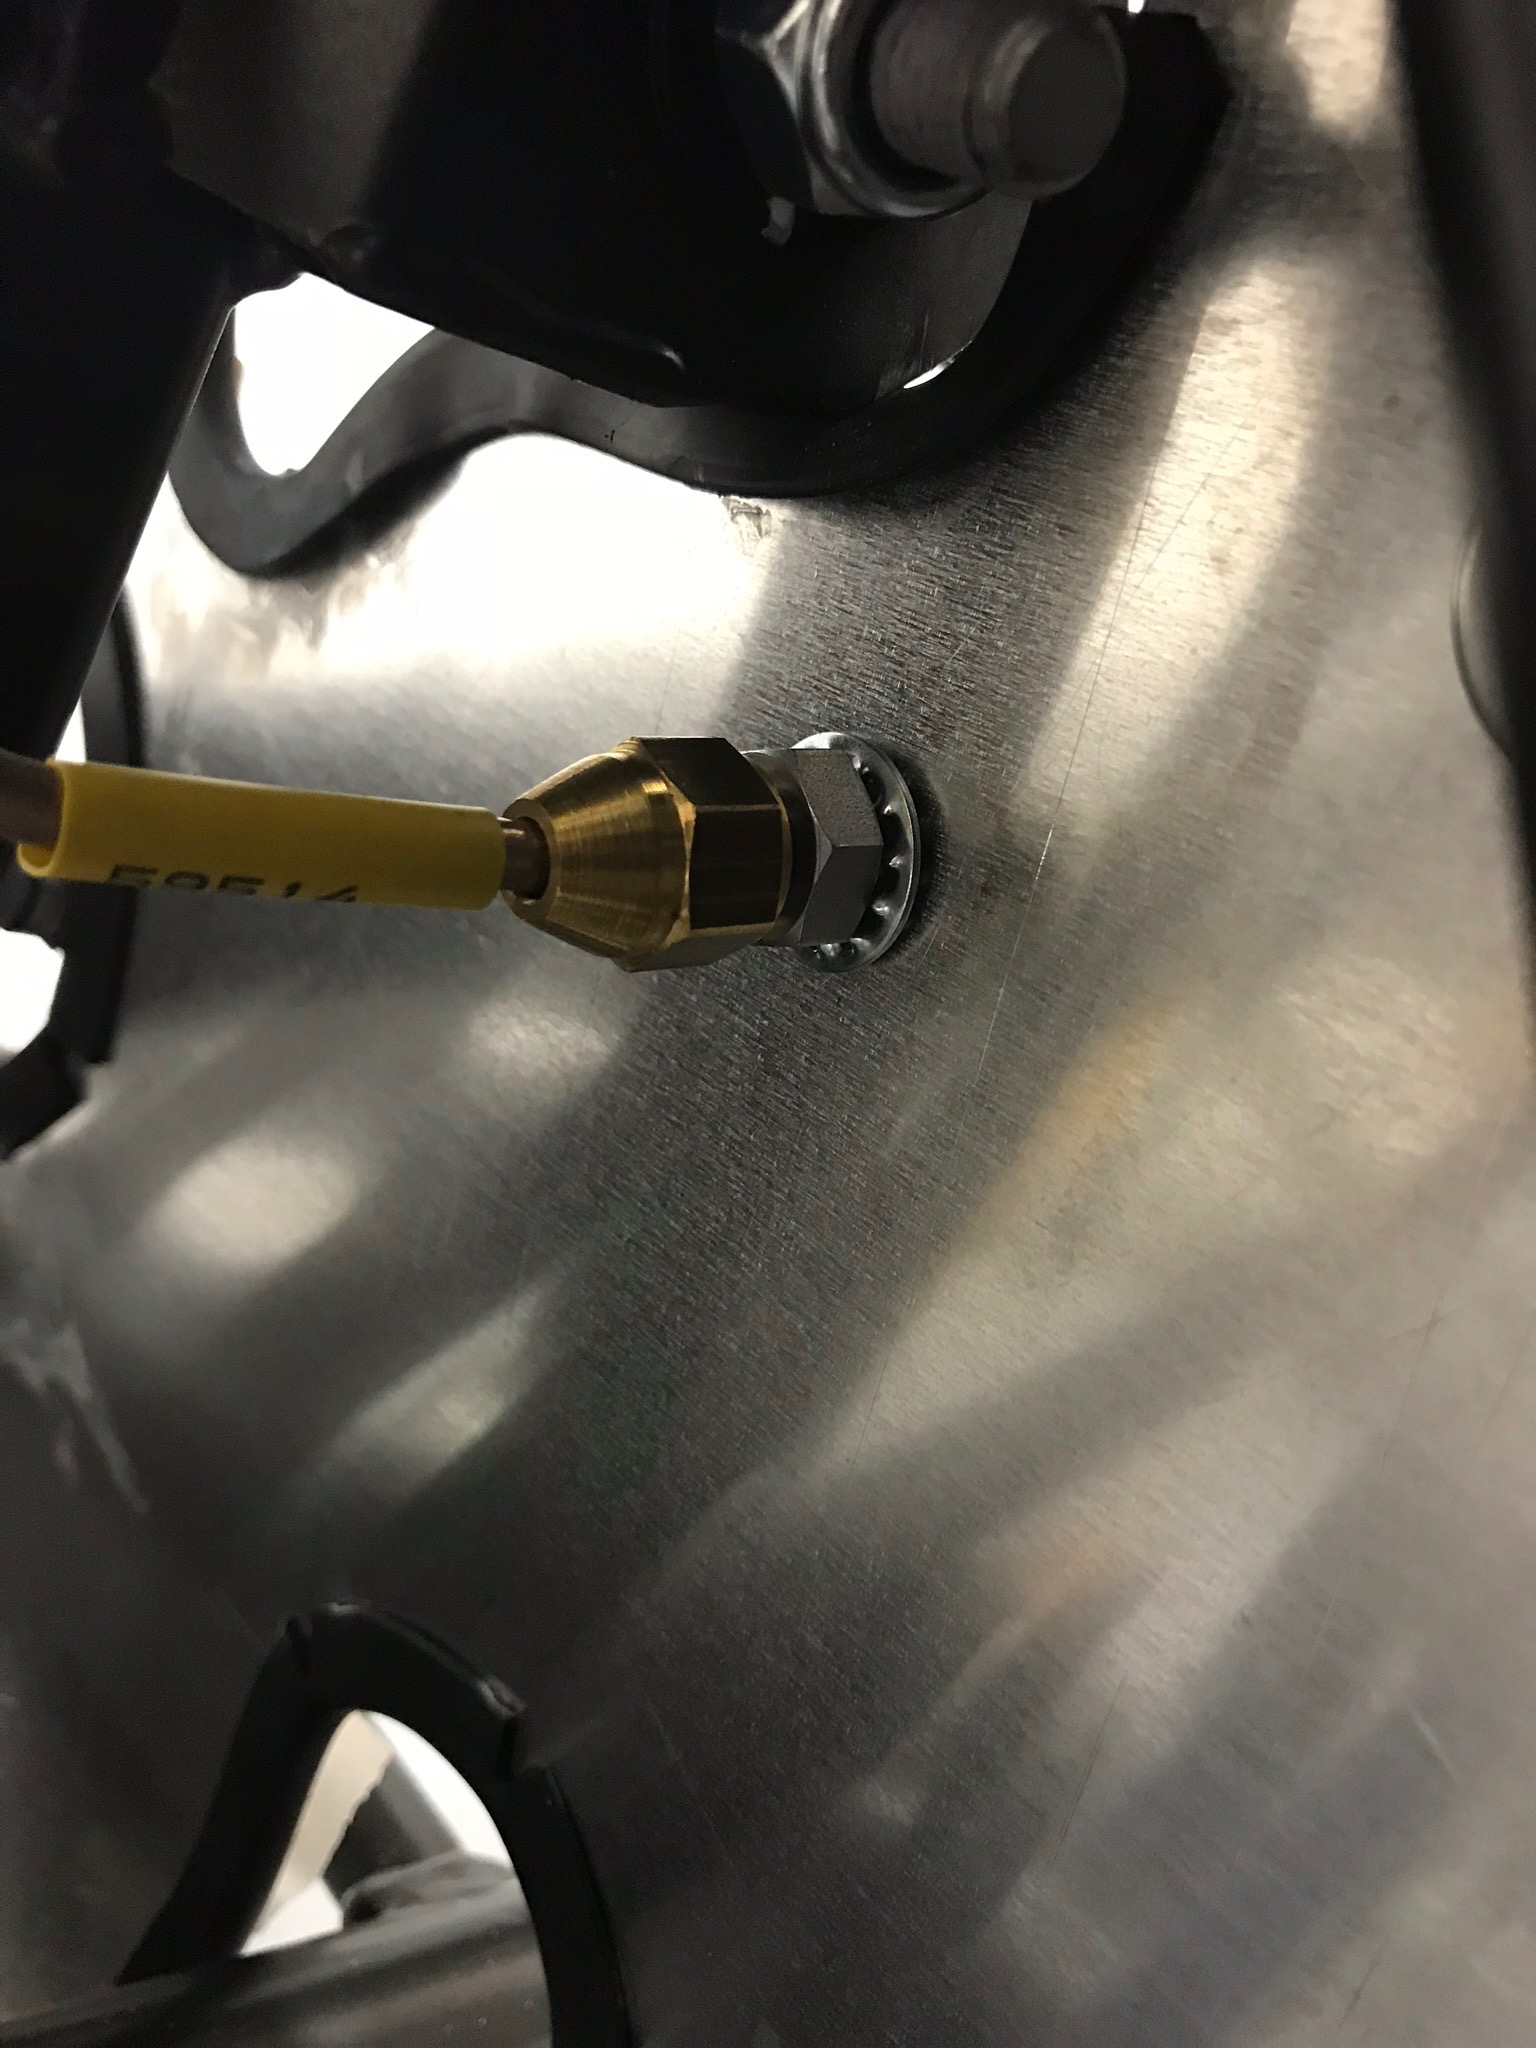
…and a coupling and copper washer on the calliper end.
[2017-10-10: Note from the future… this calliper coupling bit has been updated. Andrew Pepperrell got in touch on Facebook and queried my use of the bronze coloured coupling (from my original post) vs the matt grey one. He had been talking with George Martin-Simmons who had discussed with Derek Howlett… all that to say this is now the right way. Thanks Andrew and George!! ]
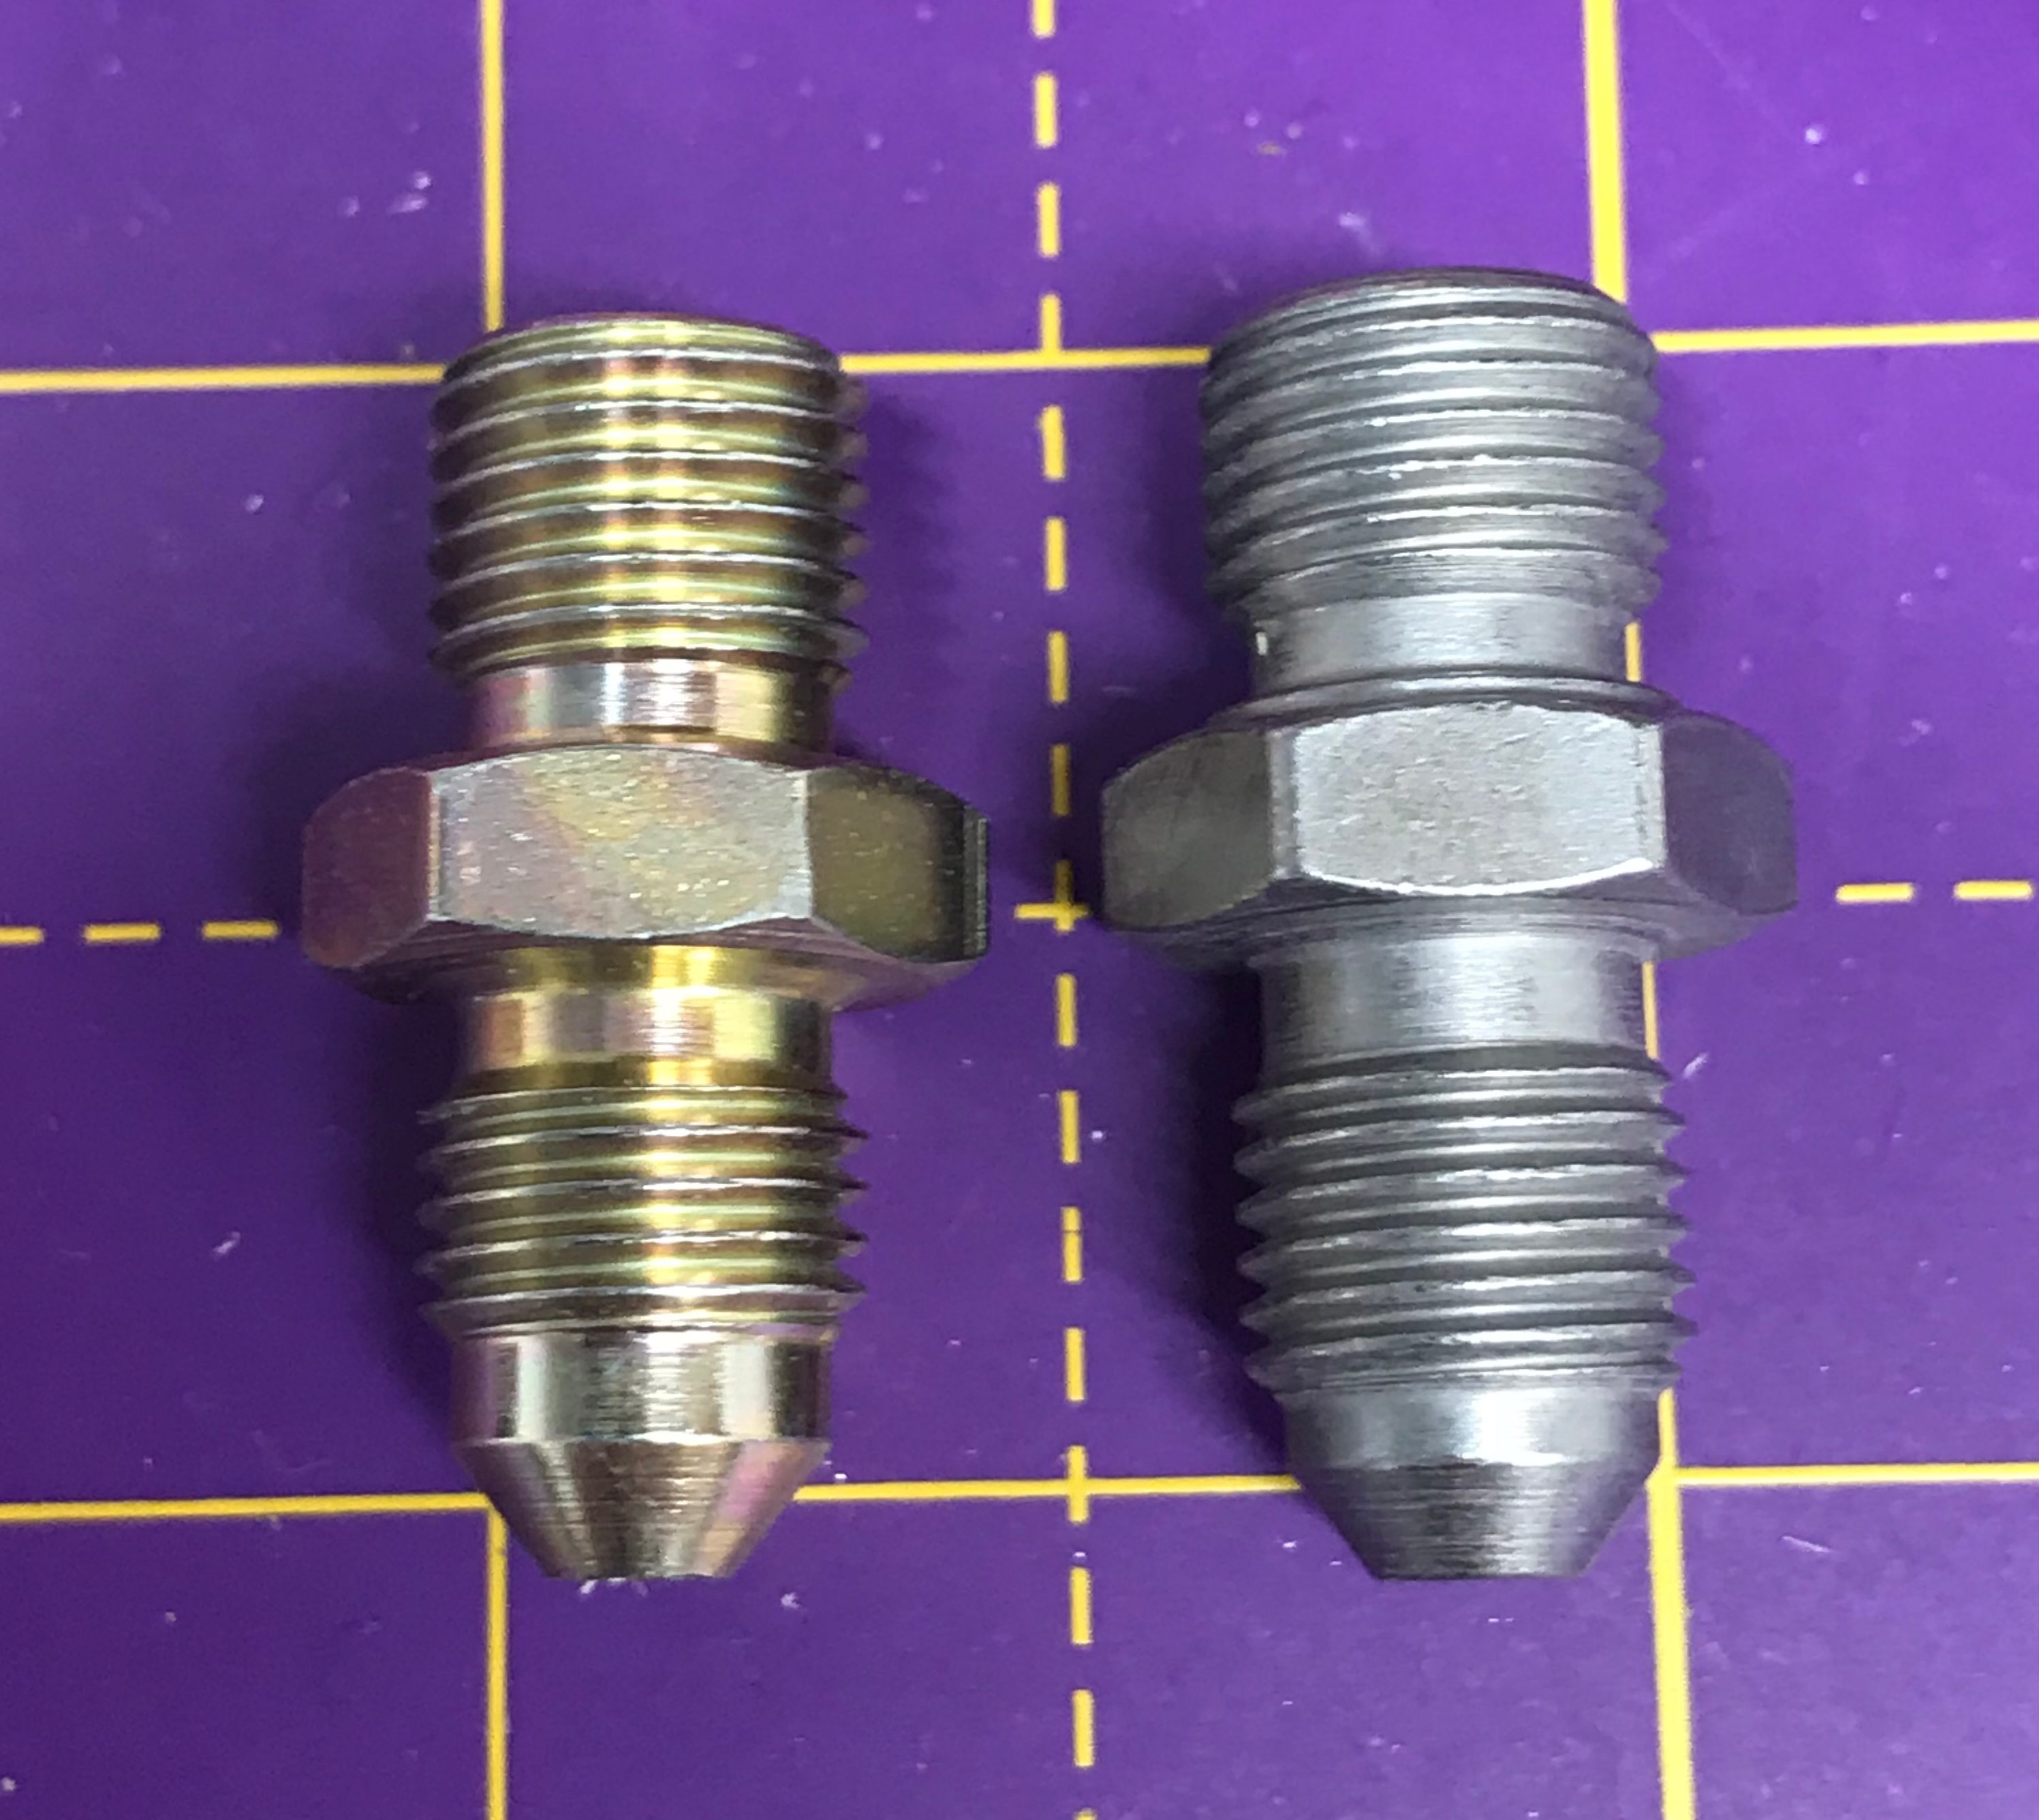
There are two types of calliper coupling supplied in the brake kit. I had originally gone with the bronze coloured ones that seemed to fit fine but a message from the future (see above) informed me that it should be the grey ones. The two couplings have different thread pitch and thread diameters. The bronze ones have a 9.4mm diameter while the grey ones are 9.8. The bronze ones will fit and tighten up fine, but the grey ones, while still a little loose in the hole, clearly fit better. The grey couple looks like this.

The grey coupling also has a slightly raised rim next to the hex part on the calliper side that fits the copper washer perfectly. Thanks again Andrew!
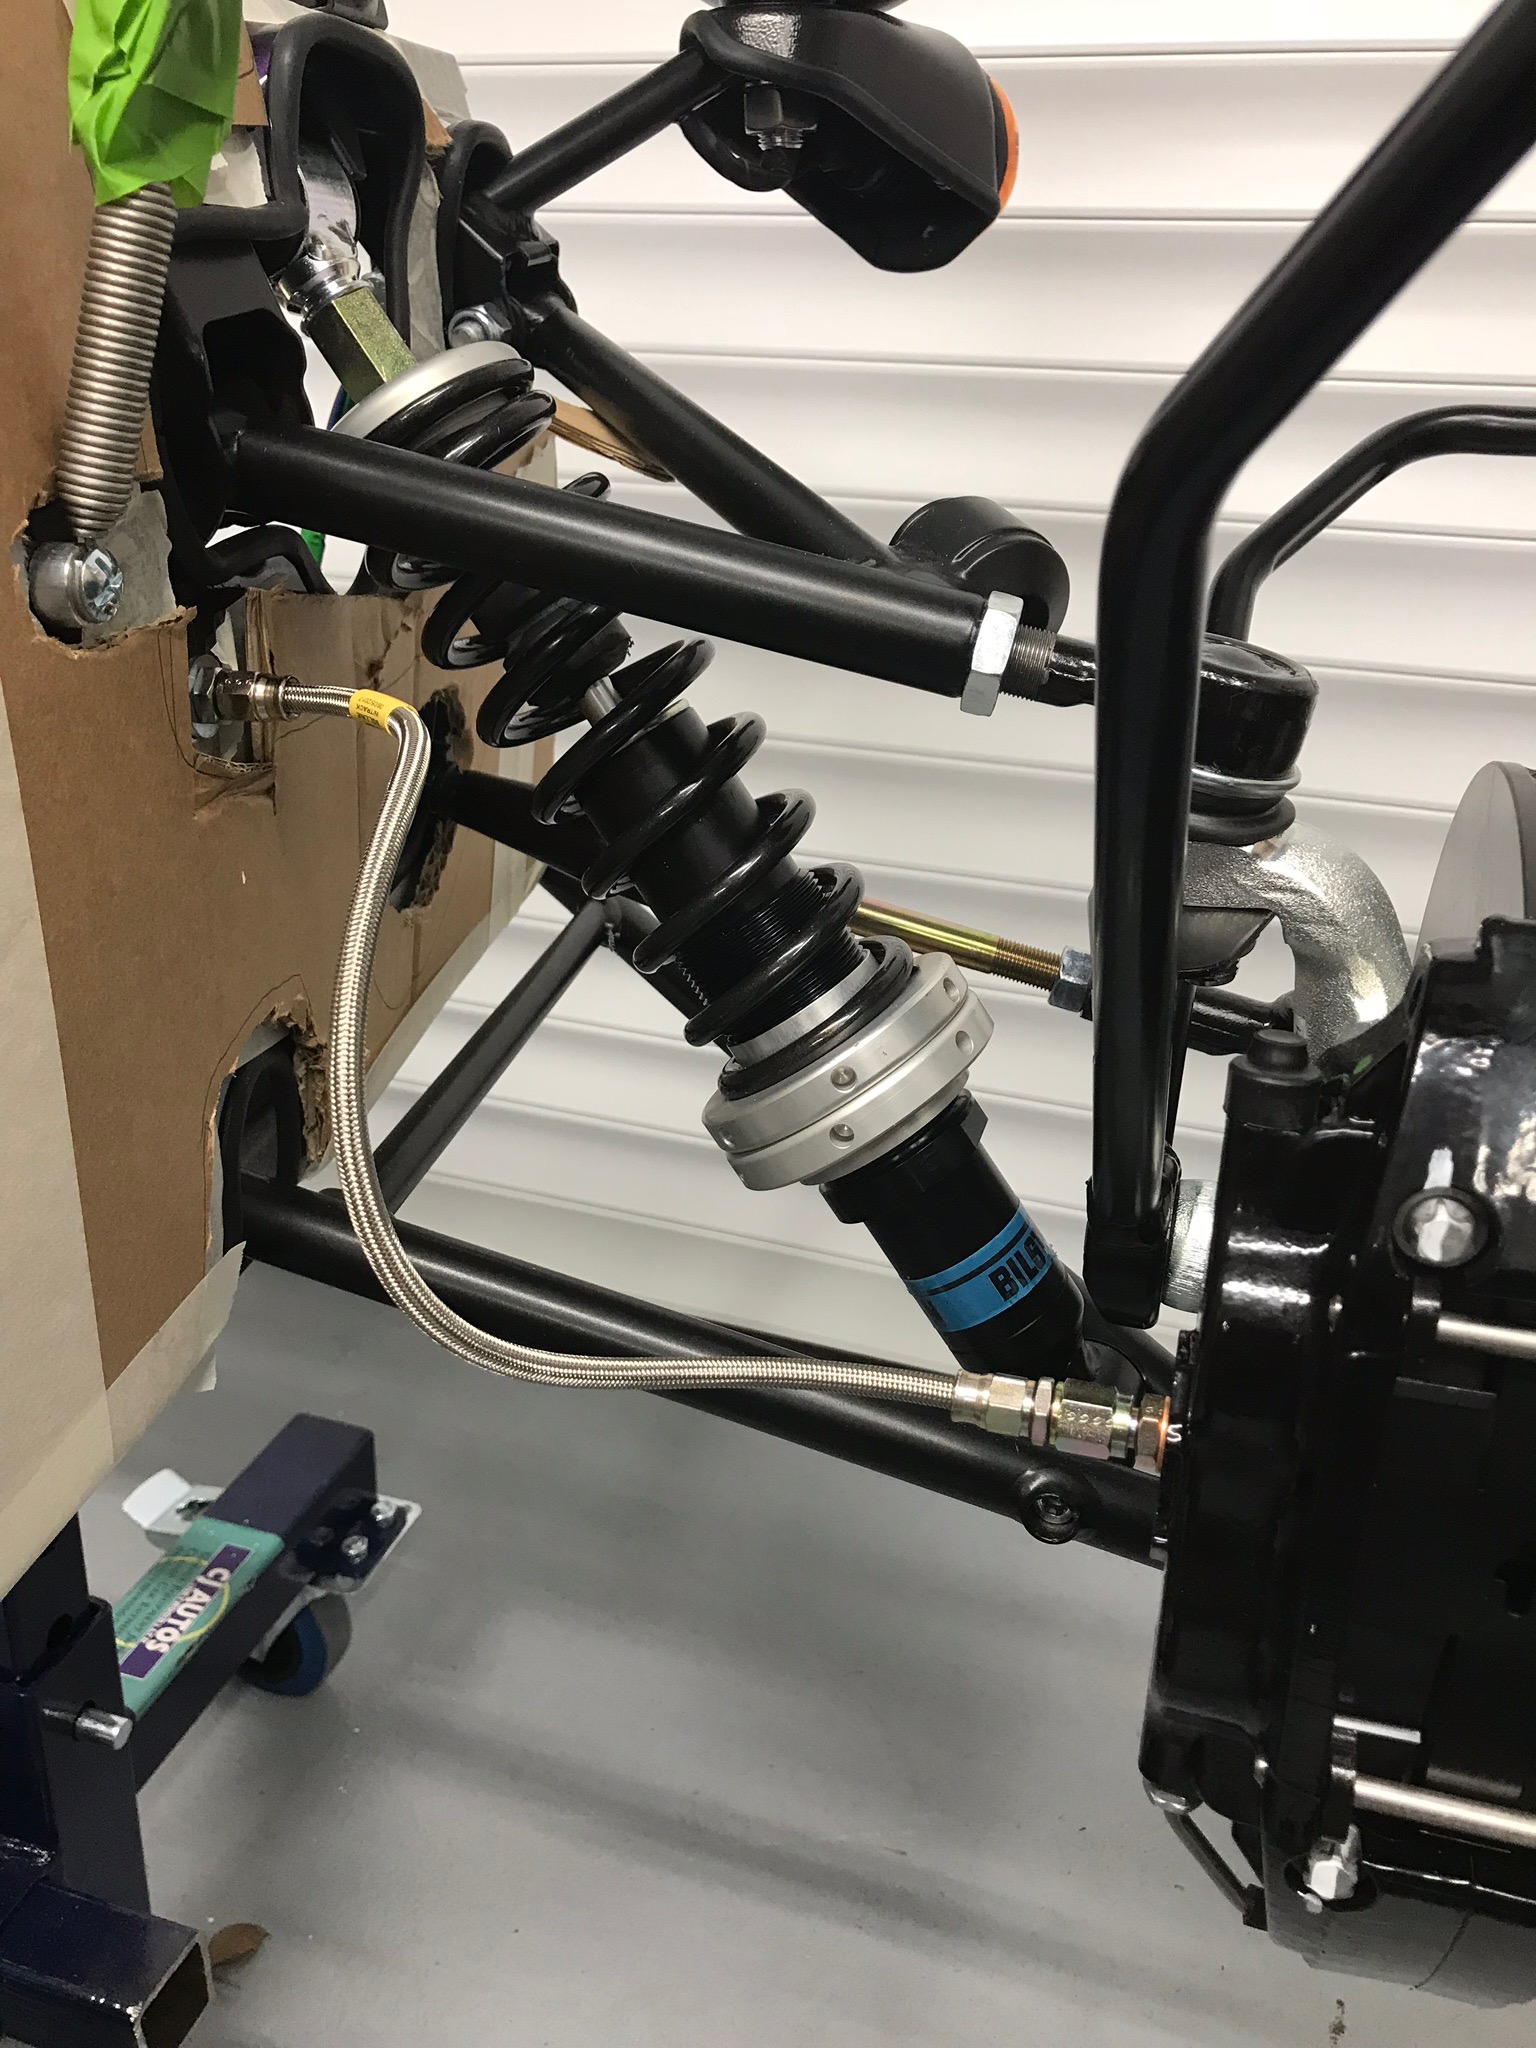
The final brake hose assembly looks like this, and doesn’t foul the suspension when the steering is turned…
Front Anti Roll Bar
Next up is the front Anti Roll Bar (ARB). This should also be a simple job, but I fell at the first.
The manual talks about attaching two bushes onto the ARB that are the same colour as a “dot” stuck on the ARB.
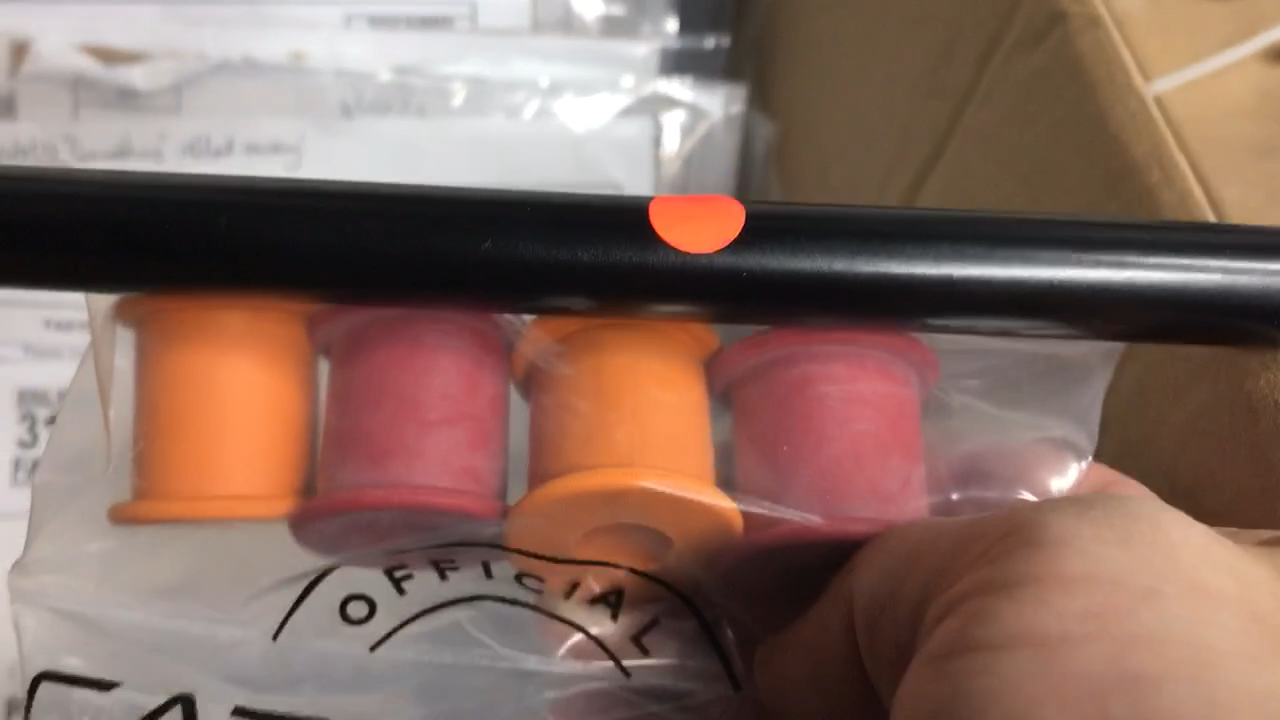
To me the dot looked orange. But that seemed to contradict some blogs I’d read. Rats! This is going to have to be an email to Derek.
Corrosion Protection In The Engine Bay
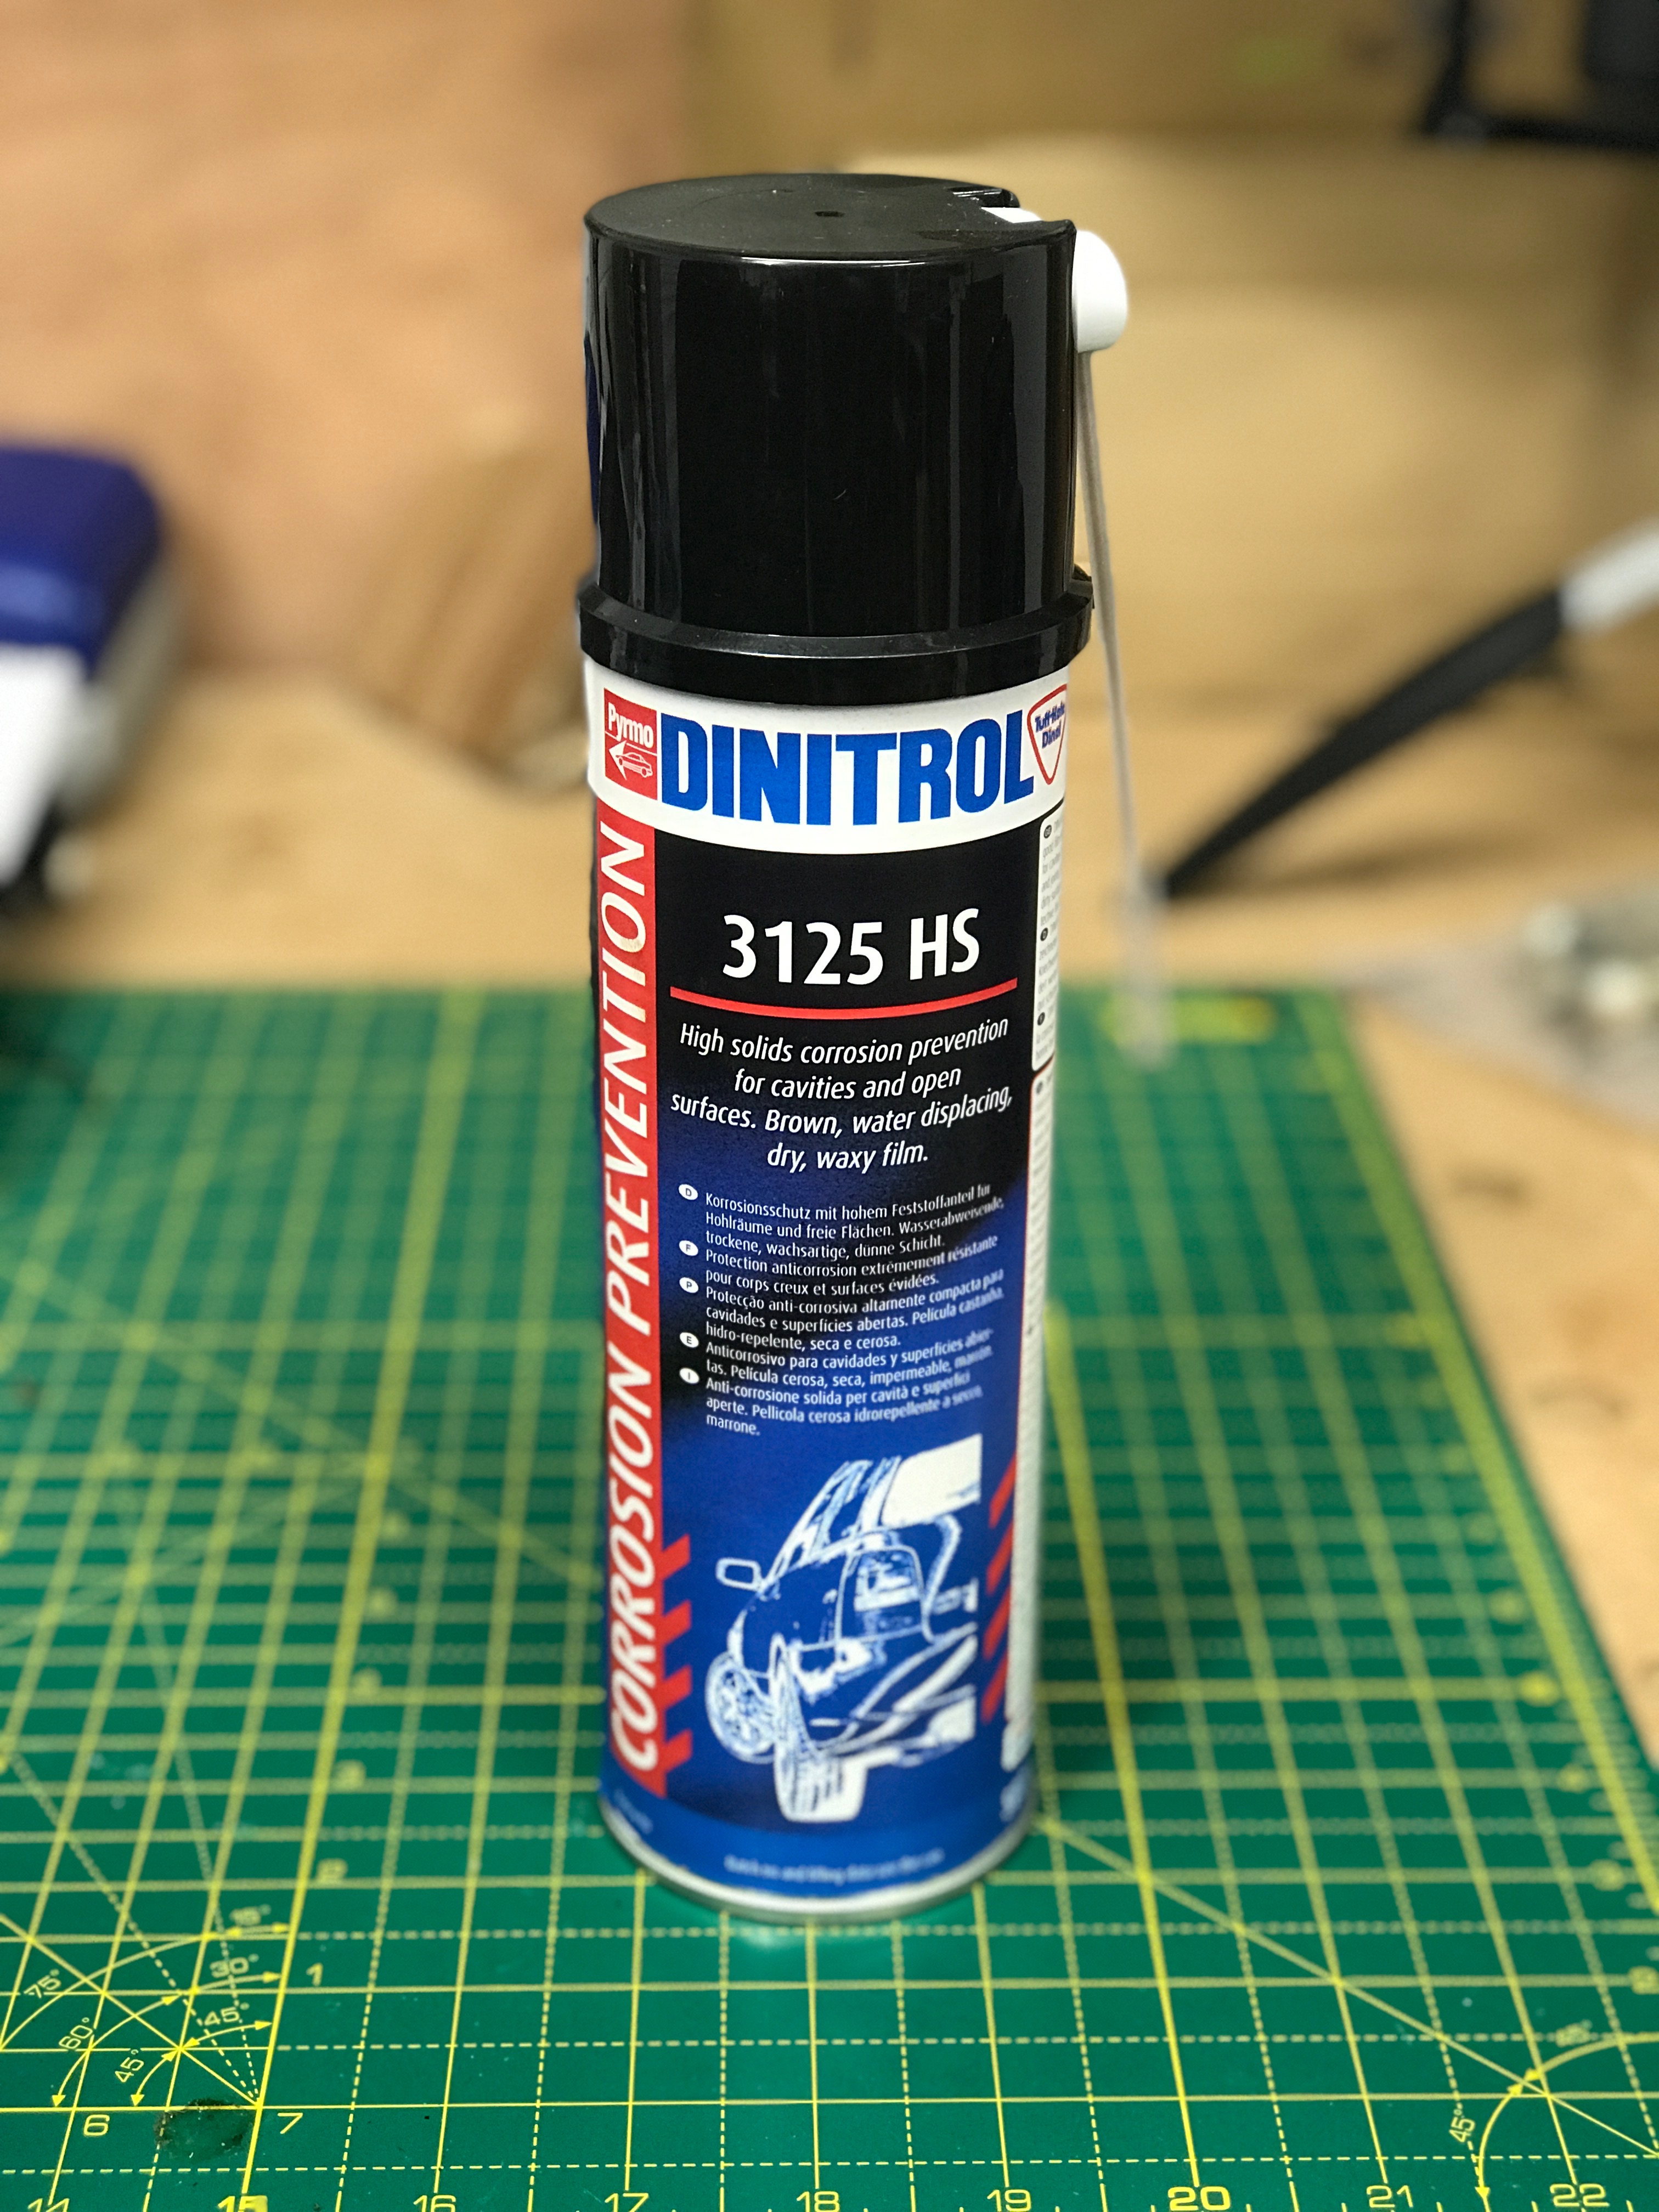
Well, I now had some spare time this evening and decided I’d get some Dinitrol corrosion protection into the engine bay. After surfing for a few nights it seemed that Dinitrol 3125 came recommended so I’d already got some delivered from Amazon a few days earlier.
The forums are full of people talking about “The Grot Traps” down the side of the bodywork in the engine bay, by the side of the driver’s and passenger’s footwells and by the side of where you sit in the main passenger compartment. At least I think that’s where these Grot Traps are supposed to be. After a fair amount of Googling I couldn’t actually find any definitive pictures of where actually they are. Hmmm.
My car arrived with considerable amounts of silvered heat cladding around the driver’s and passenger’s footwells – between the footwells and the bodywork. It didn’t look to me as though there was any way any “grot” could get in there. Perhaps Catheram have improved this area and its no longer a problem. I should probably pose this as a question on BlatChat.
I also couldn’t see how “grot” could get into the sections next to the driver and passenger compartments. Perhaps I need to look at this again. The heat cladding is stopping anything getting in from the front. Maybe there’s some other ingress point. If I don’t talk about this again then I’ve probably decided its not a problem.
Anyways, I’d also heard people talk about water and “grot” collecting in in the curved sections of the body work next to the lower chassis rails in the engine bay (there are some pictures later).
So, out came the Dinotrol 3125 and I sprayed a reasonable coat of the stuff along the engine bay inner body work.
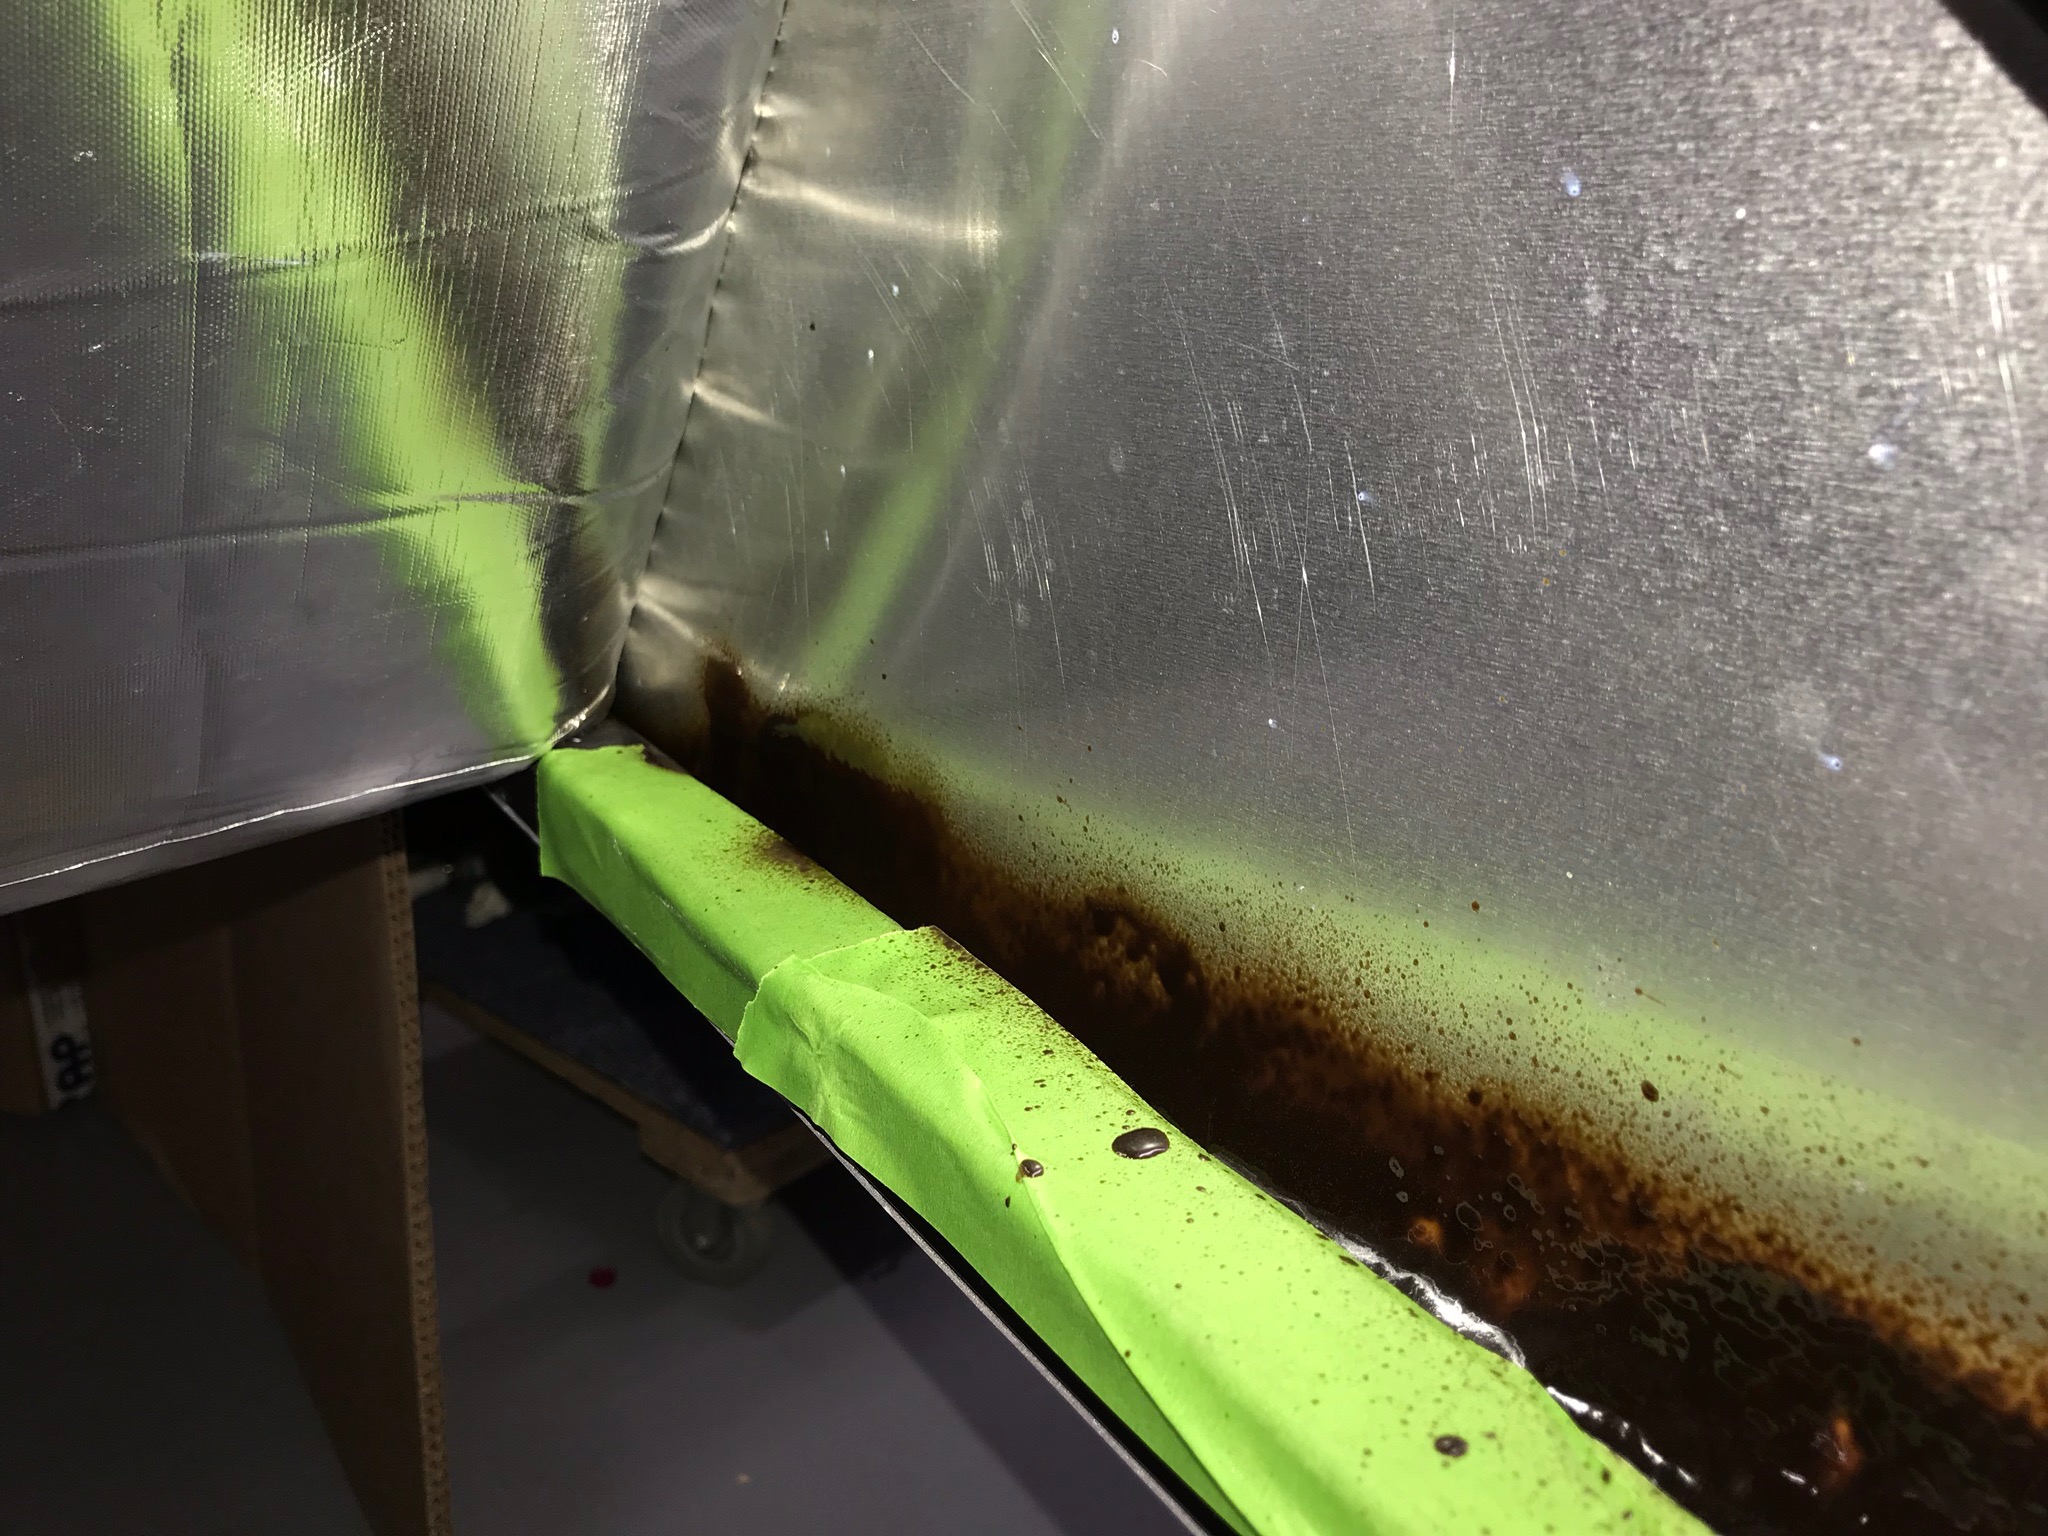
I masked off the chassis rails but decided I wasn’t so fussed about the inner sides of the bodywork. I’ve seen people carefully making off areas and I see the it’s perhaps only the sections close to the chassis rails that might collect water. However, my logic went that in really bad weather these lower body work sections could fill up to the level of the top of the chassis rail and I wanted to protect things to that level. Time will tell if that’s a good call.
That was it for the evening. Hadn’t achieved as much as I’d wanted to but then I’d spent less time than I’d thought. Also got another job done that’s not in the manual.

Leave a Comment