
This post is a rollup of a few days tinkering. I’m sure many of you will be relieved that I’m not going to spam you with any more posts than I absolutely have to, and so I’ll combine a few together.
Sept 5th – Bonnet Arrived (for a while)
The bonnet (Americanese: hood) of the kit had been the only known part that had not been shipped when the kit first arrived (if we ignore the shorts box that should have been on the van). It had a couple of defects that Caterham were going to get fixed and then send out. However, it had taken a few weeks before the van was back in our area, which wasn’t a problem since the idea of having the bonnet kicking around the garage was not something I really needed, given our small play area.
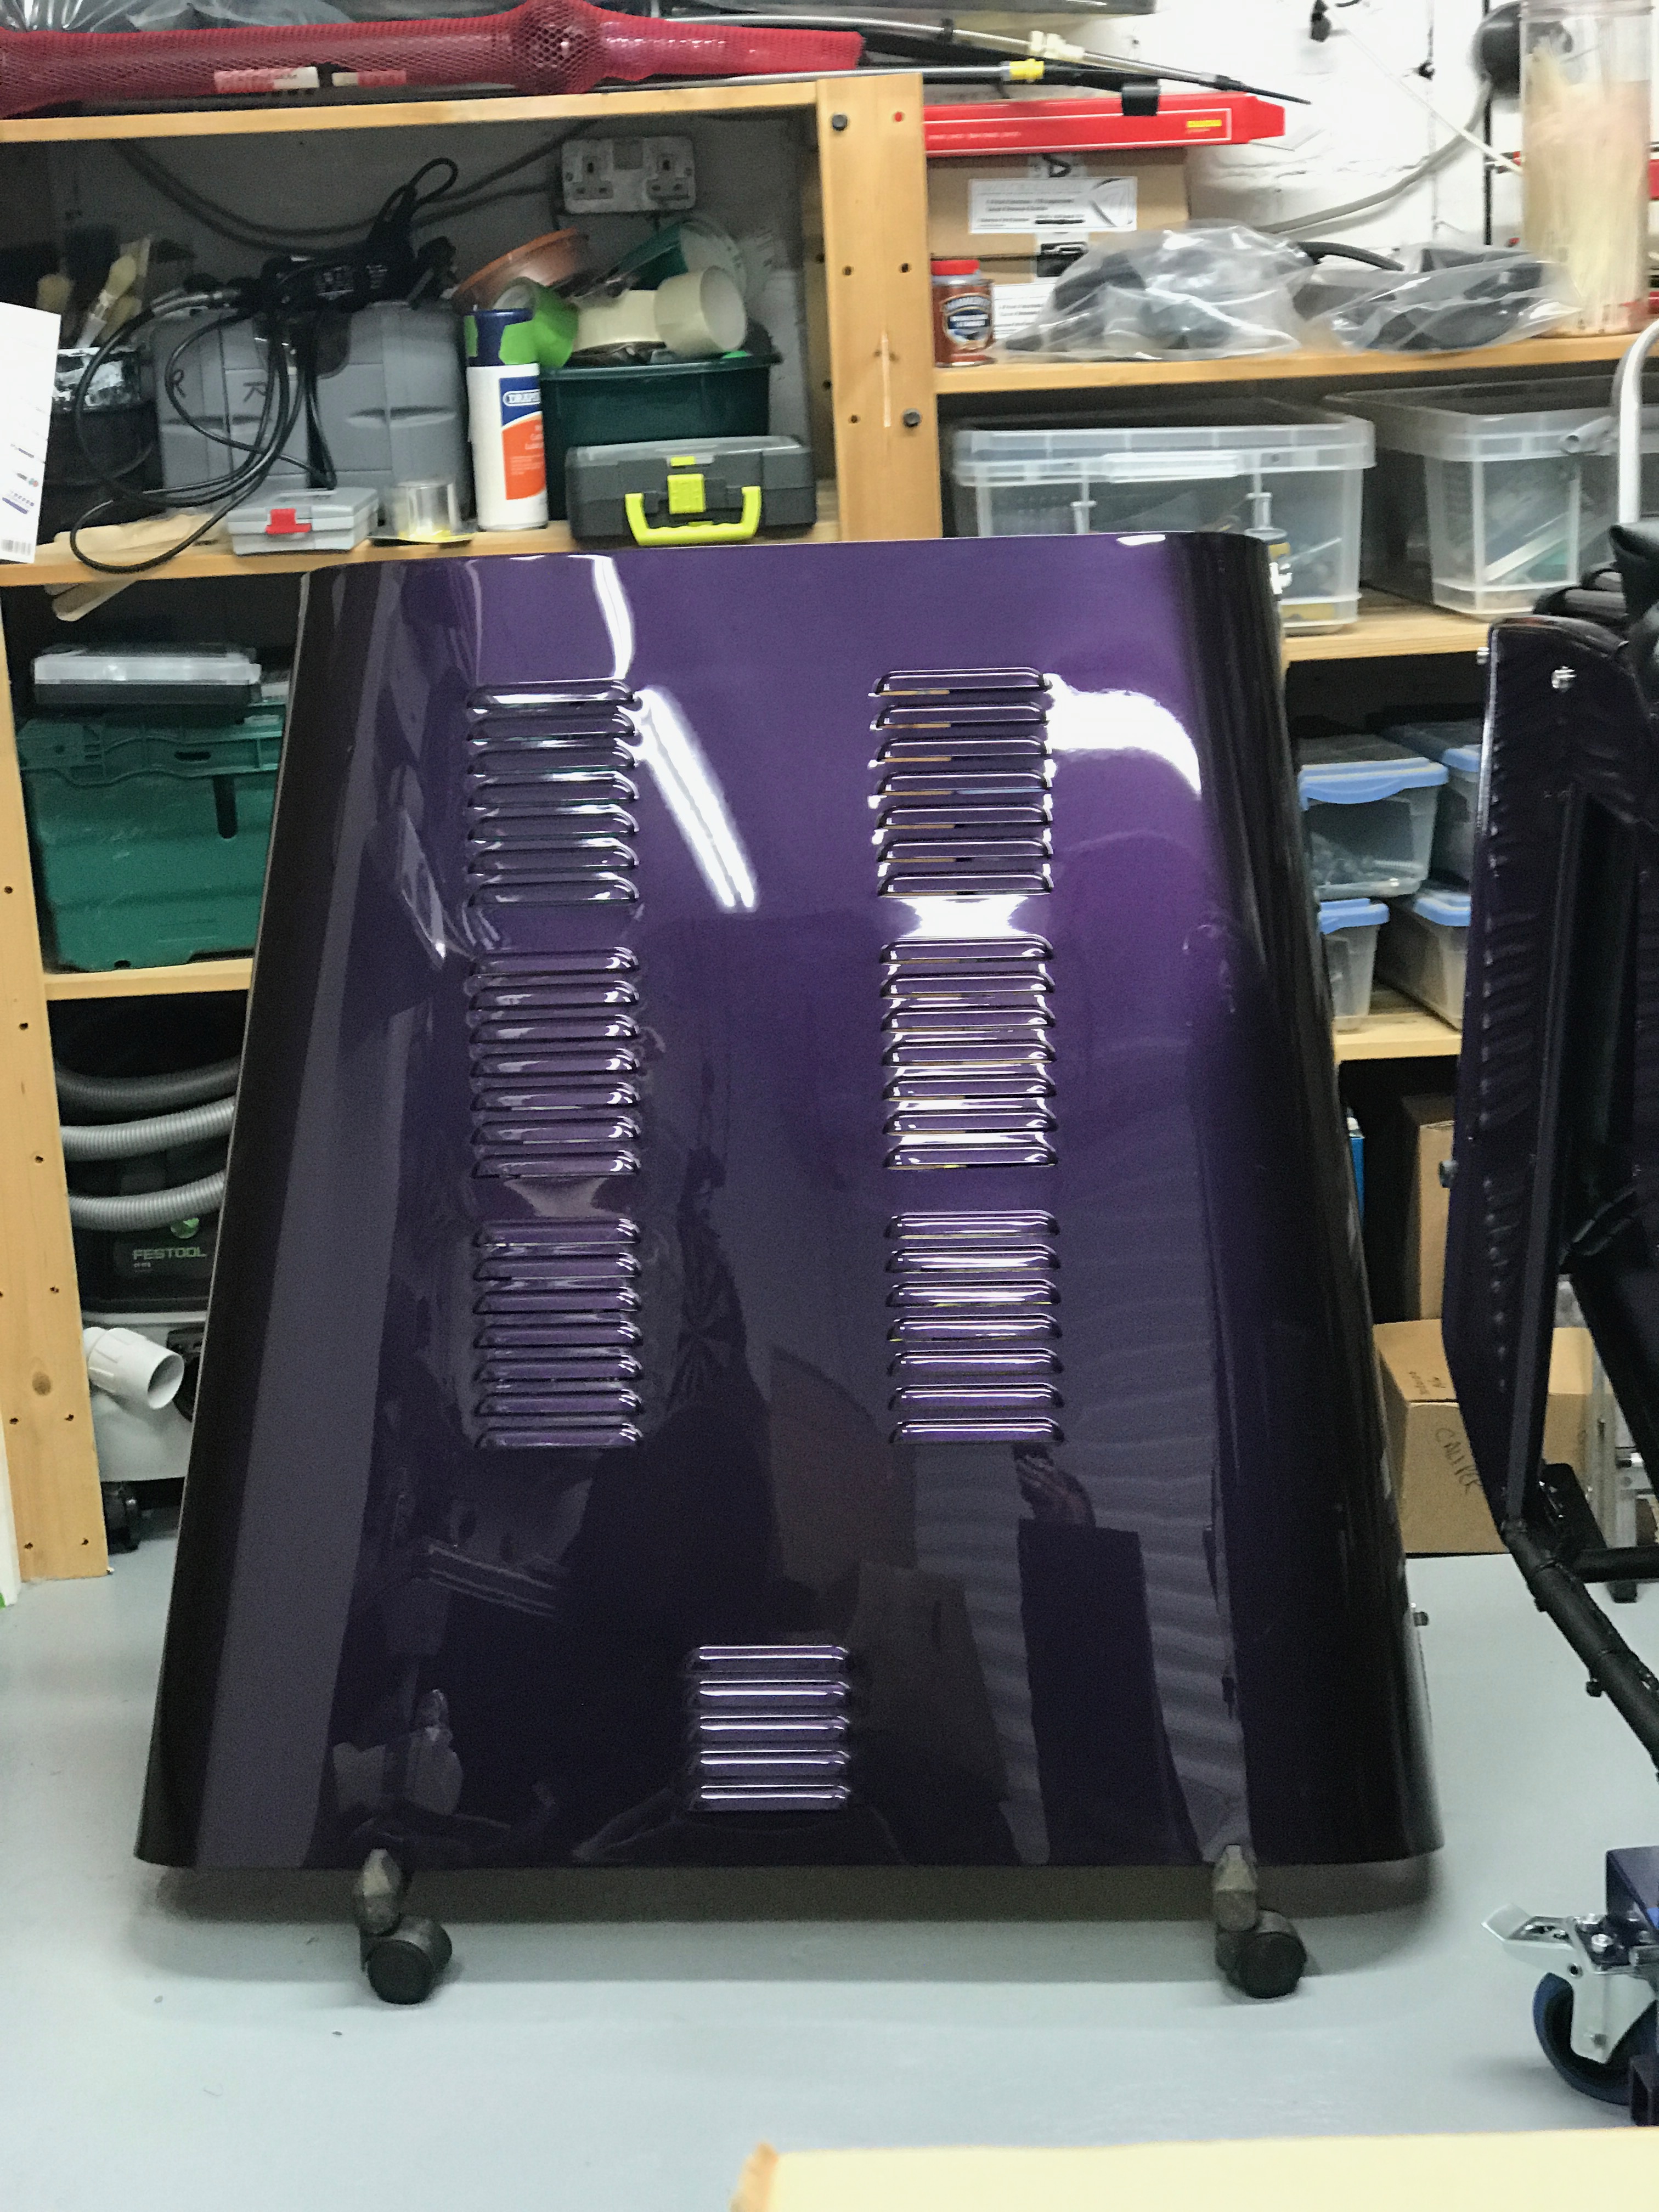
So the bonnet was dropped off by the Caterham delivery guy today in a rather snugly fitting cardboard box. I had half a mind to leave it in the box to keep it safe but decided I’d better check it had arrived ok…. unfortunately, it hadn’t. There were some scratches and scuffs on the paintwork at the rear of the bonnet. This is in stark contrast to the rest of the paintwork – which to my eye – is immaculate.
I emailed Derek and he assured me it had left the factory ok and he had no hesitation in saying that it would be sorted, just needed to find a time when the van was back in the area and could pick up the bonnet again. I’m not going to post pictures of the issue here, I think that would be an unfair publication of an issue that Caterham are on top of.
In the meantime, I needed somewhere to keep the bonnet safe while I waited. I’ve mentioned before that I have a trolley left over from the days of having a 911-996 C4Cab – used to store the hard top when not in use.
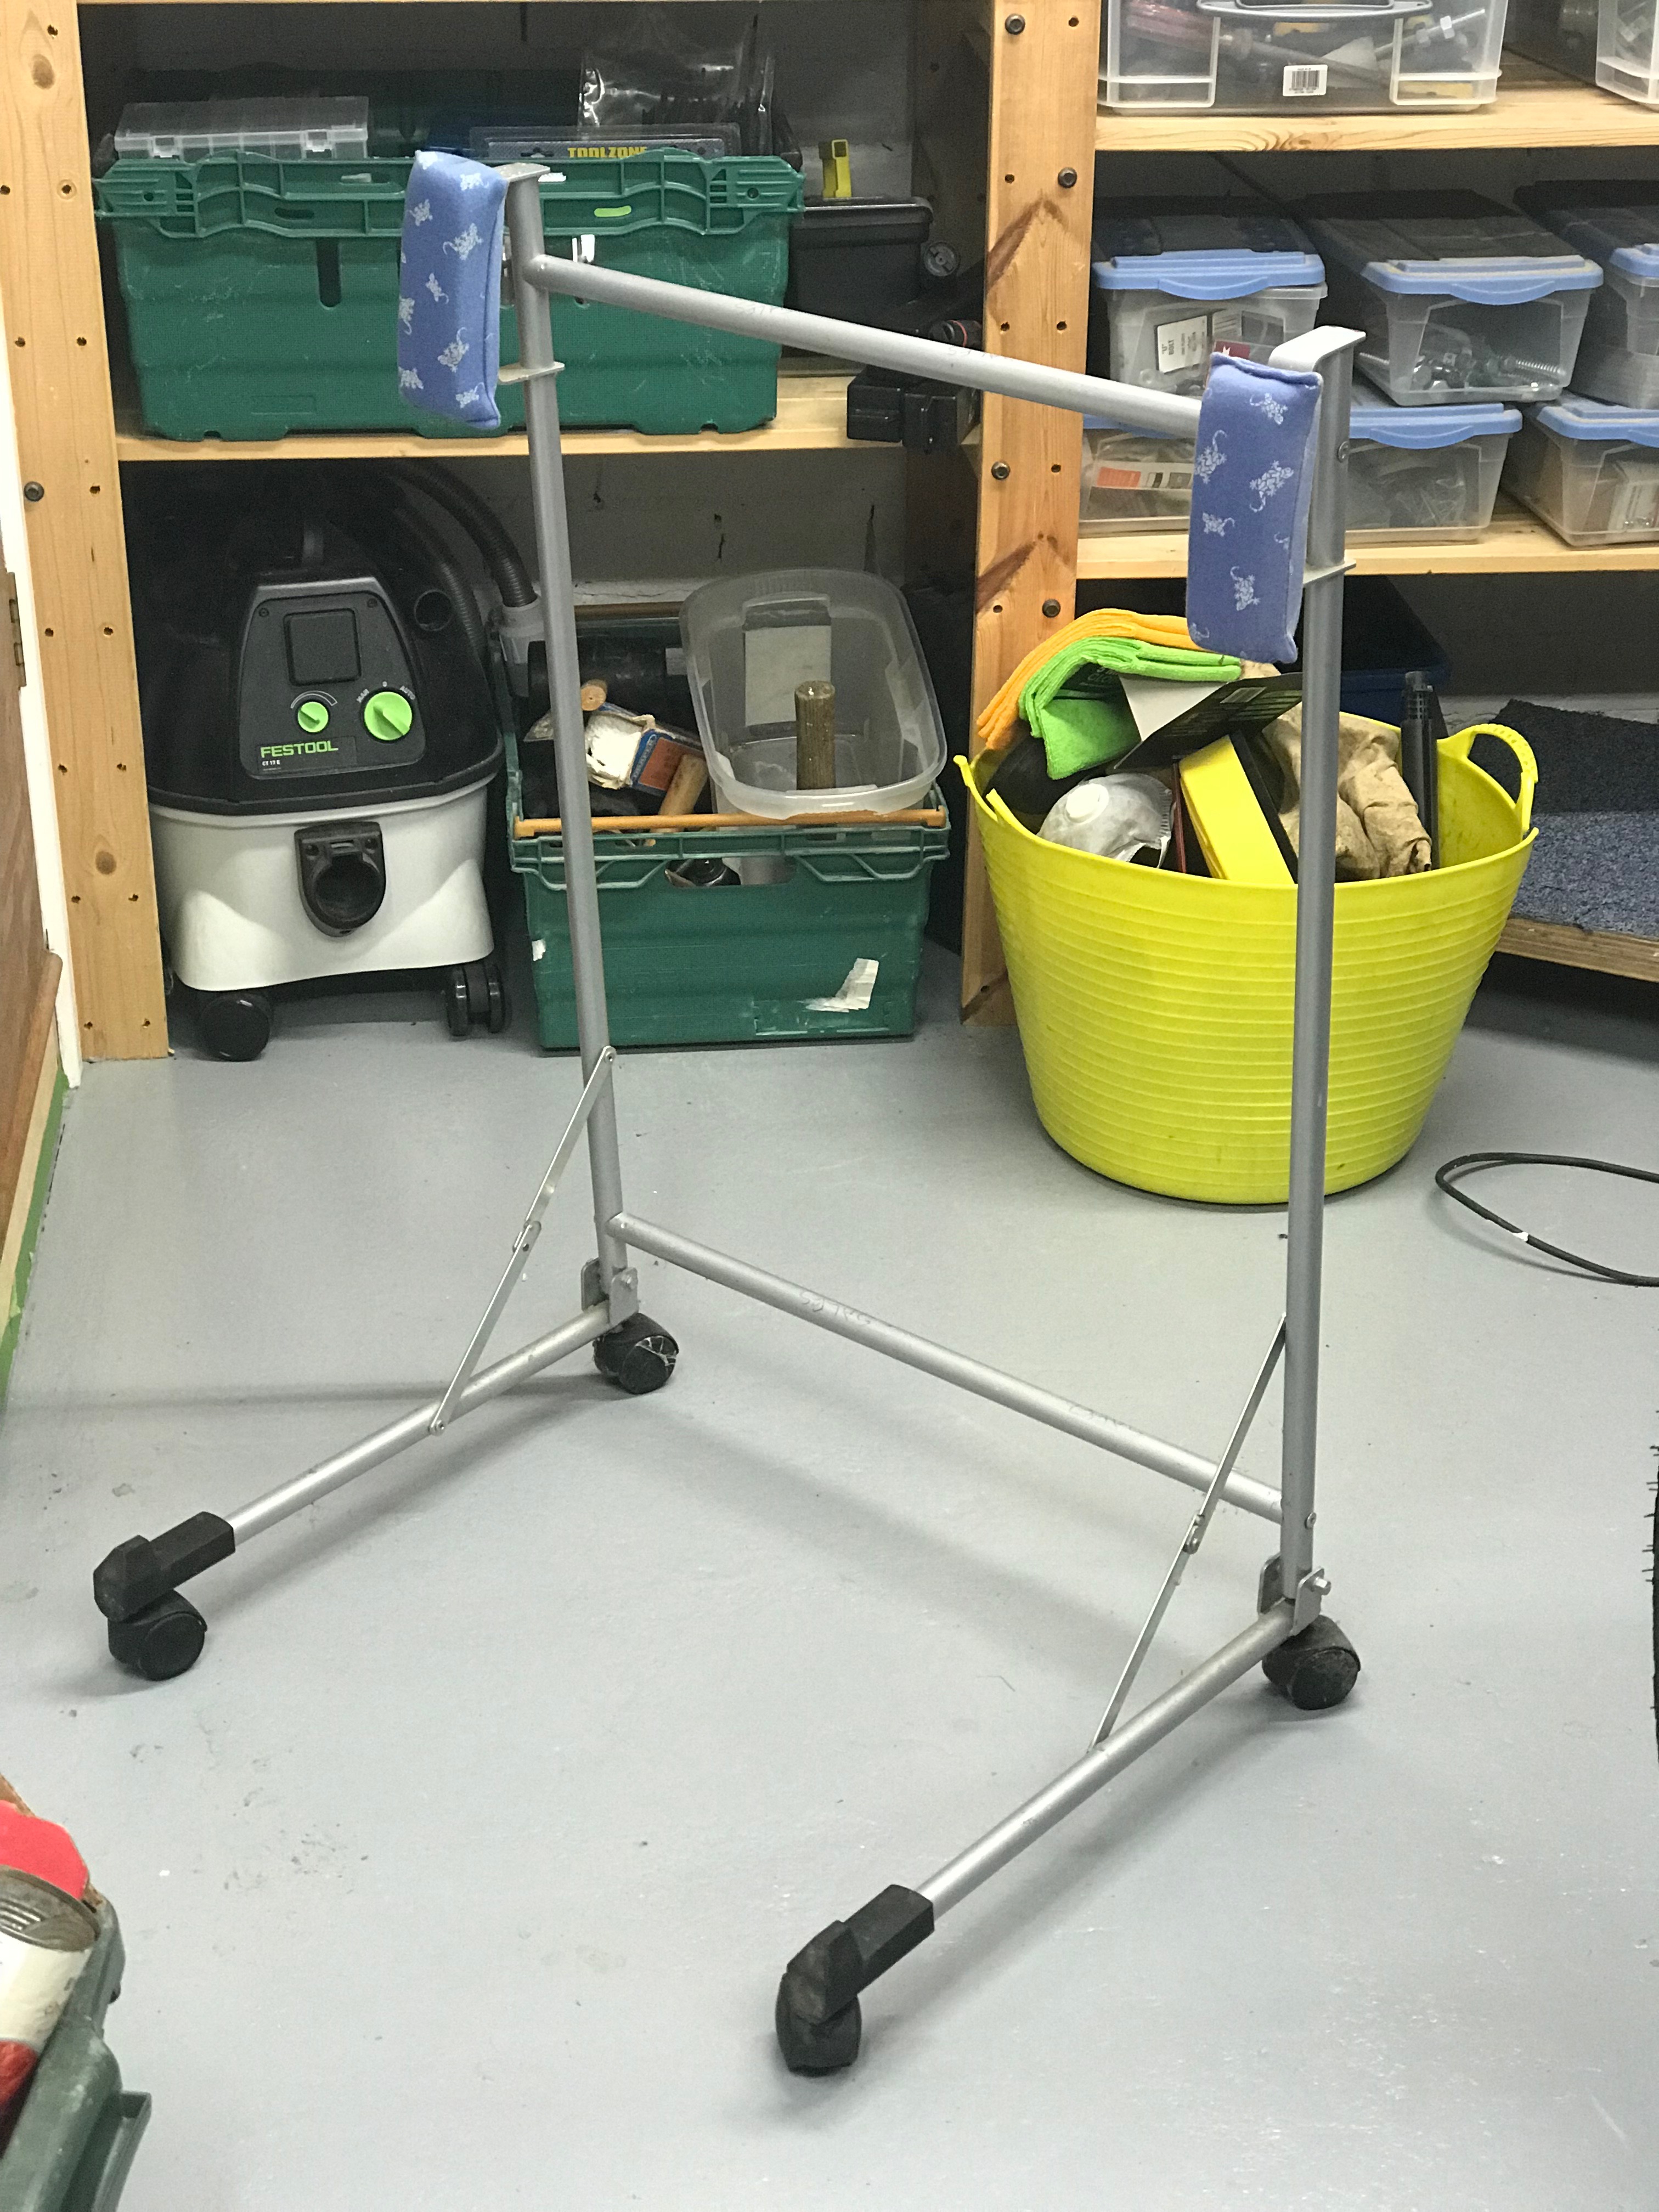
The new bonnet fits nicely on it (with soft rubber moulded rests for it to sit on at the bottom and foam pads at the rear).

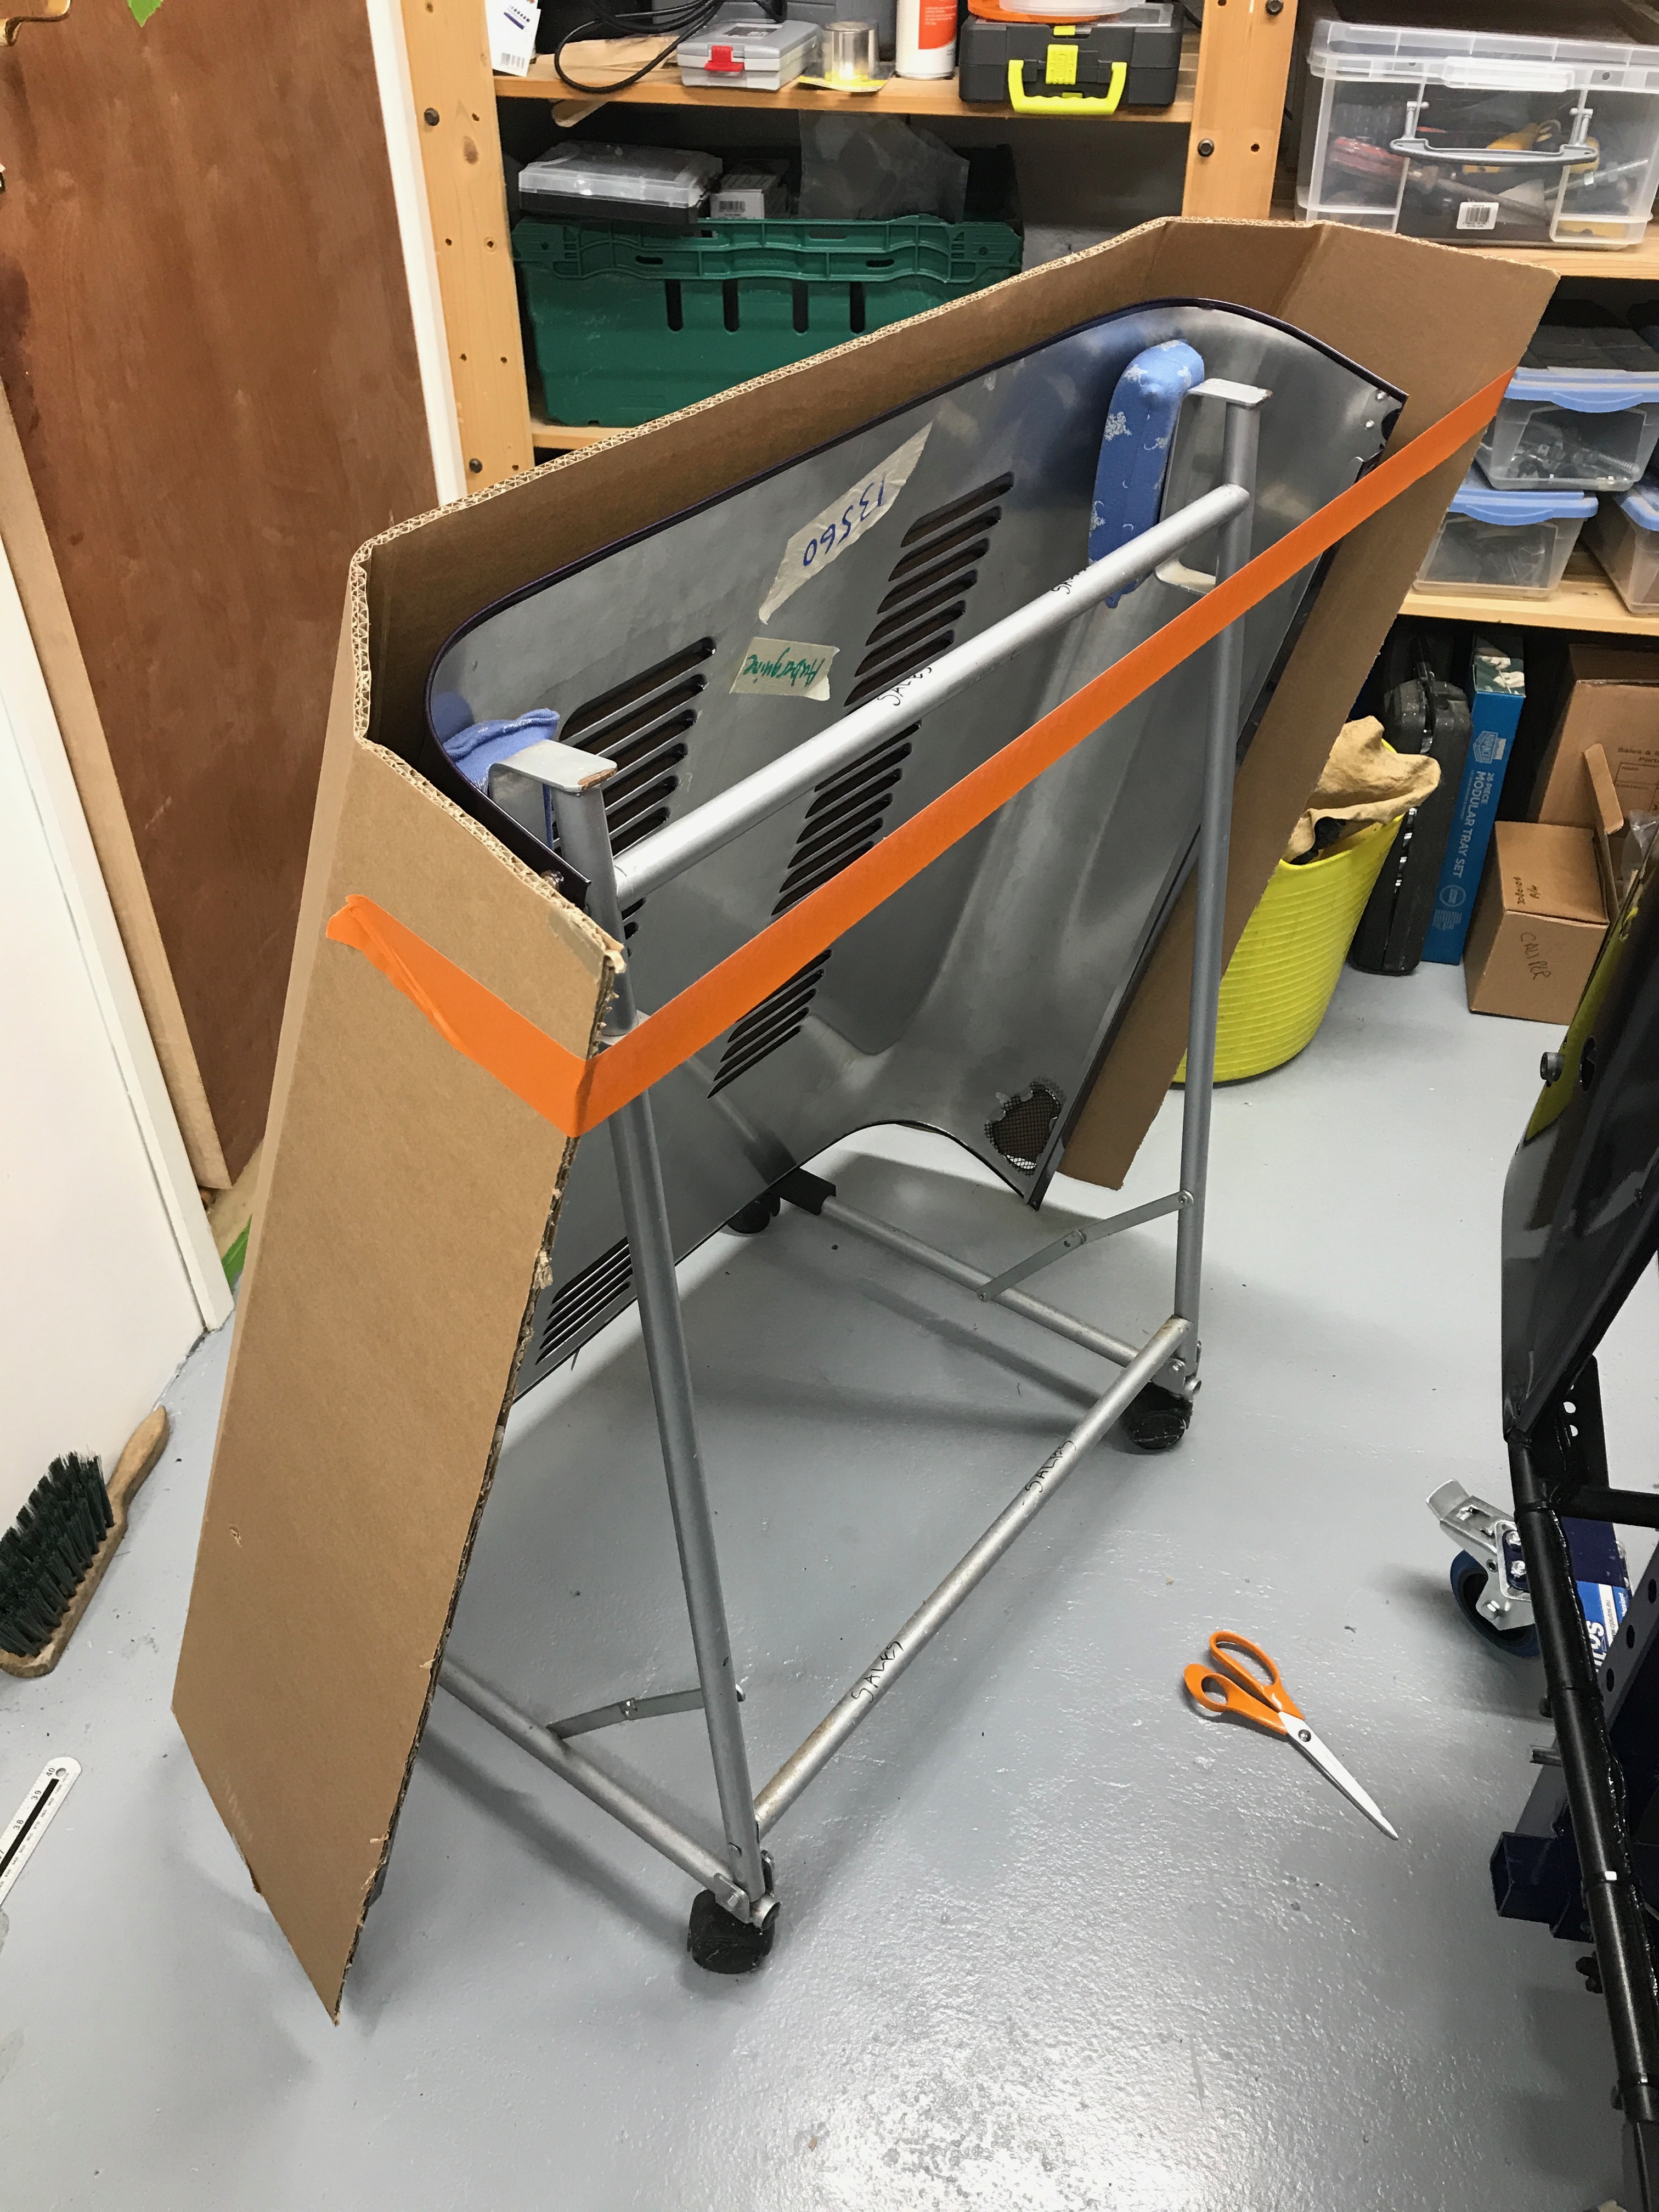
However, this was still going to get dinged if I left it in the small confines of the garage like that. So… a bonnet for the bonnet. I took some of the cardboard from the box that the bonnet came in and made a cover for it on the trolley.
Of course, I only spotted the defects on the bonnet after close inspection and after having created this trolley and cardboard contraption. My first look at the bonnet didn’t show any defects. It was only when I got really close that I saw them. That’s not to say they’re small, I just didn’t see them straight away. The point of this thread is to say… if I’d seen the scratches earlier then I would have put the bonnet straight back in its box and kept it safe there. But, I’d already broken down the cardboard box to use with the trolley. I guess it would also have been the case that if I’d have put the bonnet back in its box after a cursory look, then I probably wouldn’t have seen the scratches that night and it would have been weeks before getting it out of its box again. Swings and roundabouts.
Sept 6th – Test Fit Radiator and Heater
This week was turning into a week like any other… able to grab the odd hour or 30 minutes in the evenings away from a conference bridge. During one of those hours I started to see how the main water radiator, oil radiator and associated plumbing was going to work.
I’d already had a bit of a look at the radiator a couple a week earlier when I’d gone through the manual and tried to figure out where all the pieces for this part of the build were located. This is where I couldn’t find the “inner radiator cowl” as called for in the manual. I had sent an email out to Derek asking if I was missing it and got this response:
“We no longer fit the cowling to the 420R as we felt the cooling was better without it.”
This must be a reasonably recent decision as I’ve seen what I thought were recent blog posts from people where there clearly has been an inner cowl fitted.
Back to this test fit though… this time I wasn’t just “part picking” I was loosely hooking everything up and trying to figure out how this would work with no cowl.
There were two discoveries here:
- The manual describes how to fit everything together in the section on the Sigma and Duratec wet-sump engine build.
- I was missing the radiator fan legs. The radiator fan should have 4 legs that slot into the fan and have flanges that have holes in them to fix to the black “bat wing” extensions.
A quick email to Derek again and he popped the fan legs into the post. Even without the fan I was able to hook most things up and look at how I was going to drill out the holes in the SV extension brackets to take the upper oil cooler fixings.
Its fairly obvious which way up the extension brackets go. One of the brackets was in my “shorts” box.
I got as far as I could with a test fit of this section but decided not to do any drilling of the radiator extensions for the oil cooler at this stage.
Sept 7th – Heater
Another evening, another 30 minute slot to play with… so I moved onto the heater. It seemed I needed to shift the battery by loosening its mountings and bringing it as far forward as it would go. Otherwise the heater refused to drop down behind the battery.

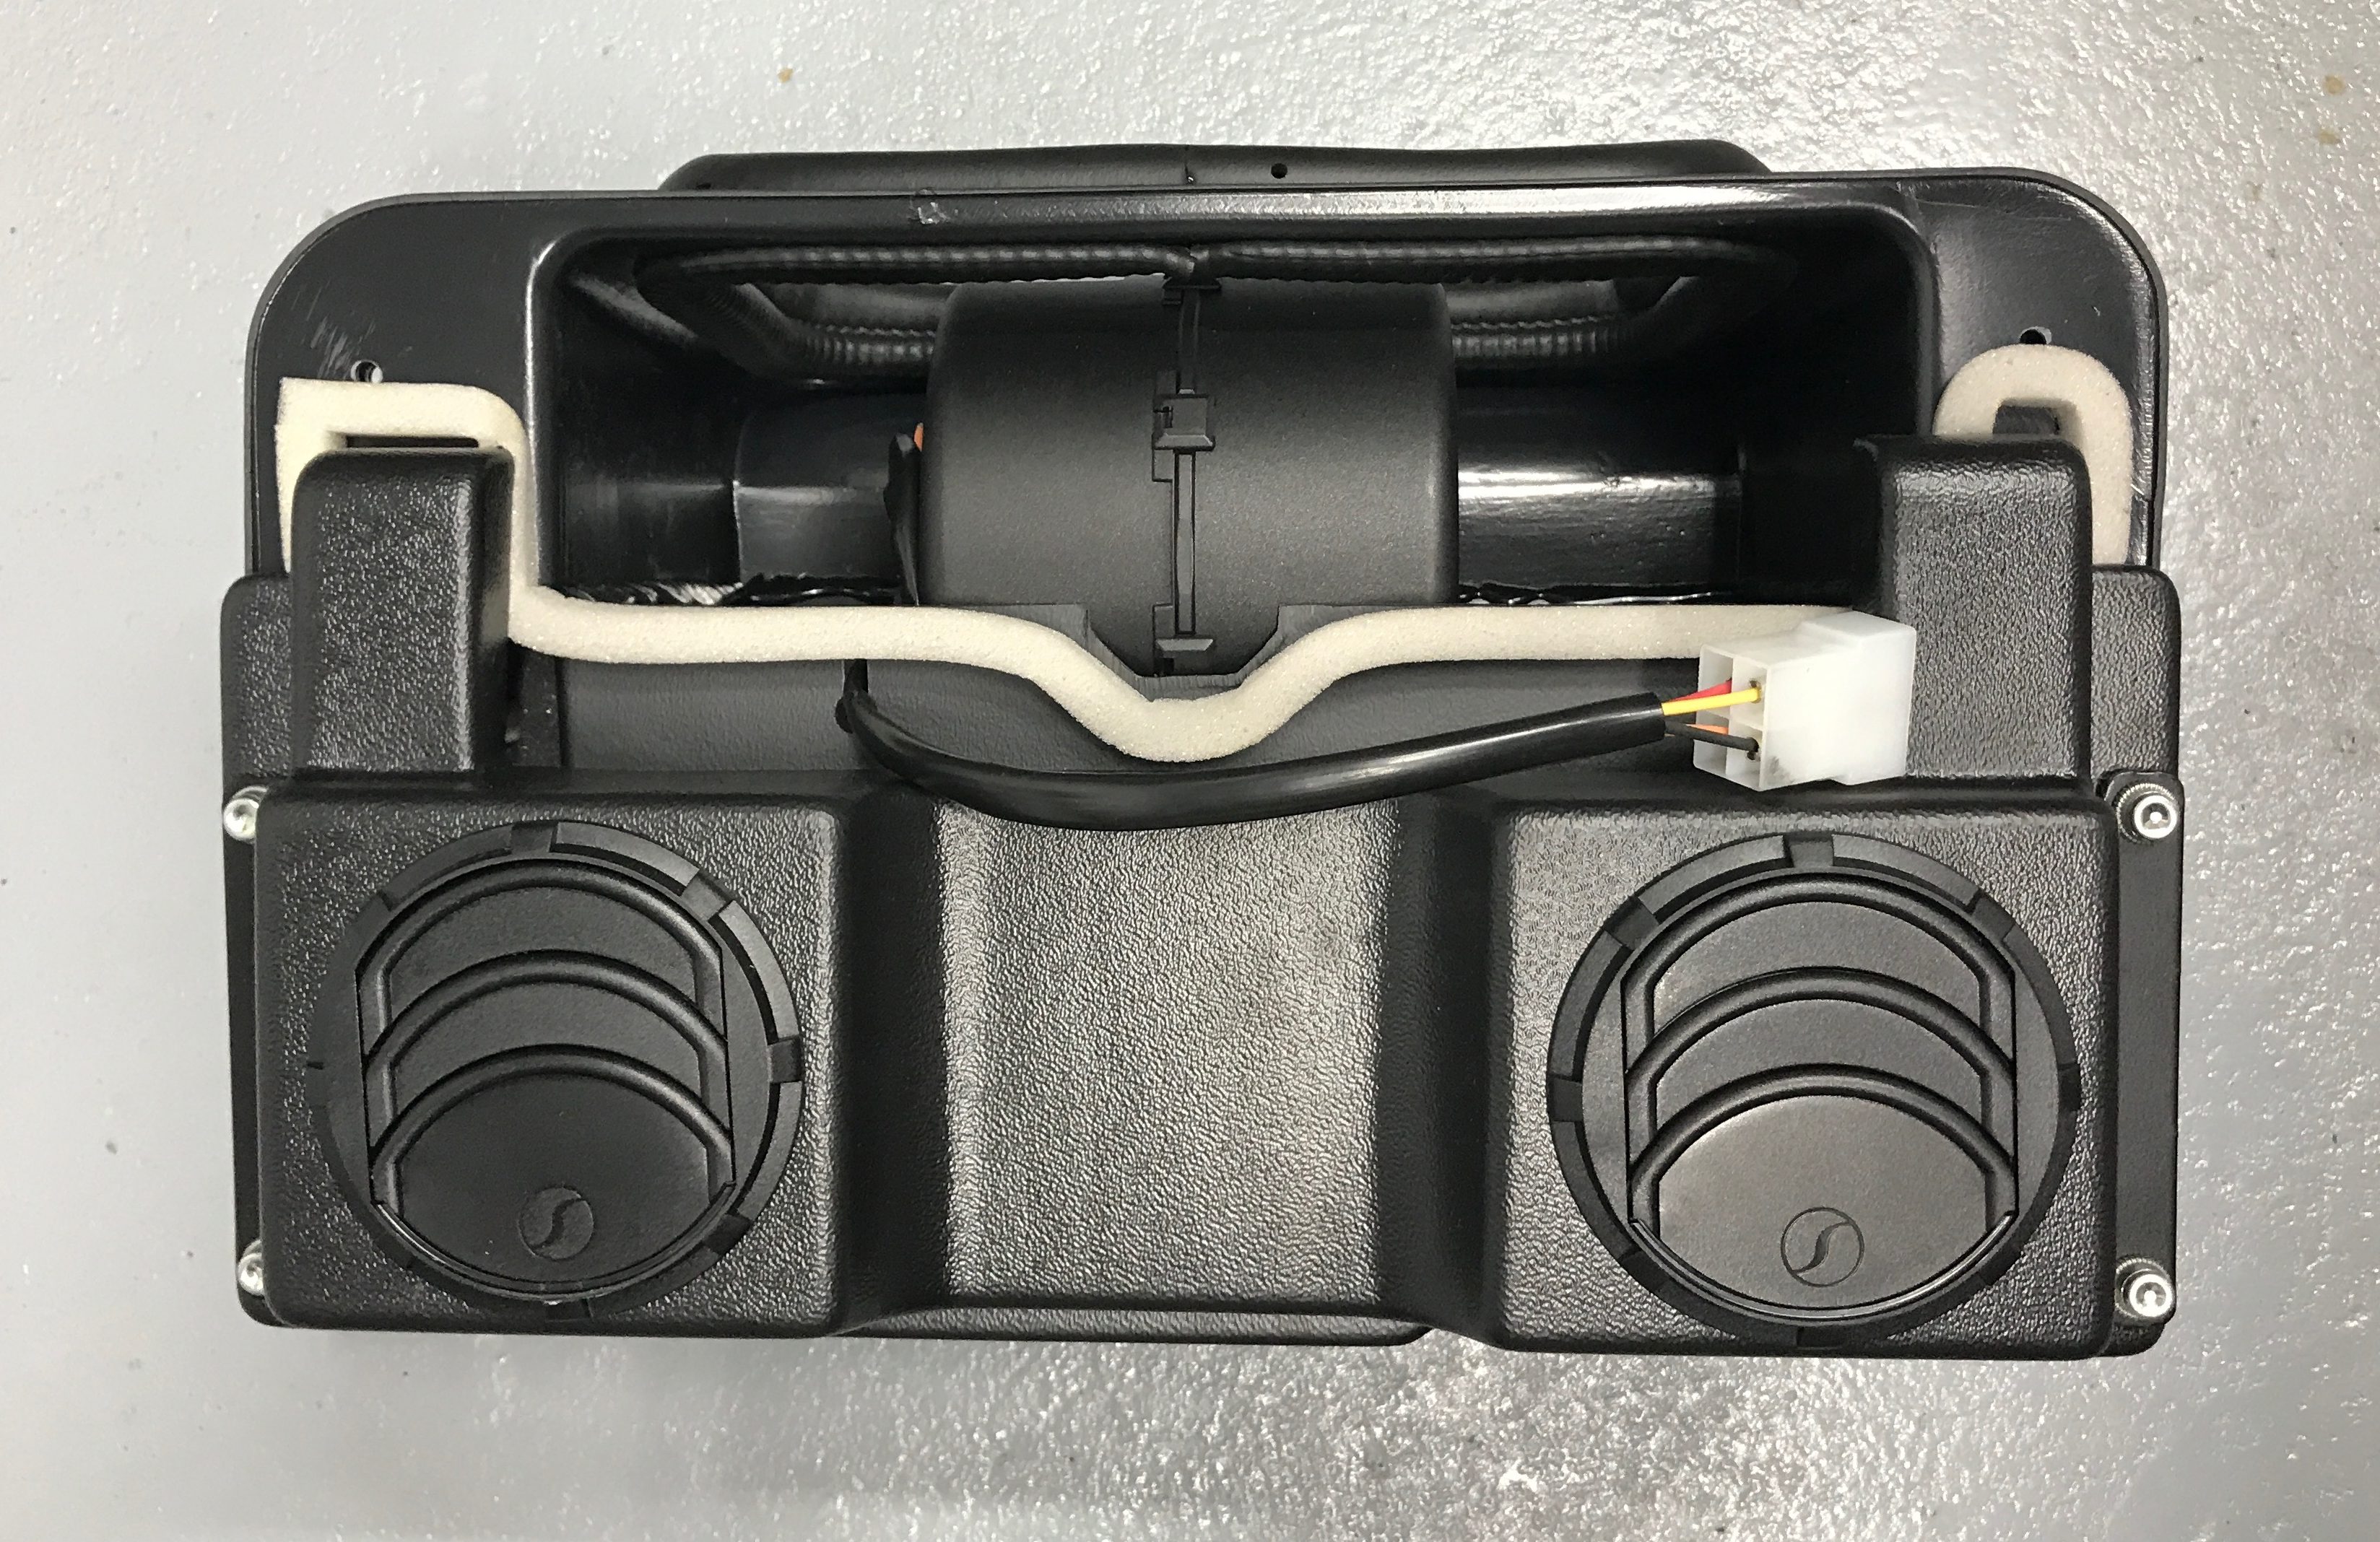
I put the passenger compartment vents in place (with the ears pointing downwards as recommended) and then put the heater unit into place.

The heater then slots in-between the scuttle and the battery.
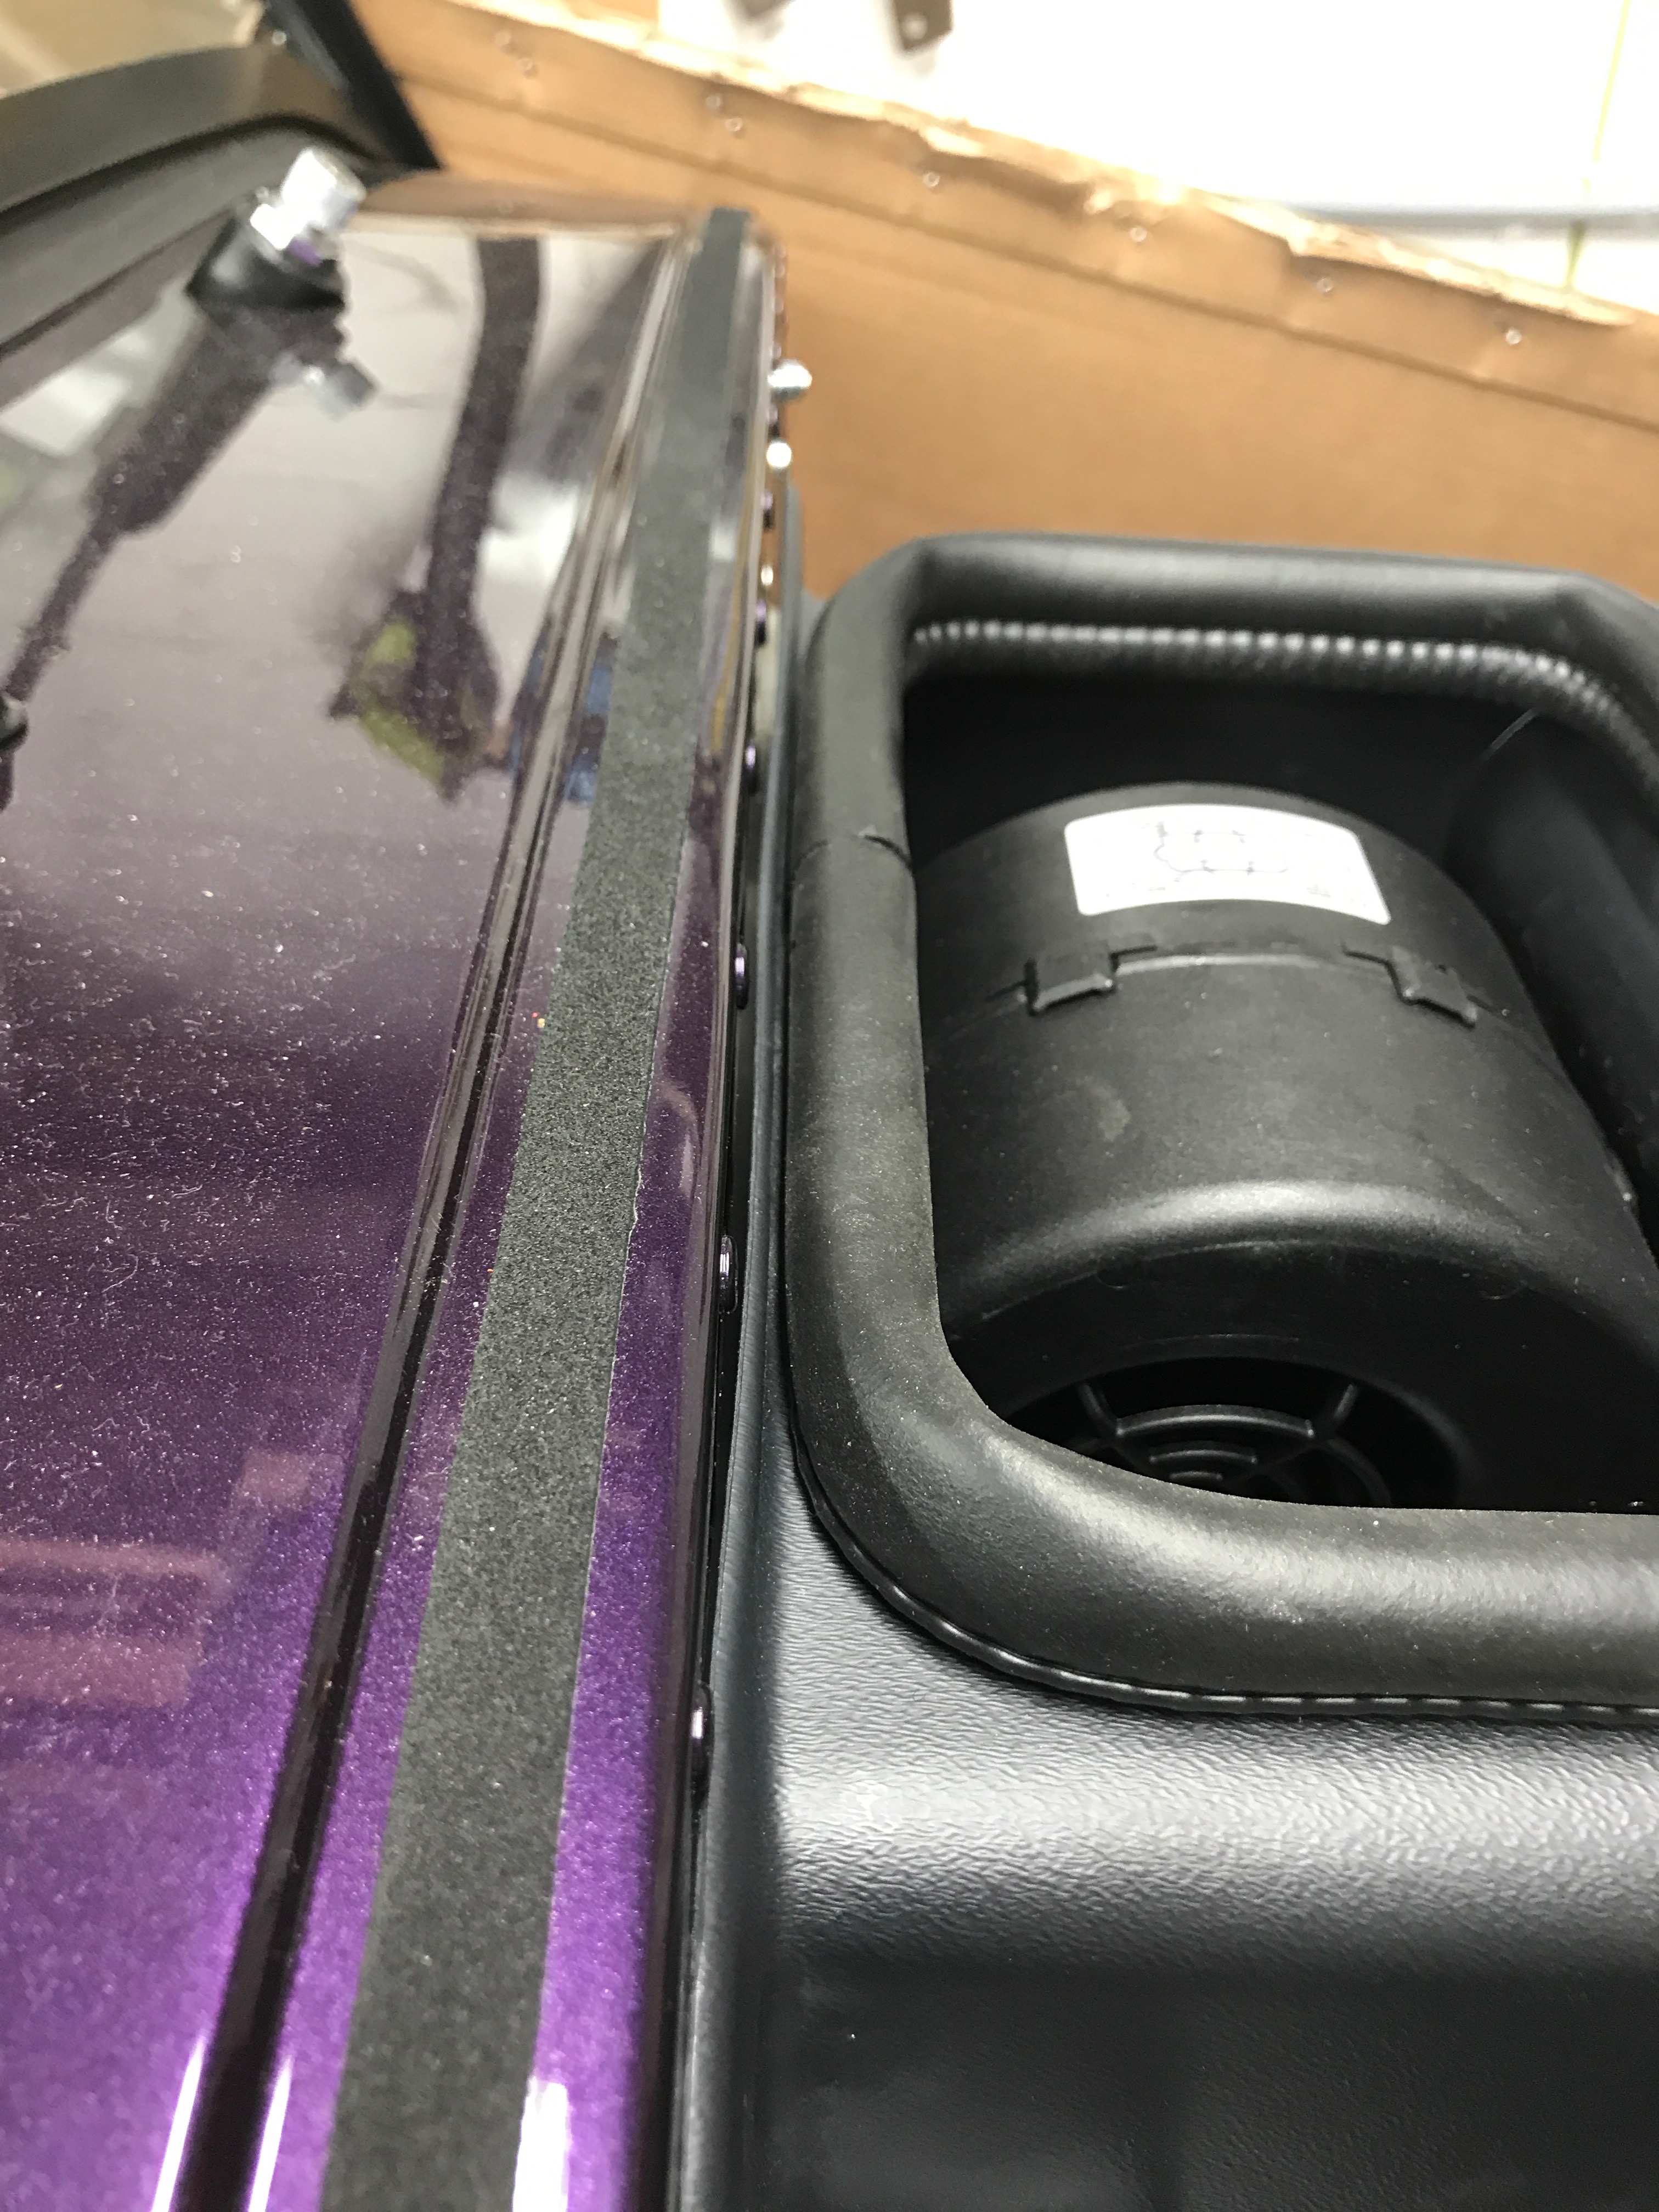
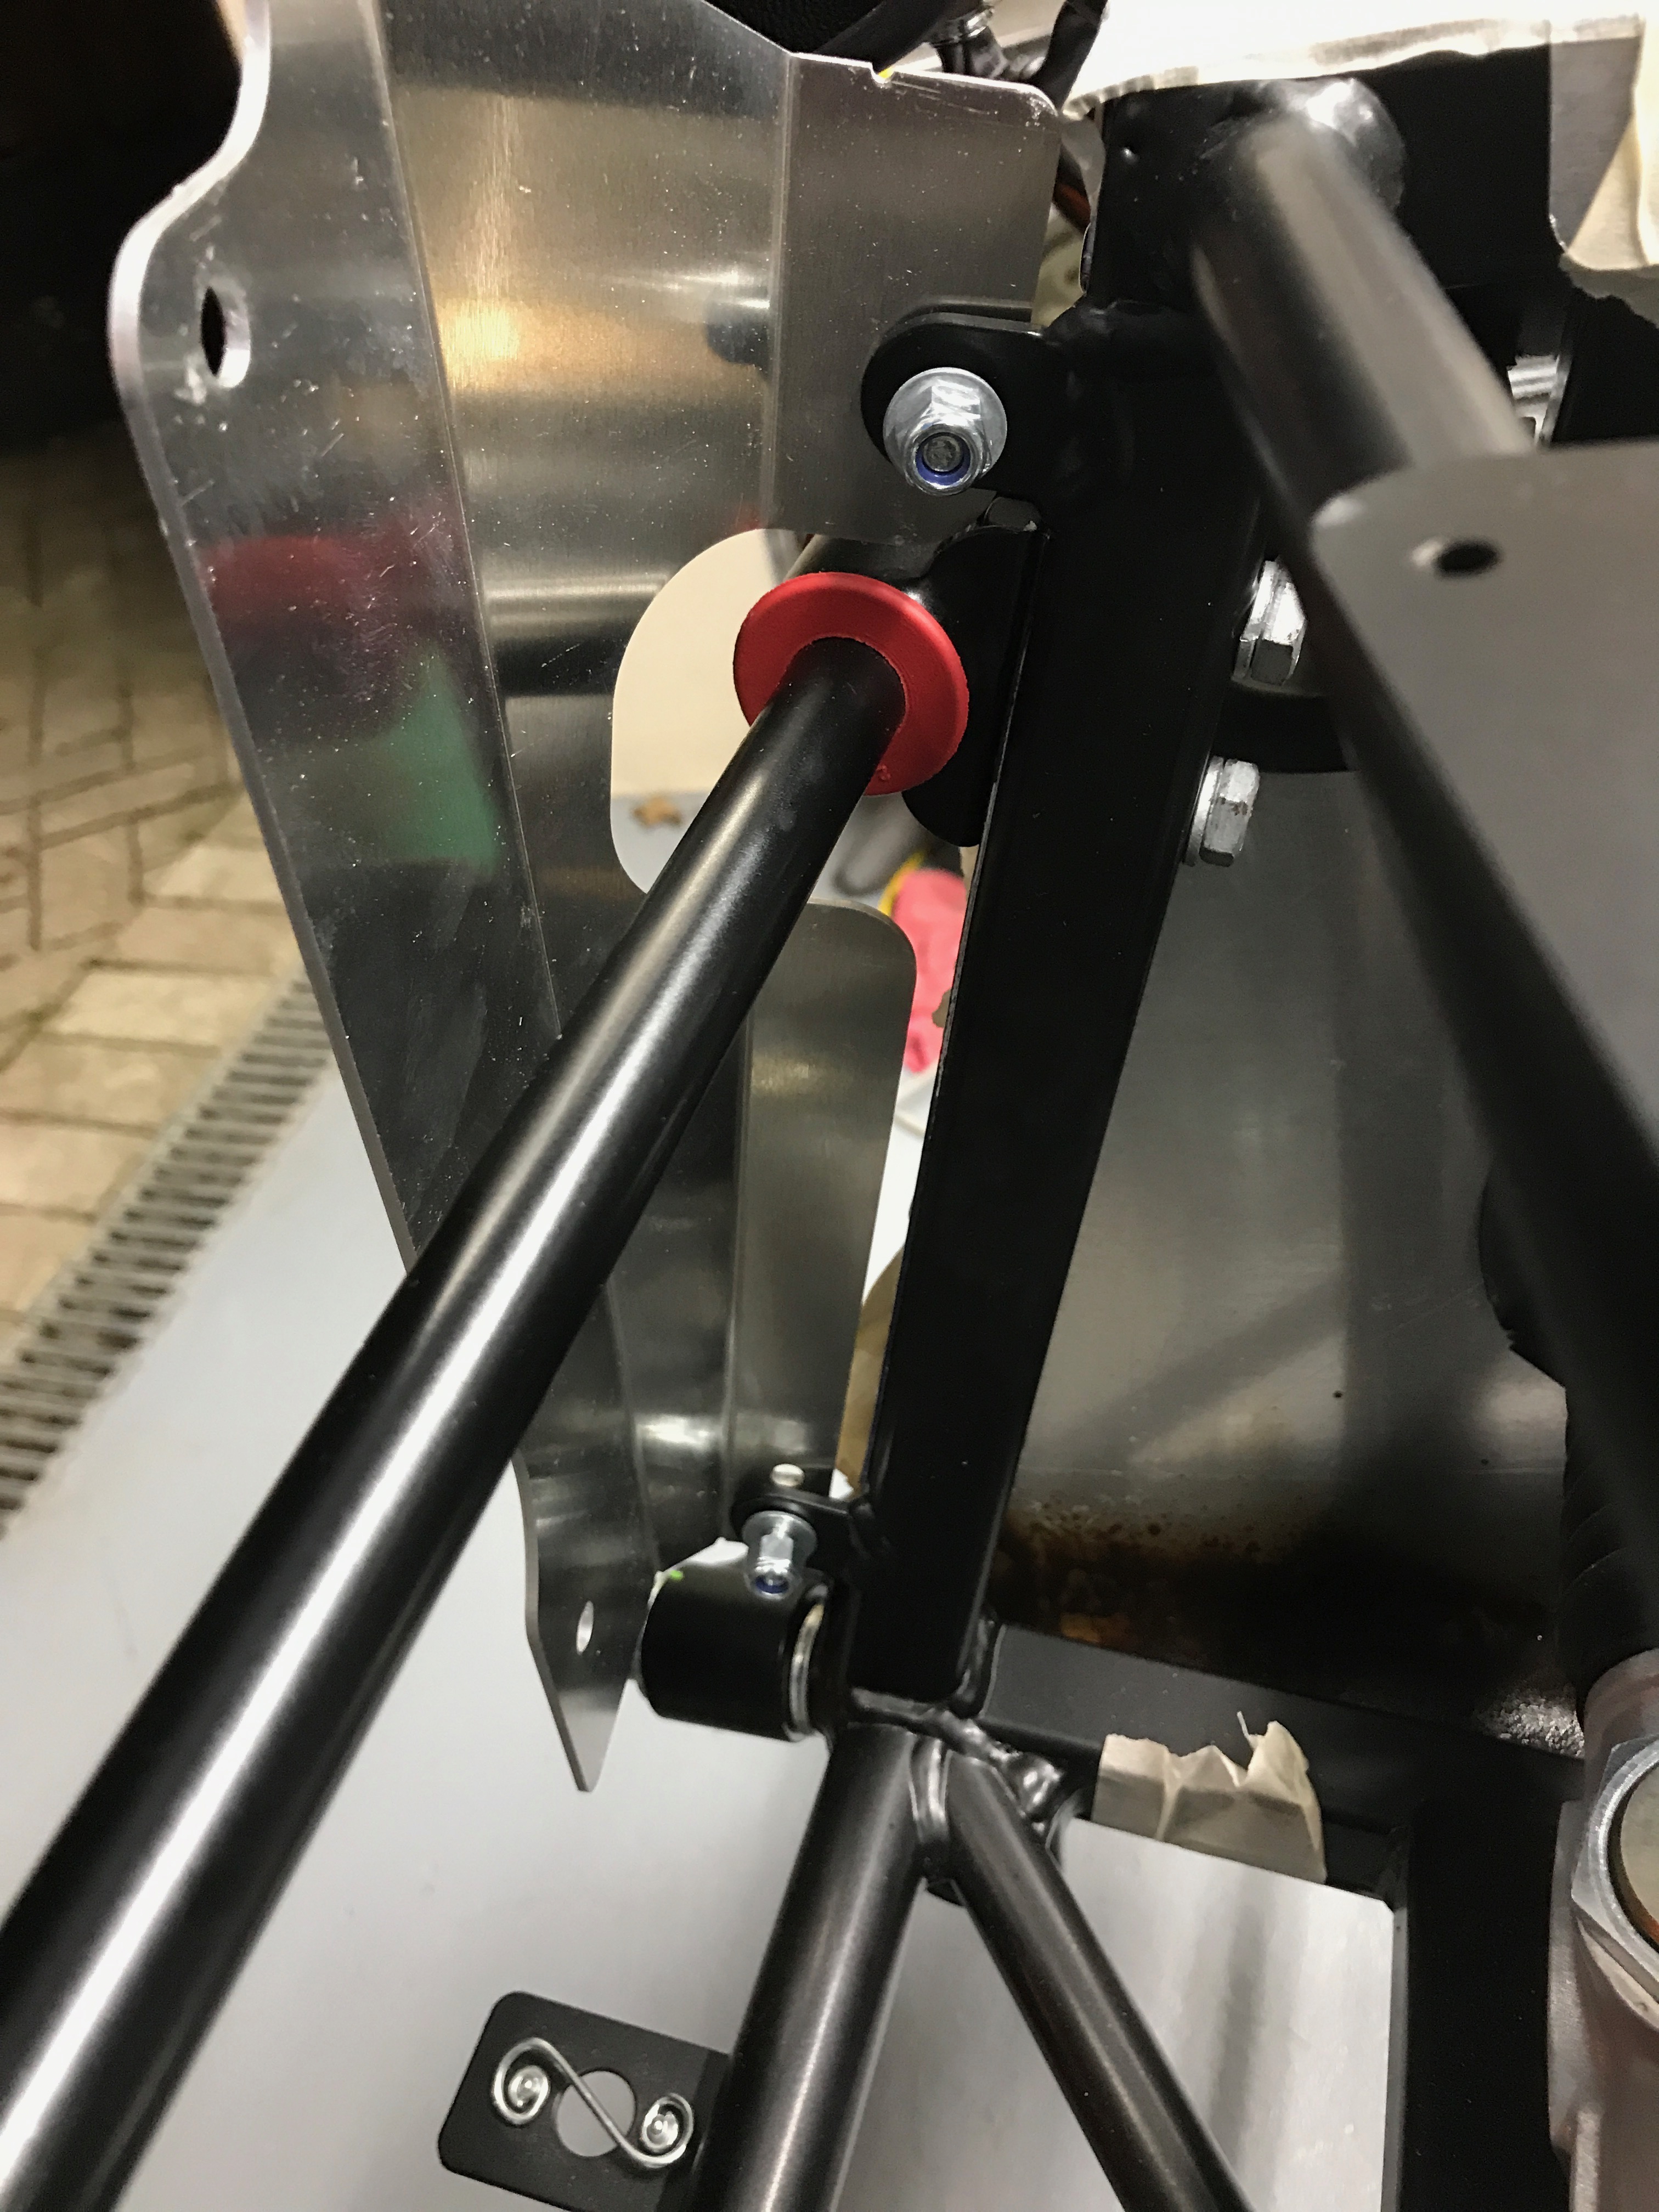
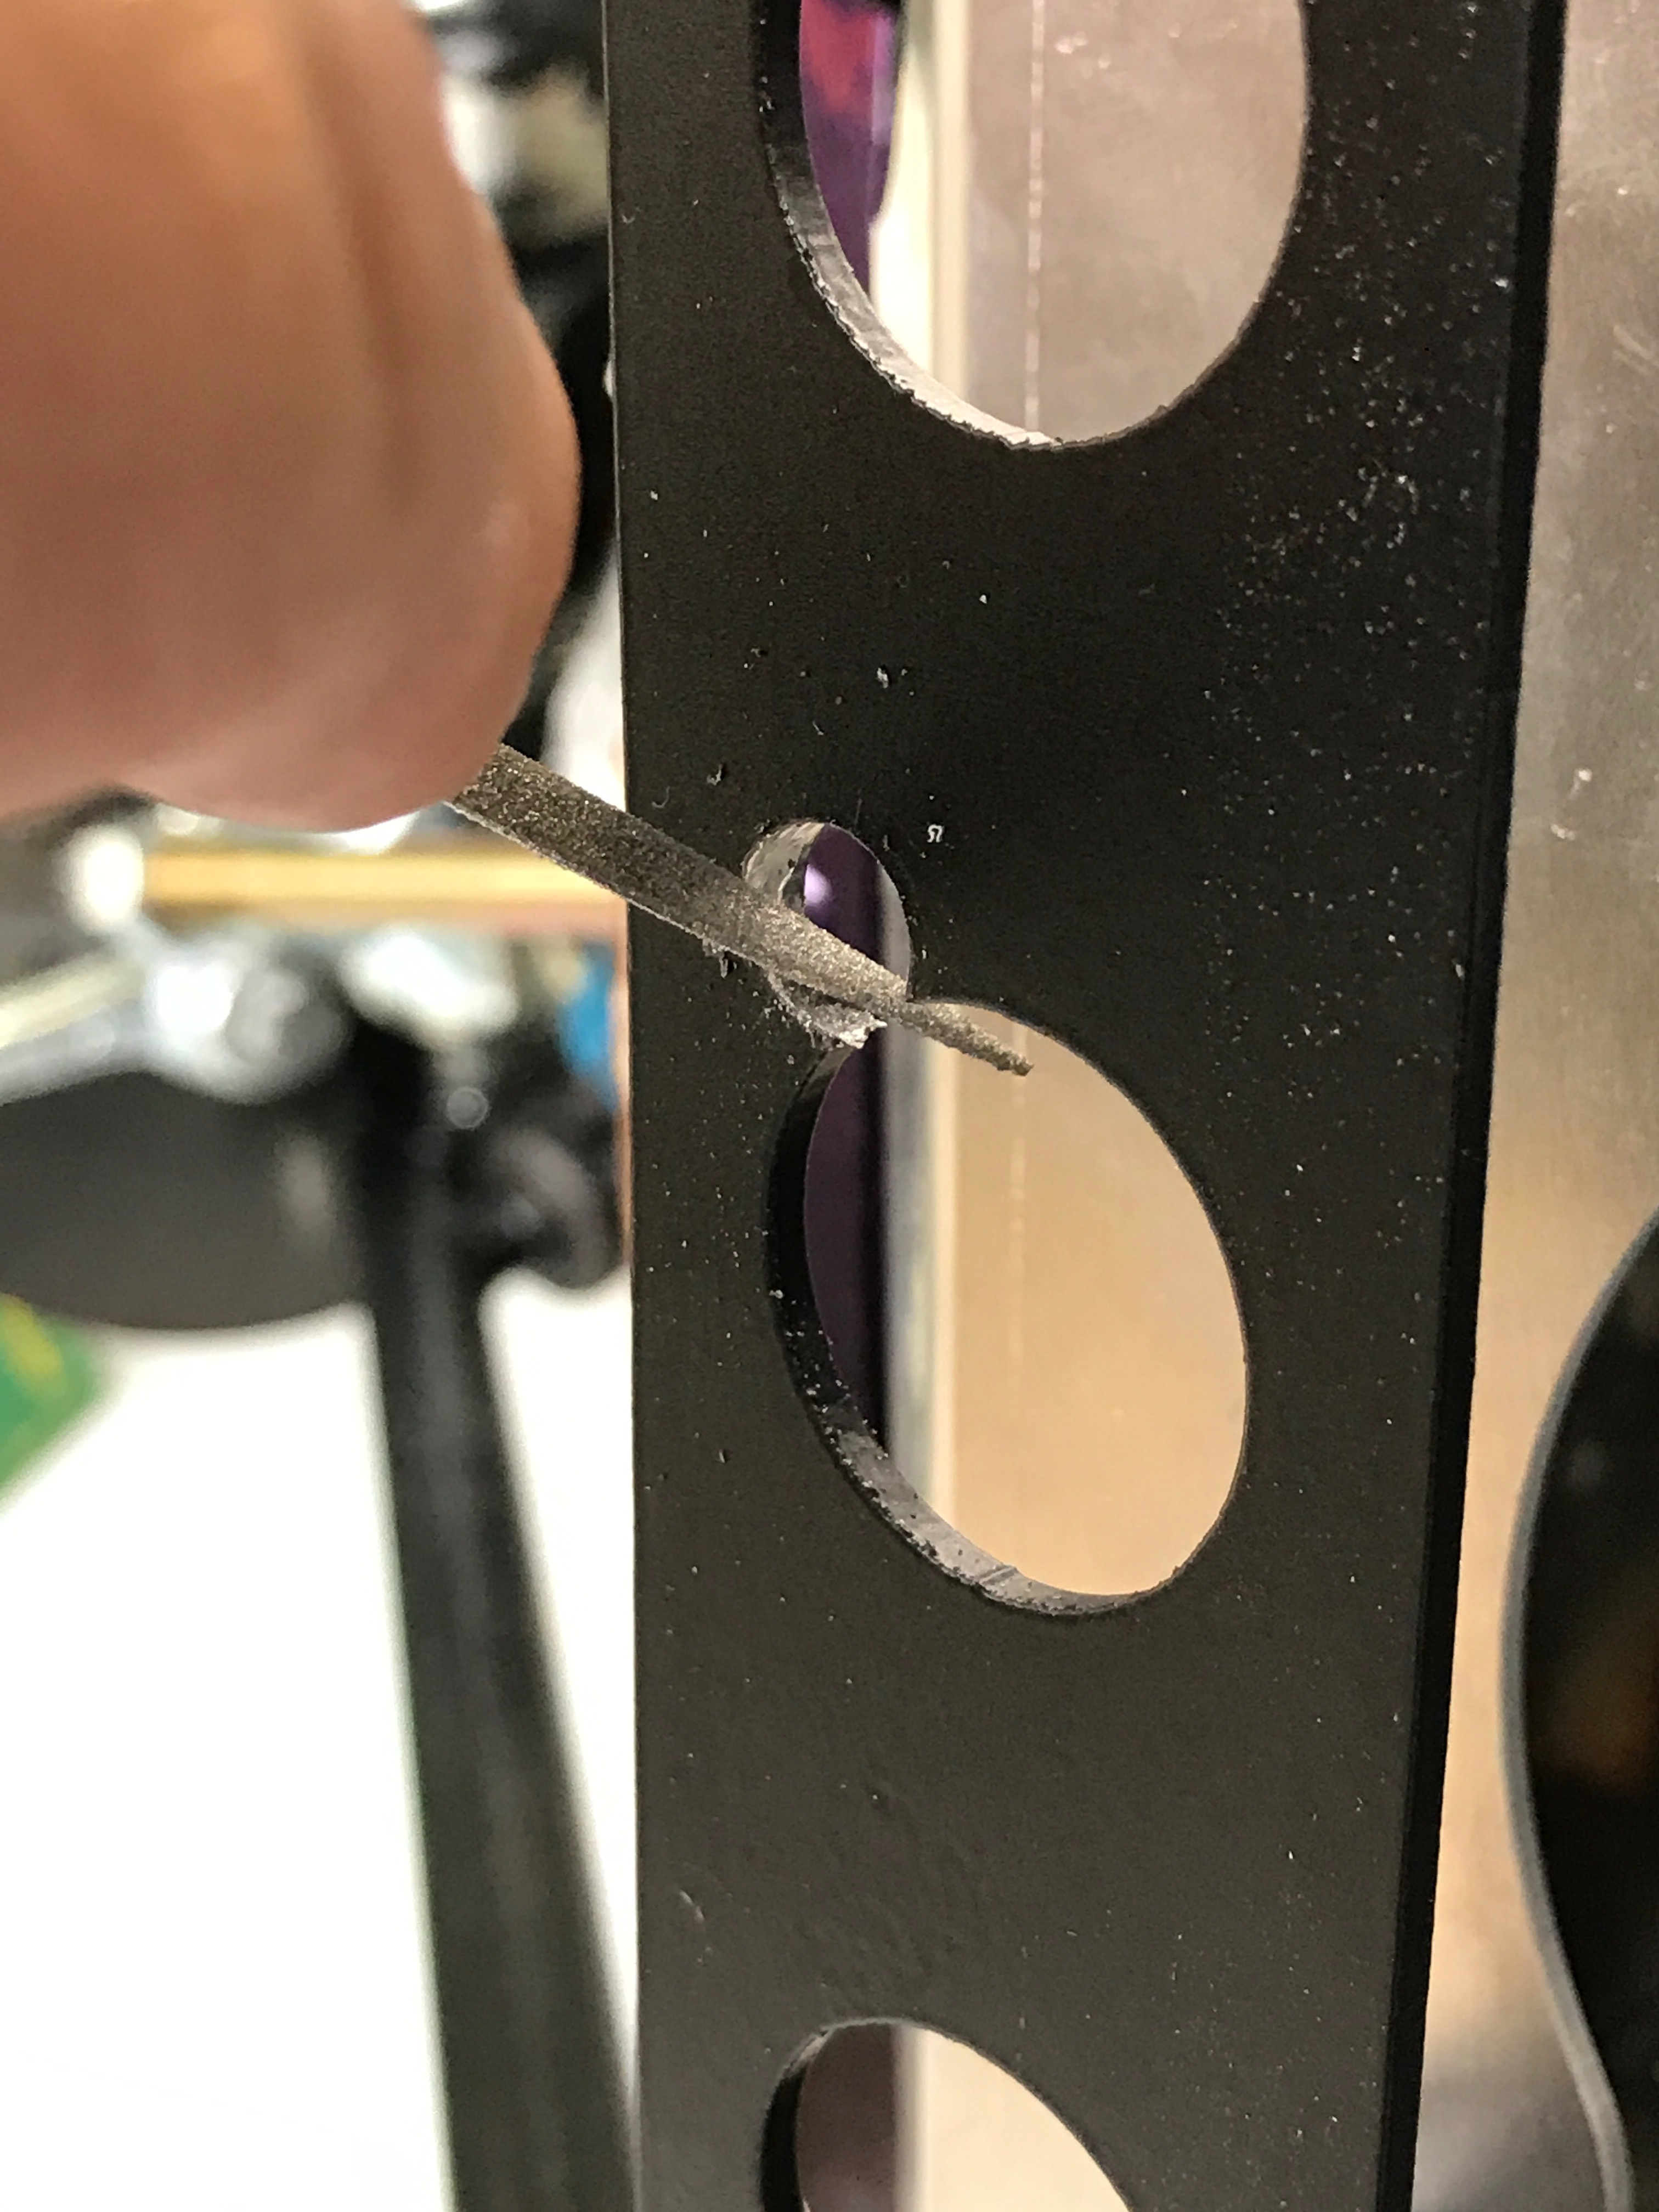
As you can see in the image above, there’s a gap between the heater assembly and the firewall/scuttle edge. I’ve seen some people post and say they’ve added a bead of silicone to the heater edge to seal the gap. Perhaps I’ve got the wrong end of the stick with what they’re doing but I don’t see how this helps. In the picture below you can see the foam strip that runs around the aperture, behind the round vents at the bottom of the picture, where the air is actually blown into the passenger compartment. That is what is providing the airtight seal for the heater, not any silicone added to the top edge. Silicone is also nasty stuff… not nice to remove if I ever need to remove the heater, or anything else afflicted by the use of it. I’ll use silicone sparingly.
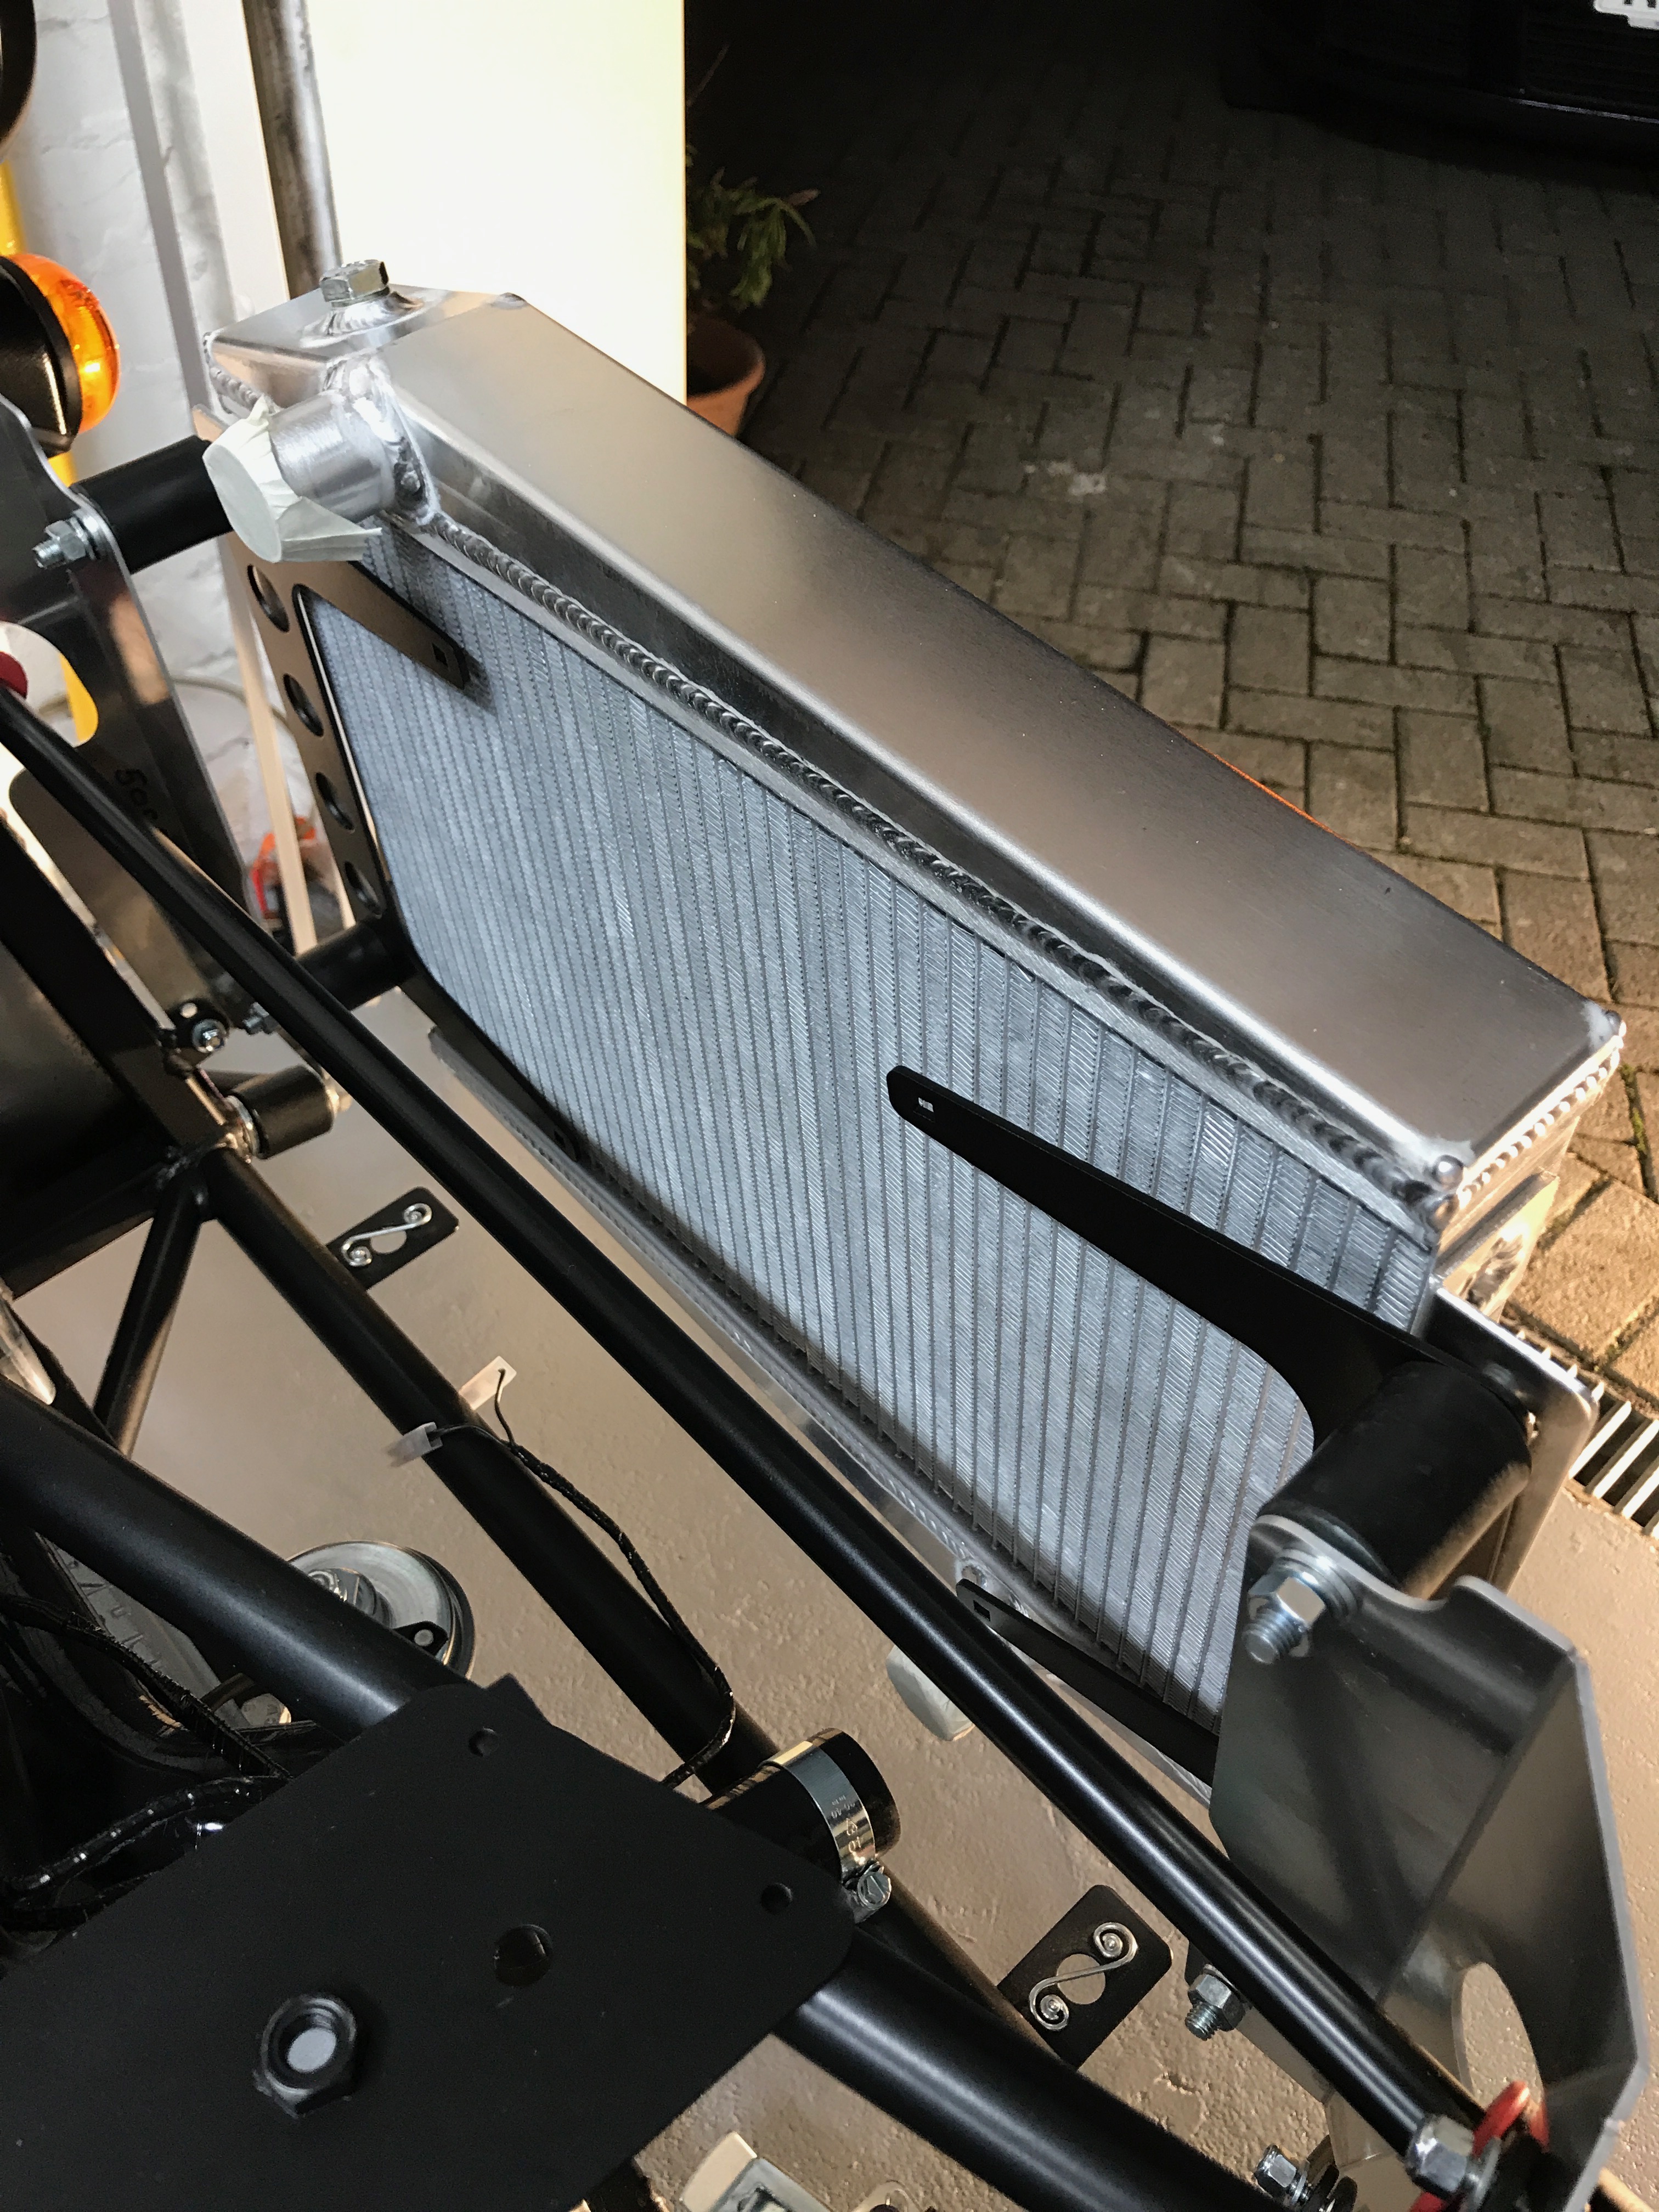
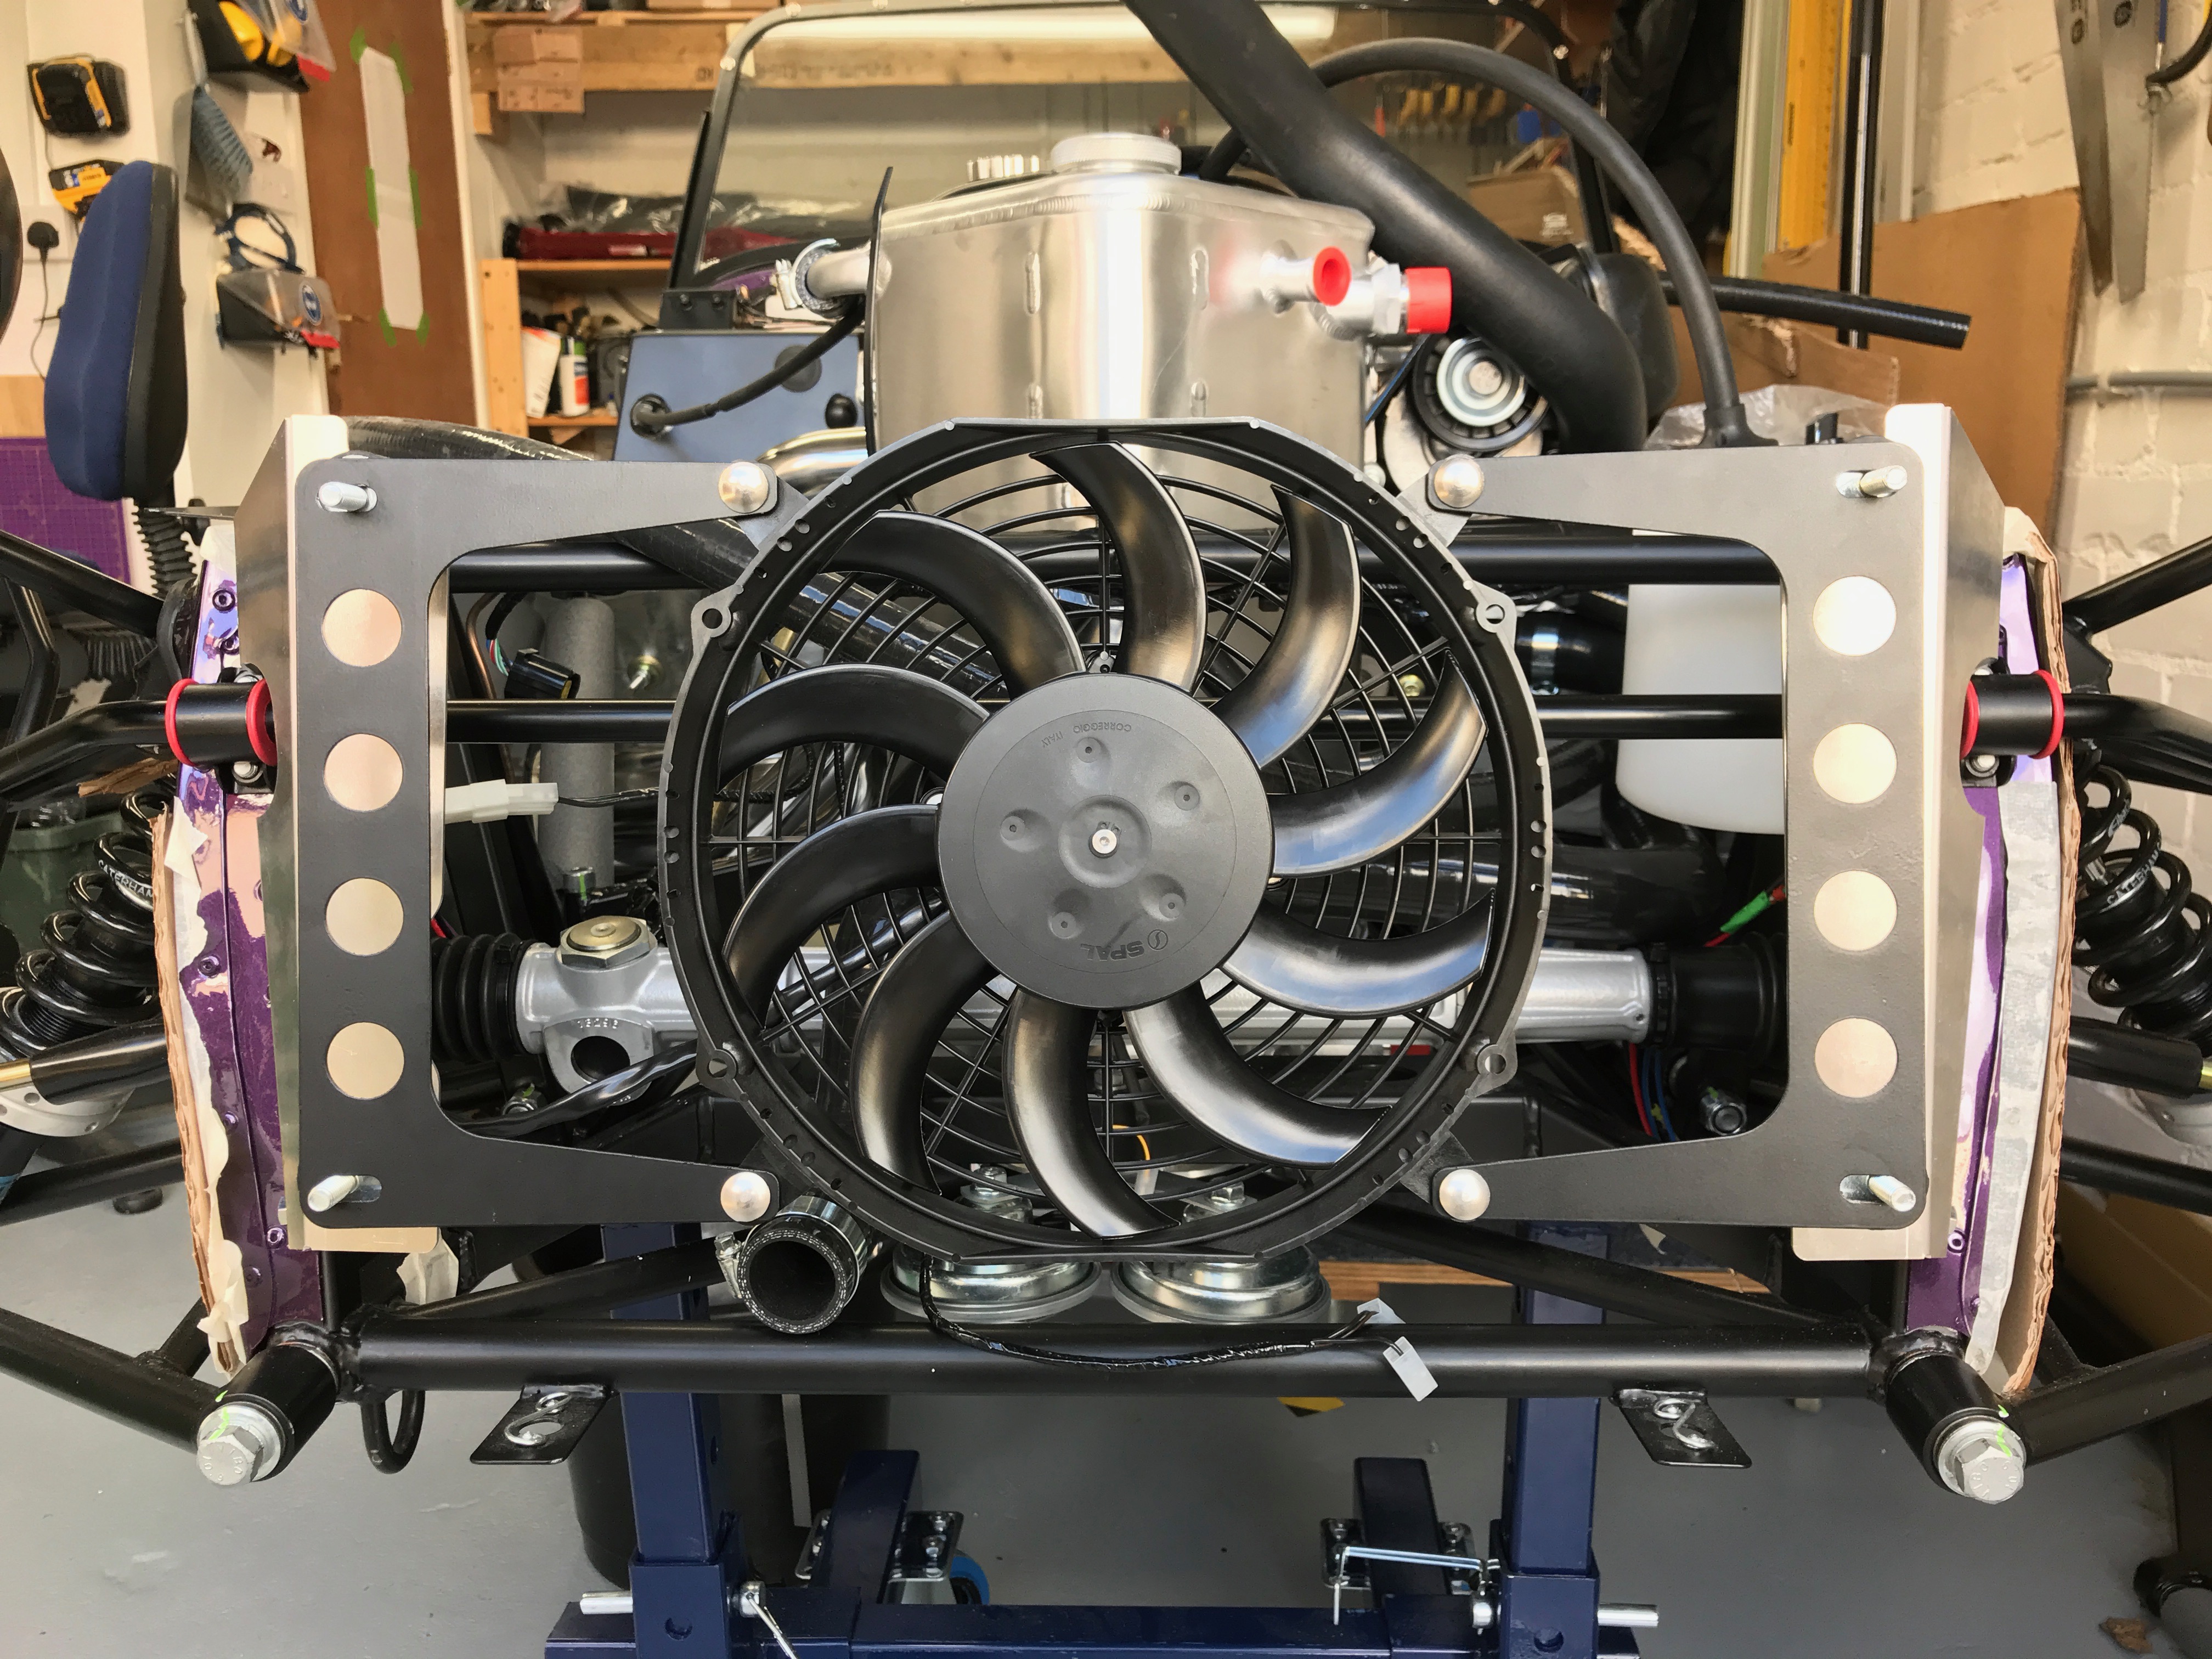
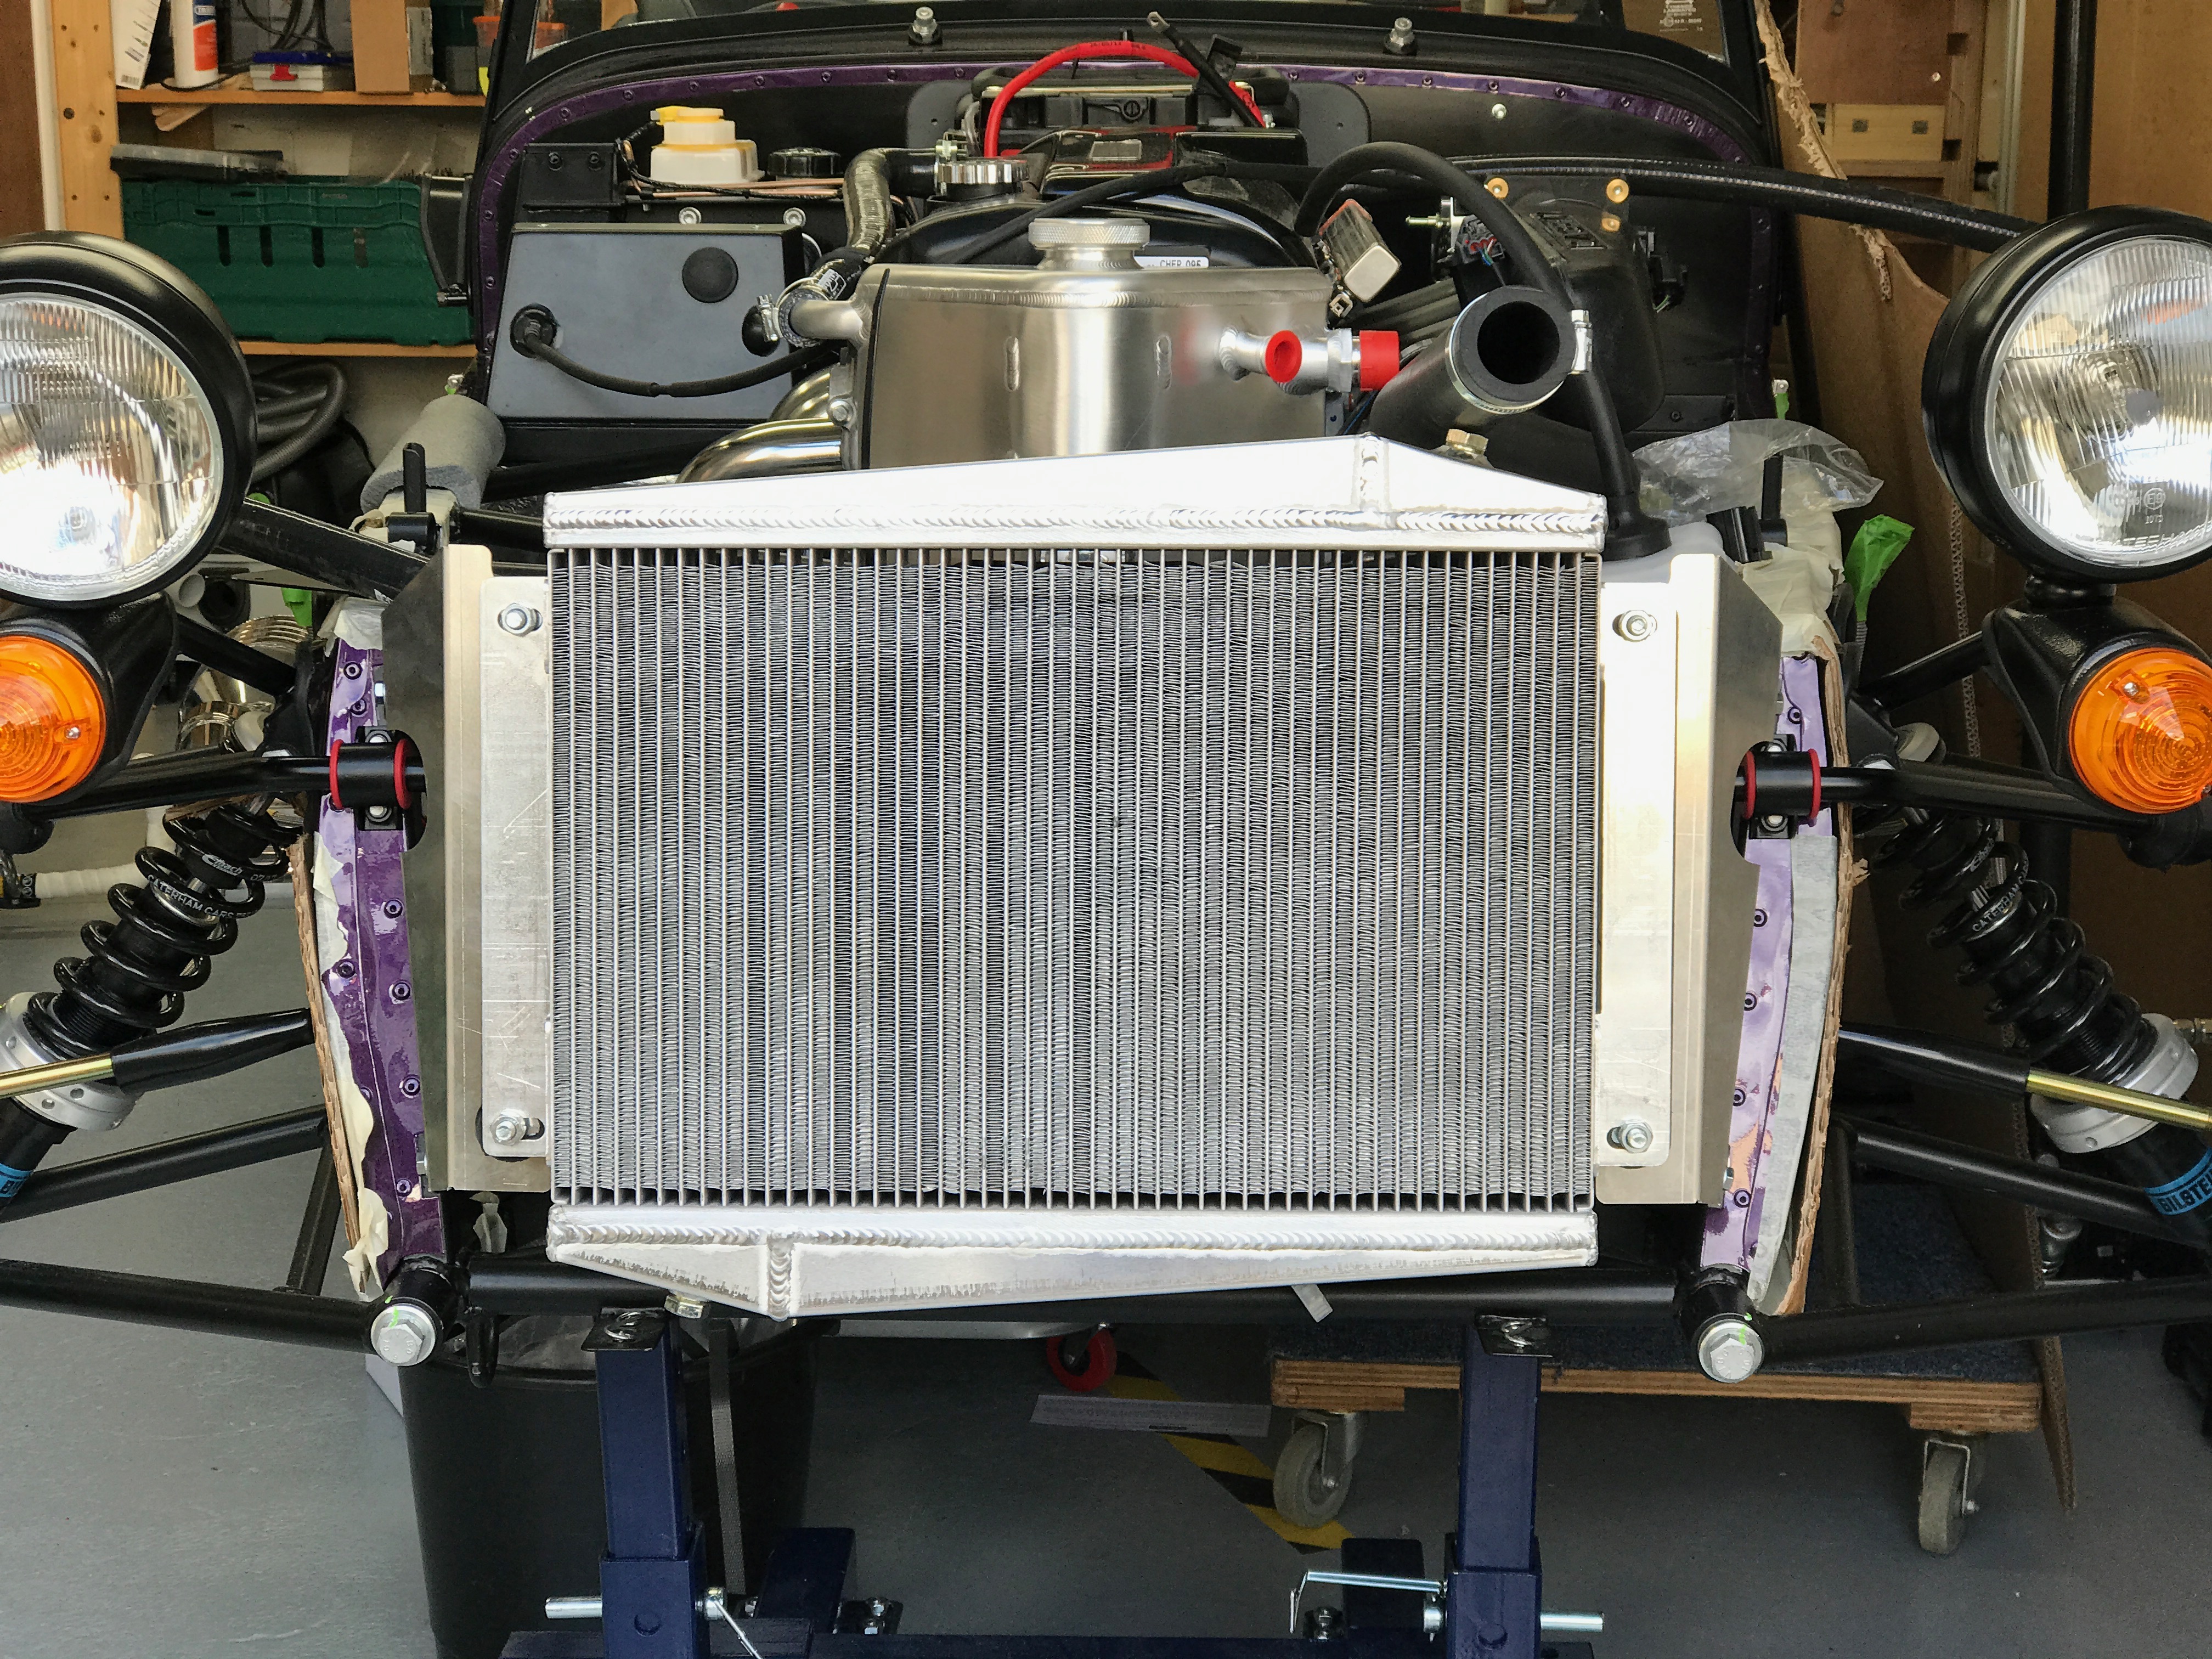
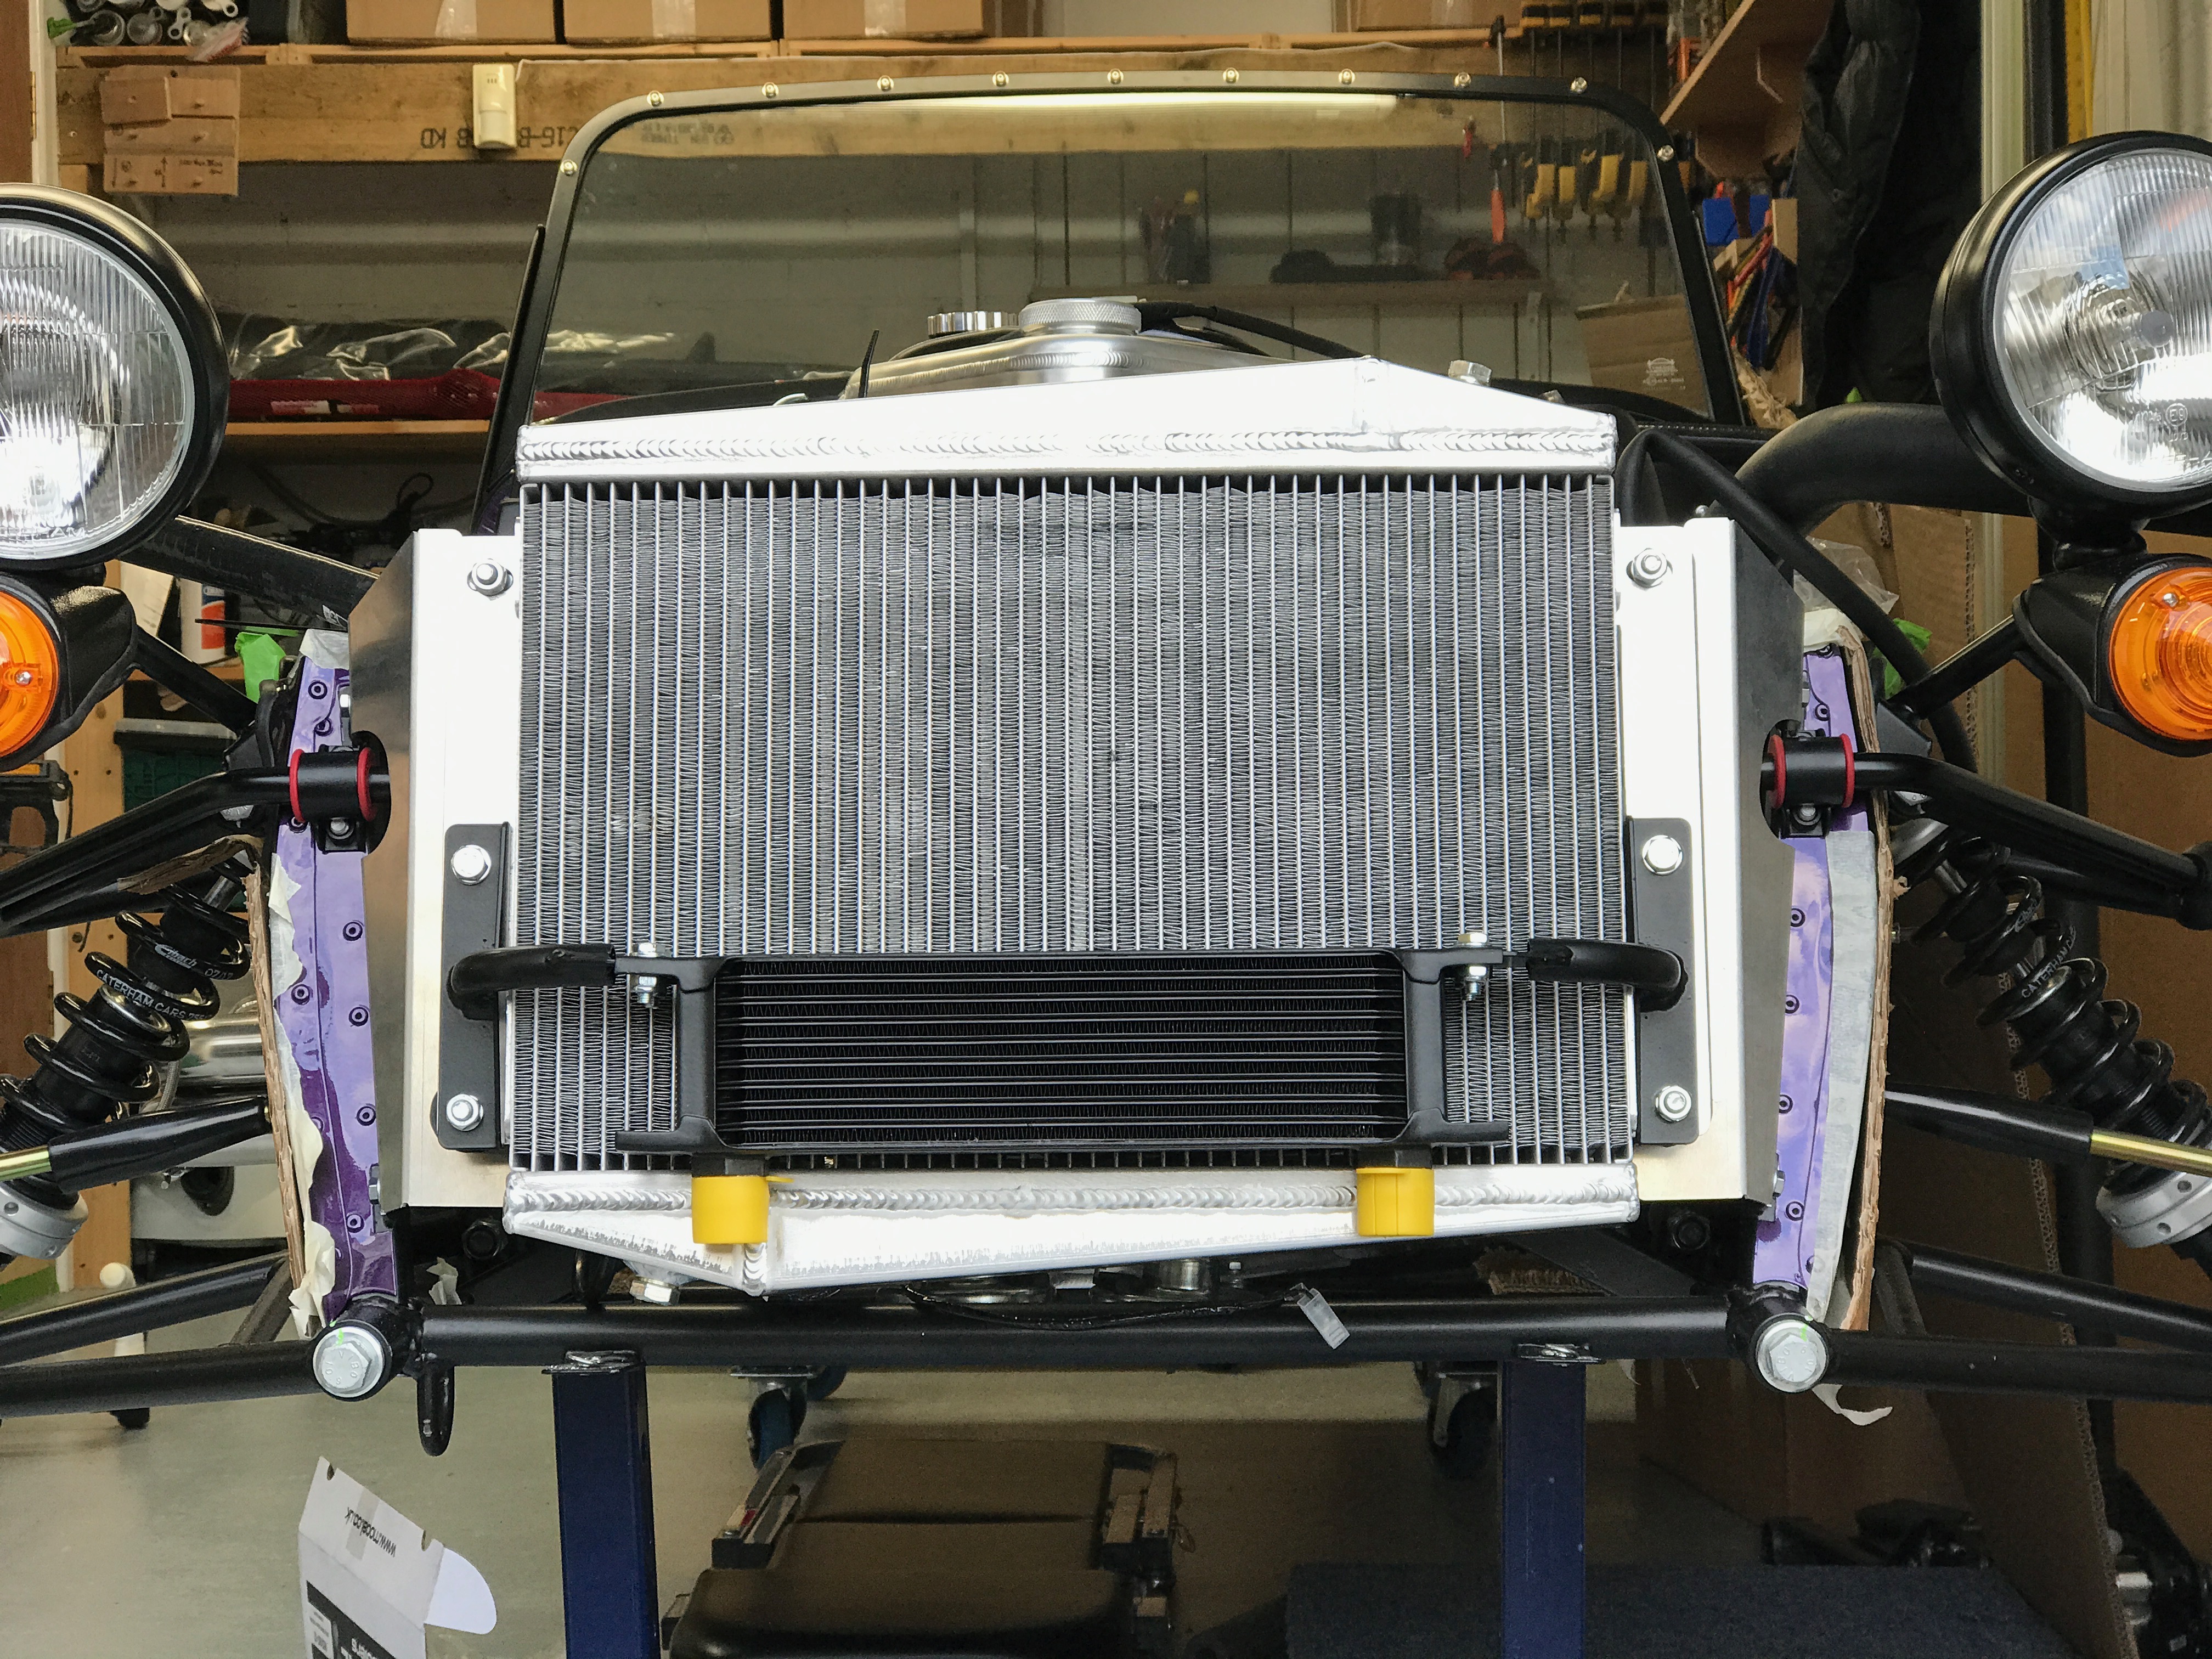
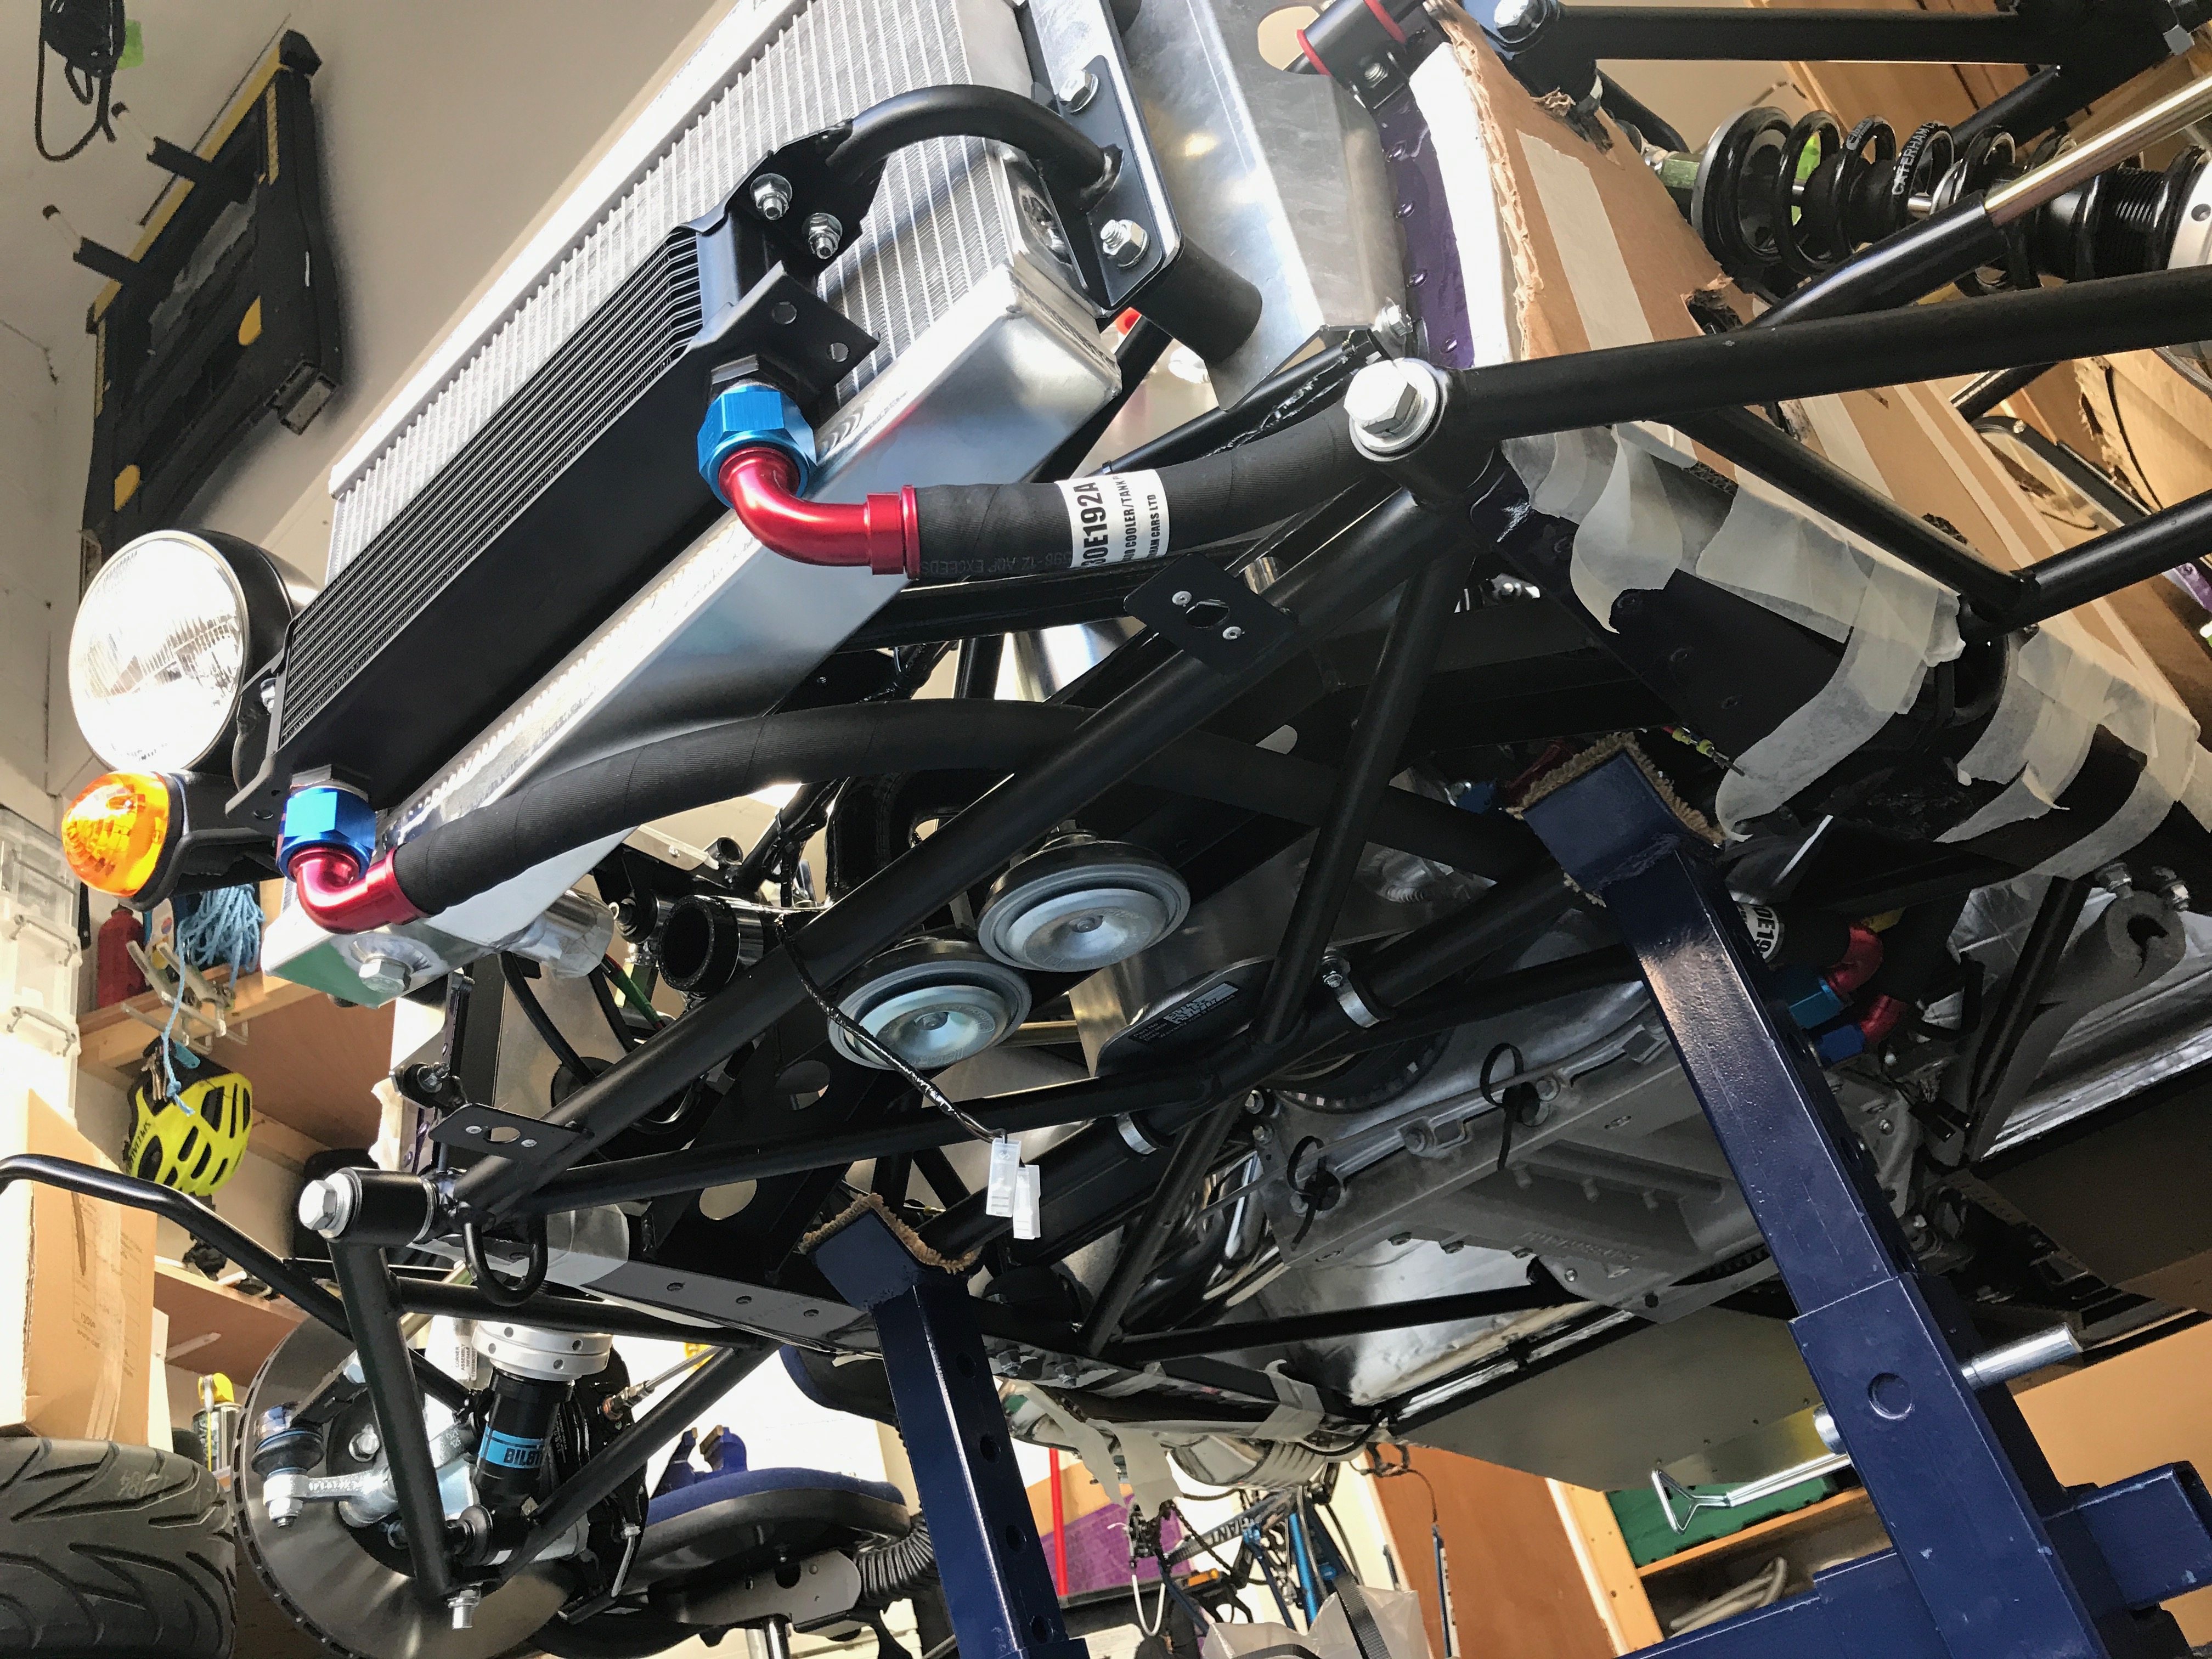
Sept 9th – Fit Radiators and Oil Hoses
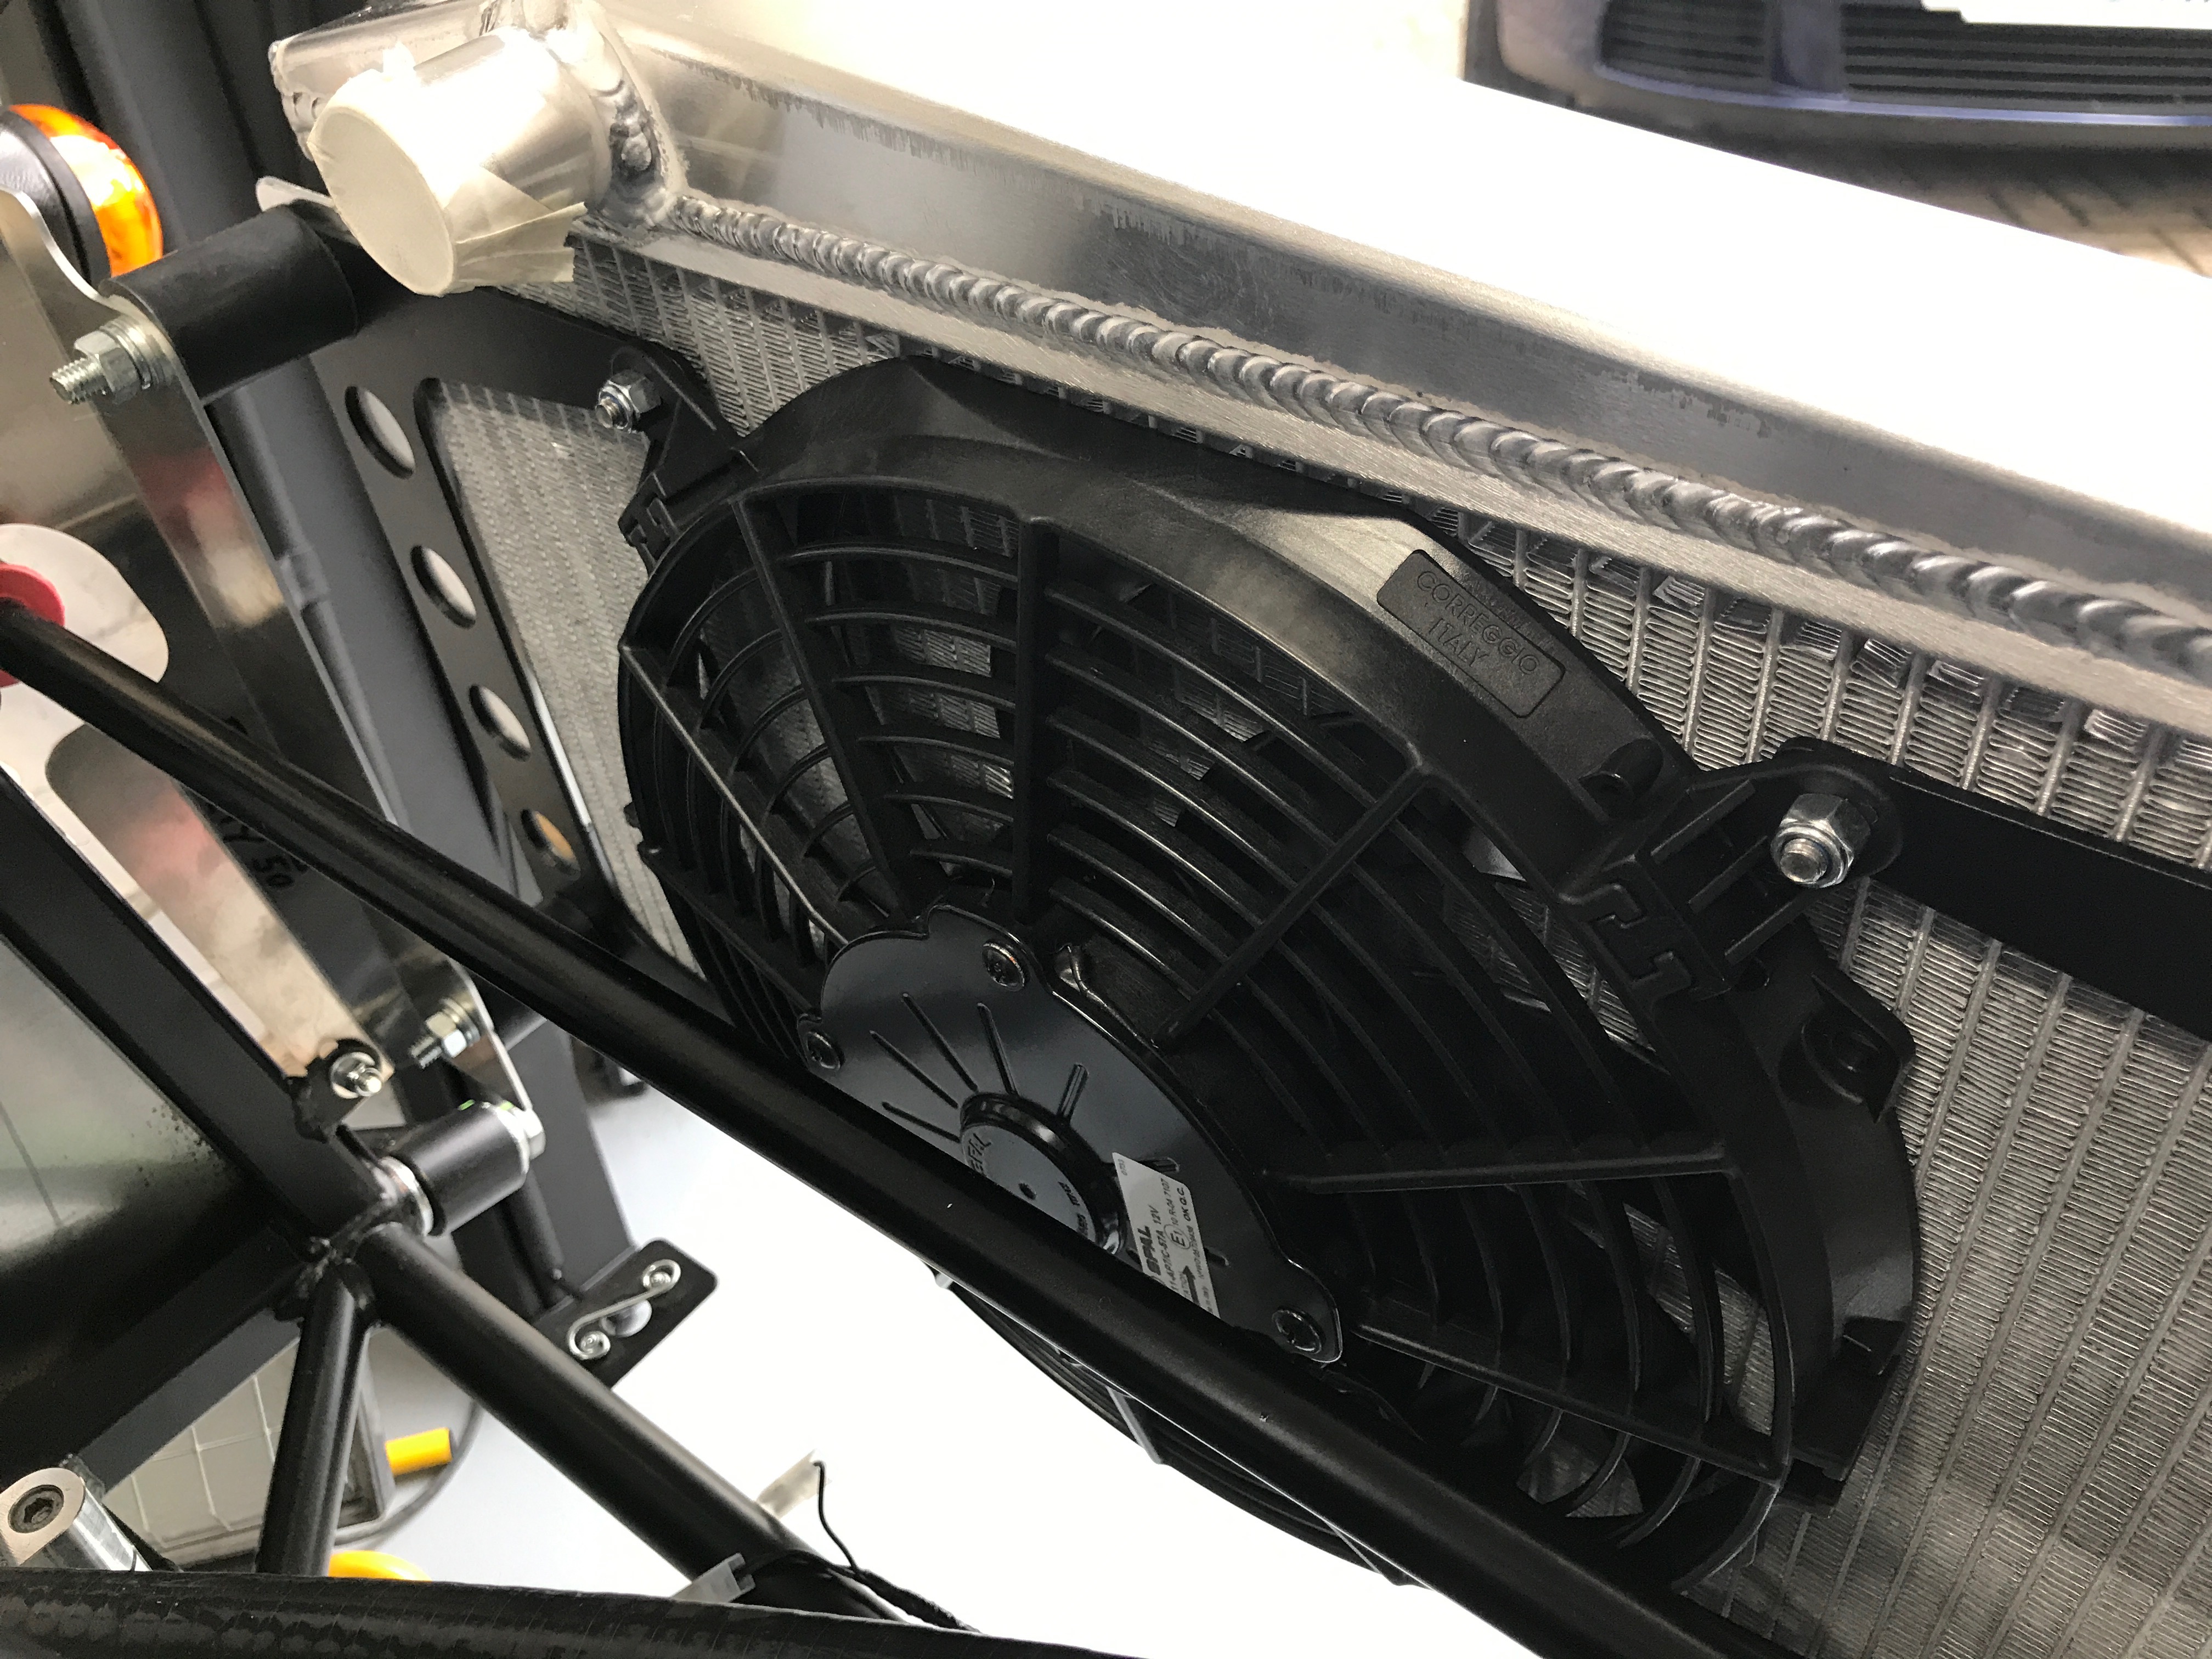
The fan legs had arrived by now and I had a relatively free day to see if I could fit the radiator, fan, oil radiator and associated bracketry.
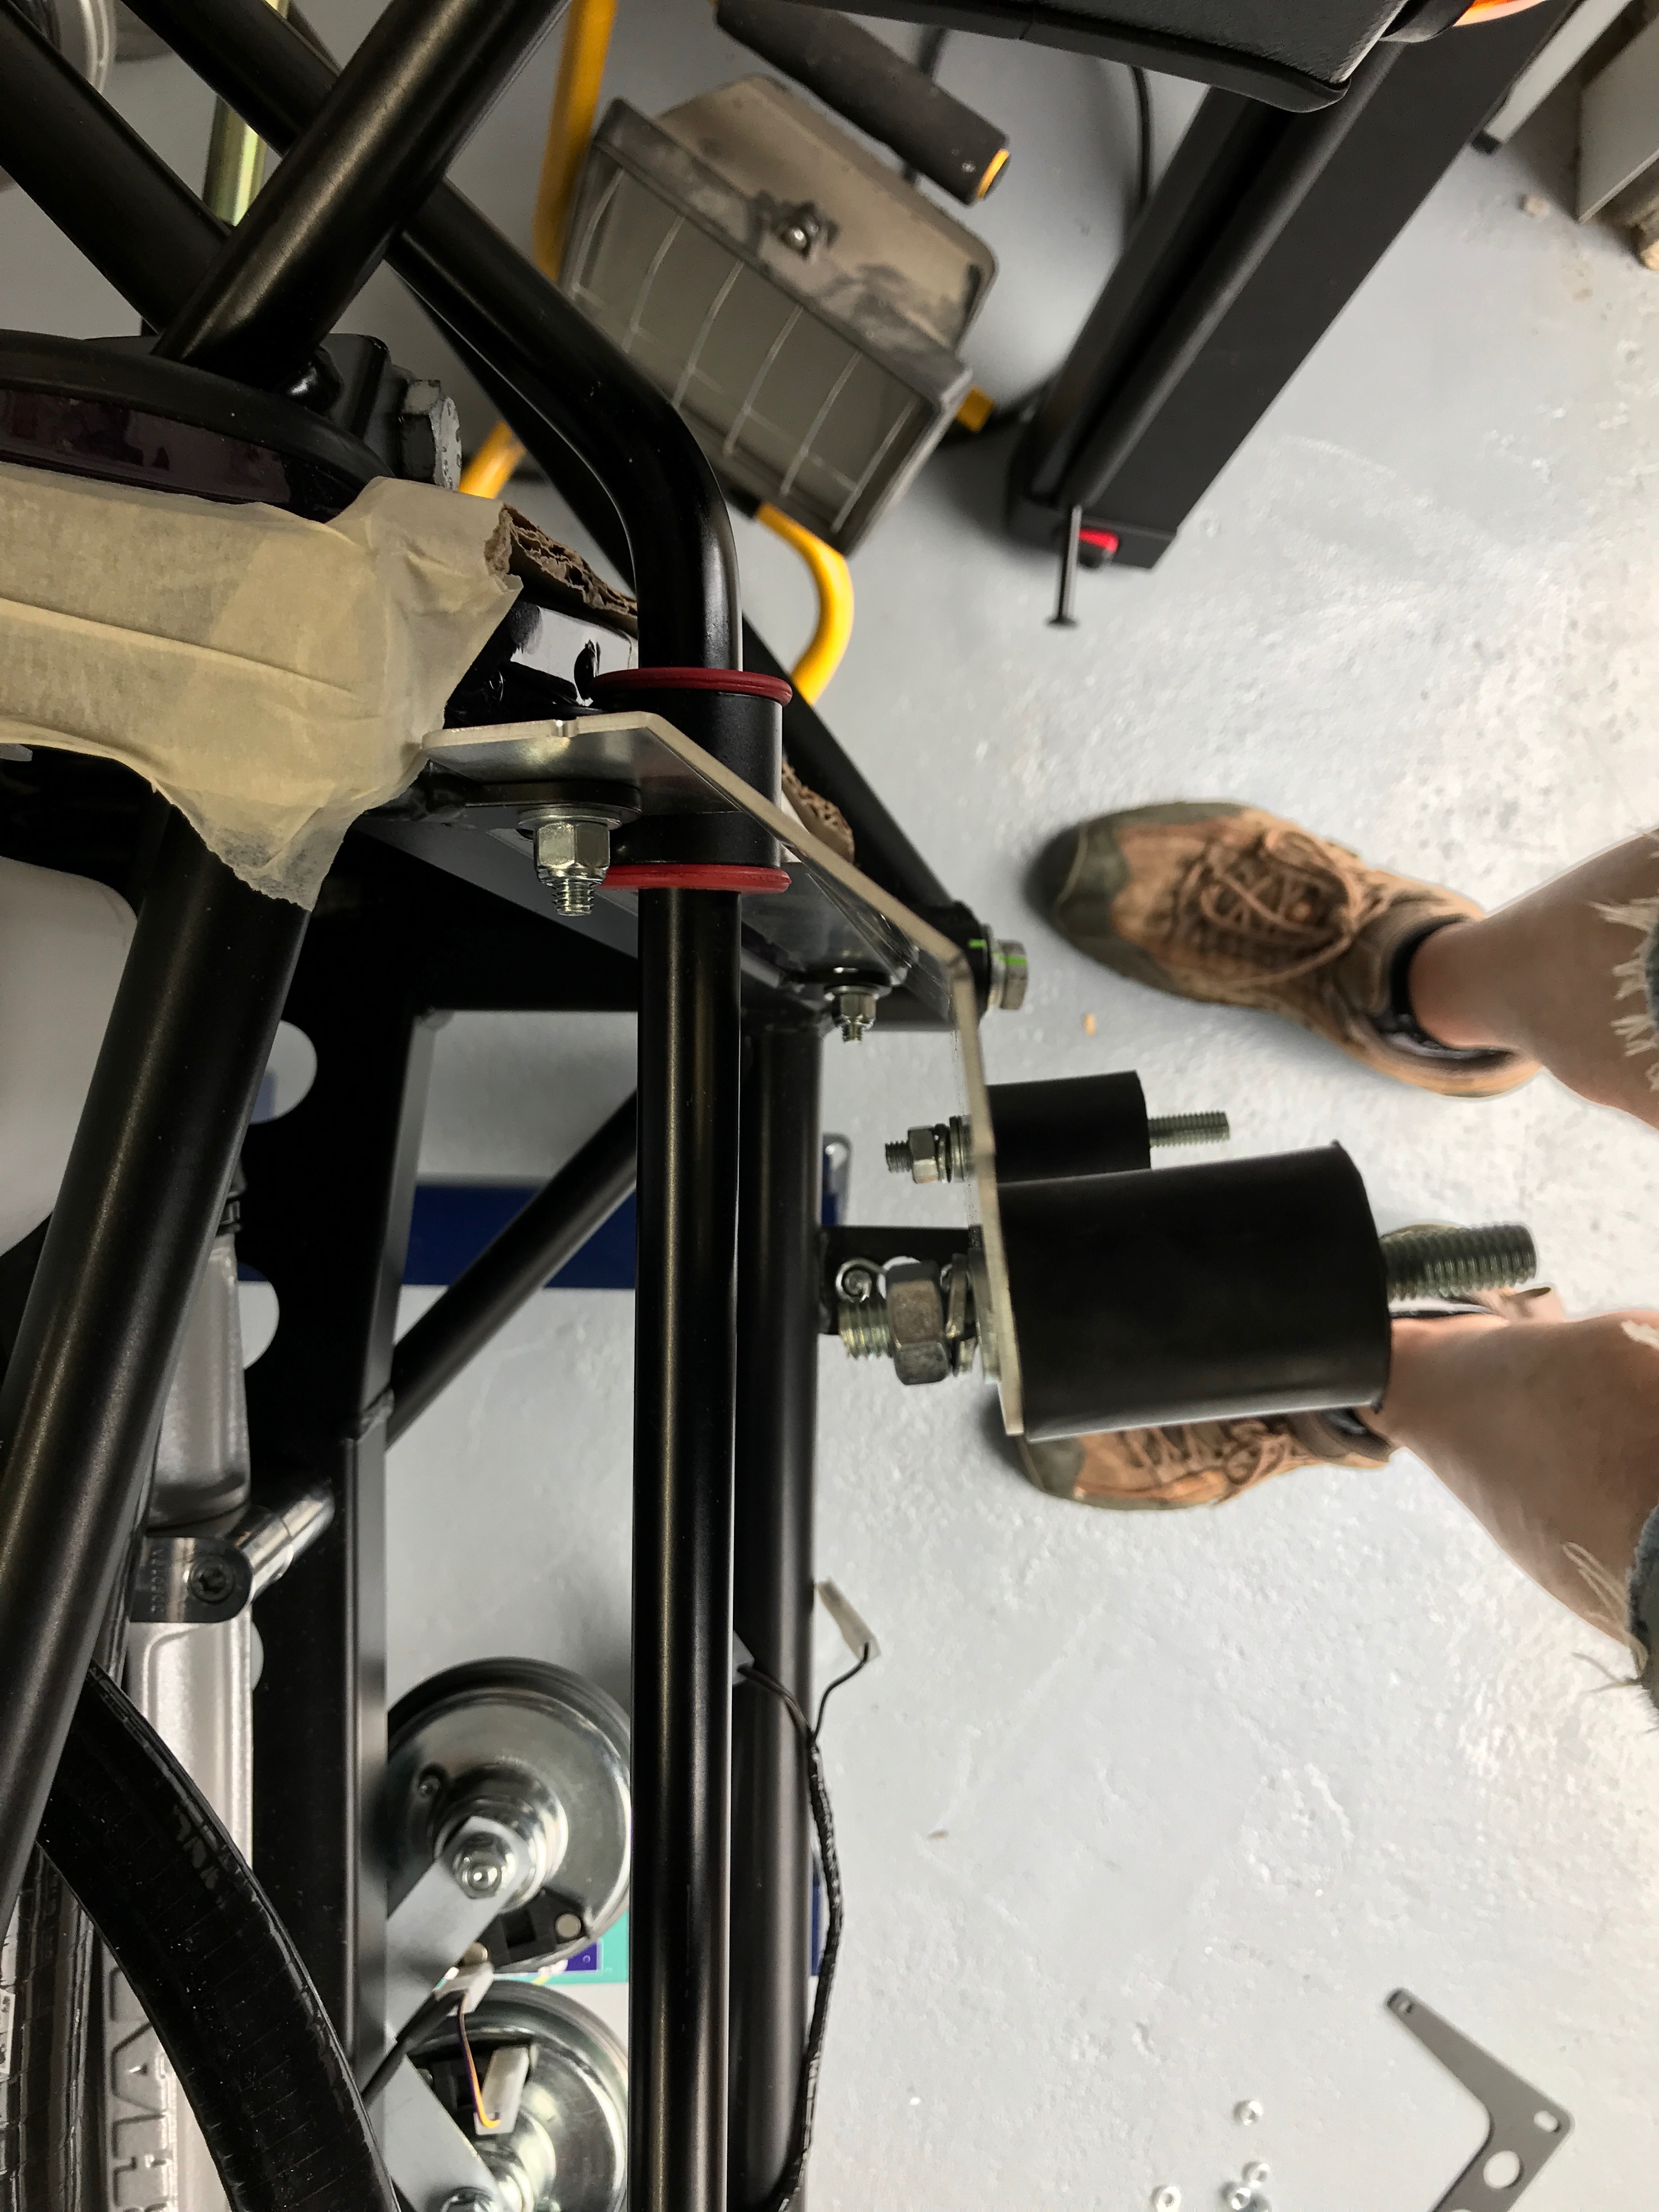
First get the SV radiator extensions and metalastic bobbins on.


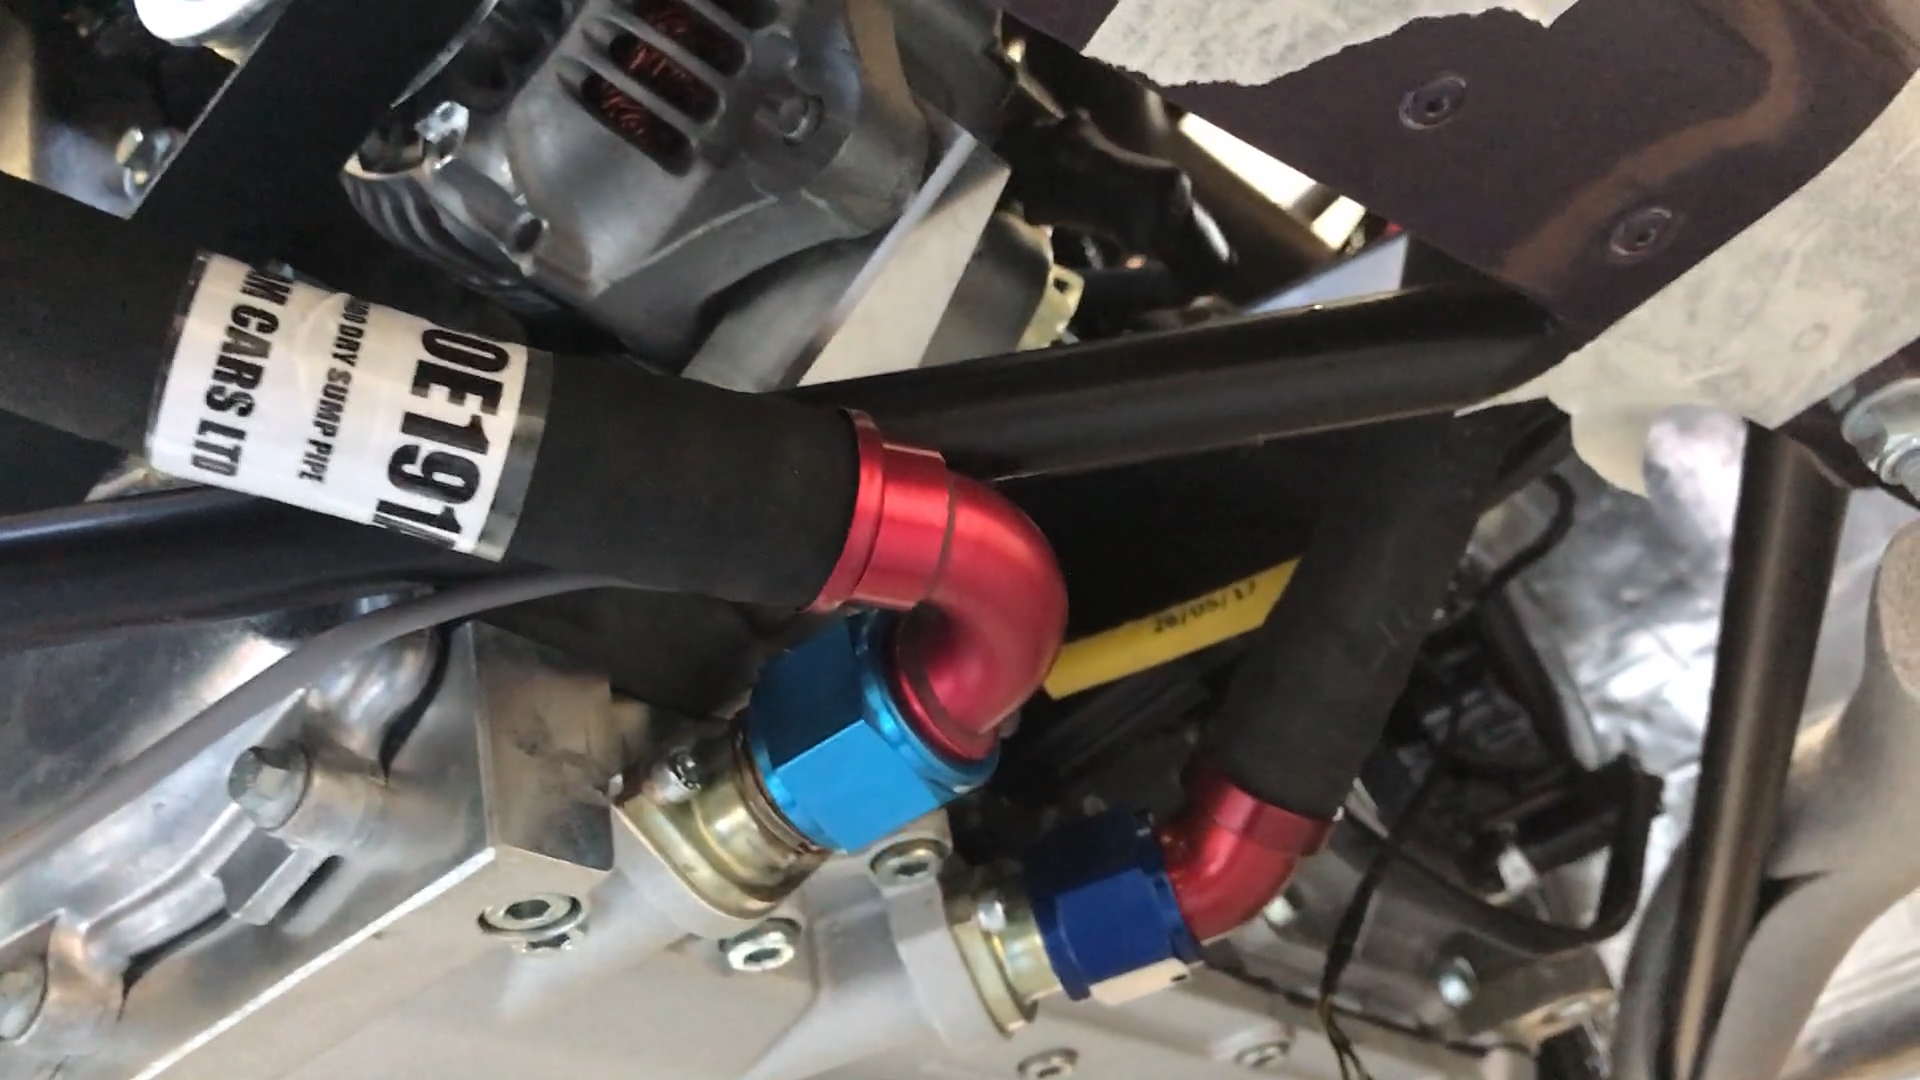
I then had a play around test fitting the oil hoses to the engine and the oil radiator. It wasn’t until a little later that I realised the part numbers written on the hoses are actually shown on the schematic diagram of the oil cooling system in the user manual – it’s small writing but you can read the part numbers. As it happened I’d figured out which hoses go where anyway, but would have saved myself a few minutes if I’d read the manual better. Another case of RTFM.

That was all I had time for today… now a quick dash from Bristol to Edinburgh to deliver Harry to University.

Leave a Comment