
After time for reflection over night and some blog reading…
Handbrake Cable… Again
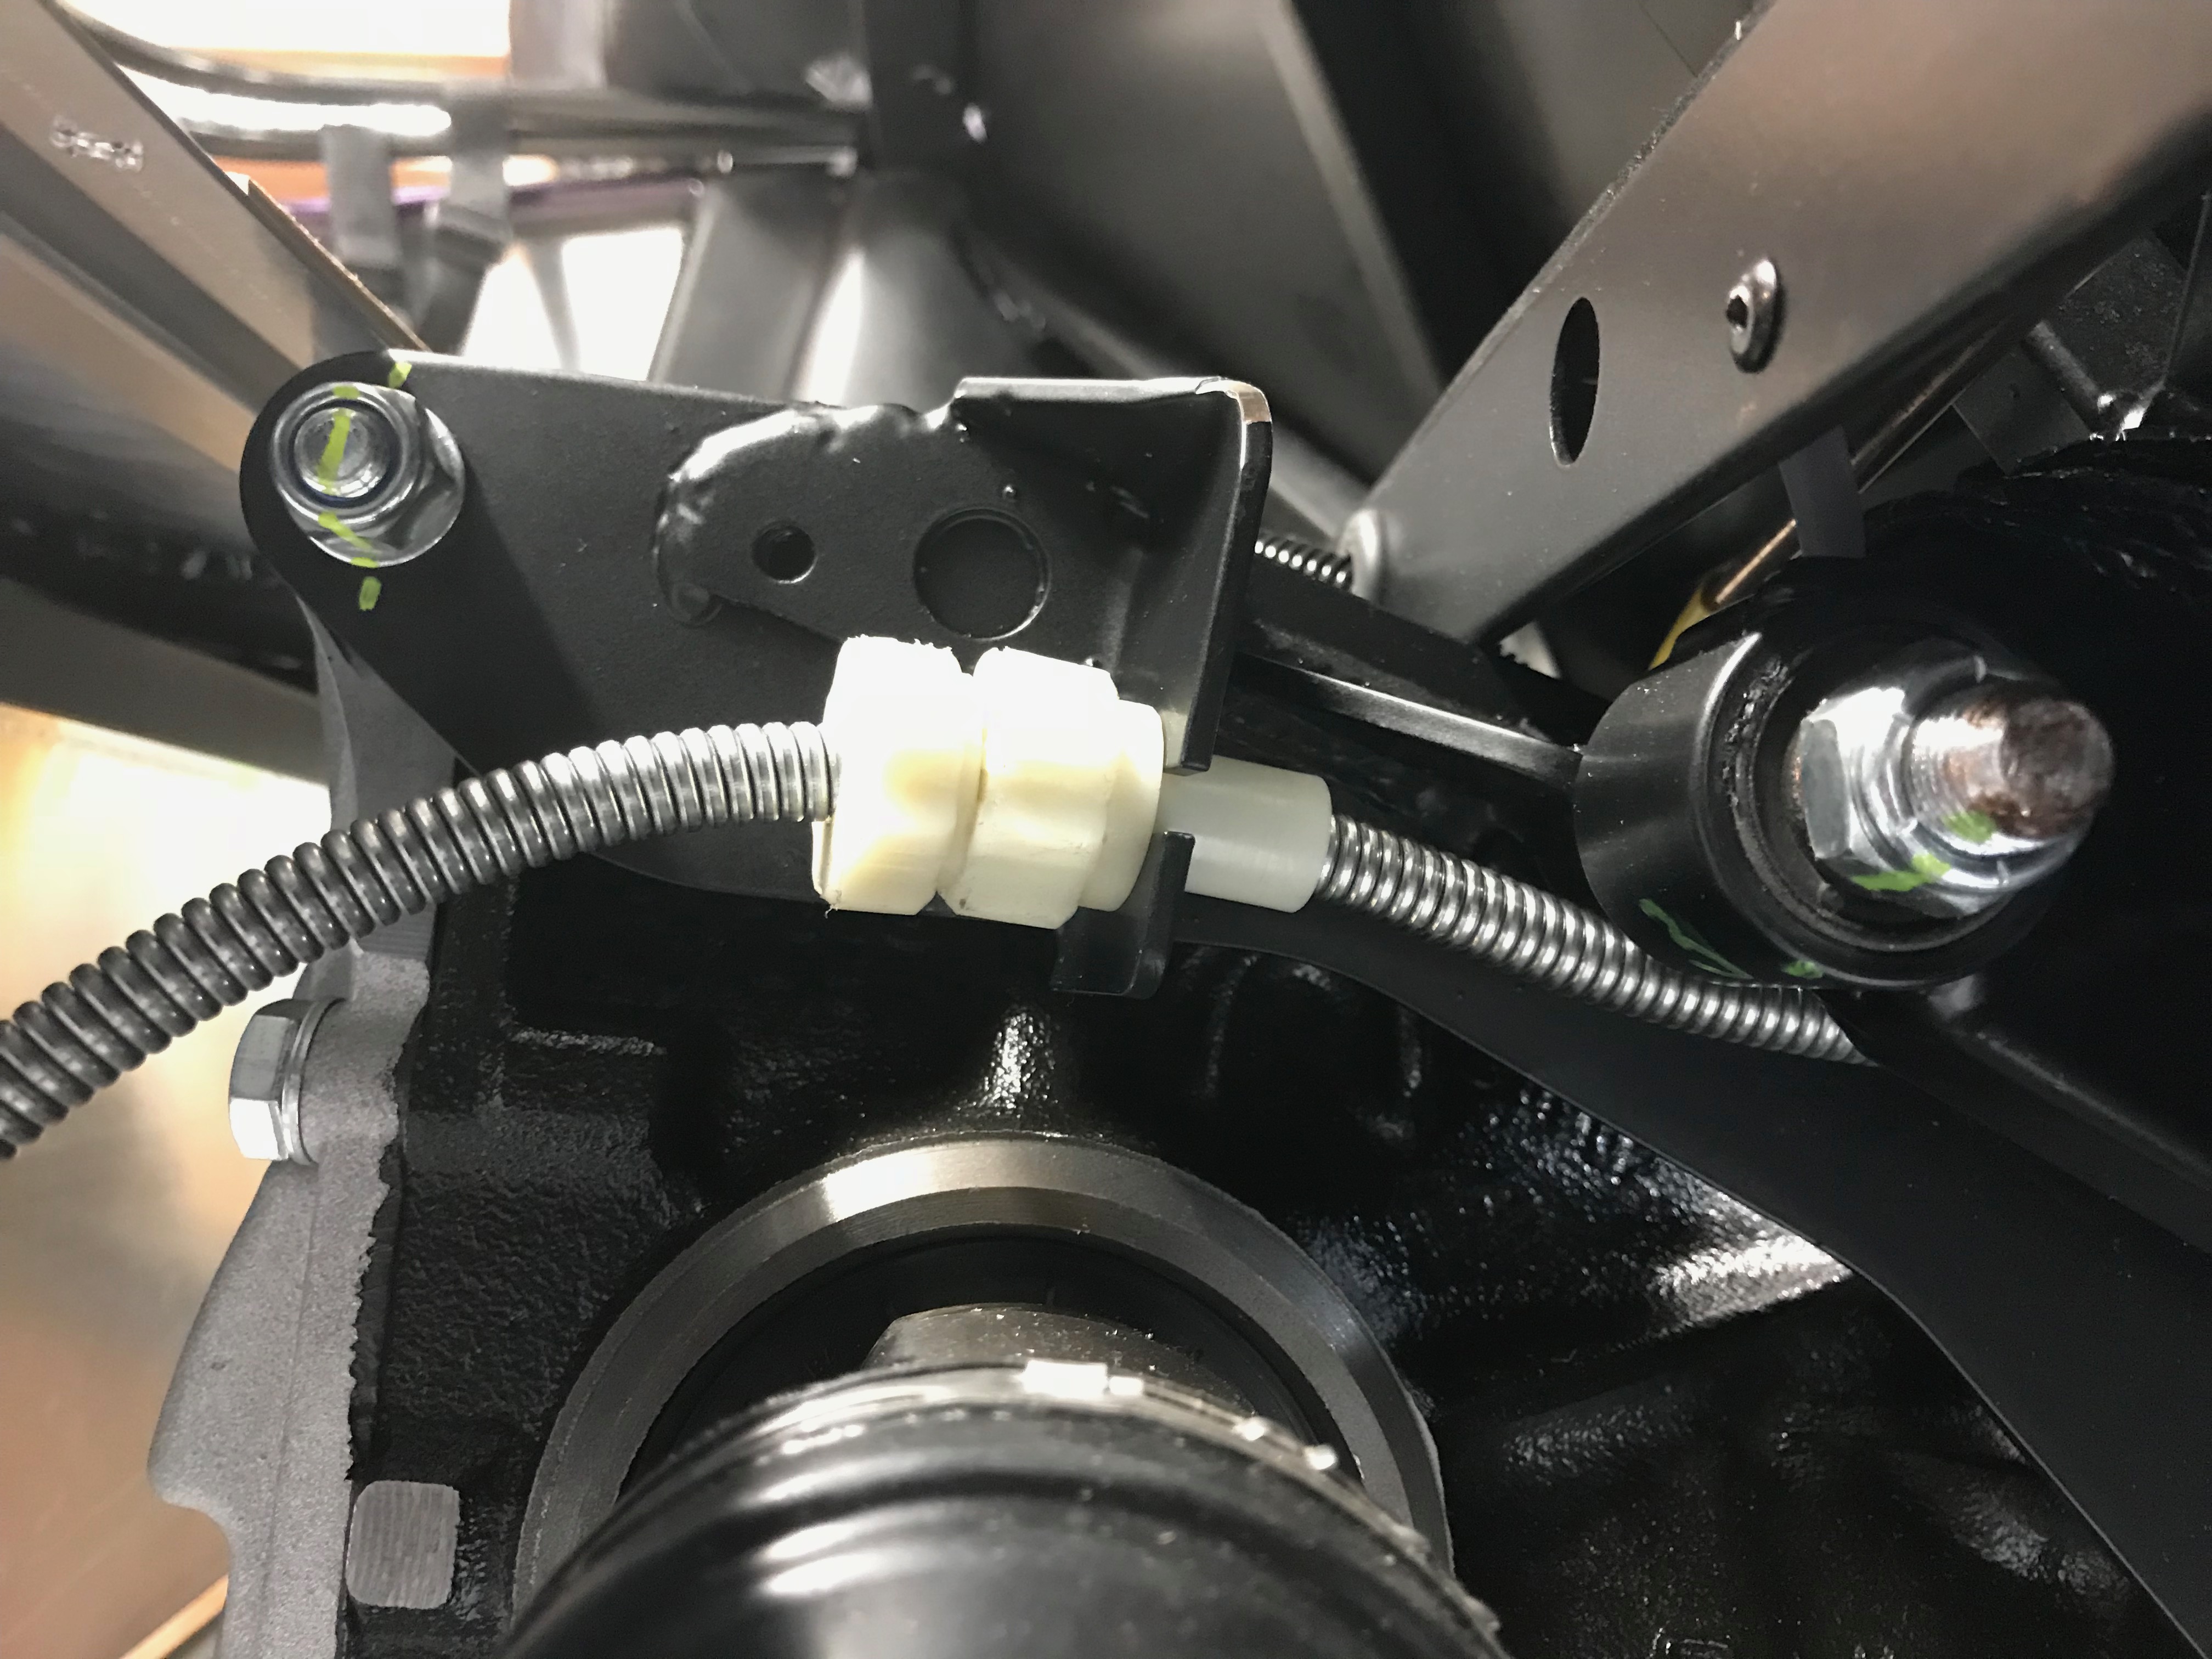
Having seen a couple of pictures on other people’s blogs, it was clear that the handbrake cable adjustment screws should be located in the clip on the RHS of the diff. I’m not sure what I was thinking that it stay in the transmission tunnel – definite brain-fade there.
Once I’d decided where the adjustment screws went for the cable it was obvious that you have to used the bare middle section of the handbrake cable to feed the cable from the rear of the car into the transmission tunnel. You pull the thin middle section back behind the diff, slot it into the clip and then feed that and the thicker outer forwards into the transmission tunnel. Simple when you know how.
I left all the handbrake adjustment very loose so that the handbrake lever can be raised so it’s upright… this allows the transmission tunnel top to fit easily over the handbrake and gearstick.
Propshaft Bolts… Again
Another day, another screwdriver down the drain??
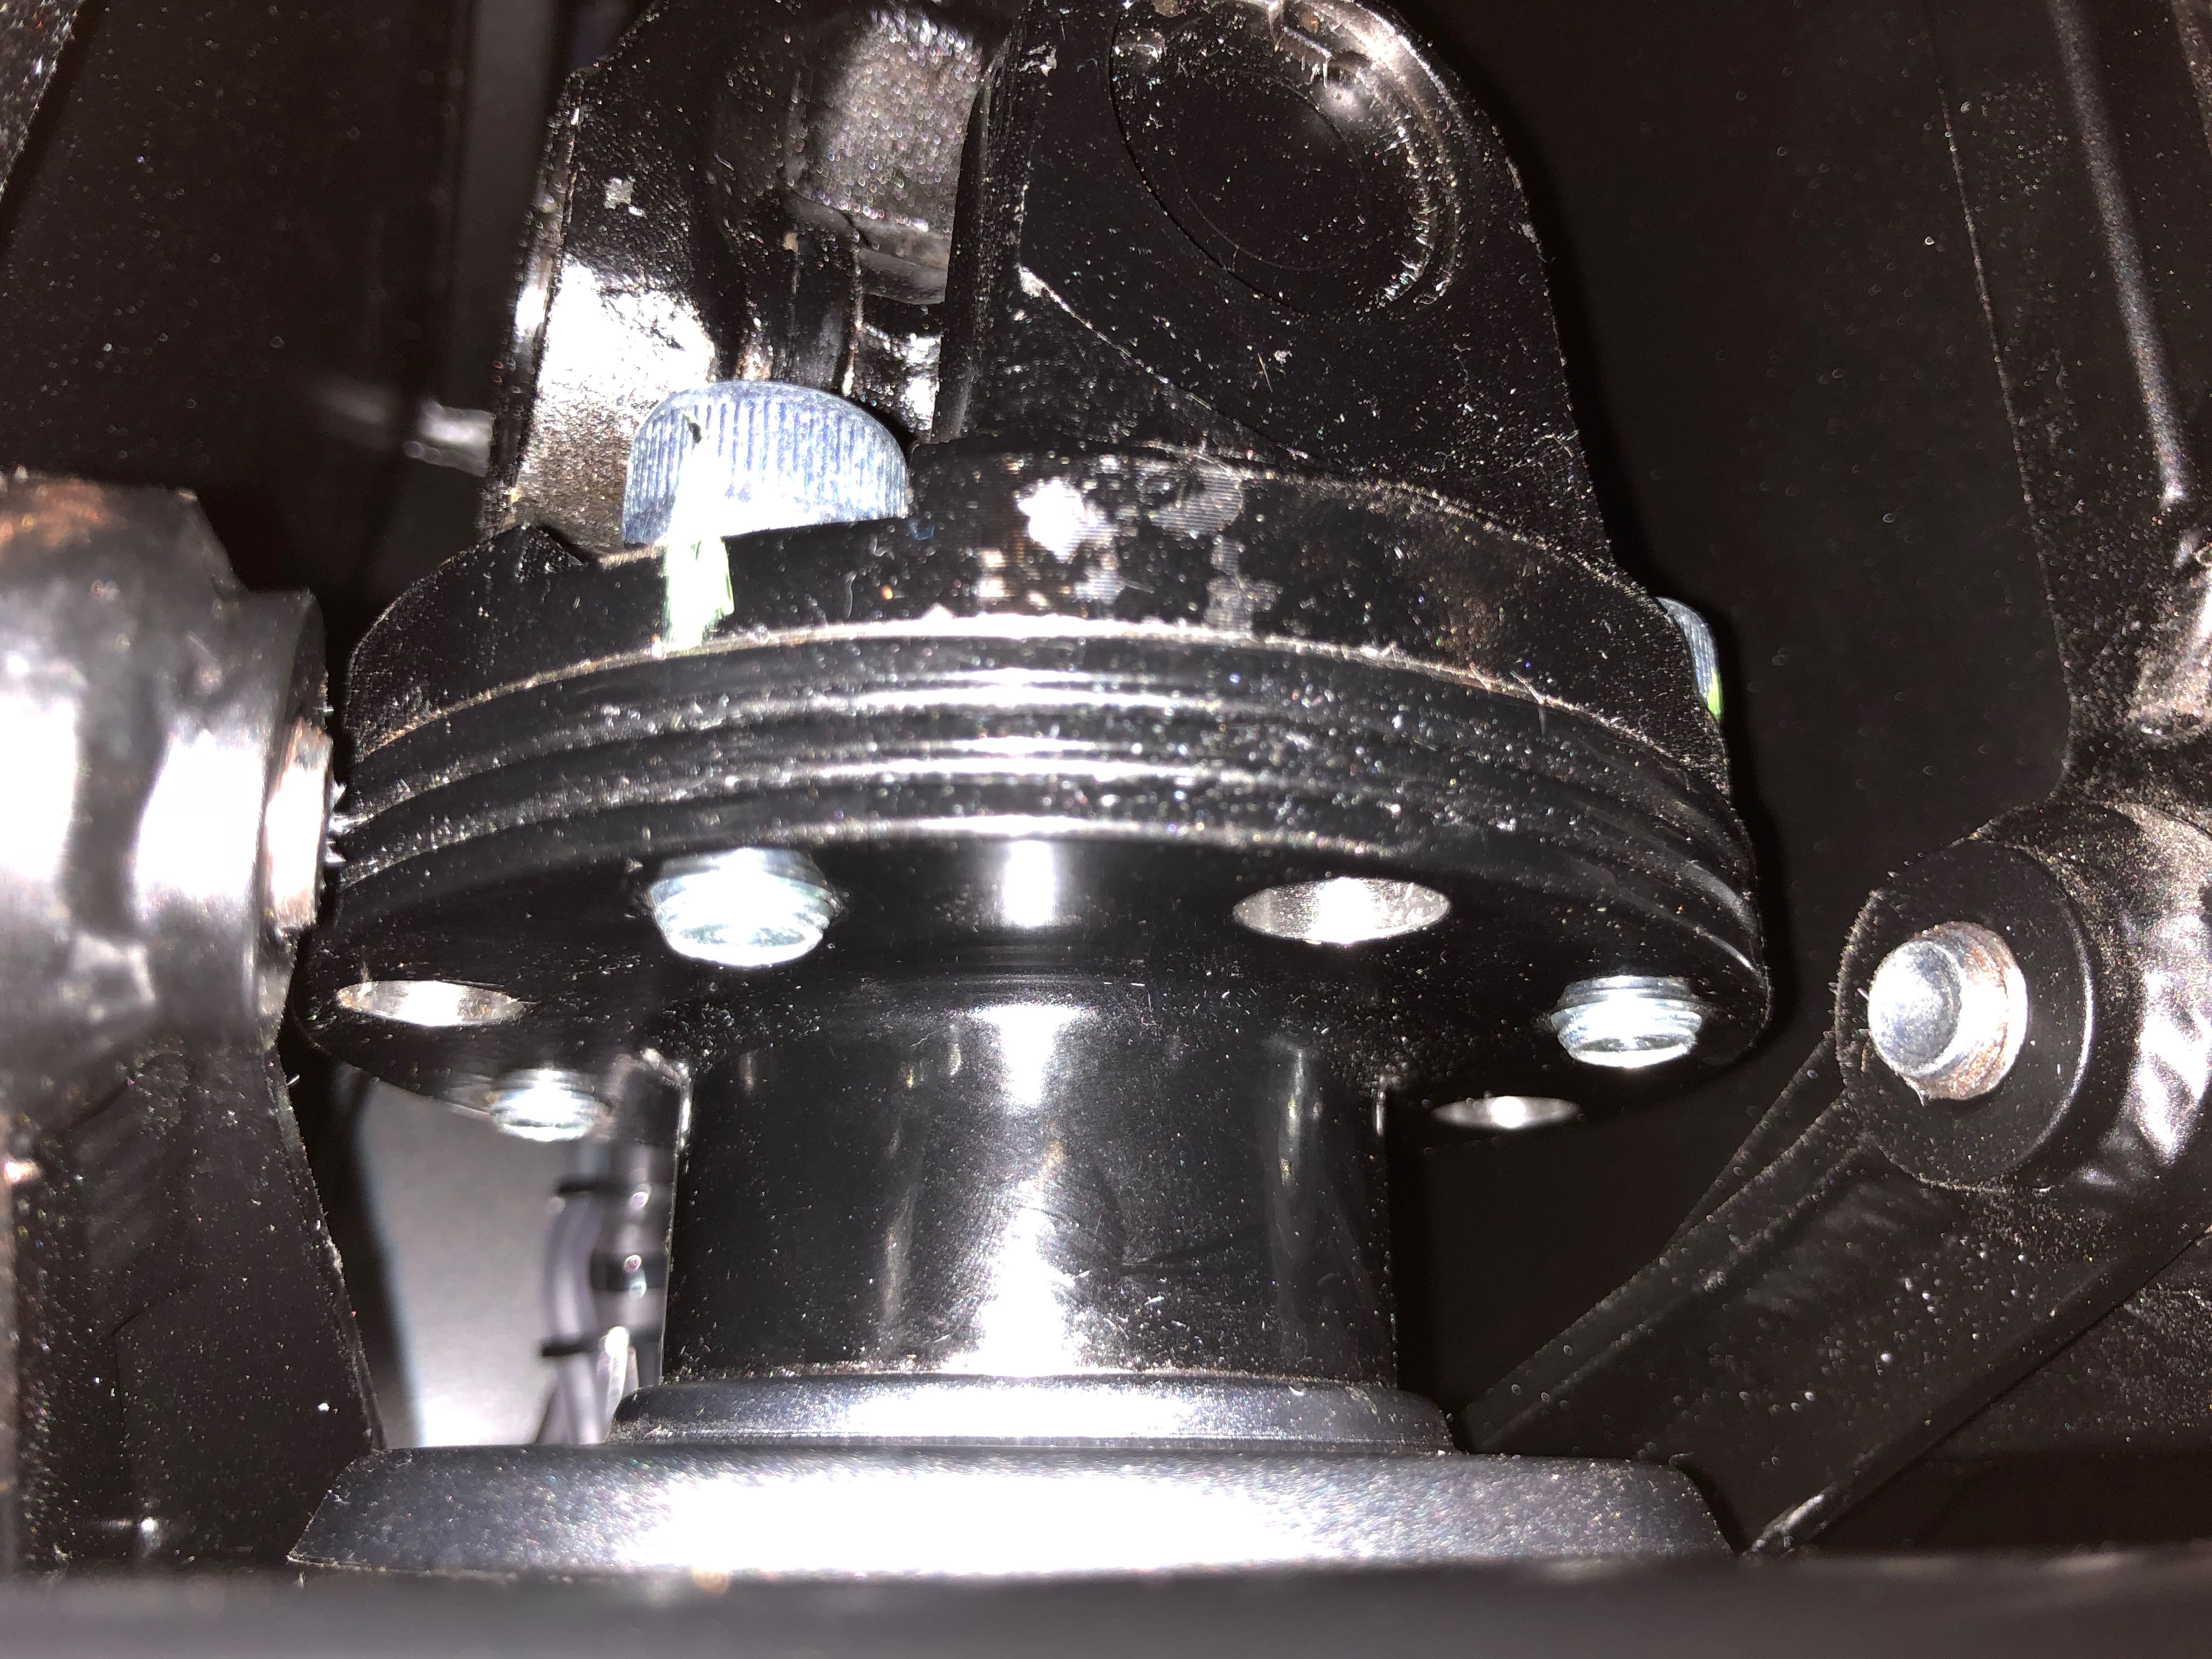
It seems some people wait until they can apply the handbrake before tightening the propshaft bolts. It’s also possible to lock the rear hubs with something across the wheel studs. But… I went back to the screwdriver method. Overnight I’d re-read that others had done this successfully and I was going to give it another go.
With my second least mankiest, crappiest, big screwdriver I went about trying to jam the propshaft in place again with the big screwdriver method. This time success. I was much more careful not to get the square section of the screwdriver rotated so it didn’t slip into the universal joint and jam against the chassis. All four bolts went in and got torqued up easily.
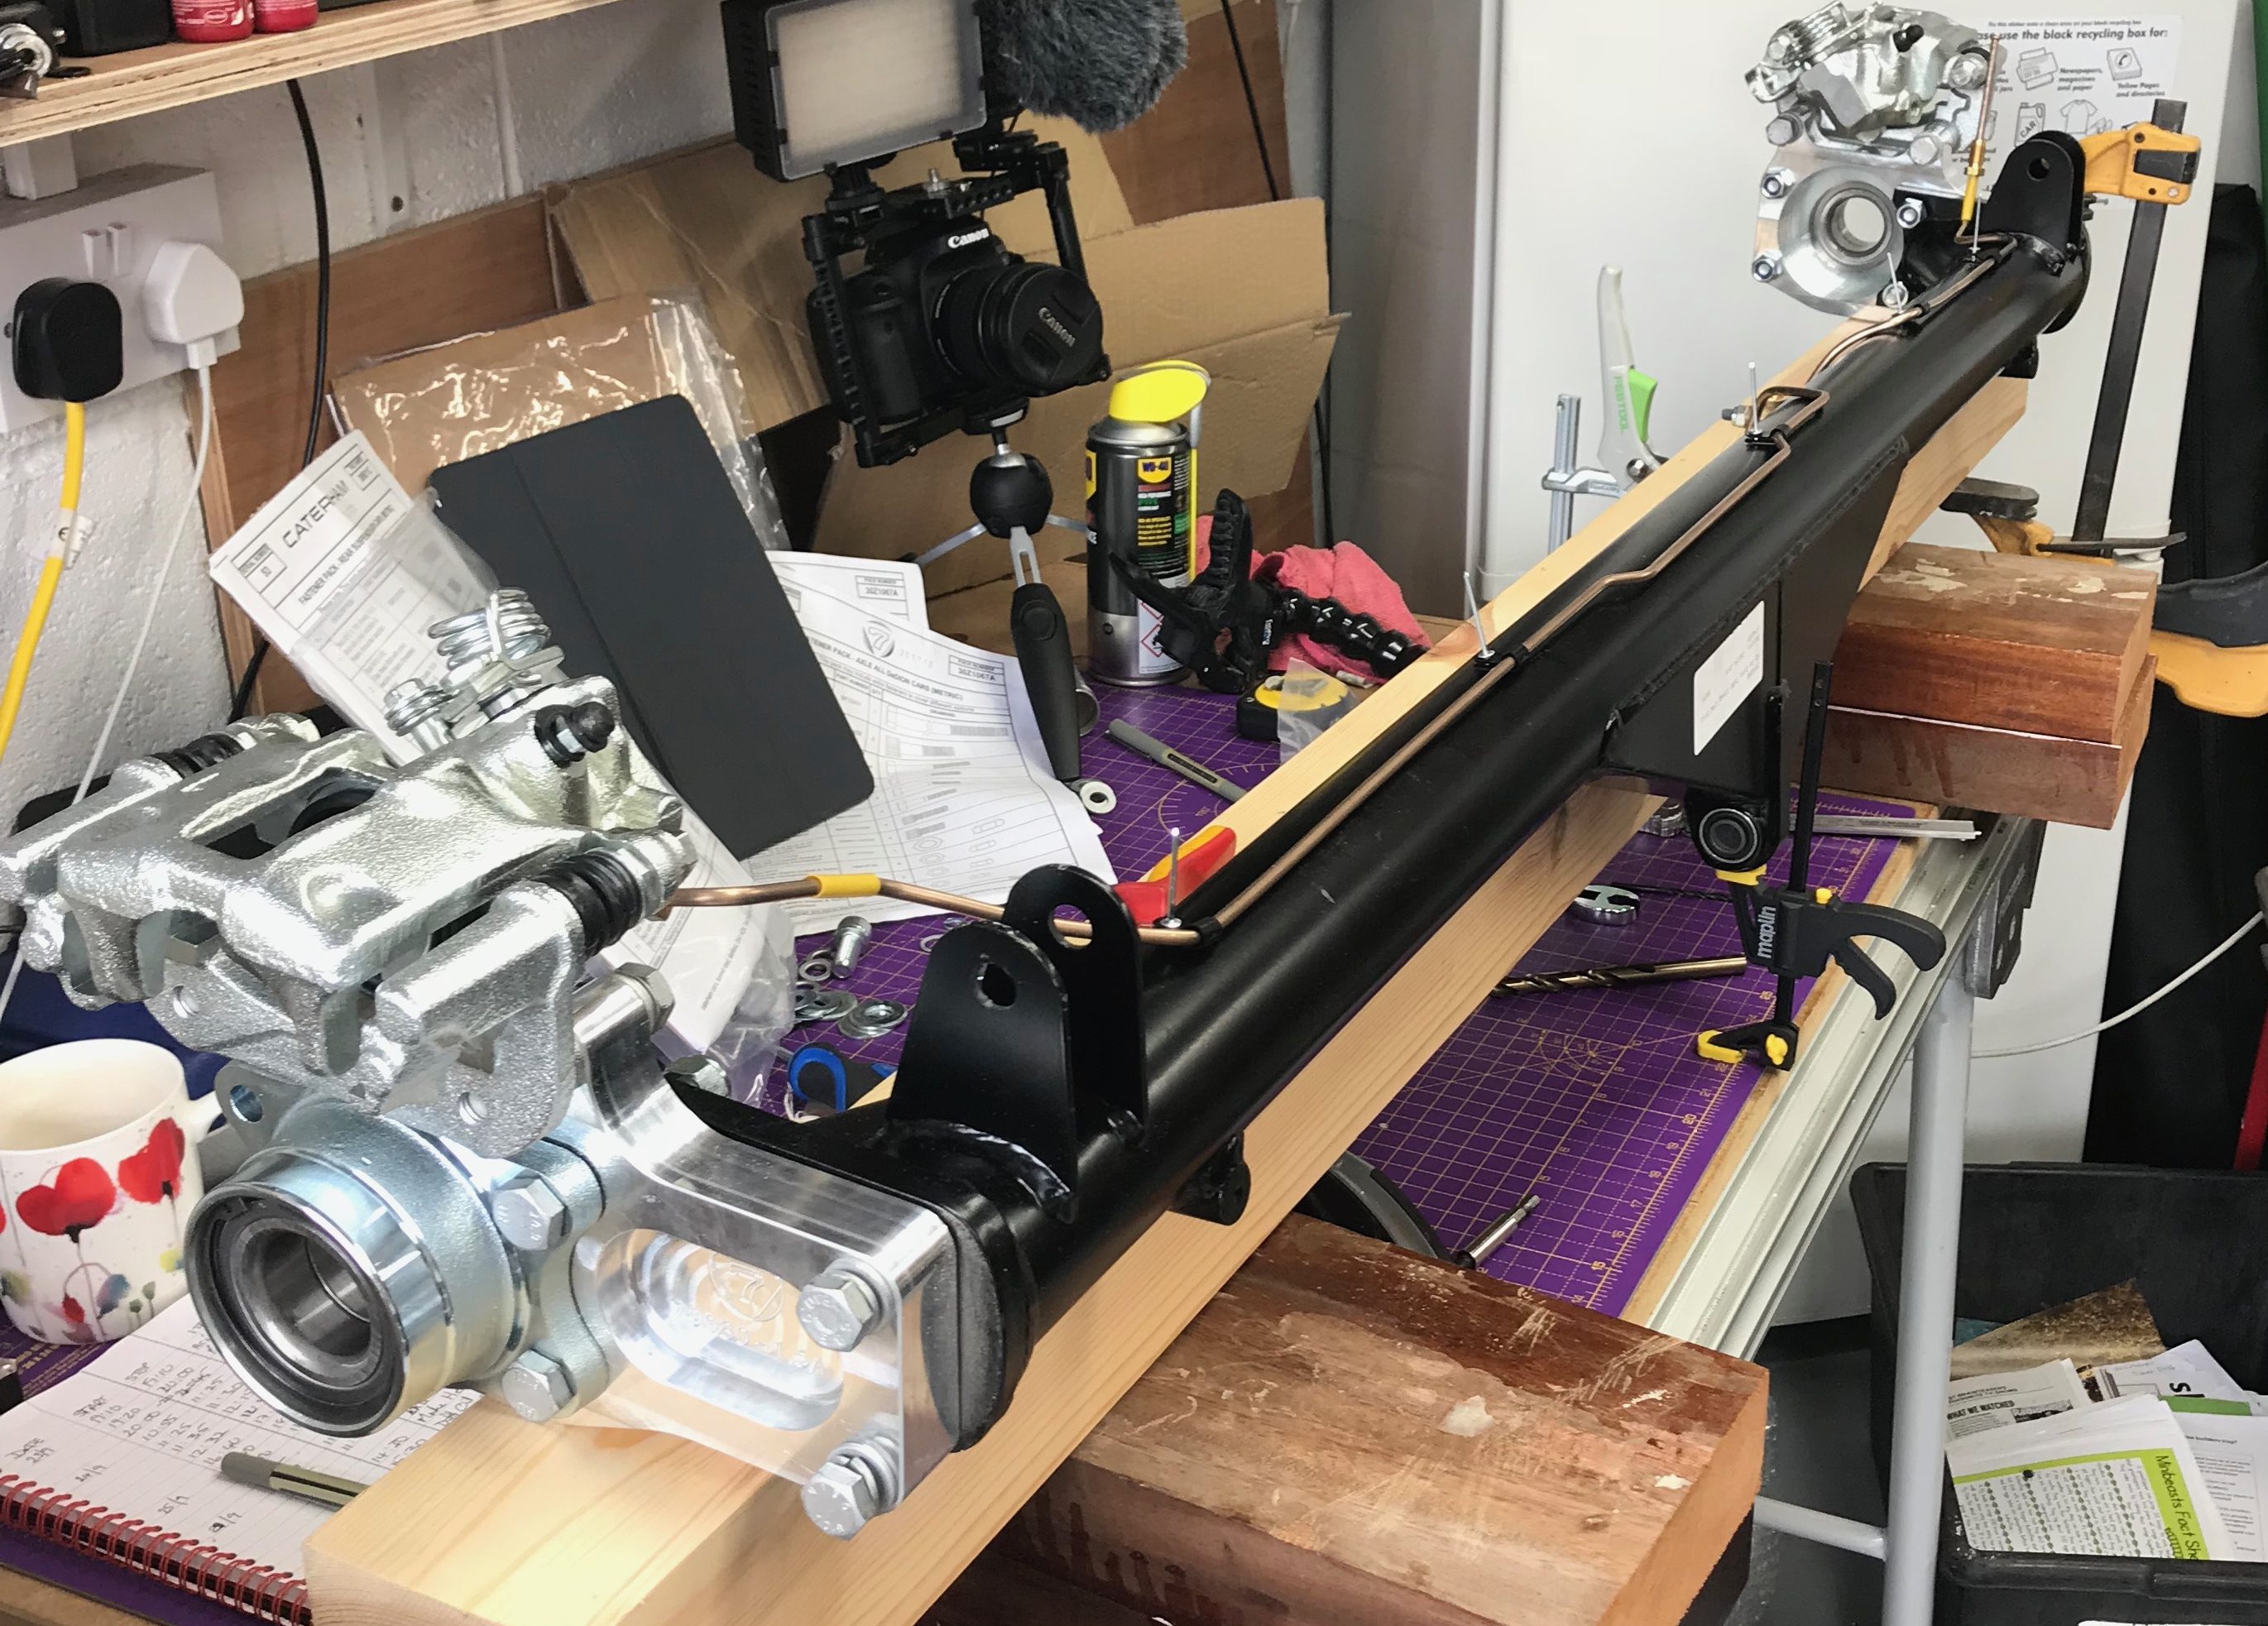
De Dion Tube – Dry Fit
In between my frustrations yesterday I’d also got the De Dion tube going. I did a lot of the dry fit yesterday but decided to write it up in one go today – that should make it easier for people who just want to read one post about the whole of one thing.
The dry run was fairly straight forward once I wrestled with the tube – but more on that in a minute.
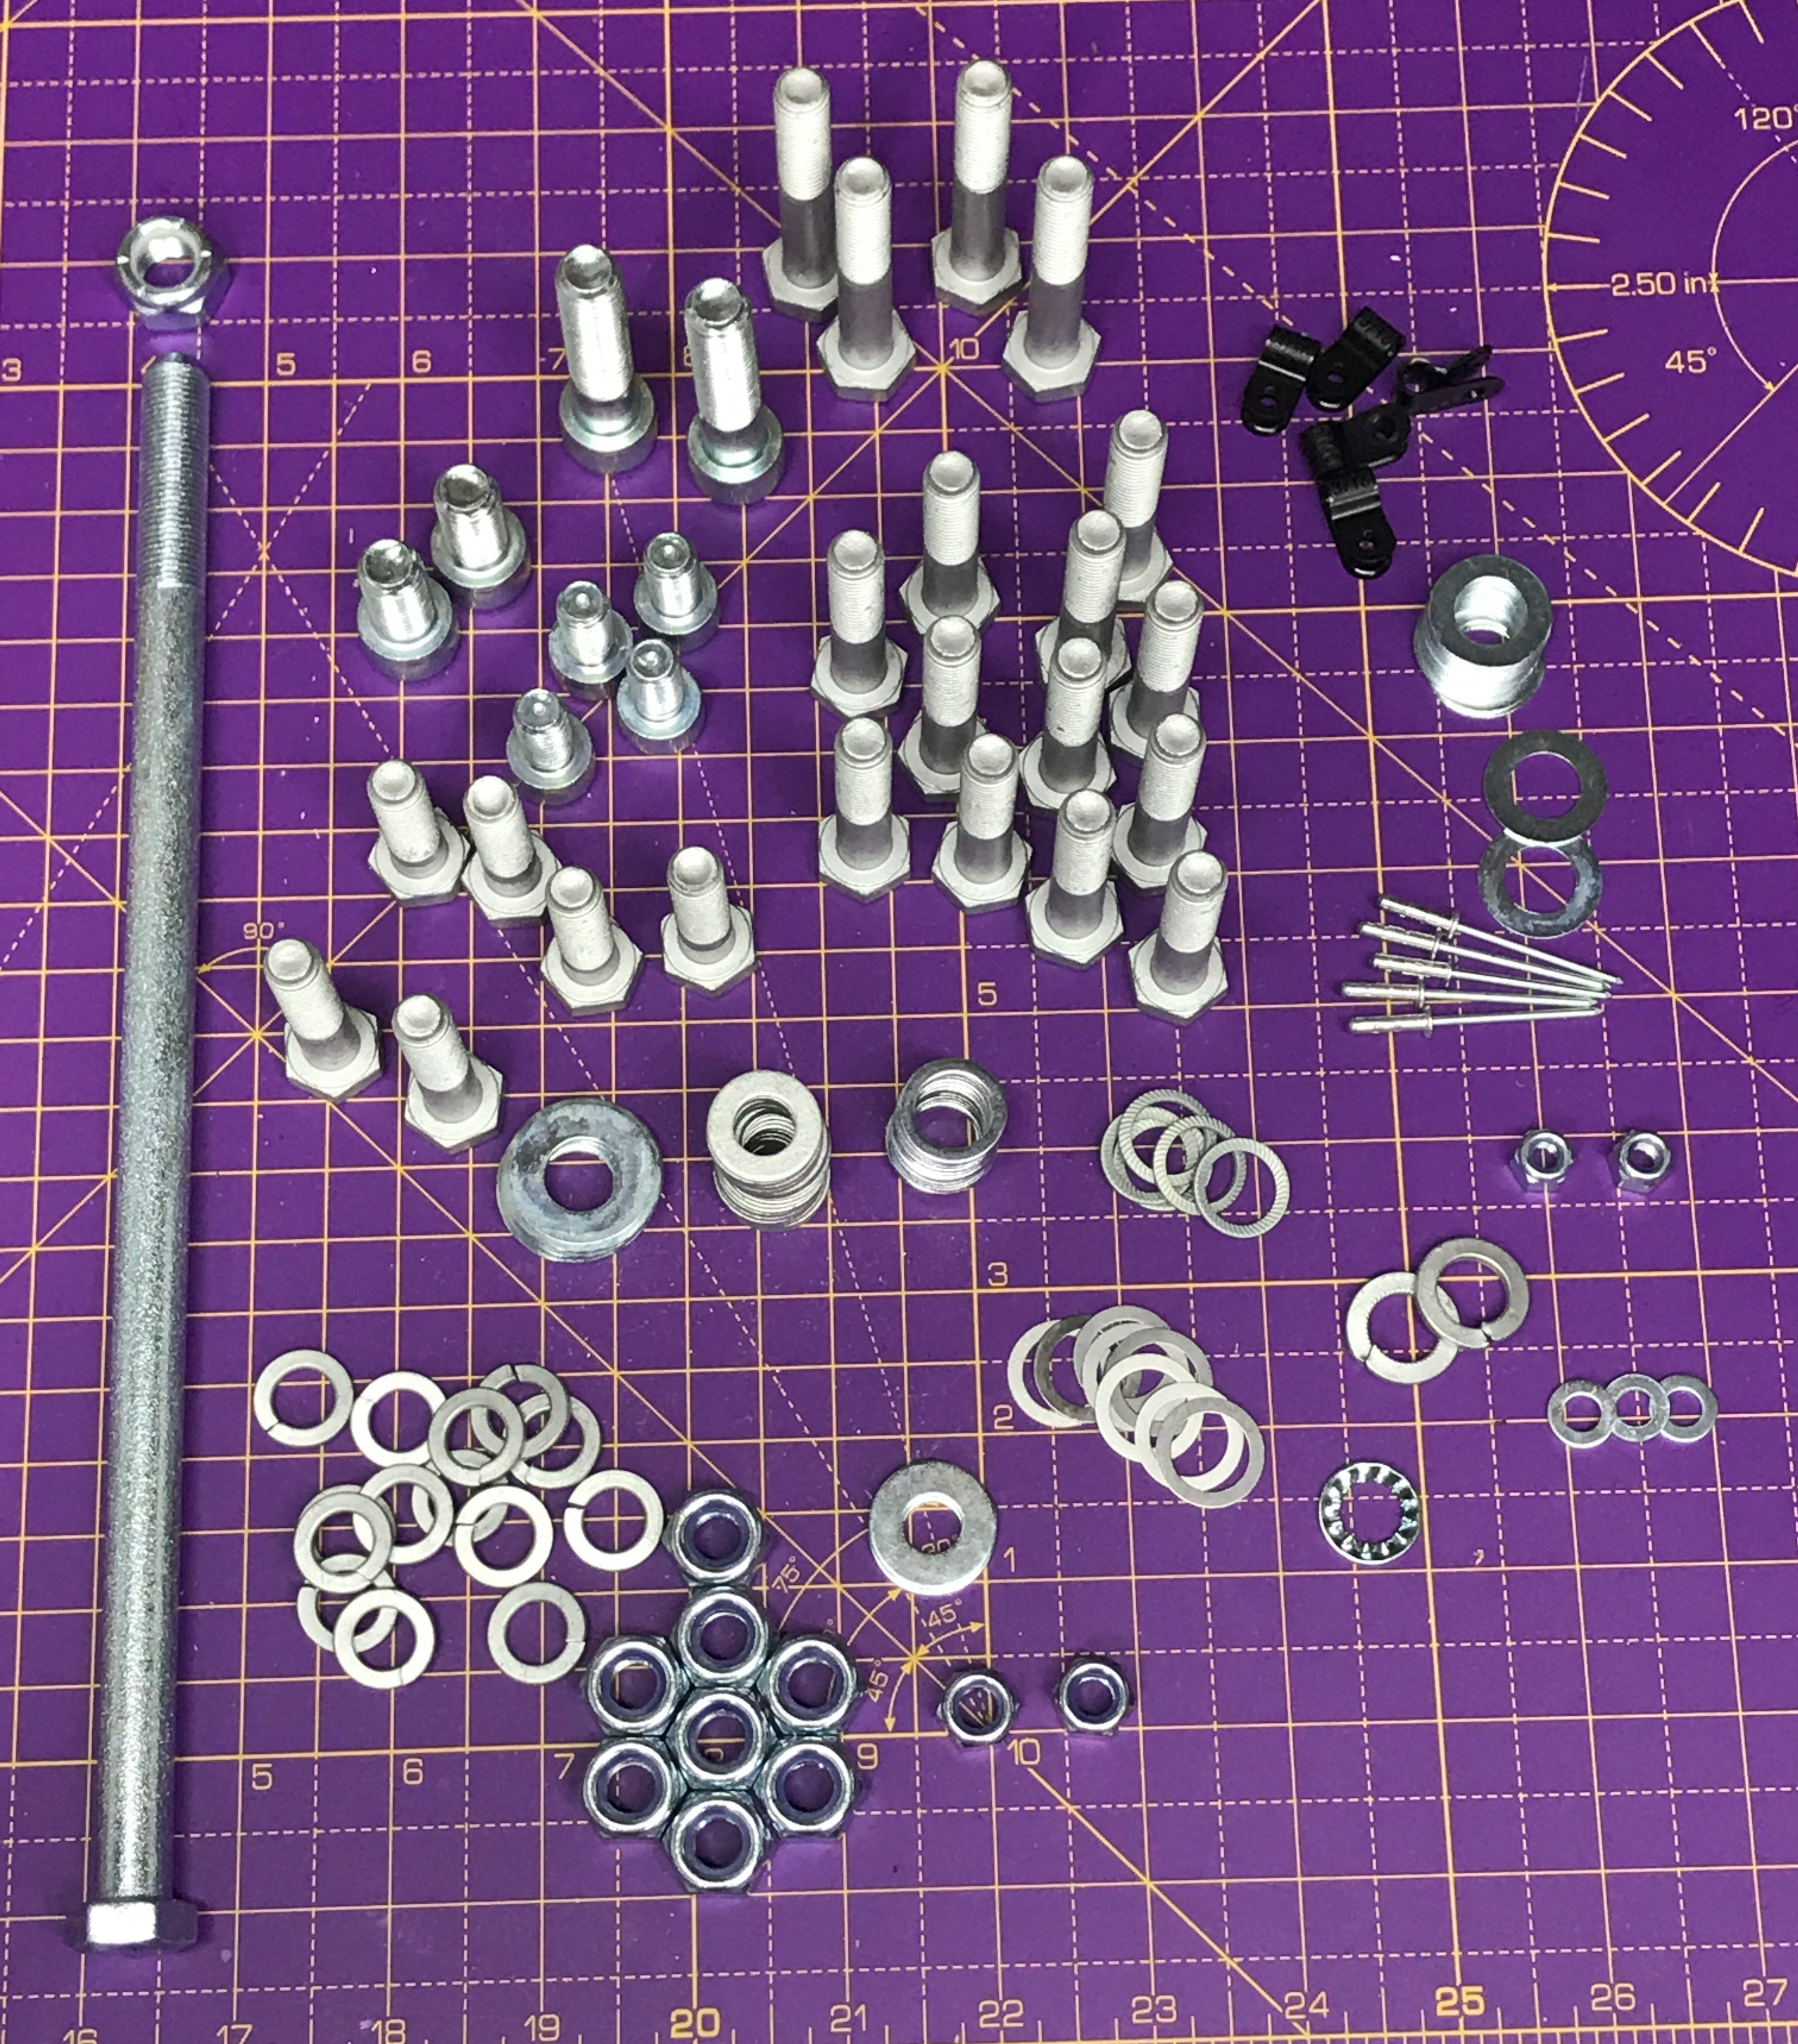
I’ve read blogs where people get confused about what bolts go where on the rear hub/ear installation and how they attach to the De Dion tube and drive shafts. However, I found the manual to be perfectly adequate – I suspect the manual has been updated since those blogs were written. I had certainly read some posts where people had used some well annotated photographs showing what sized bolts went where. But I found that in the end I didn’t need them. It was pretty obvious from the build manual and the physical setup of the hubs which bolts to use.
You do get a lot of bits and pieces though!
What wasn’t so easy was finding a way of keeping the De Dion tube the right way up for the test fit. There is a triangular section protruding from the bottom of the De Dion tube where the A-frame attaches to it. This has to be pointing downwards so you can do all the work to fit the brake pipes on top of the tube. But of course that means that if you don’t hold the tube vertical it just wants to roll off the triangular section and not lay vertical.
I’d seen others use a Black and Decker workmate to clamp the a-frame mounting point and keep it pointing downwards. My workmate was buried in my office in the garden and so I tried to “make do”… big mistake. In the end I created two towers for the assembly to be clamped between (see below) but it would have been soooo much easier with a Workmate.
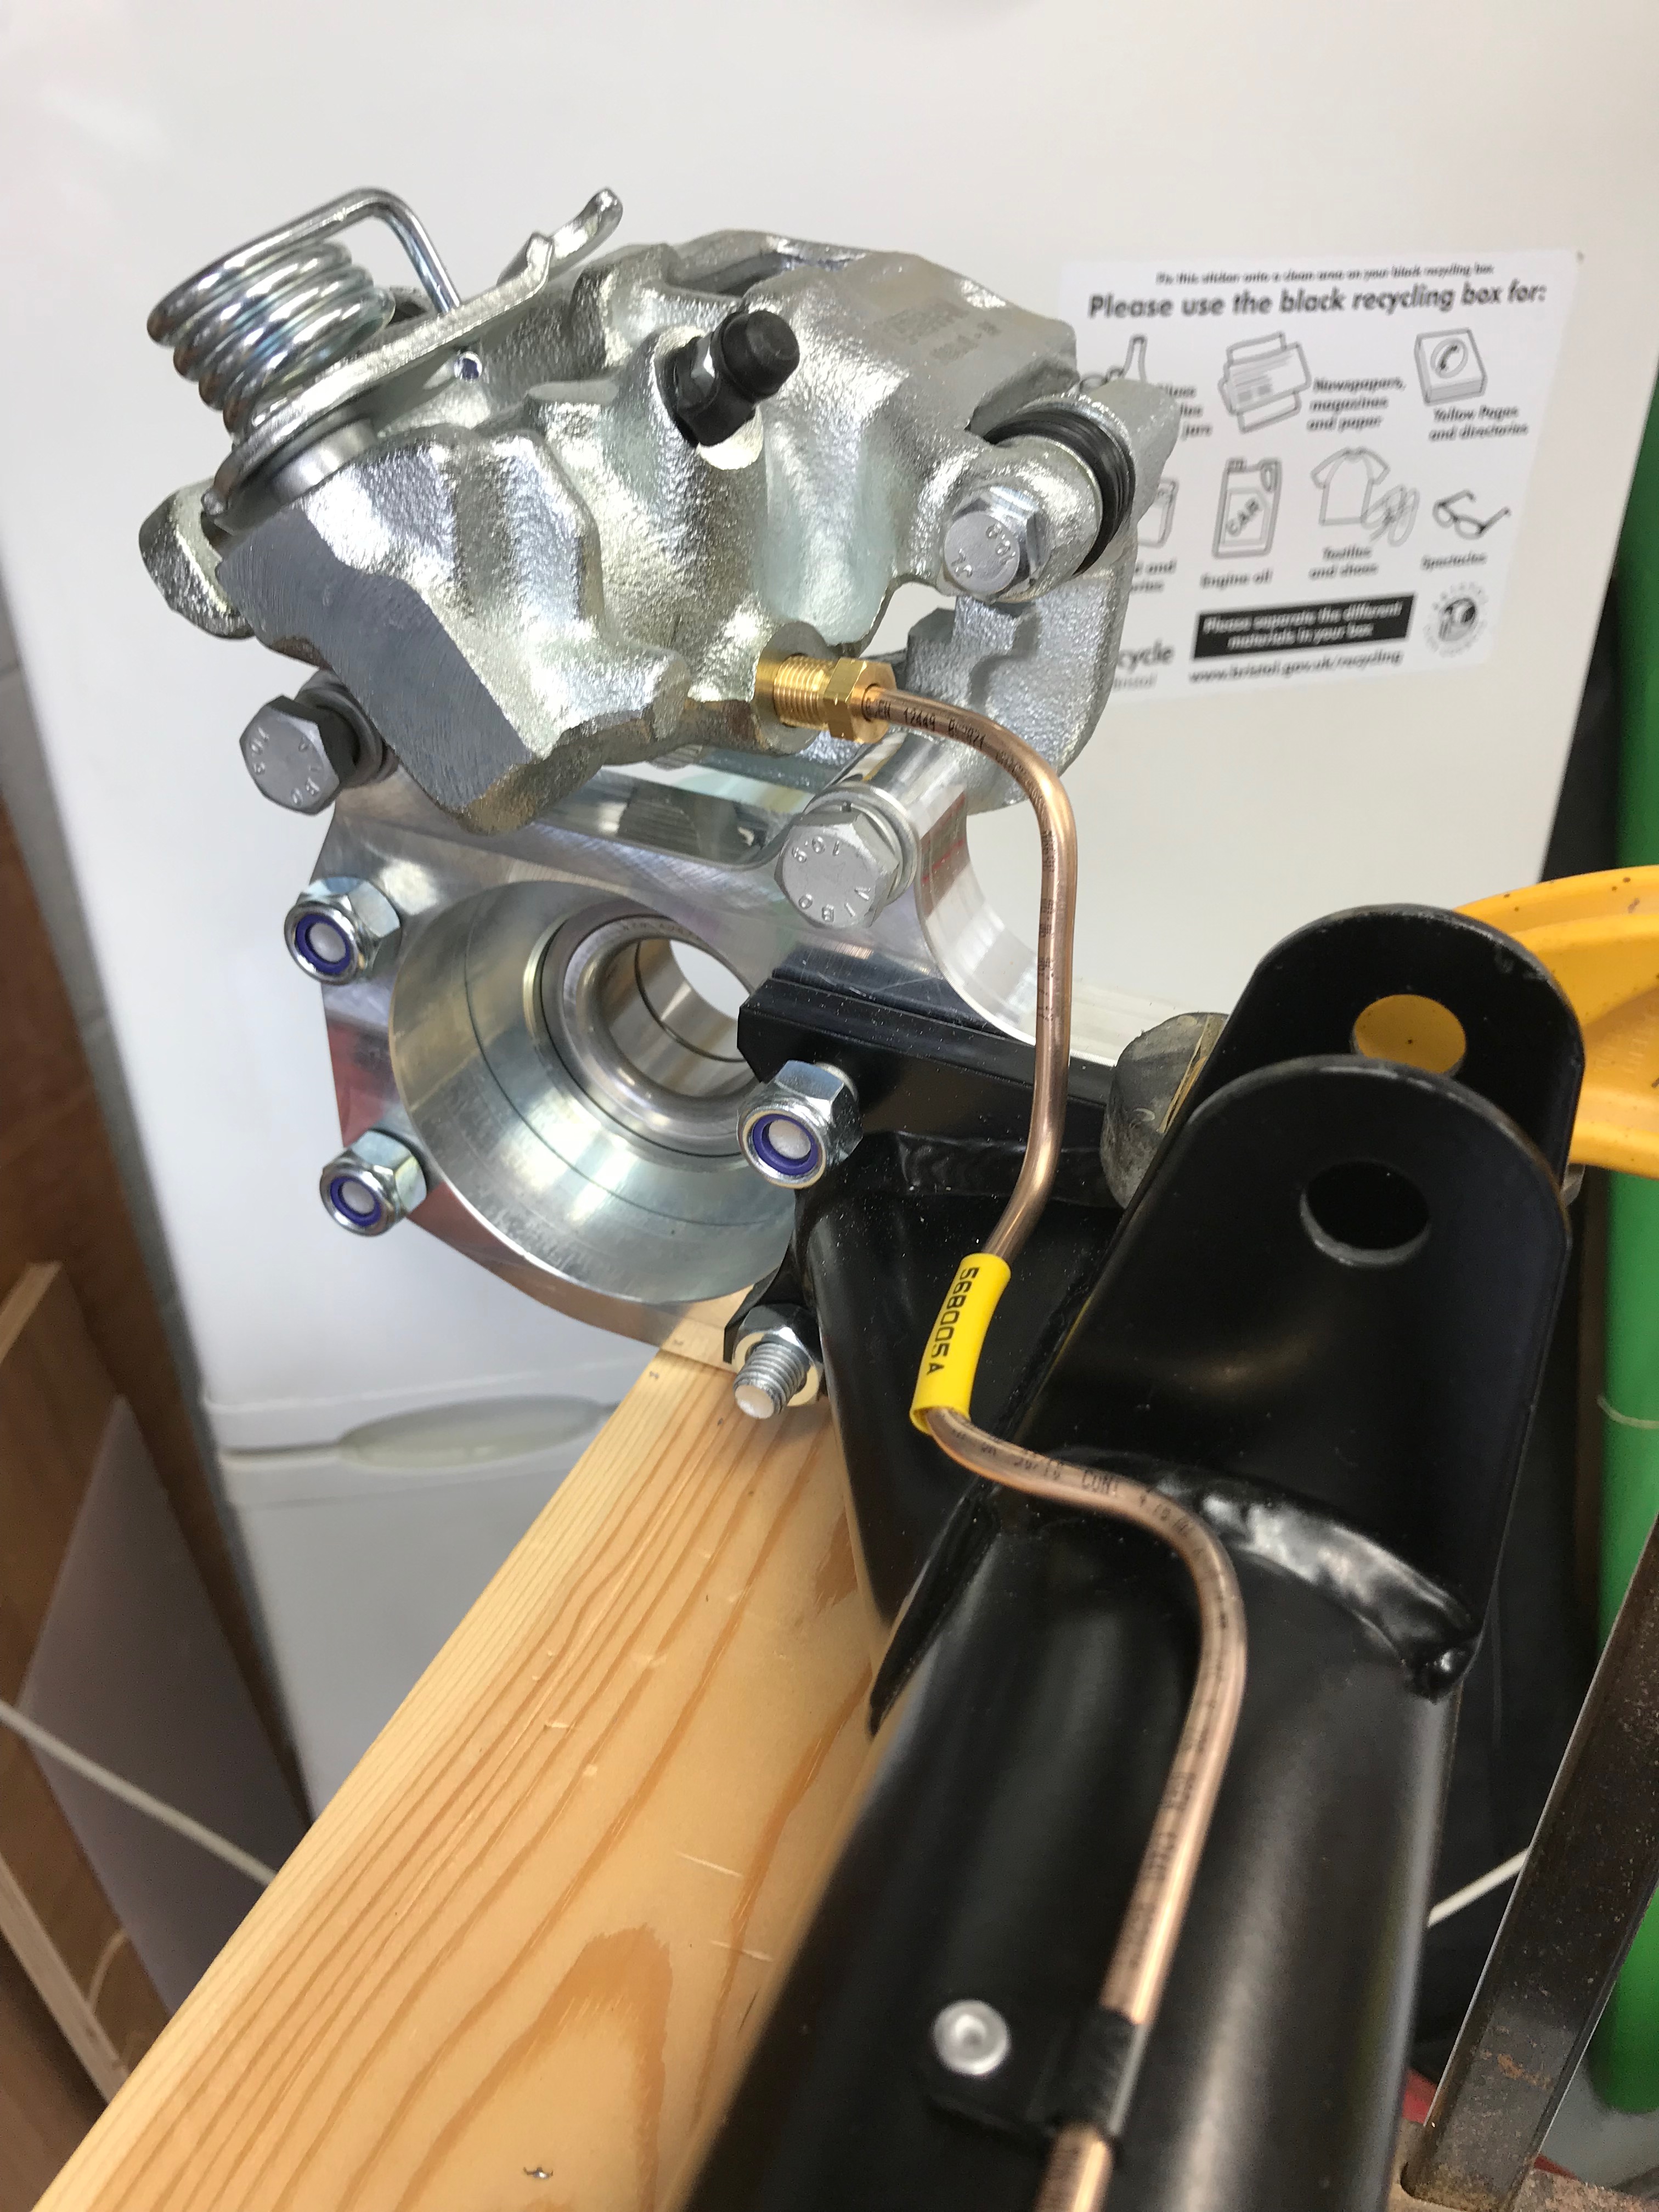
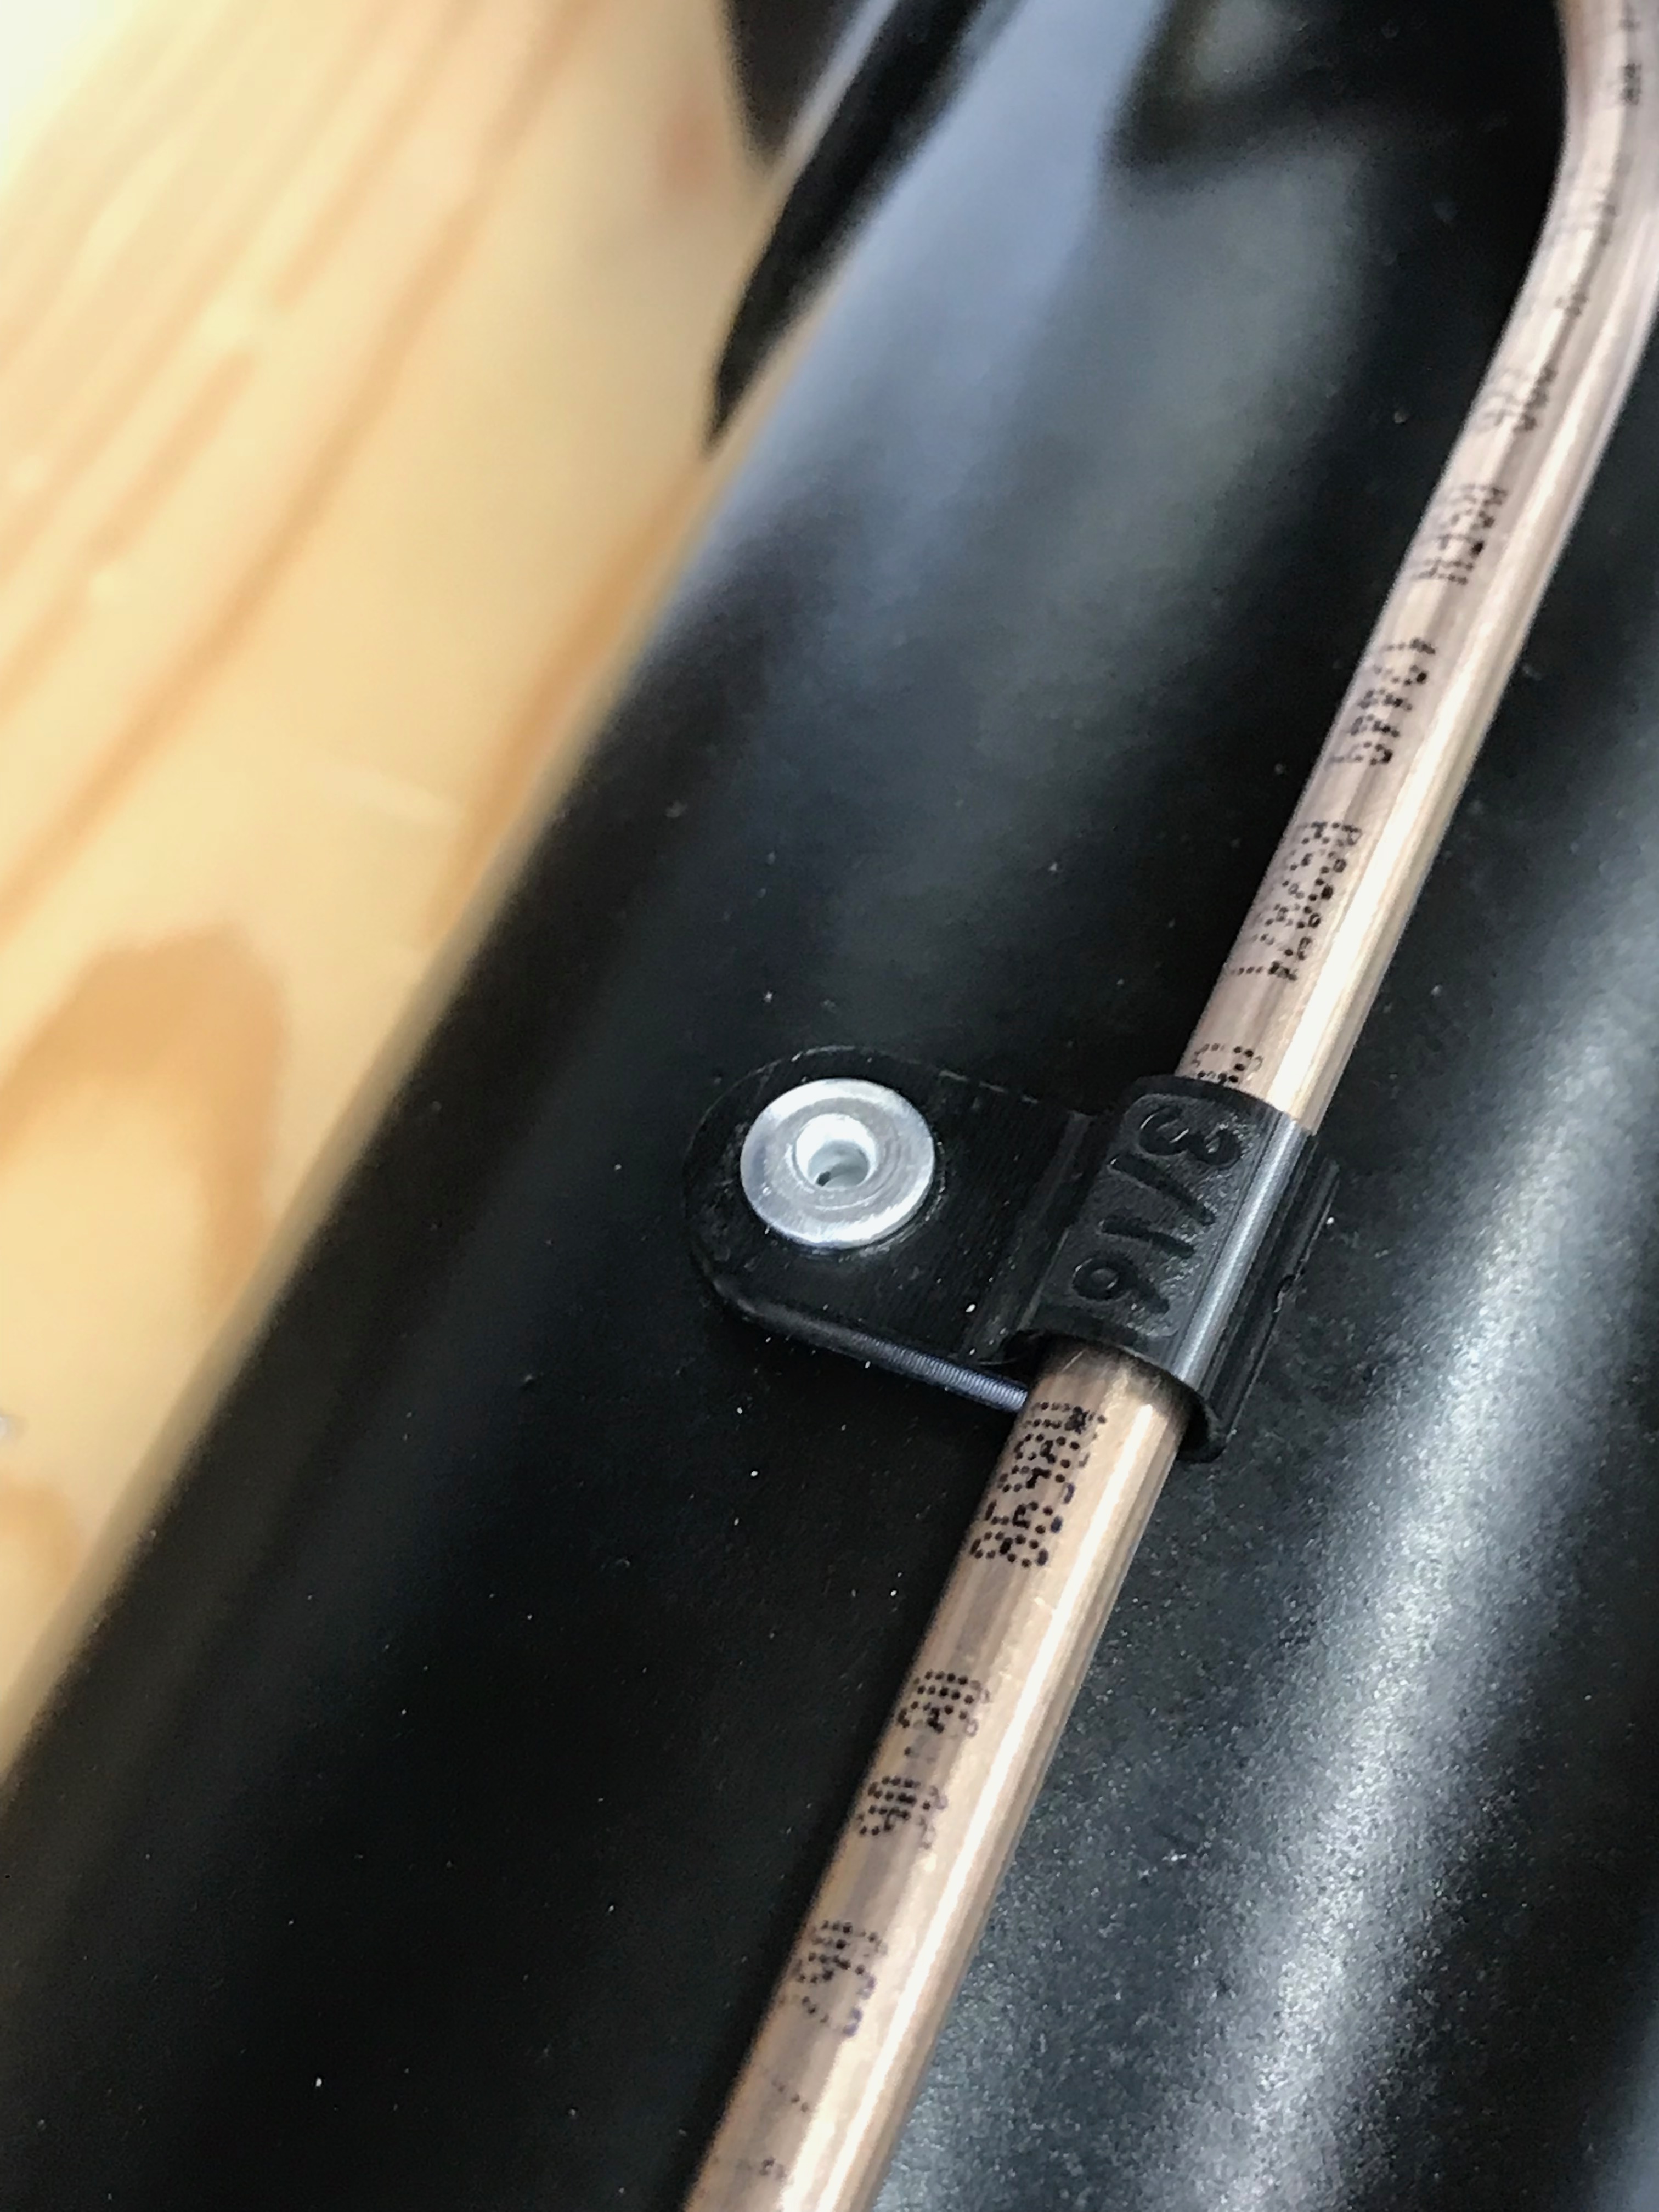
Once you have the rear ears and hub loosely fitted to the De Dion tube you have to dry fit the rear copper brake pipes. You fit brass brass t-piece and then the short and long pipes. I found I had to drill out the holes in the De Dion tube that take the rivets but that was fine, even after breaking the only imperial 1/8″ bit I had. 4mm seemed to work fine.
The shorter RHS brake pipe seemed to work out fine. I had bought some small diameter pipe benders but in the end didn’t use them. I found it just as easy to bend the pipe around a largish diameter socket – taking care of course not to pinch or kink the pipe. Somehow the RHS pipe all just slotted into place. The pipe bent nicely around the radius arm bracket and was clear it wouldn’t foul as the suspension moved.

I then put the LHS pipe in place and it looked as though it just wasn’t going to work. I eventually got it fitted but wasn’t happy about how the last section just seemed to take a short cut.
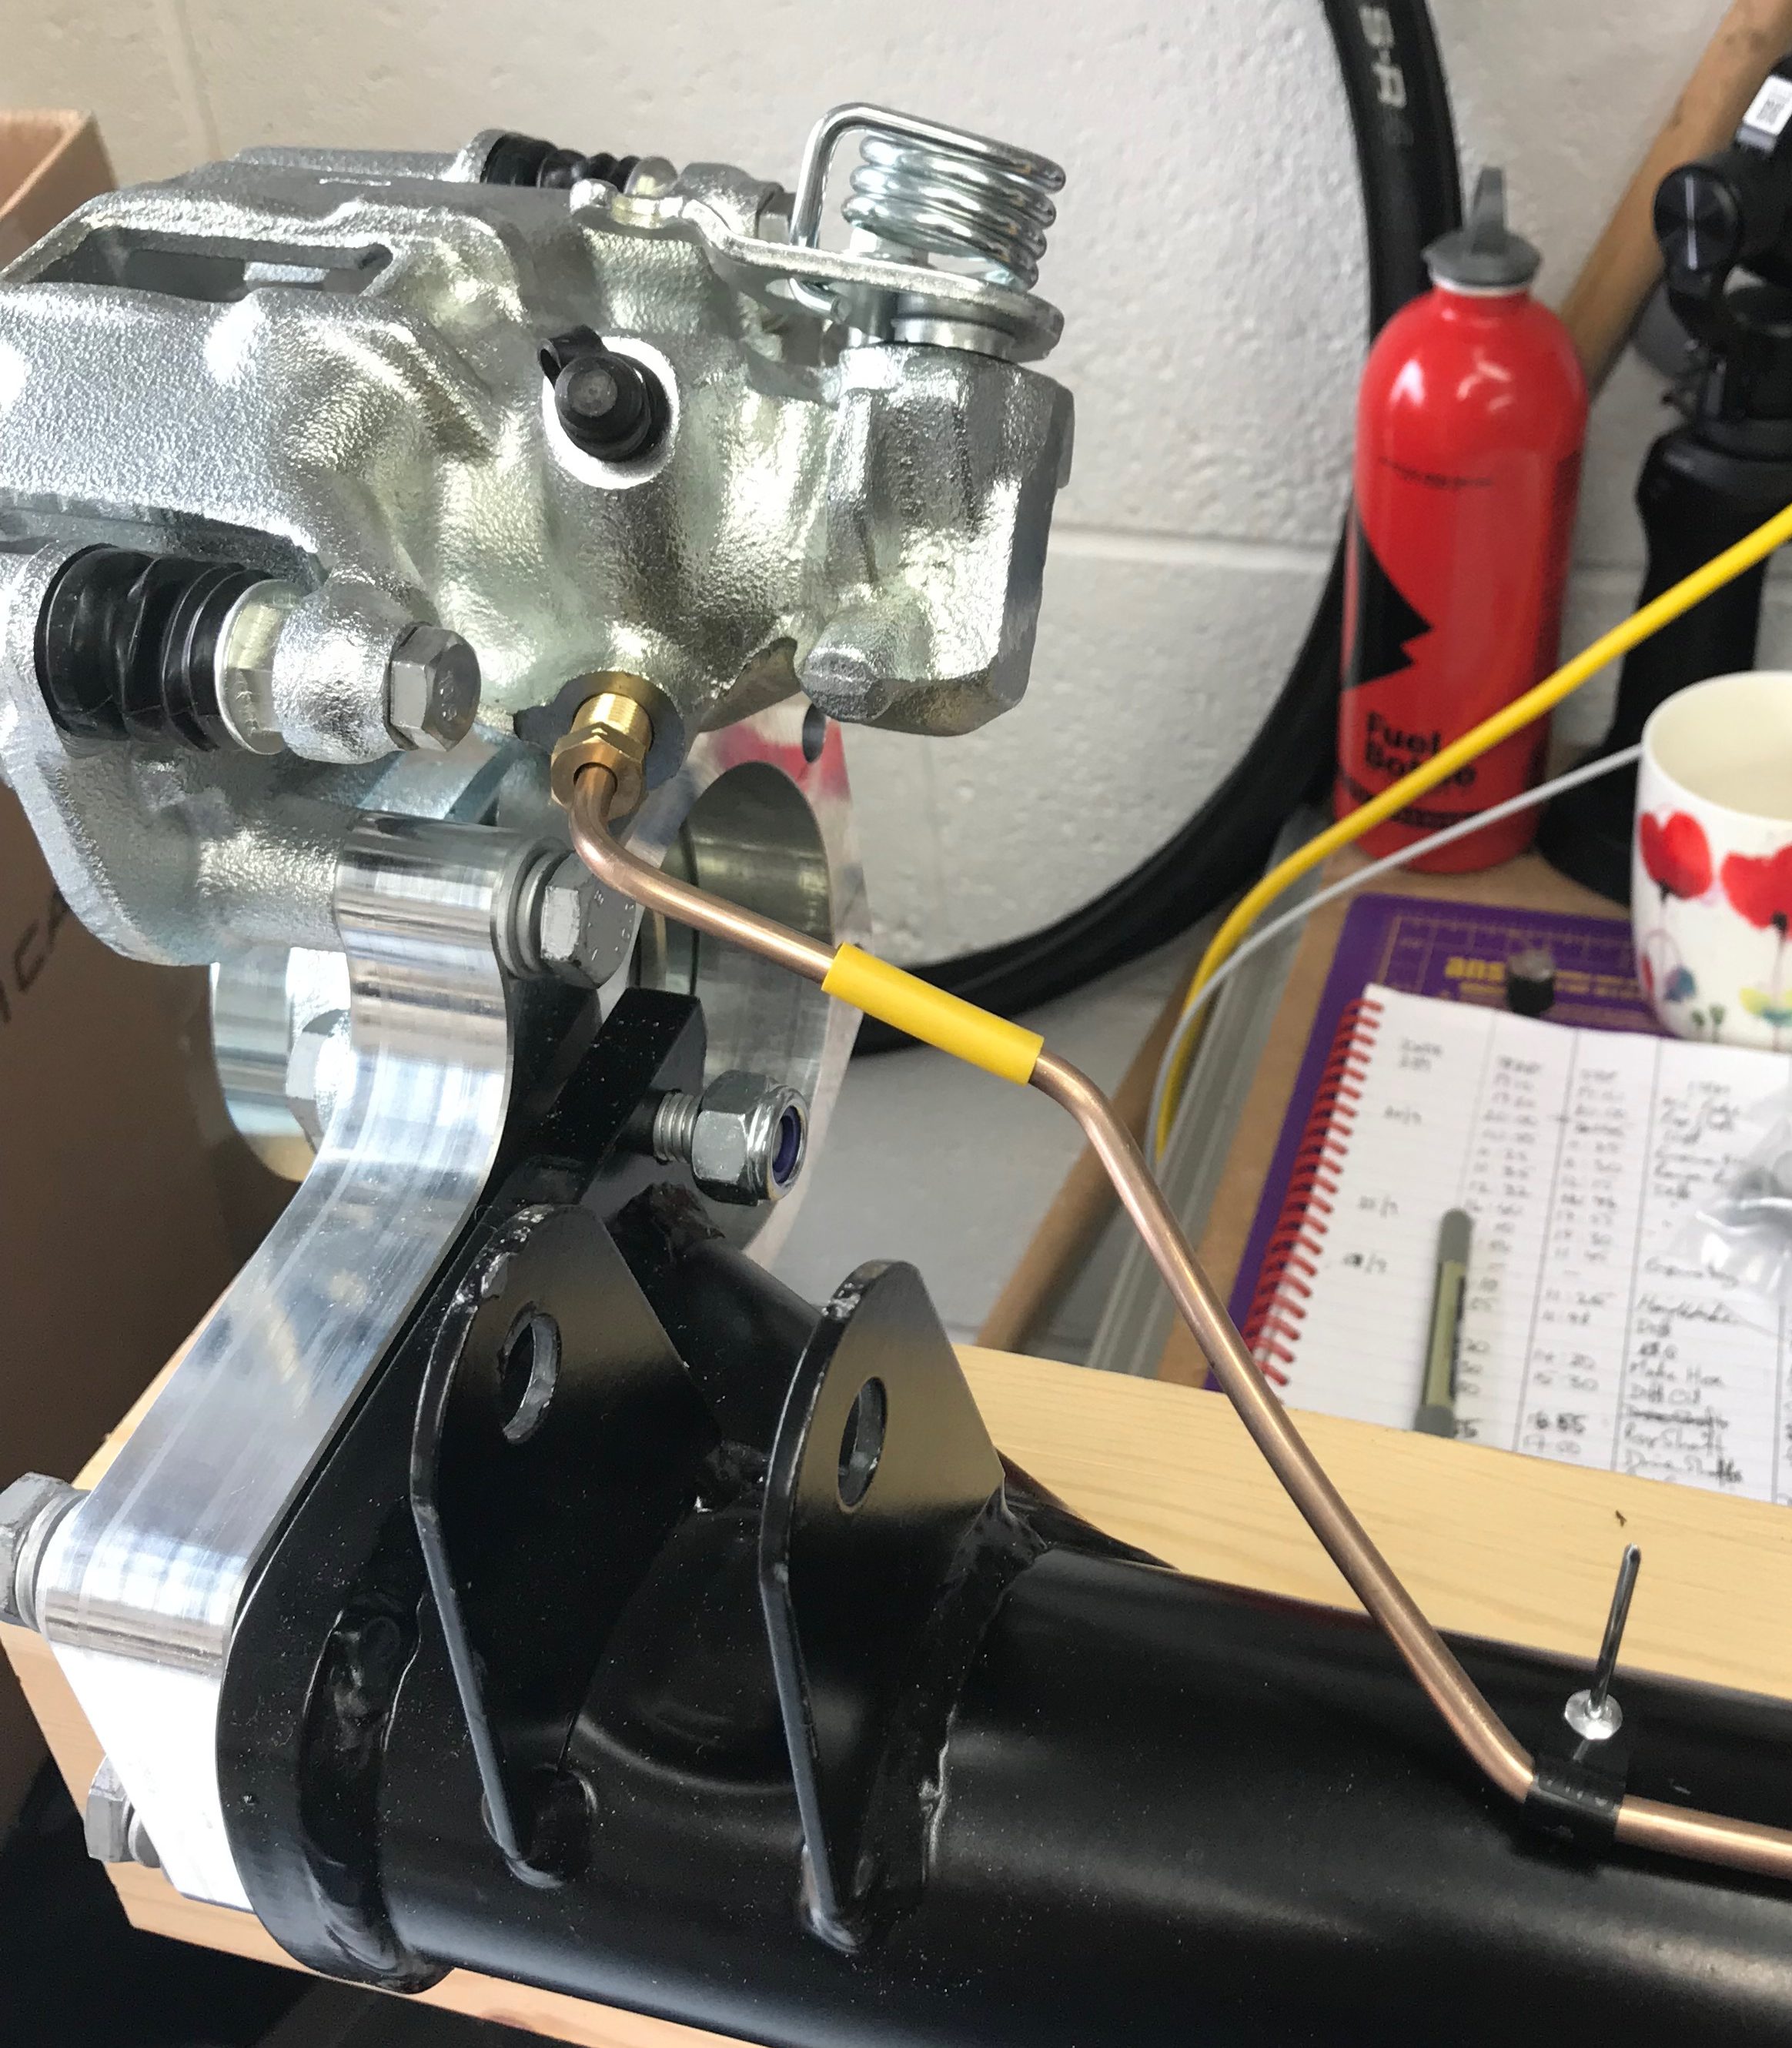
We’ll have to see how that works out in practice when we get the De Dion tube fitted. (Another) Big mistake. Should’ve taken more time on this one… but to my defence I didn’t know what it had to look like and so put up with a bad job!
Note from the future: Two problems here. Firstly the pipe needed to be bent so it was following the tube around the front of the radius arm fixing point (the two flanges). Secondly, the bend of the brake pipe closest to the t-piece was too tight. I had to make the zig-zag less shallow to give me more pipe to play with at the wheel end. And I had to do all of that with the De Dion etc all in the car! More on that when I get to that later.
Rear Anti-Rollbar
It’s a simple job to fit the rear ARB bushes to the ARM… lots of PTFE lubricant and they slipped over with the help of a screwdriver.
I only loosely fitted the ARB chassis mounts. It seemed I might need to have a bit of wiggle room later when fitting hubs and tube. I’m not sure if I needed the wiggle but it was simple to tighten up the ARB mounts later.
Rear Flexible Brake Hose
Next up was to fit the rear flexible brake hose. It was a little tricky to get the screen wash pipe out of the way while attaching the flexible hose to the copper pipe going forwards but it was all perfectly do-able.
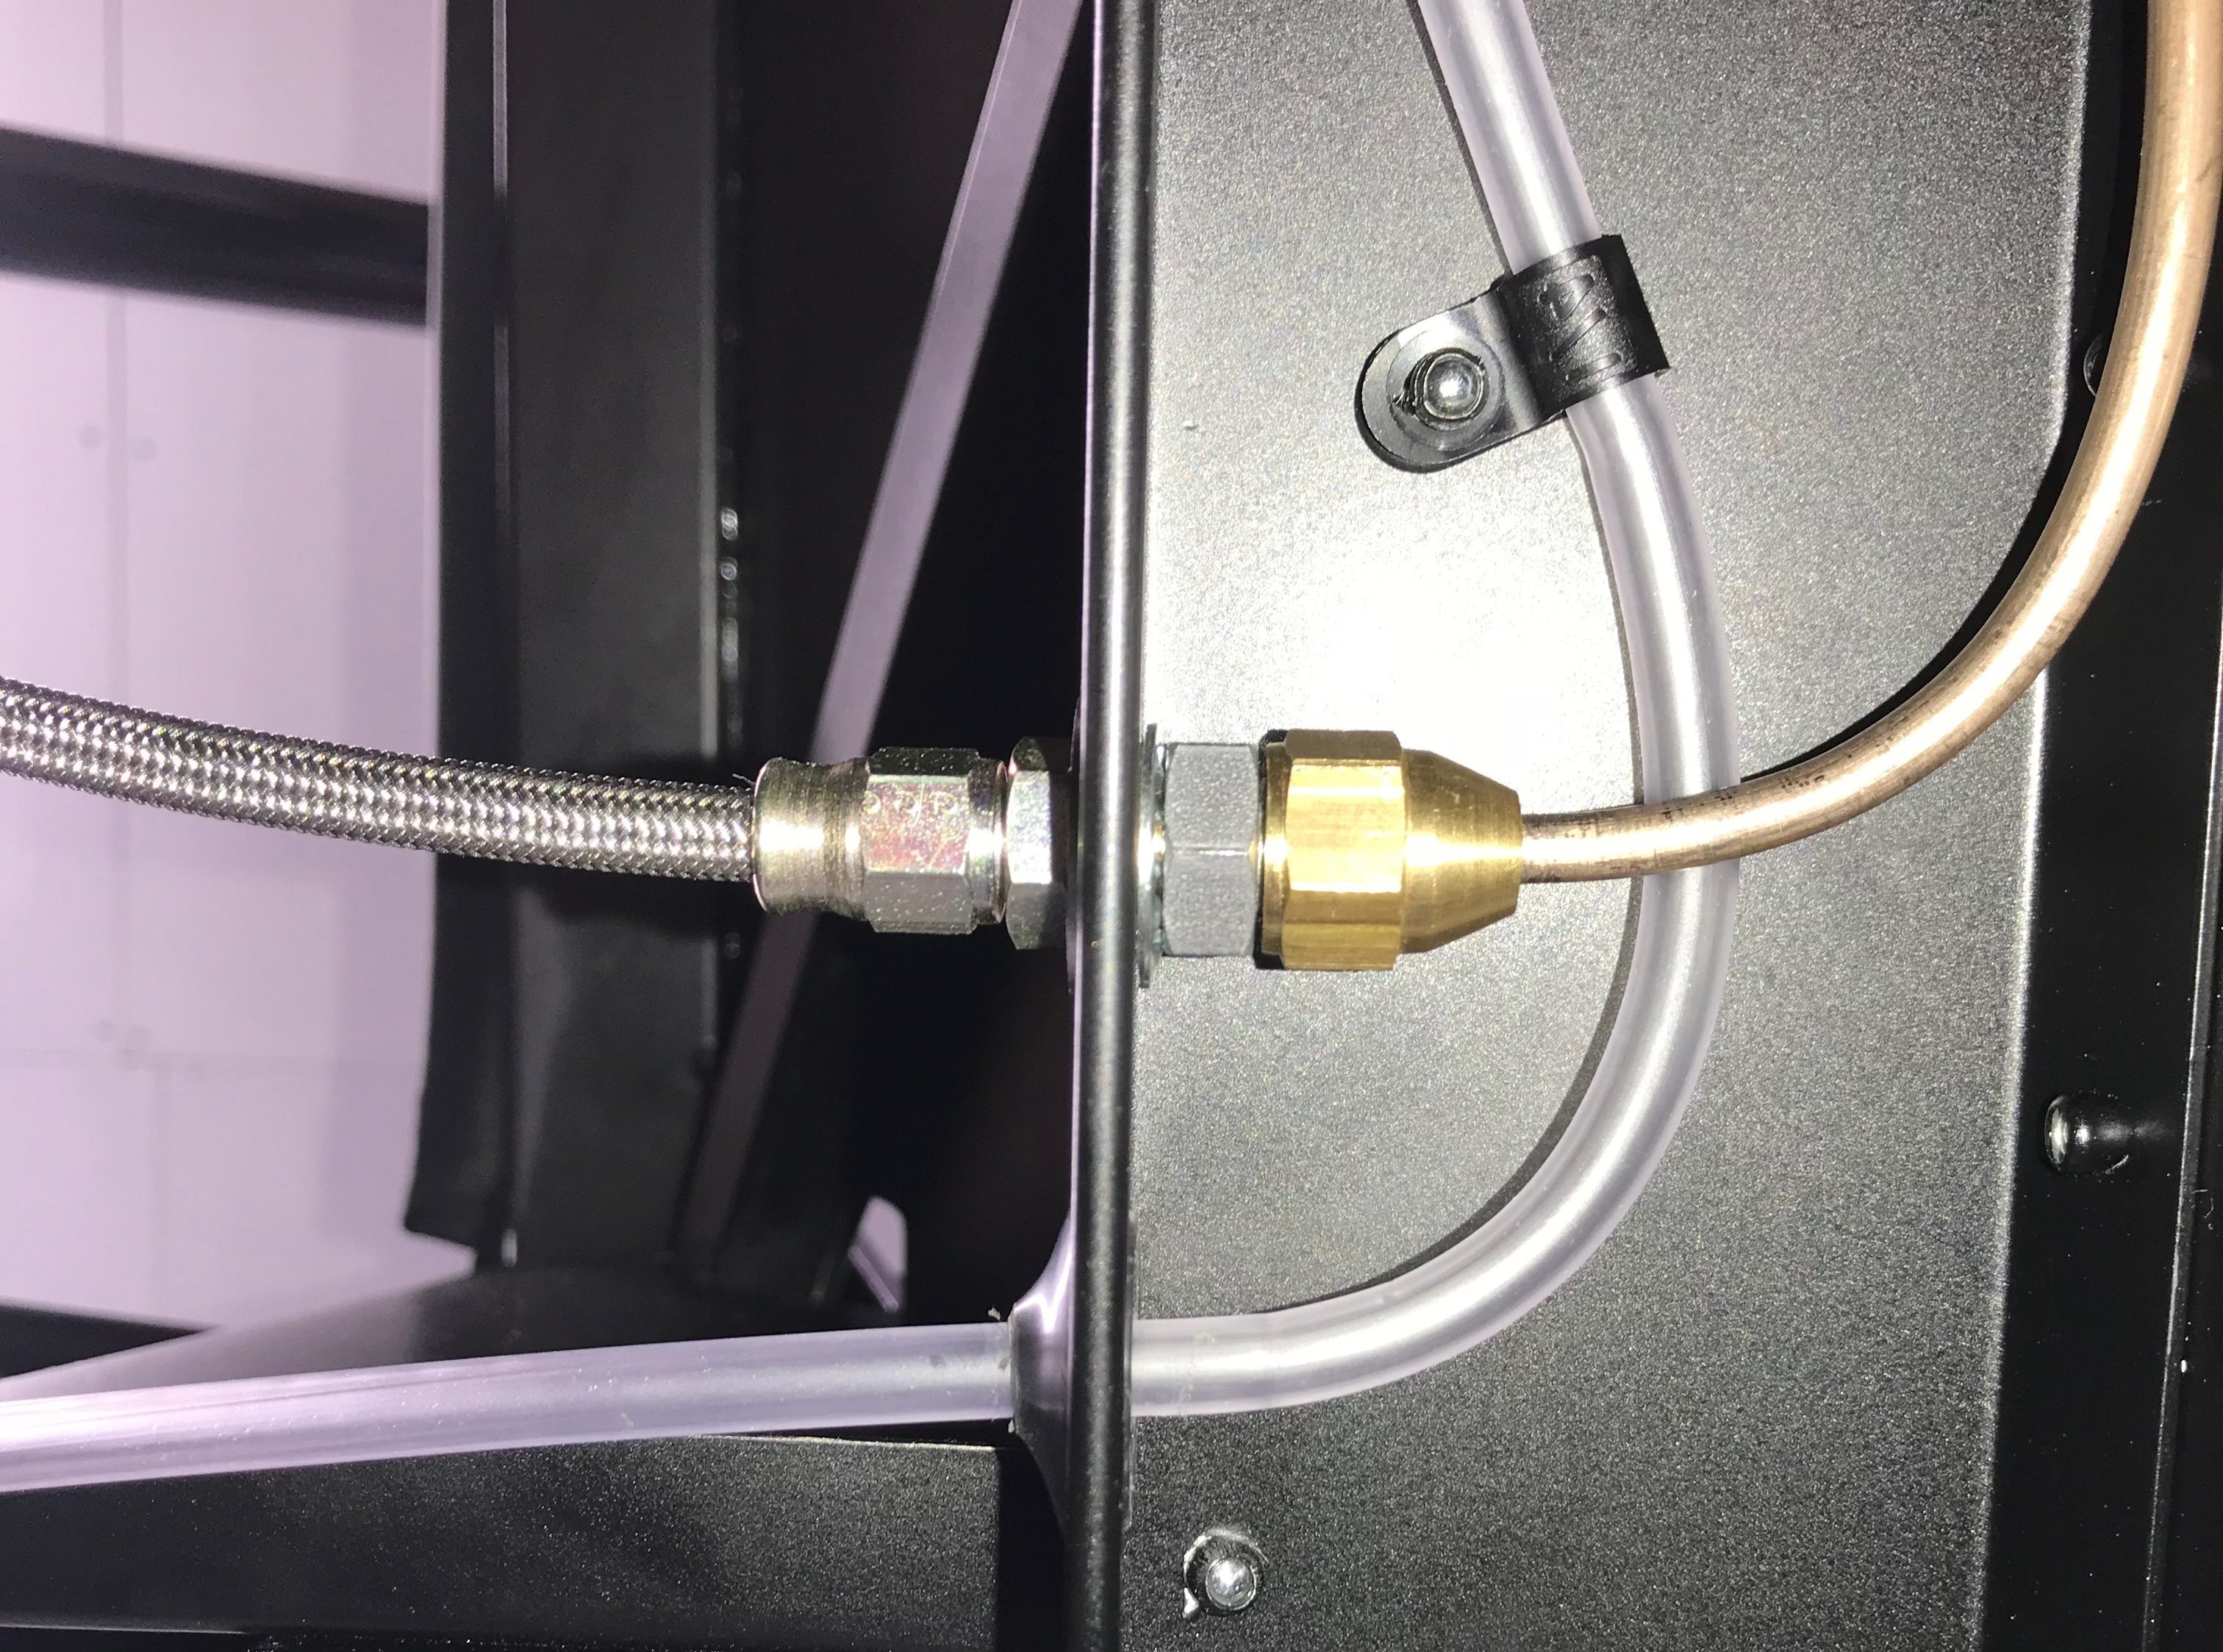
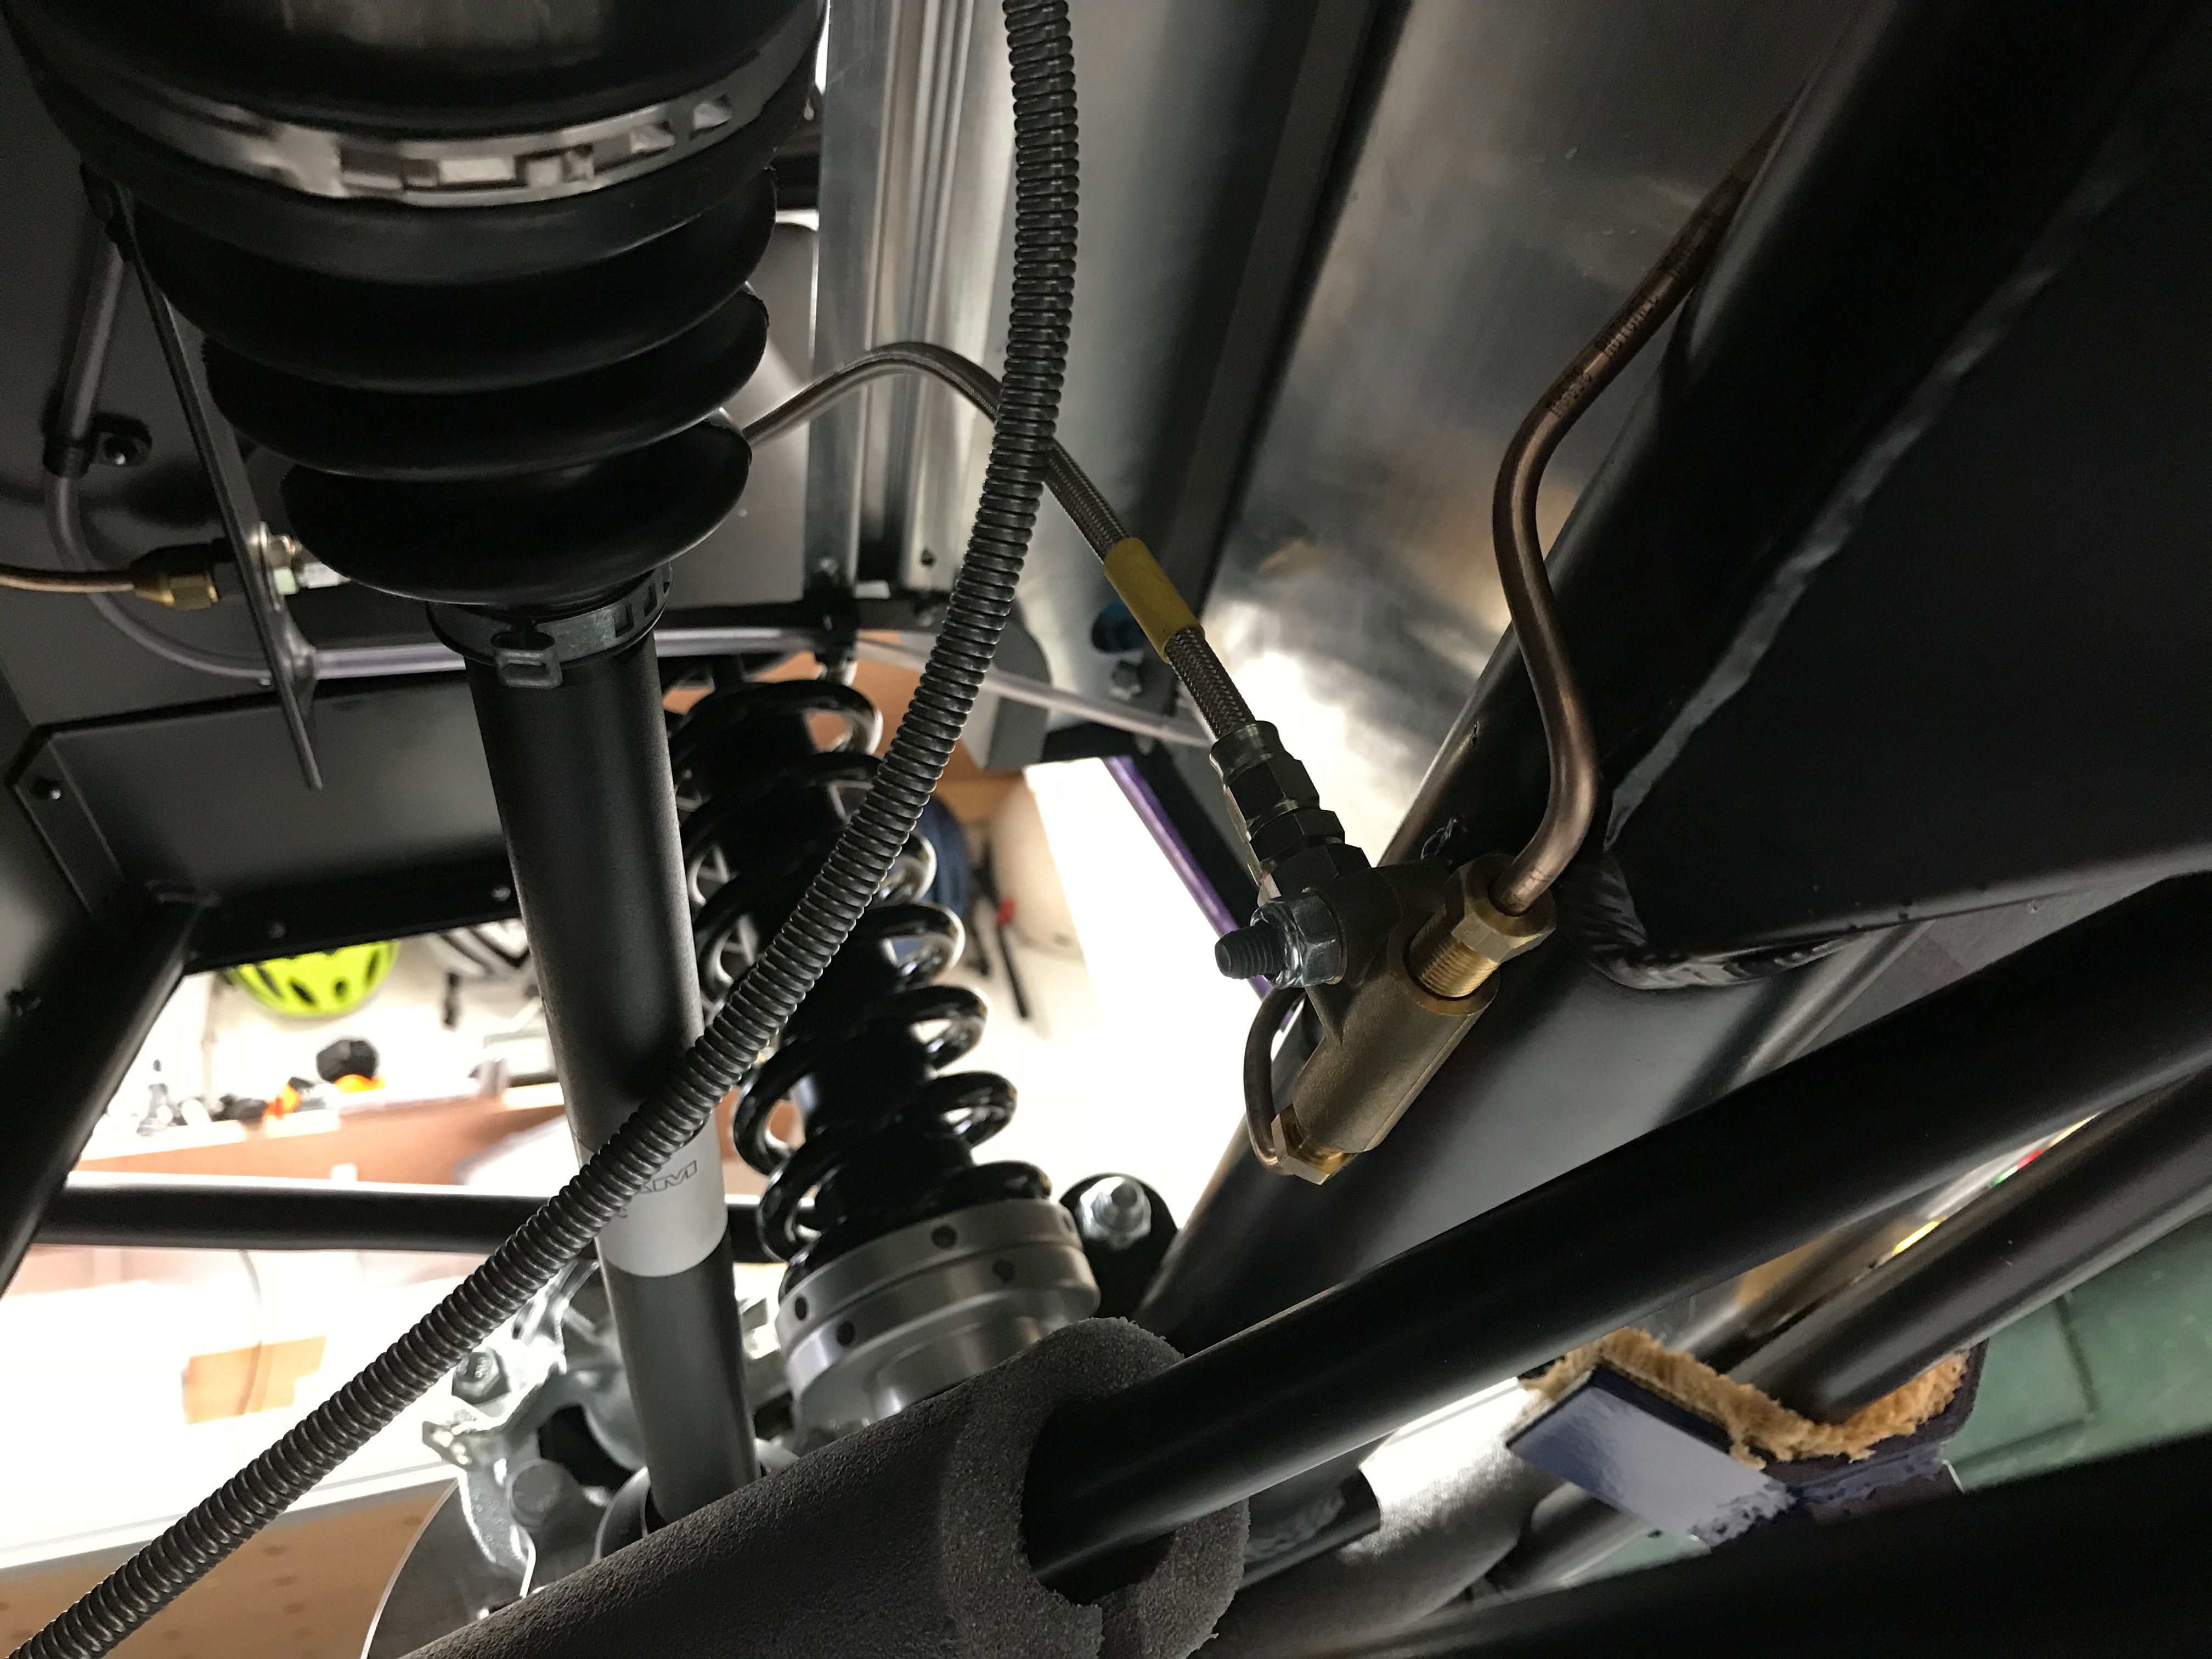
I’m still a little unsure about how the handbrake cable is going to route around the drive shafts, diff and flexible brake hose. I’m sure that will need some re-jigging when I get around to tidying things up later. So I’m in no rush to put any brake fluid into the car, and like the engine bay plumbing, I want to get everything onto the car and in the right place, with the right routing, before I put any fluids in. I was very glad of that approach in the engine bay and see no reason to rush fluids at the rear either.
Fitting d’De Dion tube
The last job today was to place the De Dion tube into the chassis… of course after removing all the loosely fitted rear hubs, callipers and mounting plates. The brake hose pipes are attached to the De Dion tube at this point so you have to be careful not to damage them as you slot the tube into the chassis.
The car is supported on axel stands resting on the chassis tubes. I put pipe lagging (from the engine bay) to protect the tube and rear chassis members and just lay the De Dion tube onto the lagging.
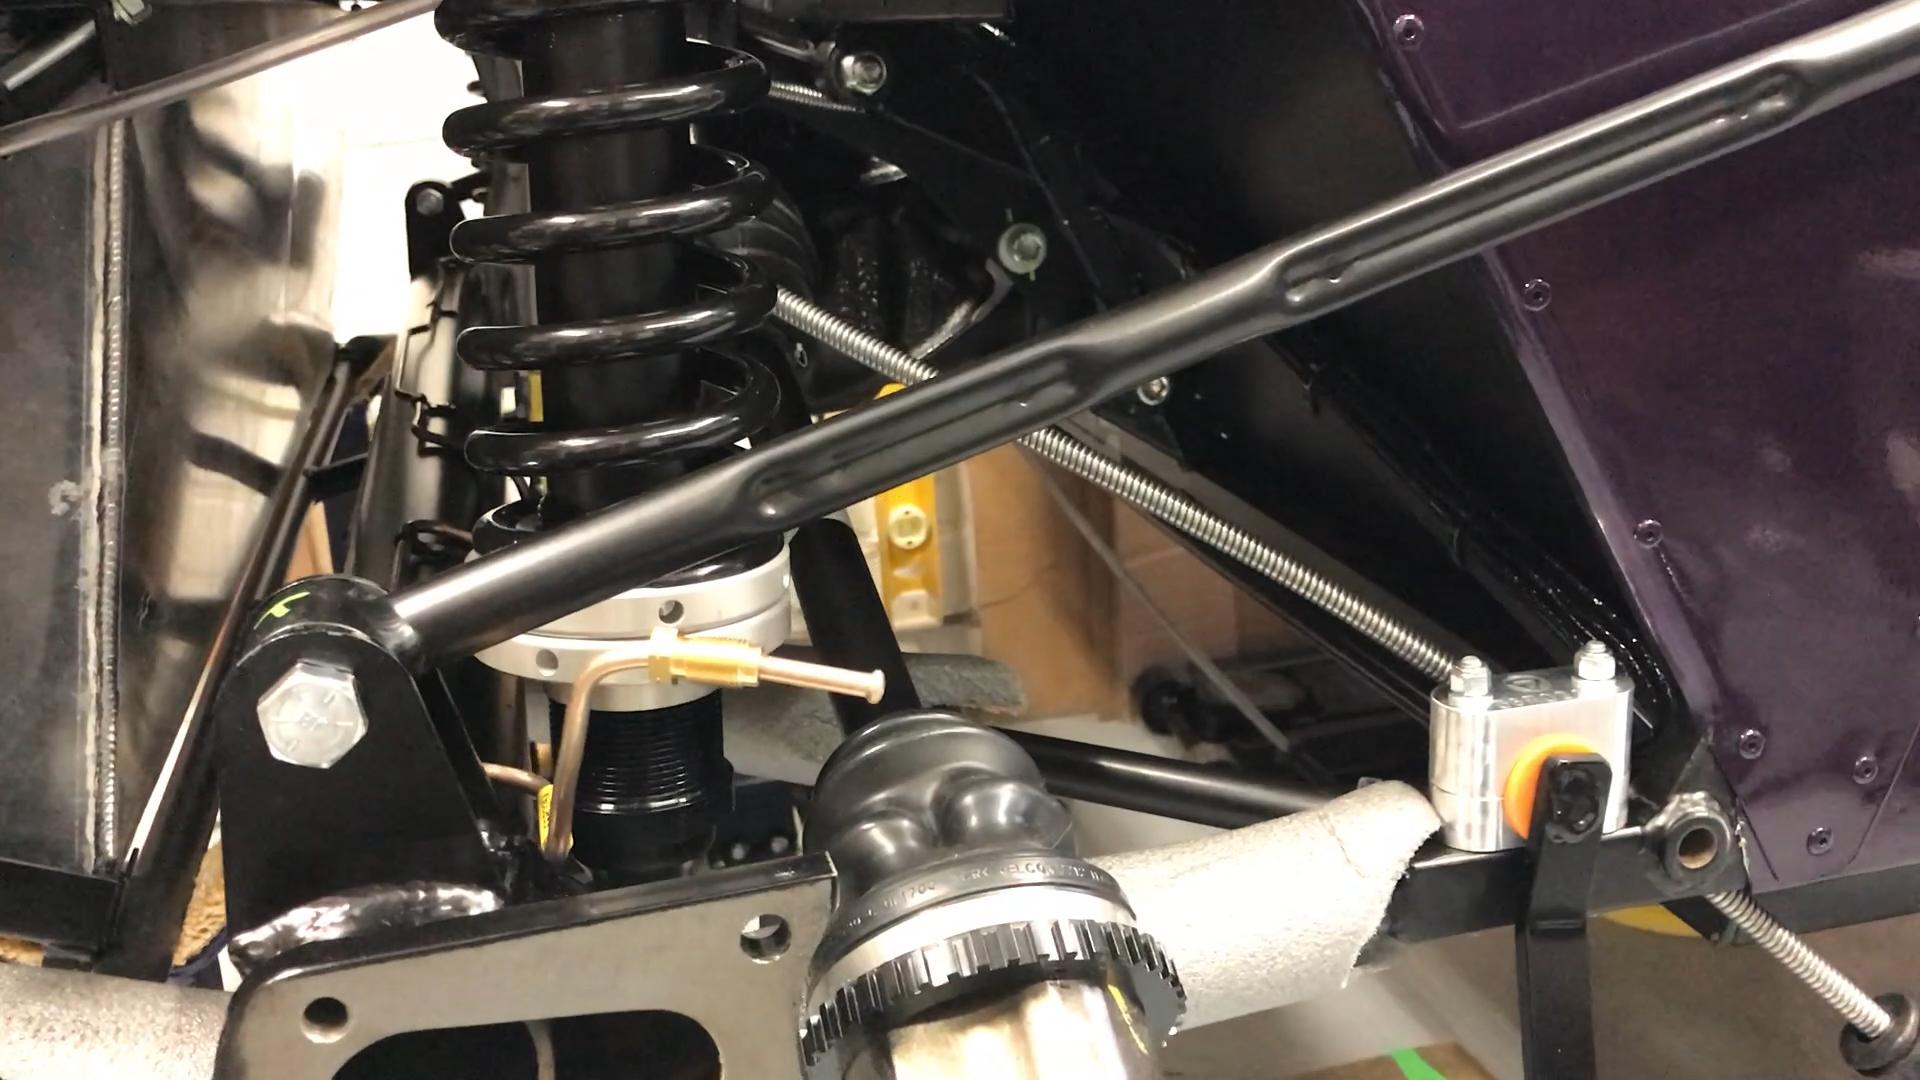
Rear Dampers
At this point it’s possible to fit the rear dampers and springs. Because I’d already fitted the Roll Over Bar, I was able to fit the rear dampers too. The manual seems to indicate you do this later because the roll over bar comes later. But IMHO, the roll over bar should be fitted before getting to the rear suspension. This is only a problem if you have the track roll over bar, seeing as there’s an extra bolt that goes up through the chassis and bodywork that you can’t get in once the damper is in place.

Solid Copper vs Flexible Brake Pipes
Note from the future: having talked a bit to some other builders it seems that some people like to replace the rear fixed copper brake pipes with flexible hoses running from the t-piece to the callipers. Caterham sell the parts and kit to do exactly this conversion, but only for the narrower S3 chassis. The conversion is a requirement for the race cars but is something road users also do. I suspect its required on the race cars because the flexible hoses offer greater protection to the braking system than the fragile copper pipes do. It also means you’re not bending copper pipes so much if you’re changing brake pads a lot. Unfortunately, they don’t do the parts or kit for an SV chassis. However, you can find web sites where the parts can be “built up” with the right couplings and threaded ends to the right length hose. I’ll do this at some point when I have time to drain the brake system and/or I need to change the rear pads… not particularly something for the short term unless I get bored over a winter.
Radius Arms
The radius arms fit between the De Dion tube and holes in the bodywork/chasis at the rear of the door apertures.
The location of the radius arms at the front determines a ride harshness (I think) vs rear wheel control tradeoff. There are two holes that can be used for the Radius Arms at the rear of the door openings, an upper and a lower. The lower hole is for more of a track setup and the upper for road use. The lower hole is not fully drilled out so I decided to go with the simpler option and used the upper mounting holes. I waited to torque the bolts of the radius arms like the build manual recommends – the rear suspension needs to be bearing the weight of the car to correctly tension the suspension when the bolts are torqued.
A reasonably successful day.

Leave a Comment