
It’s not that I’ve been terribly worried about the prospect of starting the engine… but… I certainly didn’t want to have missed something stupid and to then screw up a very expensive lump of aluminium and steel.
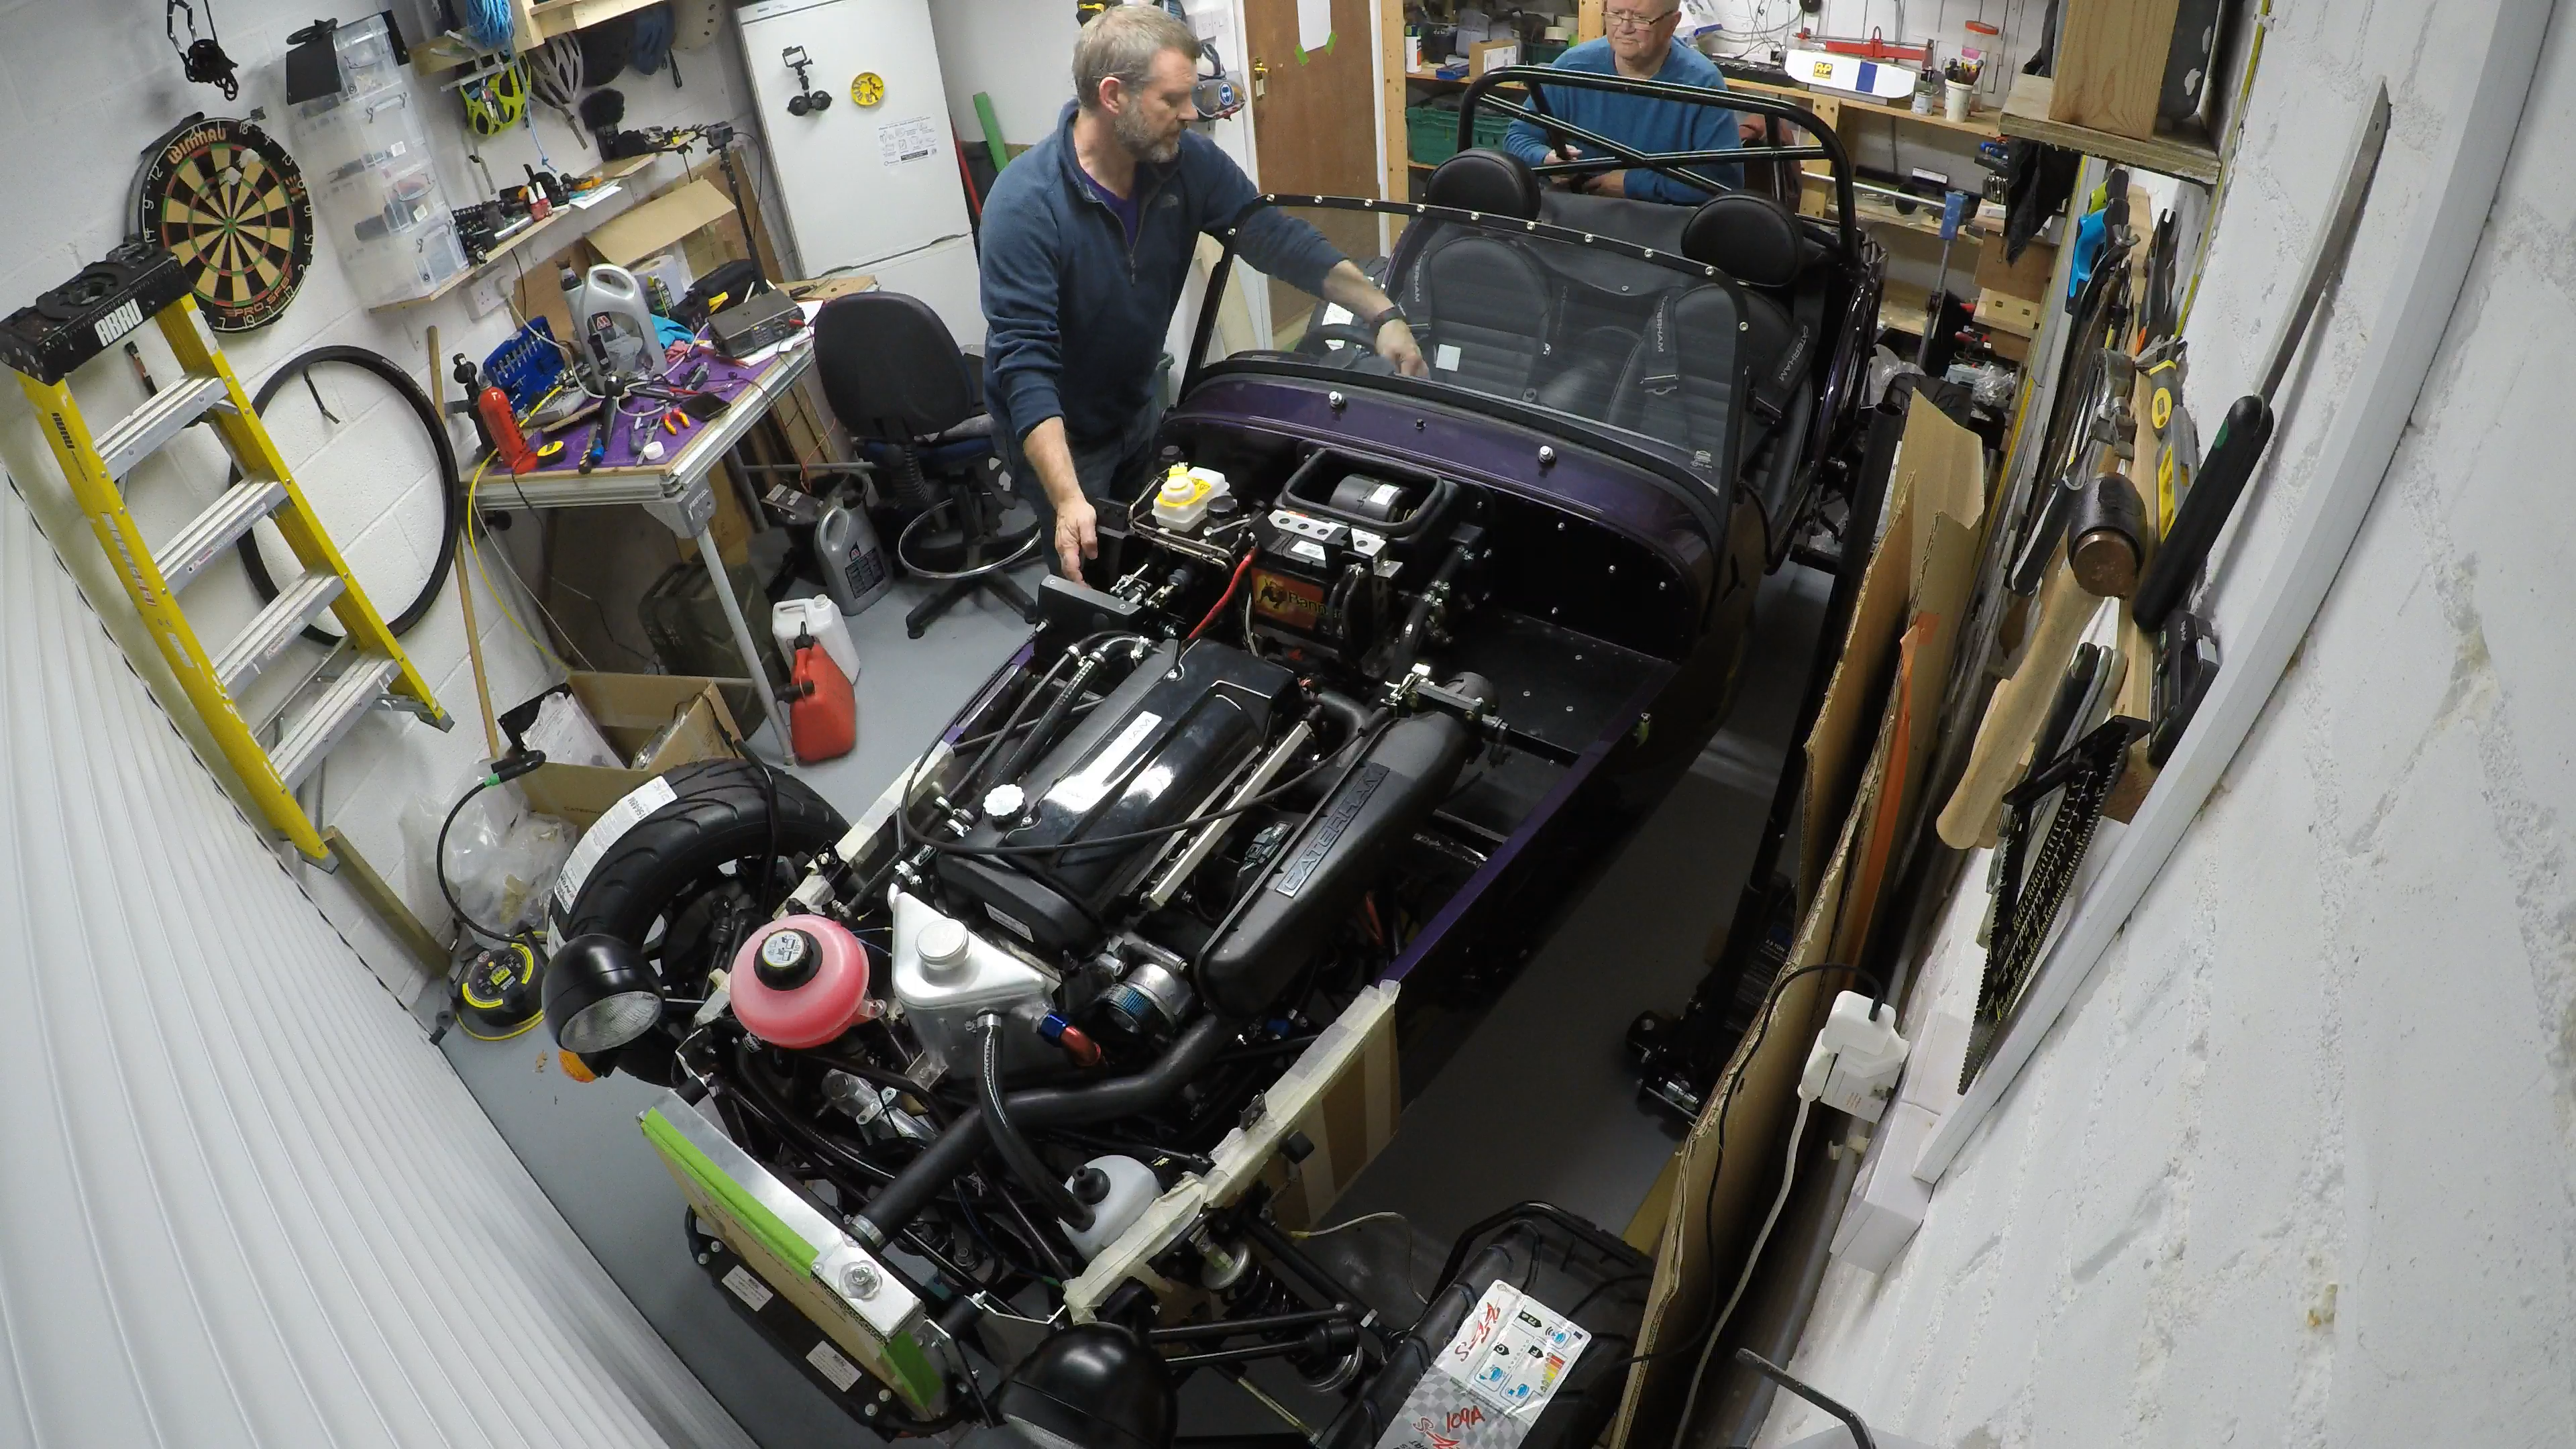
Today I also had another pair of hands and a tripling of brain power on the project… my father was visiting for the weekend.
…. and so there was a bunch of pre-launch checks to do and some tidying up of some areas before we could twist the key and push the big red button.
For a start, the battery wasn’t connected. I’d made a very conscious effort to leave fluids and wiring until the very last minute, in case I found I needed to change something and could do so more easily than if the car had been fully wired and wet. But lets fix that now…
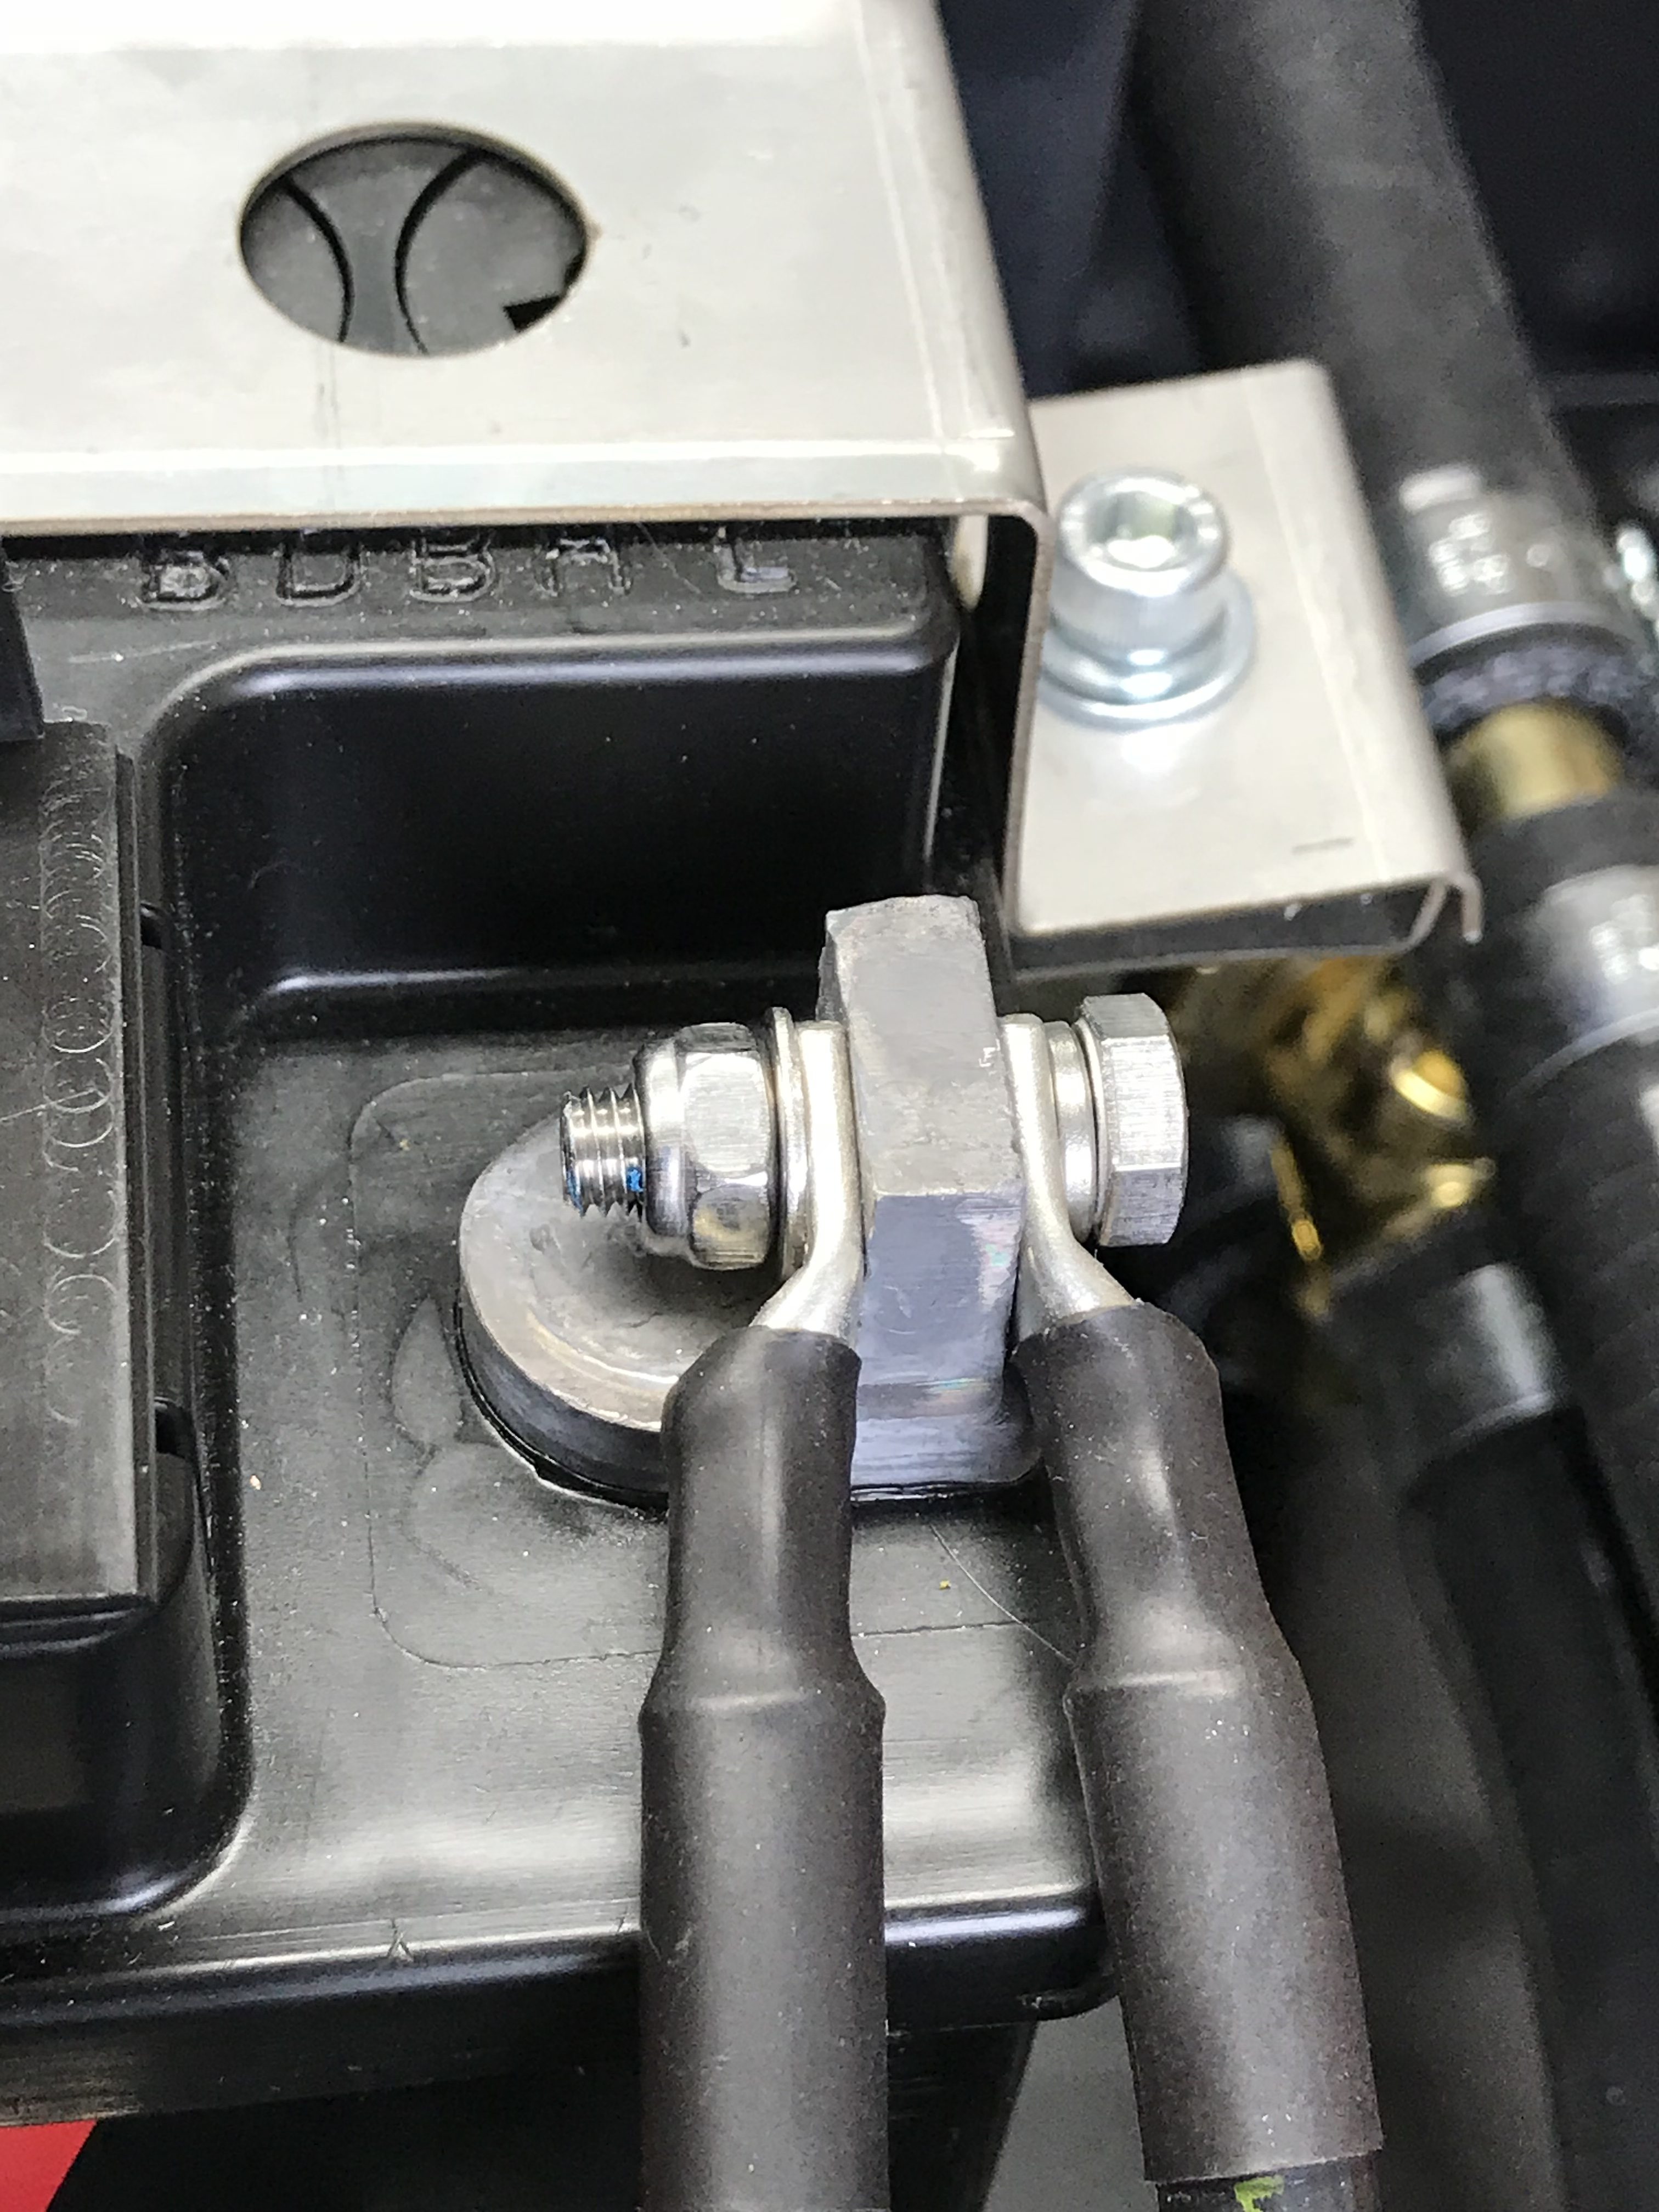
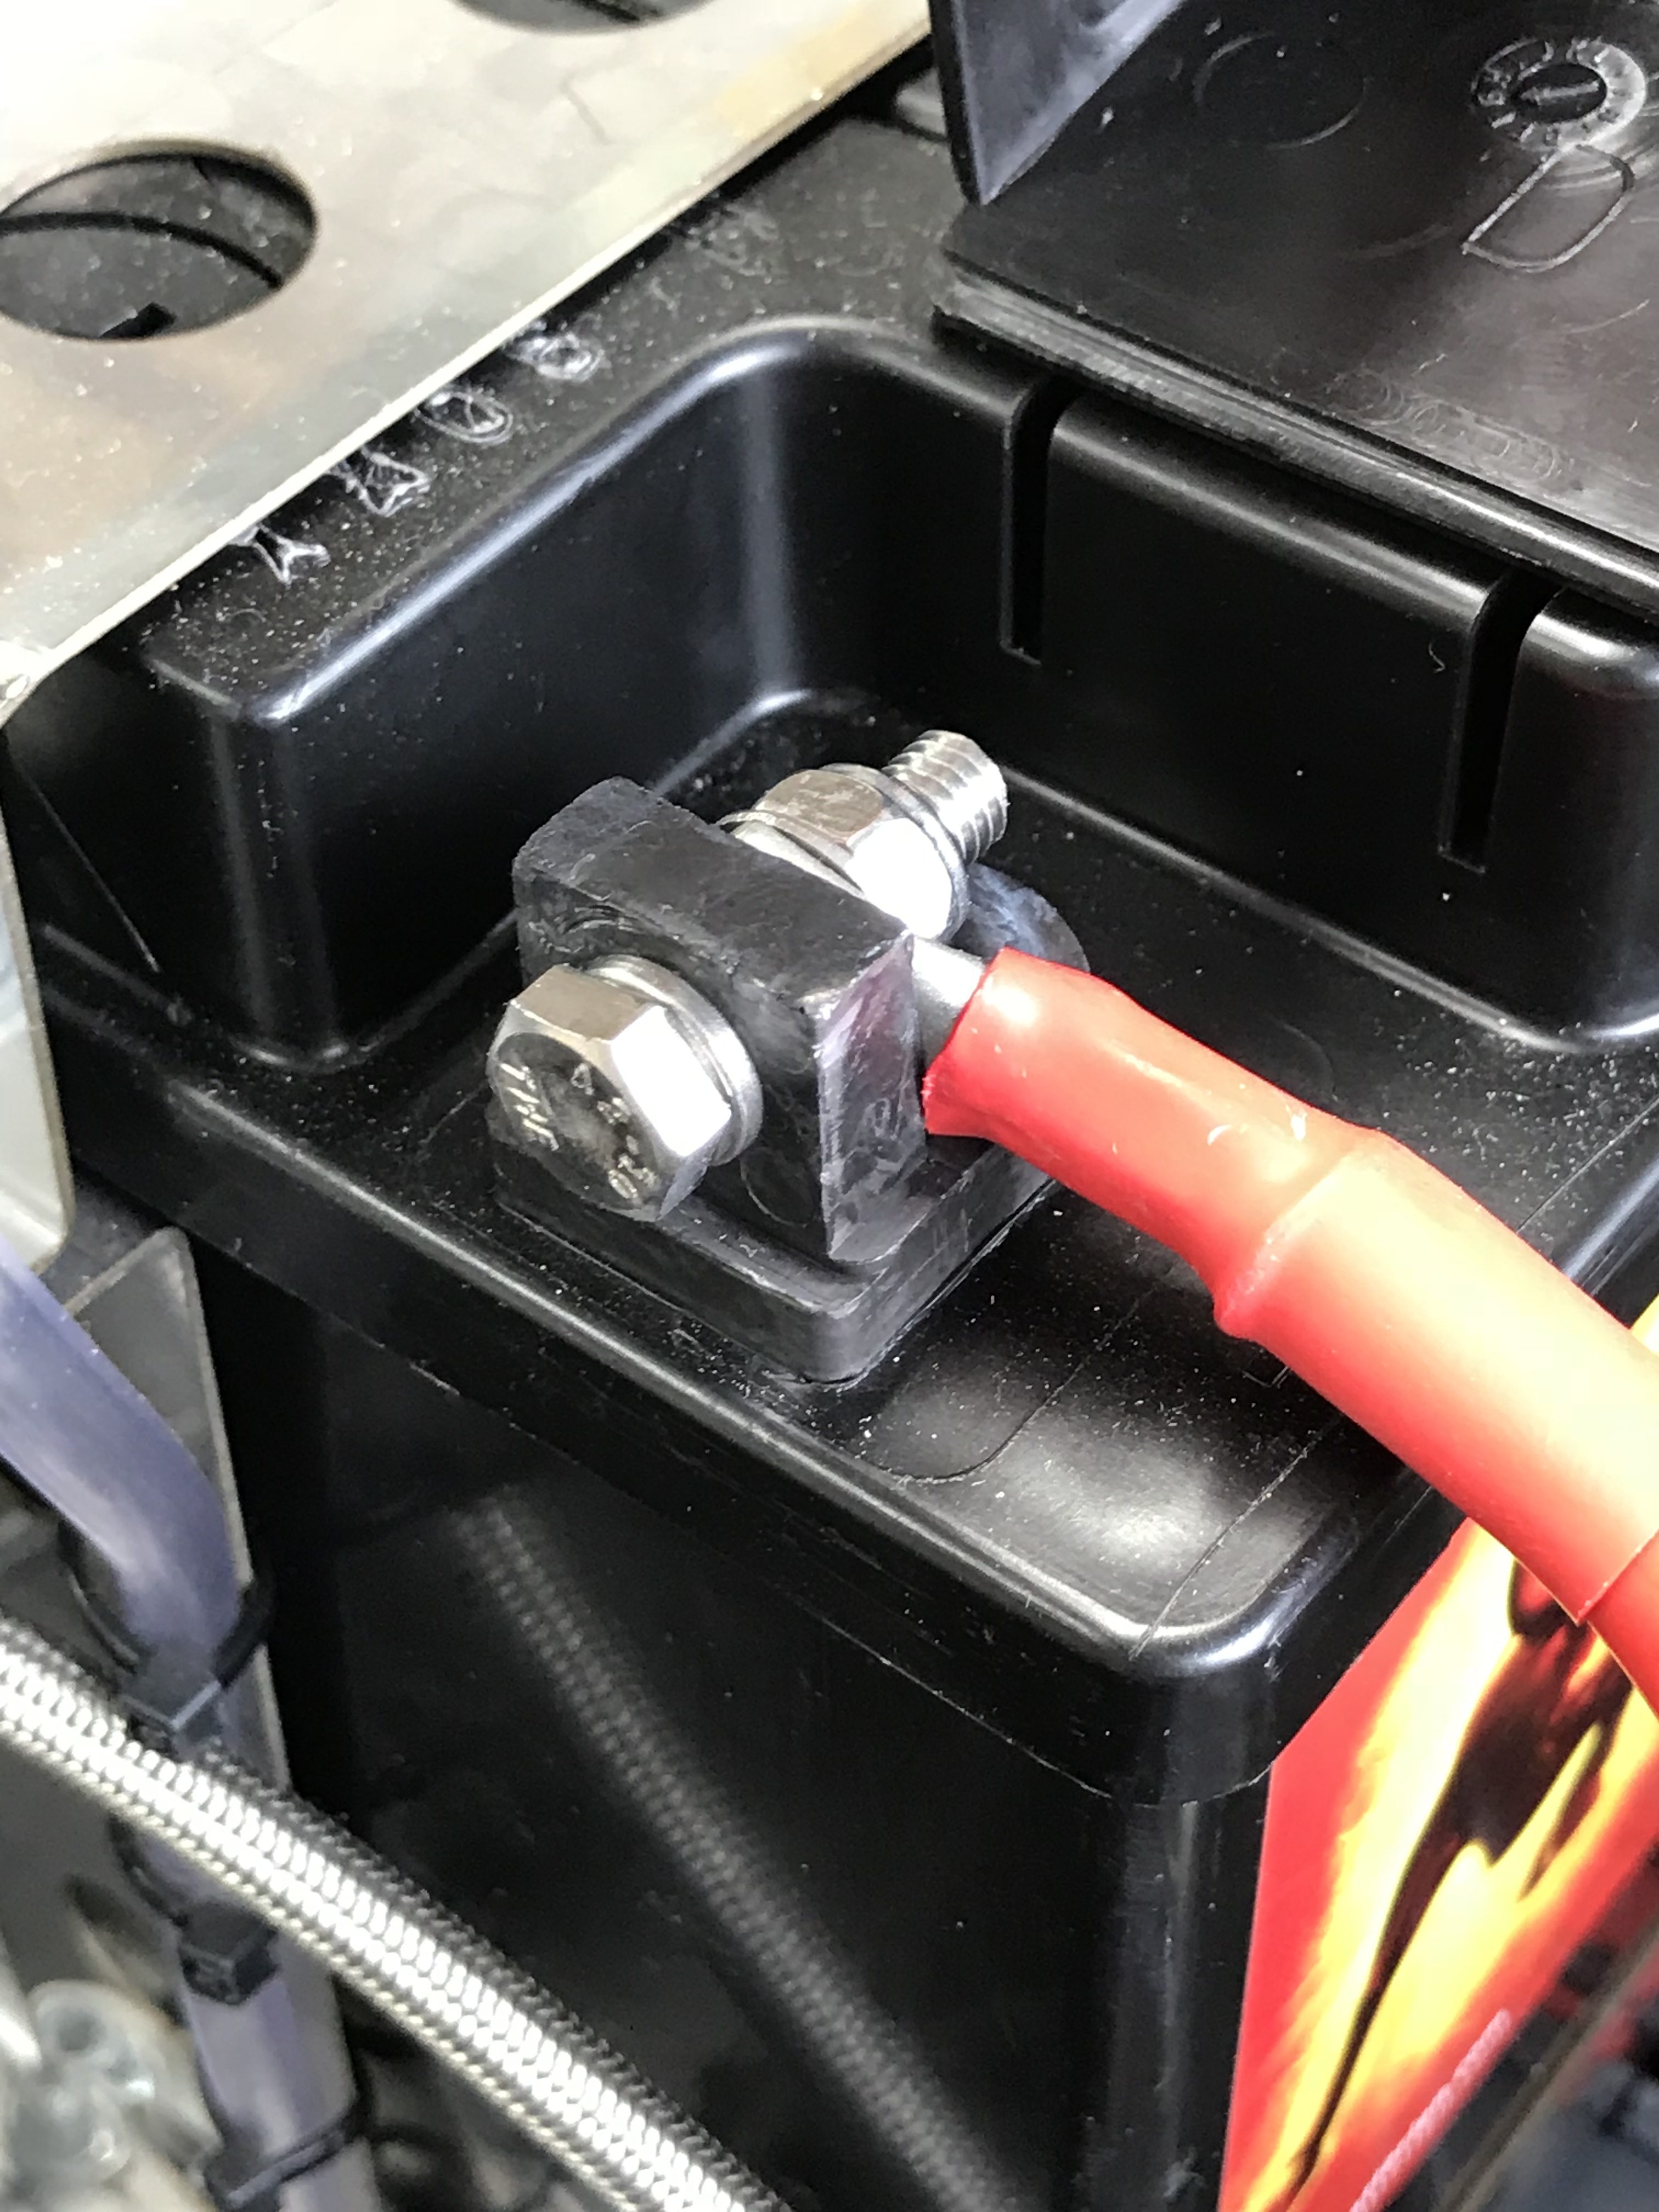
Battery Connection
First job was to get the juice flowing. There didn’t seem to be any battery nuts and bolts suitable in the kit, so I raided the junk pile and found a couple of rather long bolts that I could grind down to length.
Pre-flight Checks
Before getting to the oily and wet stuff, we did some basic pre-flight checks. Seeing as Dad was staying I ran through all the water and oil connections with him, partly so I could check it in my own head, but mostly so Dad could make sure it made sense to him too.
All seemed to be in order.
Next up was the moment of no return (or at least it gets a lot messier from this point on if we have to back track)… time to add some fluids.
Coolant
First of the fluids is coolant.
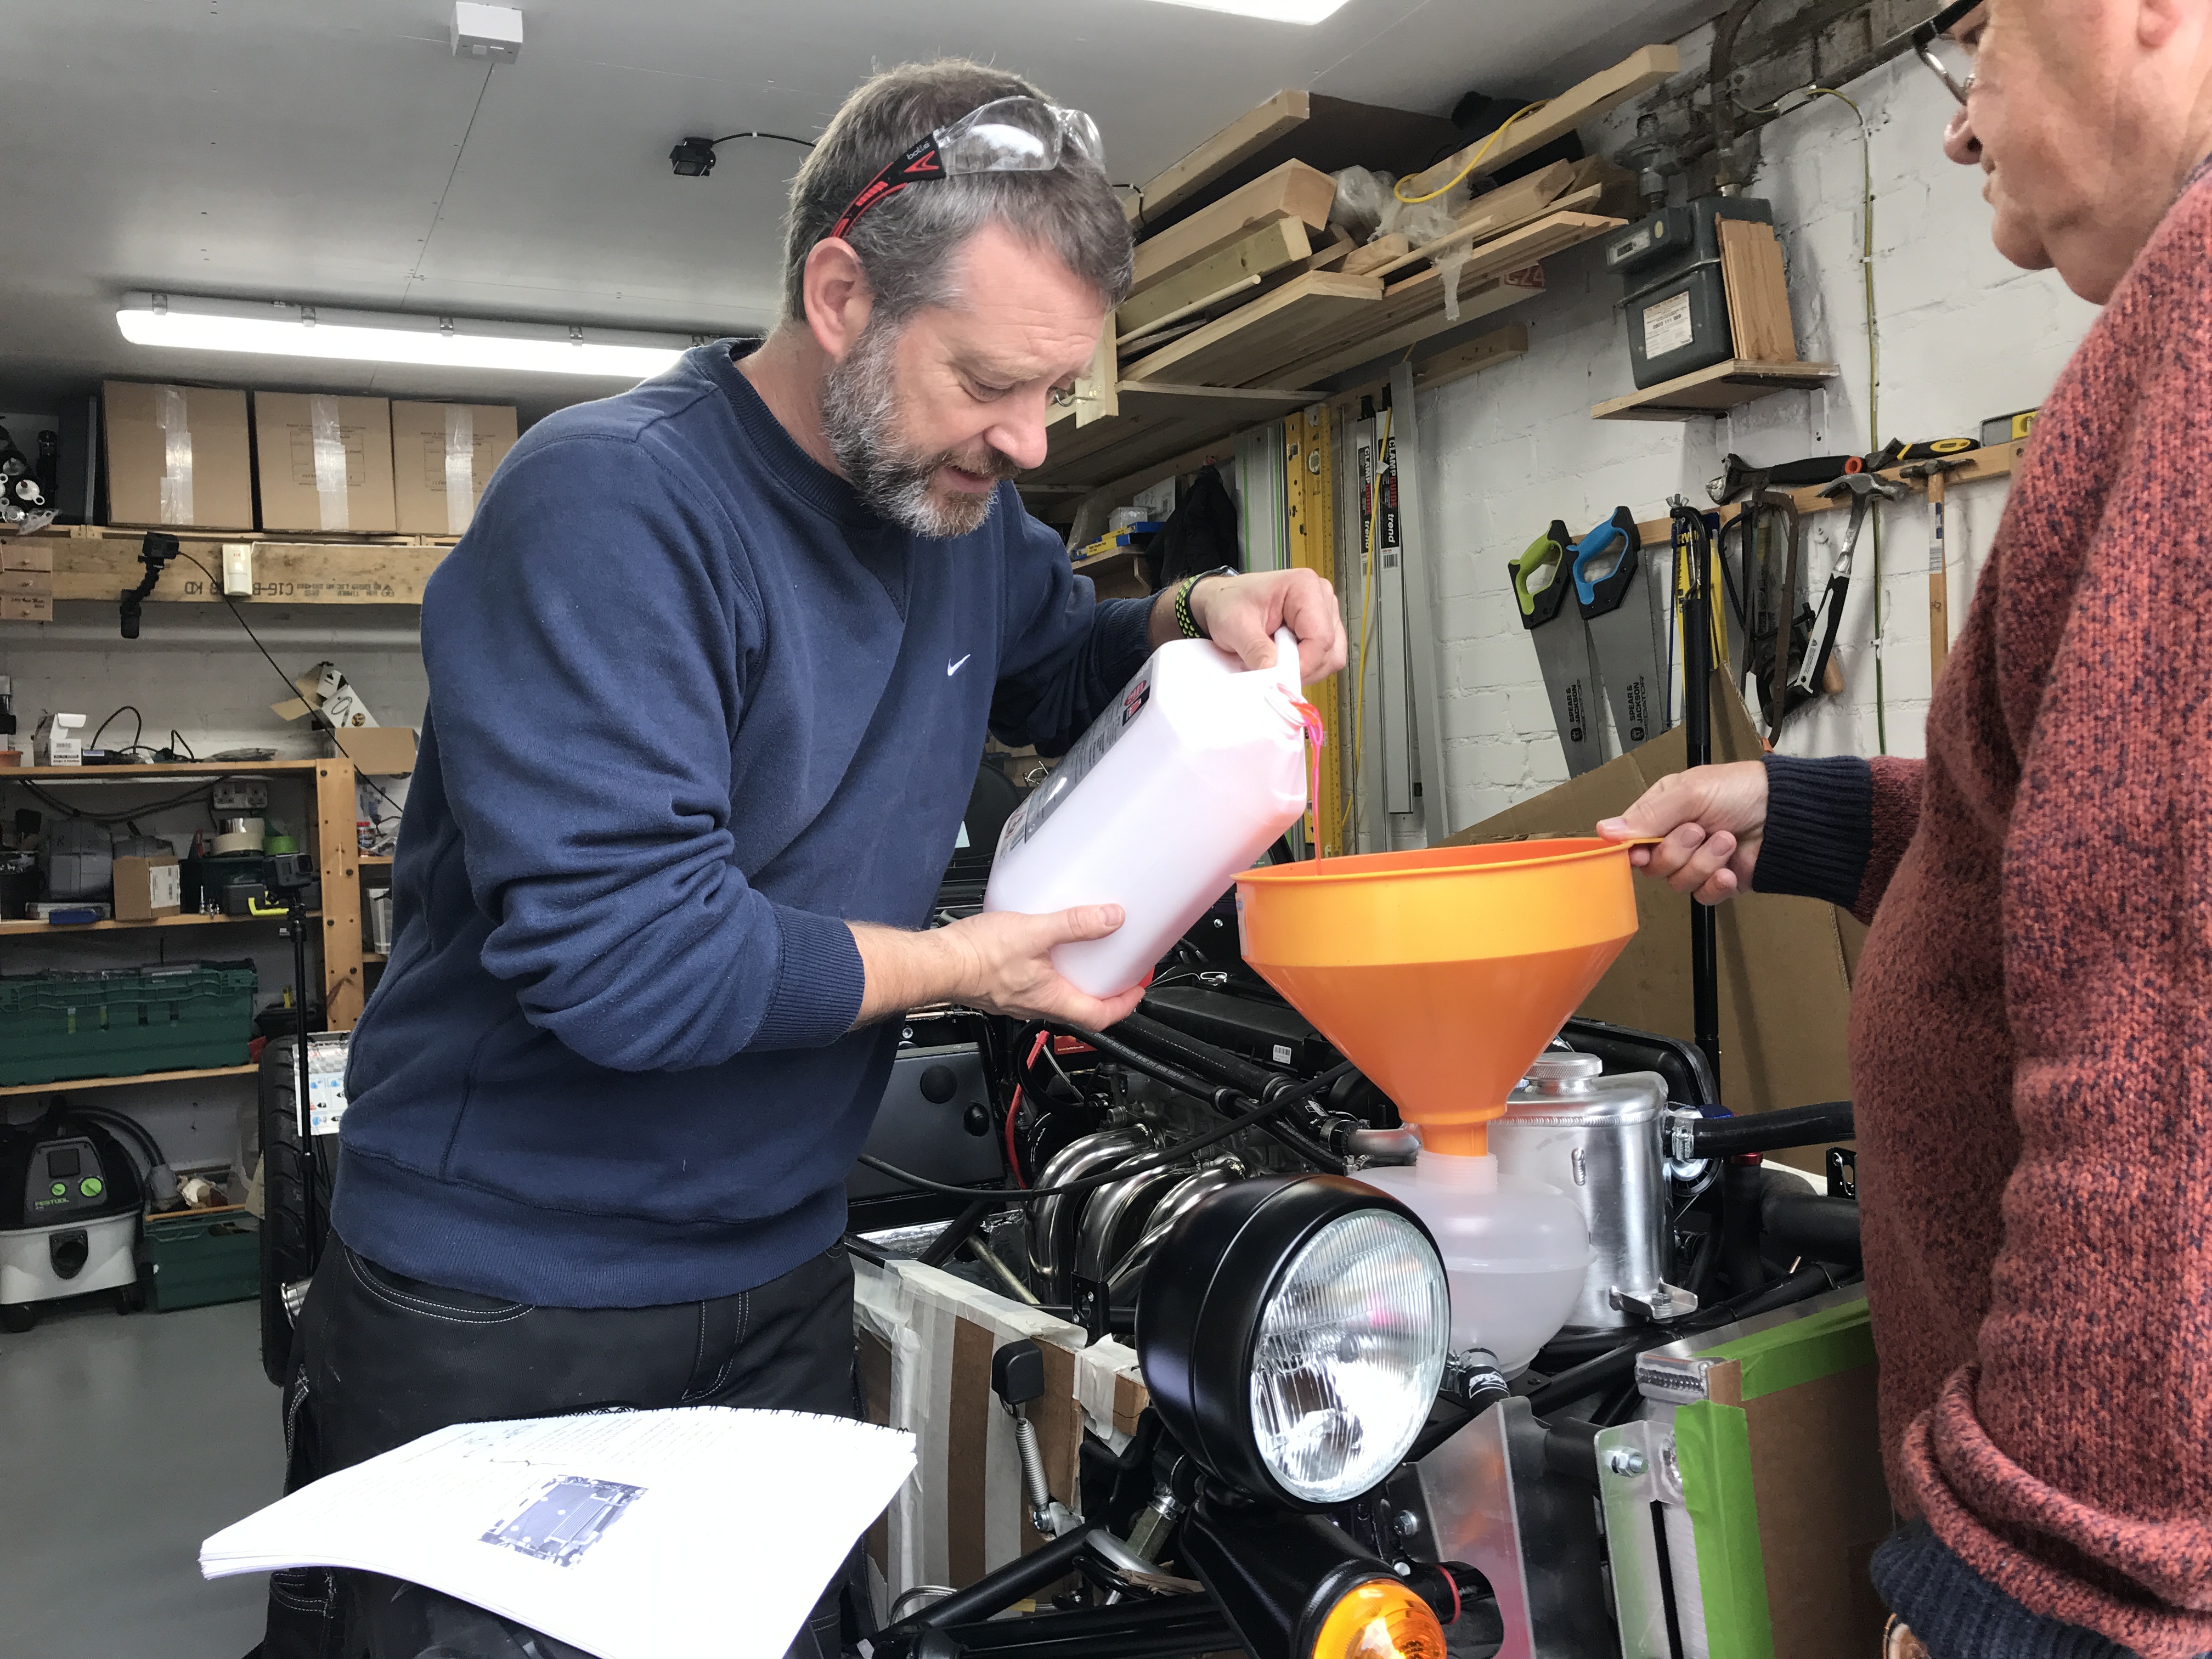
We filled the coolant system first into the water expansion bottle and then did as the manual recommends and filled again into the top heater hose. We made sure the heater valve was open and that we had coolant in the heater. We also squished all the water pipes to see if we could feel if there was coolant in them all… everything seemed to be ok.
Eventually we got to the point where we’d overfilled the coolant and got about 6L into the system. We weren’t too worried about the 50:50 anti-freeze to water ratio. We can fix that later and we’re not living in the Antarctic. We overfilled on the basis that there was probably an air pocket in there somewhere and the level would drop as the air made its way out.
Oil
The oil level on a dry sump Caterham seems to be a tricky thing to get right. It seems the right level is just below the middle inner baffle of the oil tank when the engine is running. That sounds simple, except that you can’t see the baffle when the engine’s running because there’s oil flowing into the tank that obscures your view down from the filler cap hole.
From what I can tell the right amount seems to be about 7L of oil… so that’s what we put in.
Nearly there, just need some go-go-juice.
Fuel
This is another area where some people have got things wrong in the past. Oddly enough you need something over 15L of fuel in the tank before you can get enough fuel pressure to prime the system. Getting 15L of petrol into the tank is no mean achievement when you only have a 4L plastic petrol canister.
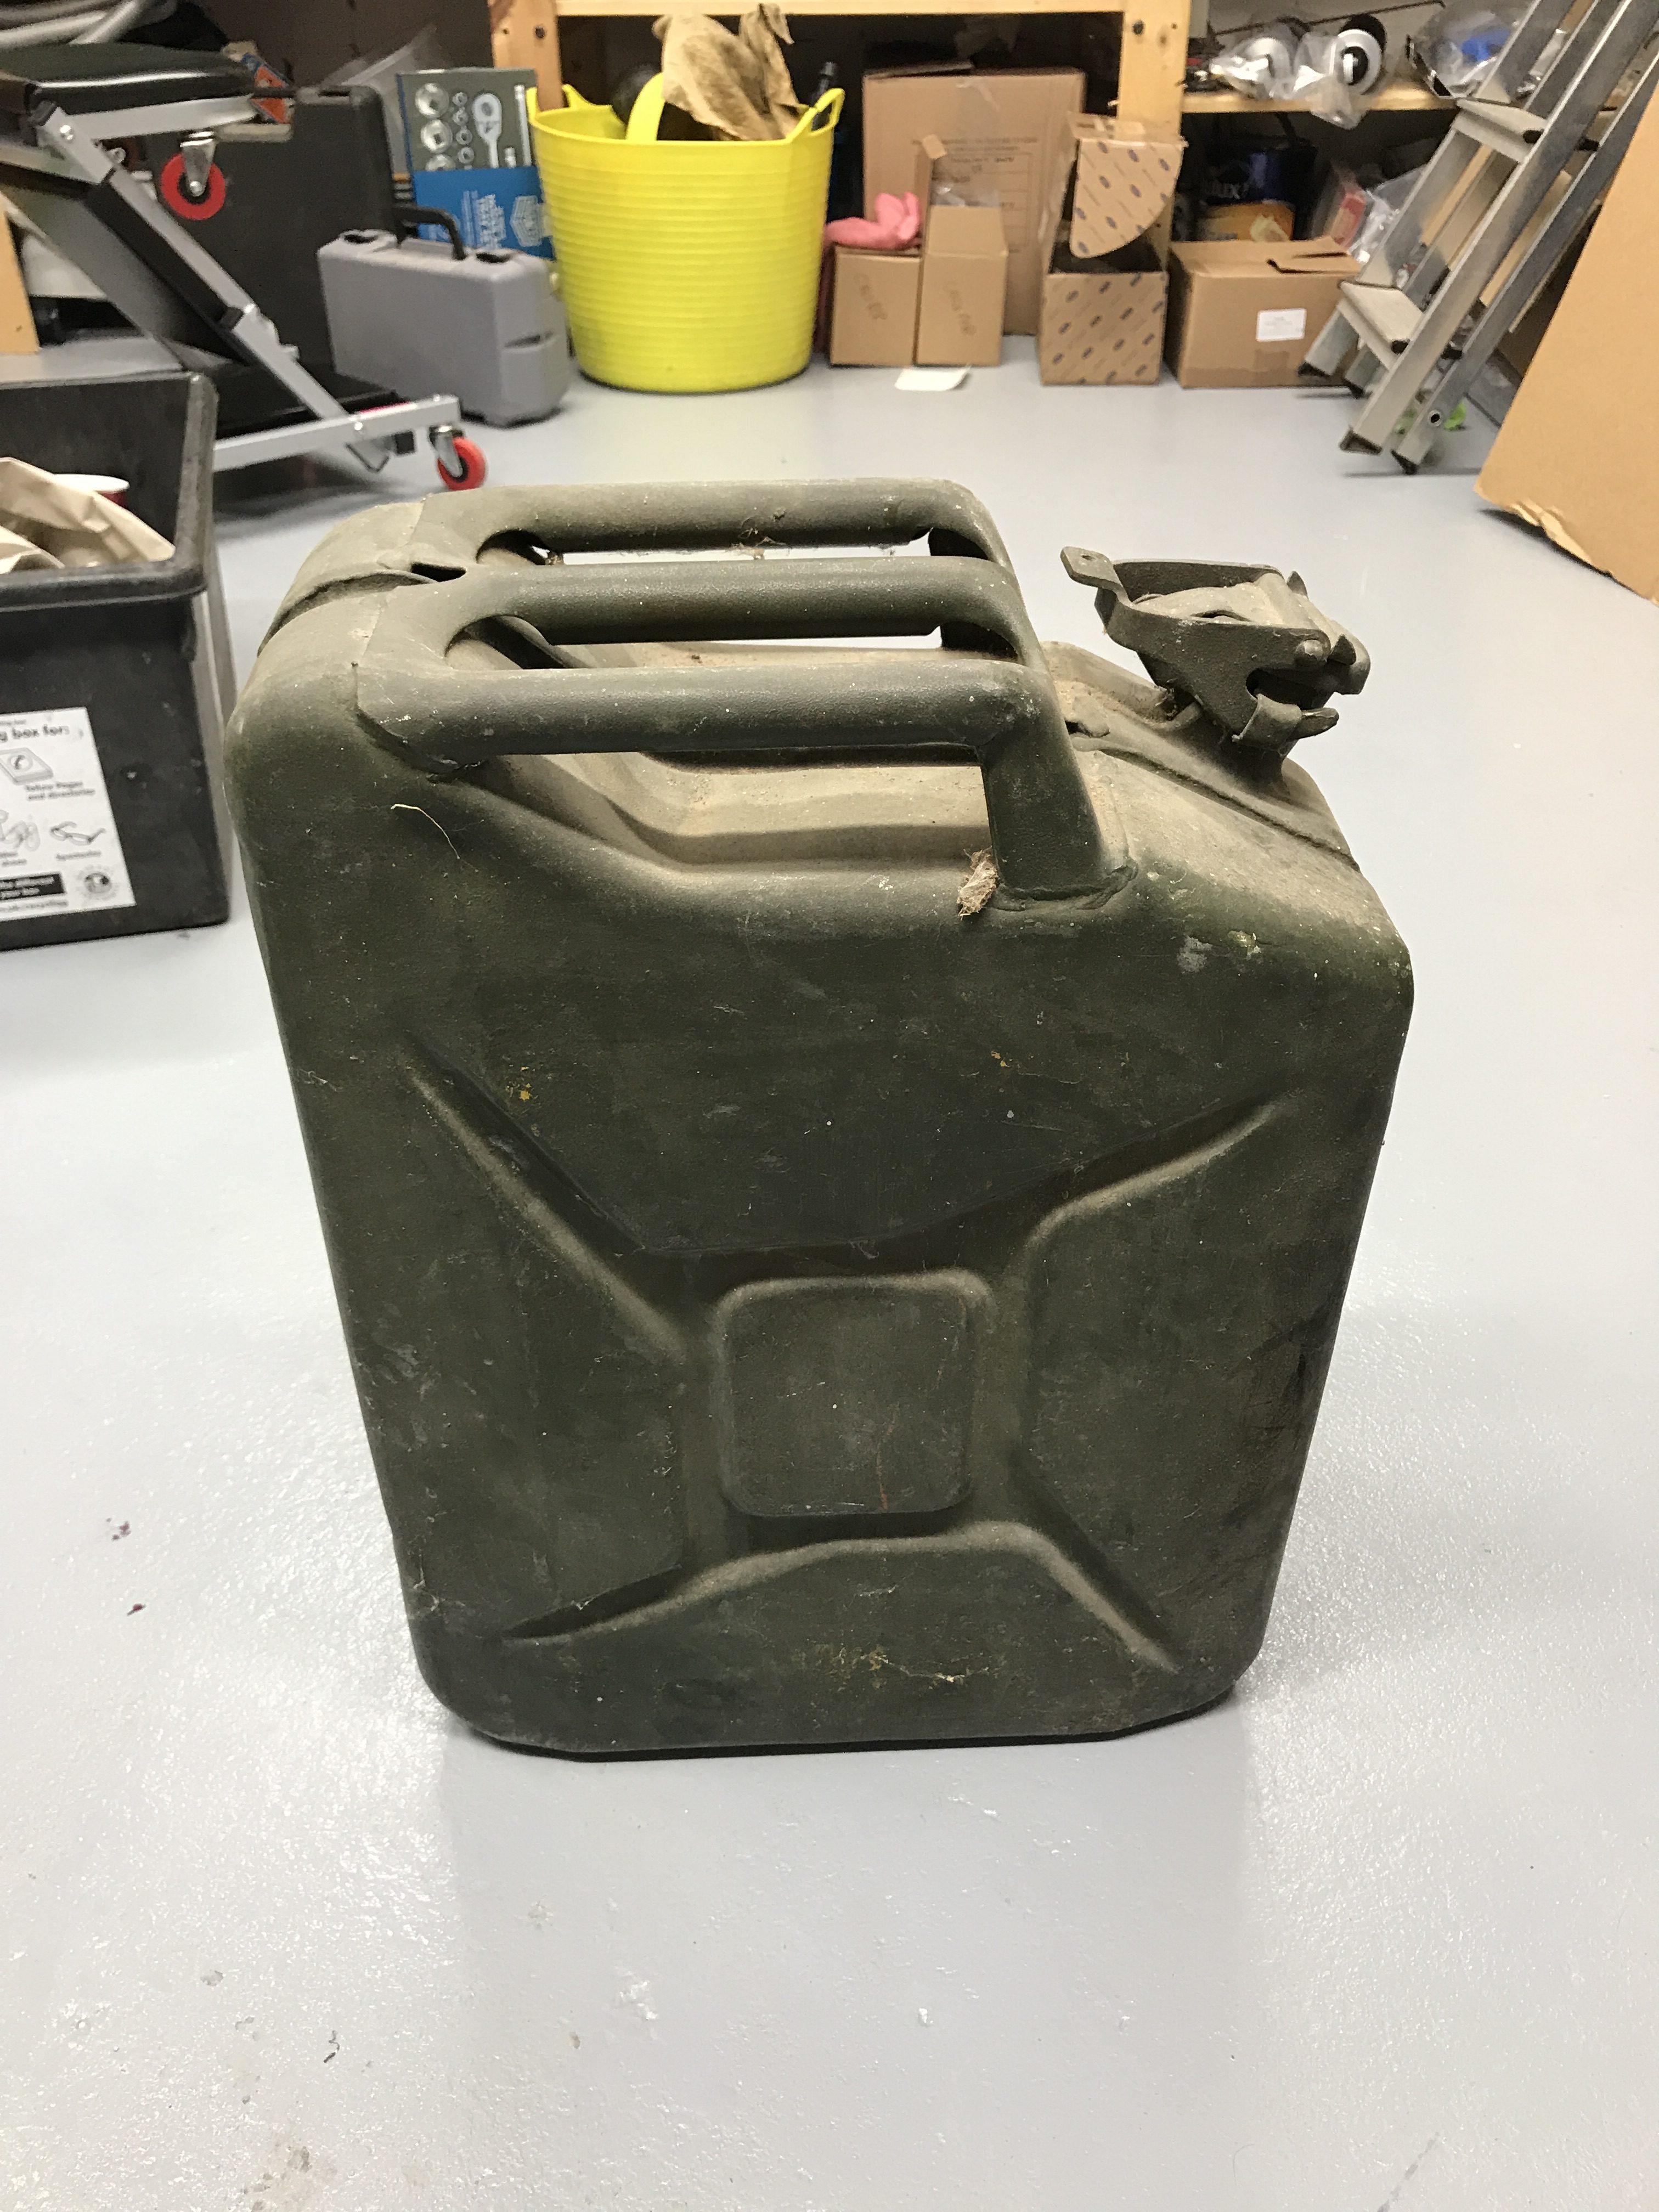
Luckily, I’d borrowed a “Jerry” can from my Dad a few weeks earlier and we could use this to make one trip to the petrol station.
However… because of the age of the Jerry can and the fact that it had been sat idle for probably a few years, and taking into consideration that this was essentially a brand new car, we decided it would be prudent to filter any fuel we took out of the Jerry can.

We decanted the fuel from the Jerry can into a known clean 4L red plastic petrol canister and then used a funnel and pipe to fill the car from that. We used the 5/16th fuel hose again which proved to be a little tedious, but we hand’t got anything with a larger bore.
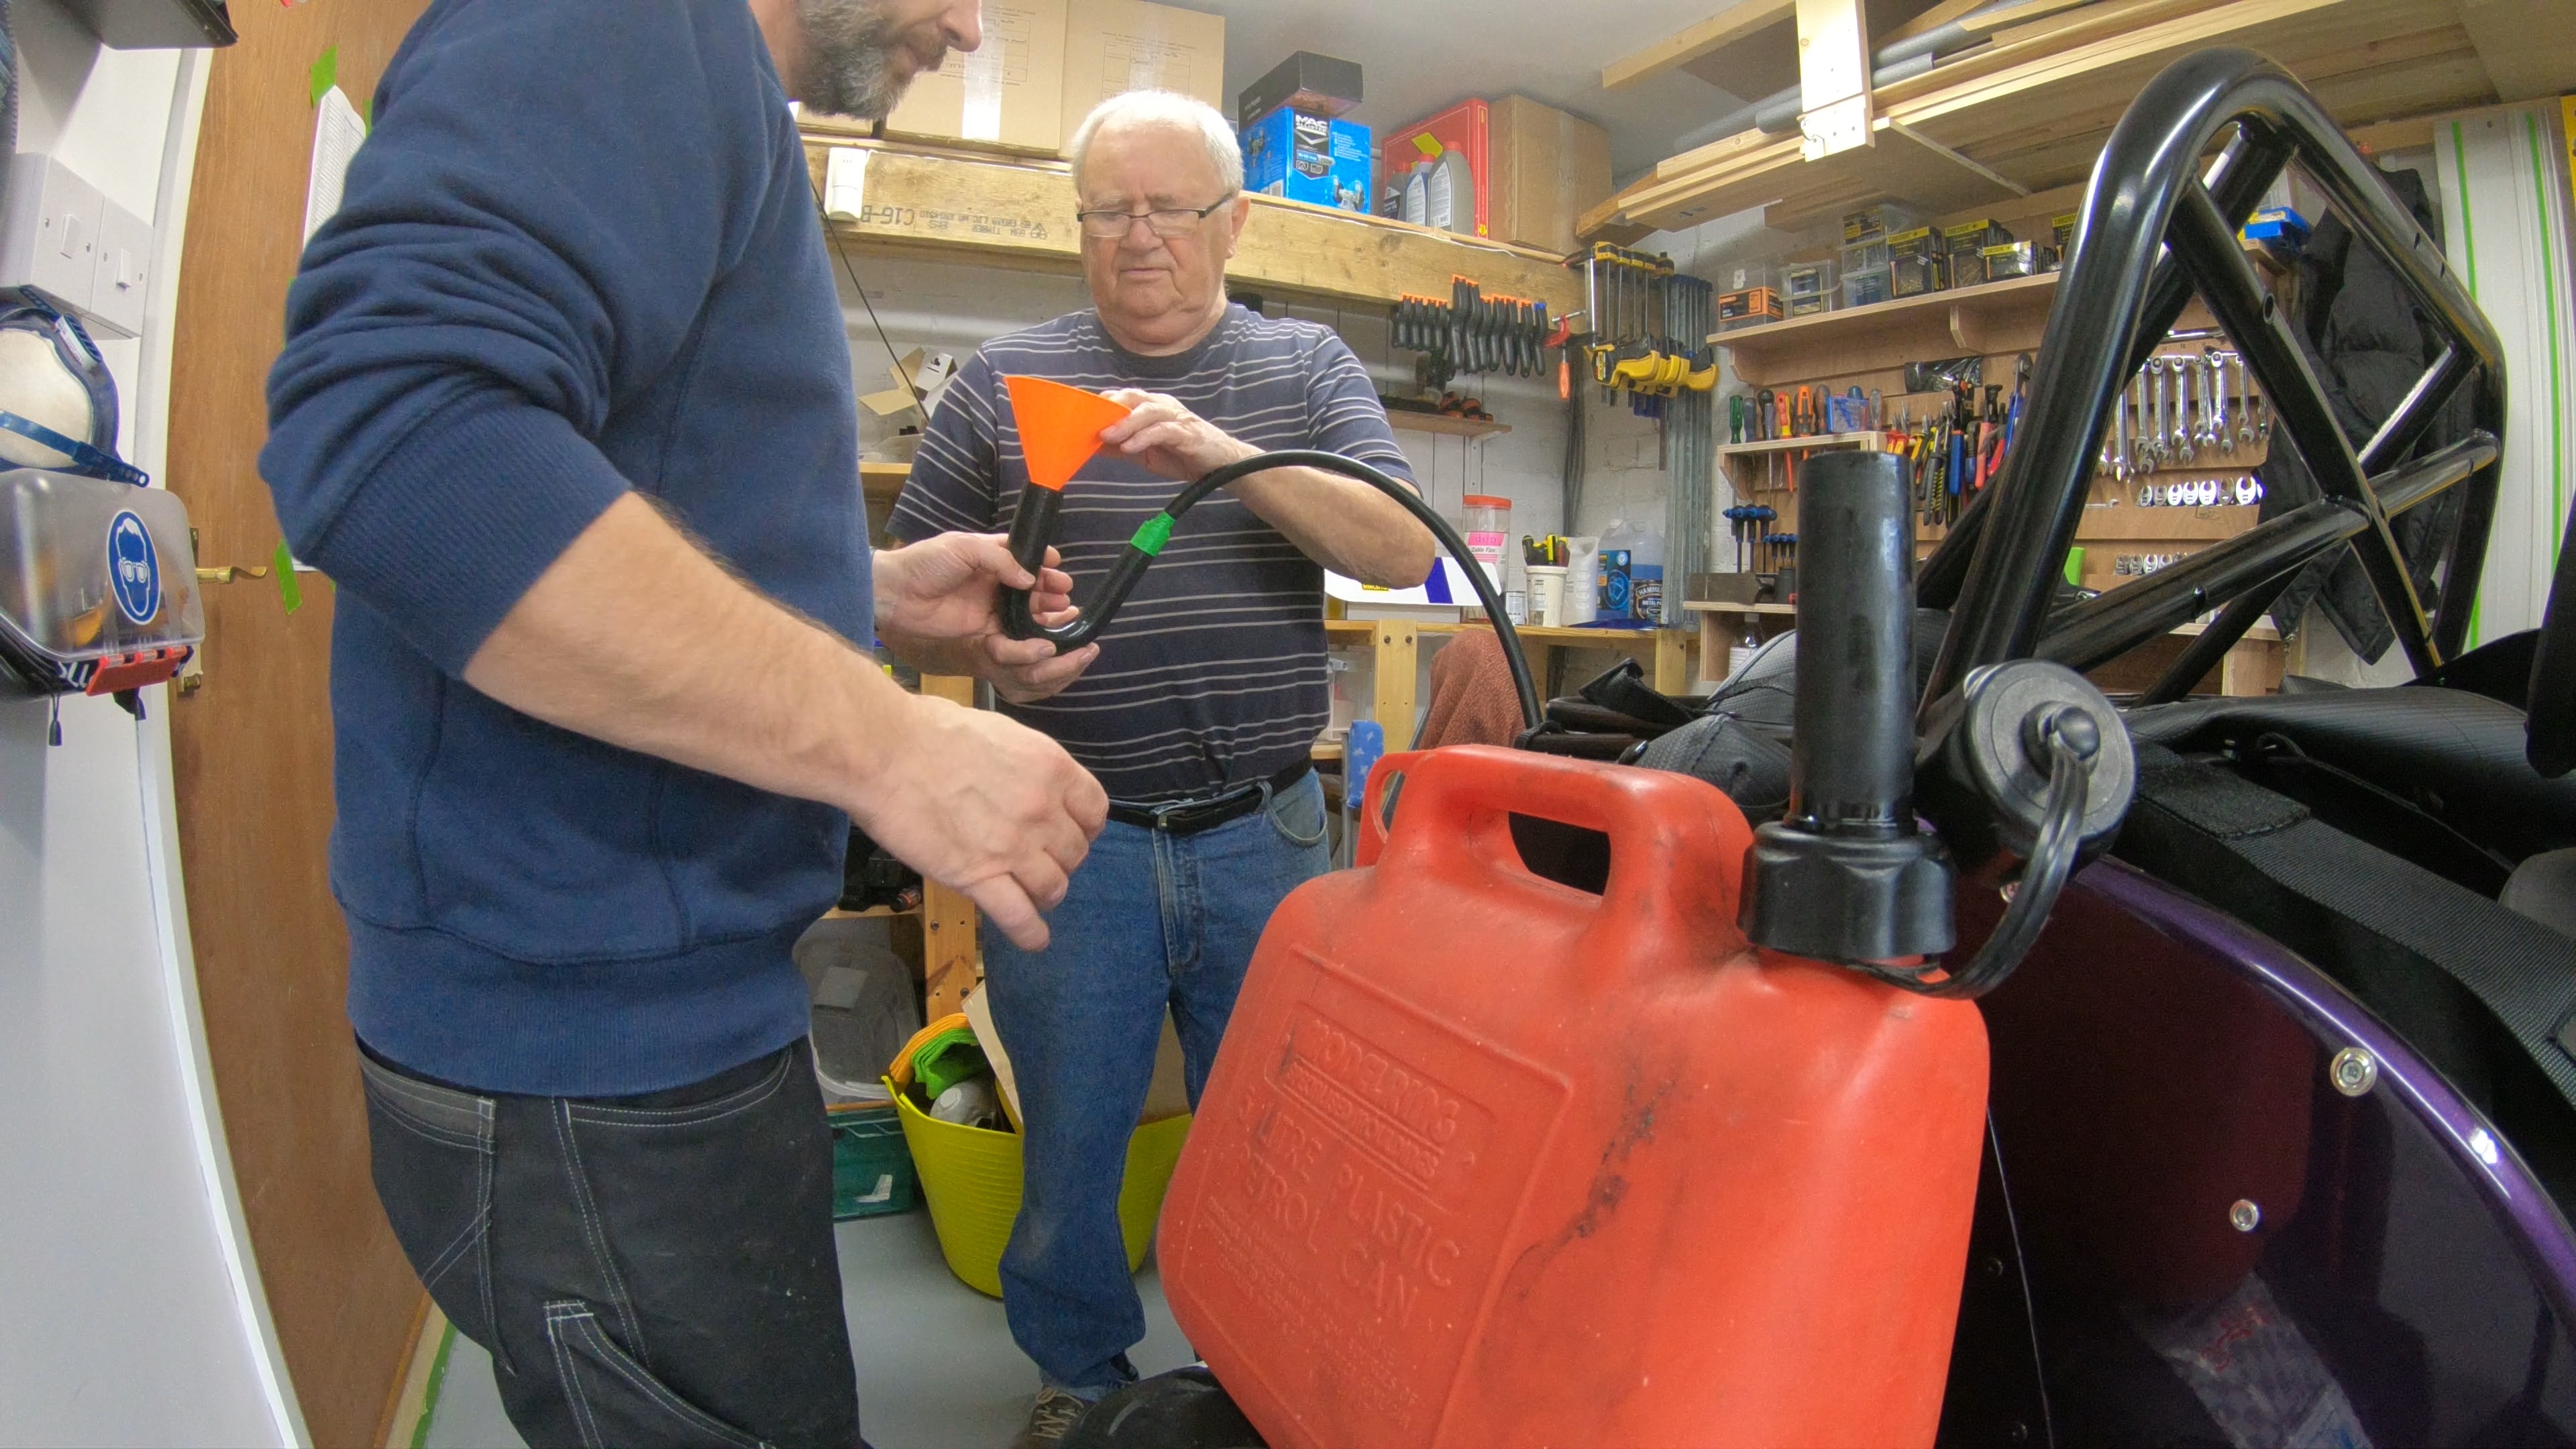
Anyway, something like 15L of fuel now in the car.
Oil Pressure
This is it, lets see if we’ve got it all right.
We disconnected the intertia switch as recommended and started the dance that is the immobilizer fob. Once the ignition is in the #2 position all the lights and gauges come to life. That’s good. Then you have to wave the immobiliser fob under the ignition barrel and wait for the flashing immobiliser light to stop flashing. Ok that was good.
Anyway, we decided to crank the engine over. I cranked for a few seconds and then stopped. No pressure.
We talked it through a bit and then decided to have another go. The manual and other blogs have said it takes a good 20 to 30 seconds to get pressure so we had another go.
Within another 10 seconds or so, we got pressure. Reading about 3 Bar on the oil pressure gauge. That’s a great start.
Lets Fire it Up
Ok, so we’ve got oil pressure. Lets see what happens if we try and fire it up.
We reconnected the intertia switch and I made sure the inertia switch rubber button was pressed and I heard it make a click. The cable was connected and we should be good to go.
We did the ignition and immobiliser dance which got us all the gauges and the immobiliser light stopped flashing – that was good again. What wasn’t so good was that we didn’t hear the fuel pump prime. Now because we’d not heard it prime before we didn’t really know how loud it was meant to be. Both of us thought it should at least be audible and we didn’t hear anything…. not good.
I was sure I remembered hearing the pump prime when I’d heard test drive and other Caterham’s start up… so this wasn’t good.
Anyway, we thought we’d try our luck. We cranked the engine for a few seconds but nothing. Not a cough or a splutter or enough a whiff of ignition. We stopped and thought.
There was certainly no smell of any fuel coming from the exhaust.
We cranked again. No joy.
We pressed the inertia switch again and cranked. No joy.
Hmmm. This isn’t going so well.
At this point we’re starting to wonder more seriously what could be the cause. The inertia switch had clicked – we both heard it click. That sounded like that should be ok. We’d disconnected and re-connected the intertidal switch so we were pretty sure the cables were seated properly there too.
At this point I should probably point out that I have a degree in Electronics and my father spent 30 years as a TC repair man – we were clearly over qualified to fix this!
So, we started to think it might be the fuel pump itself. The next step was to have a look at the circuit diagrams in the back of the build manual. They’re pretty unfathomable to the novice but we started to get there – Dad had seen this sort of diagram before so we weren’t completely in the dark.
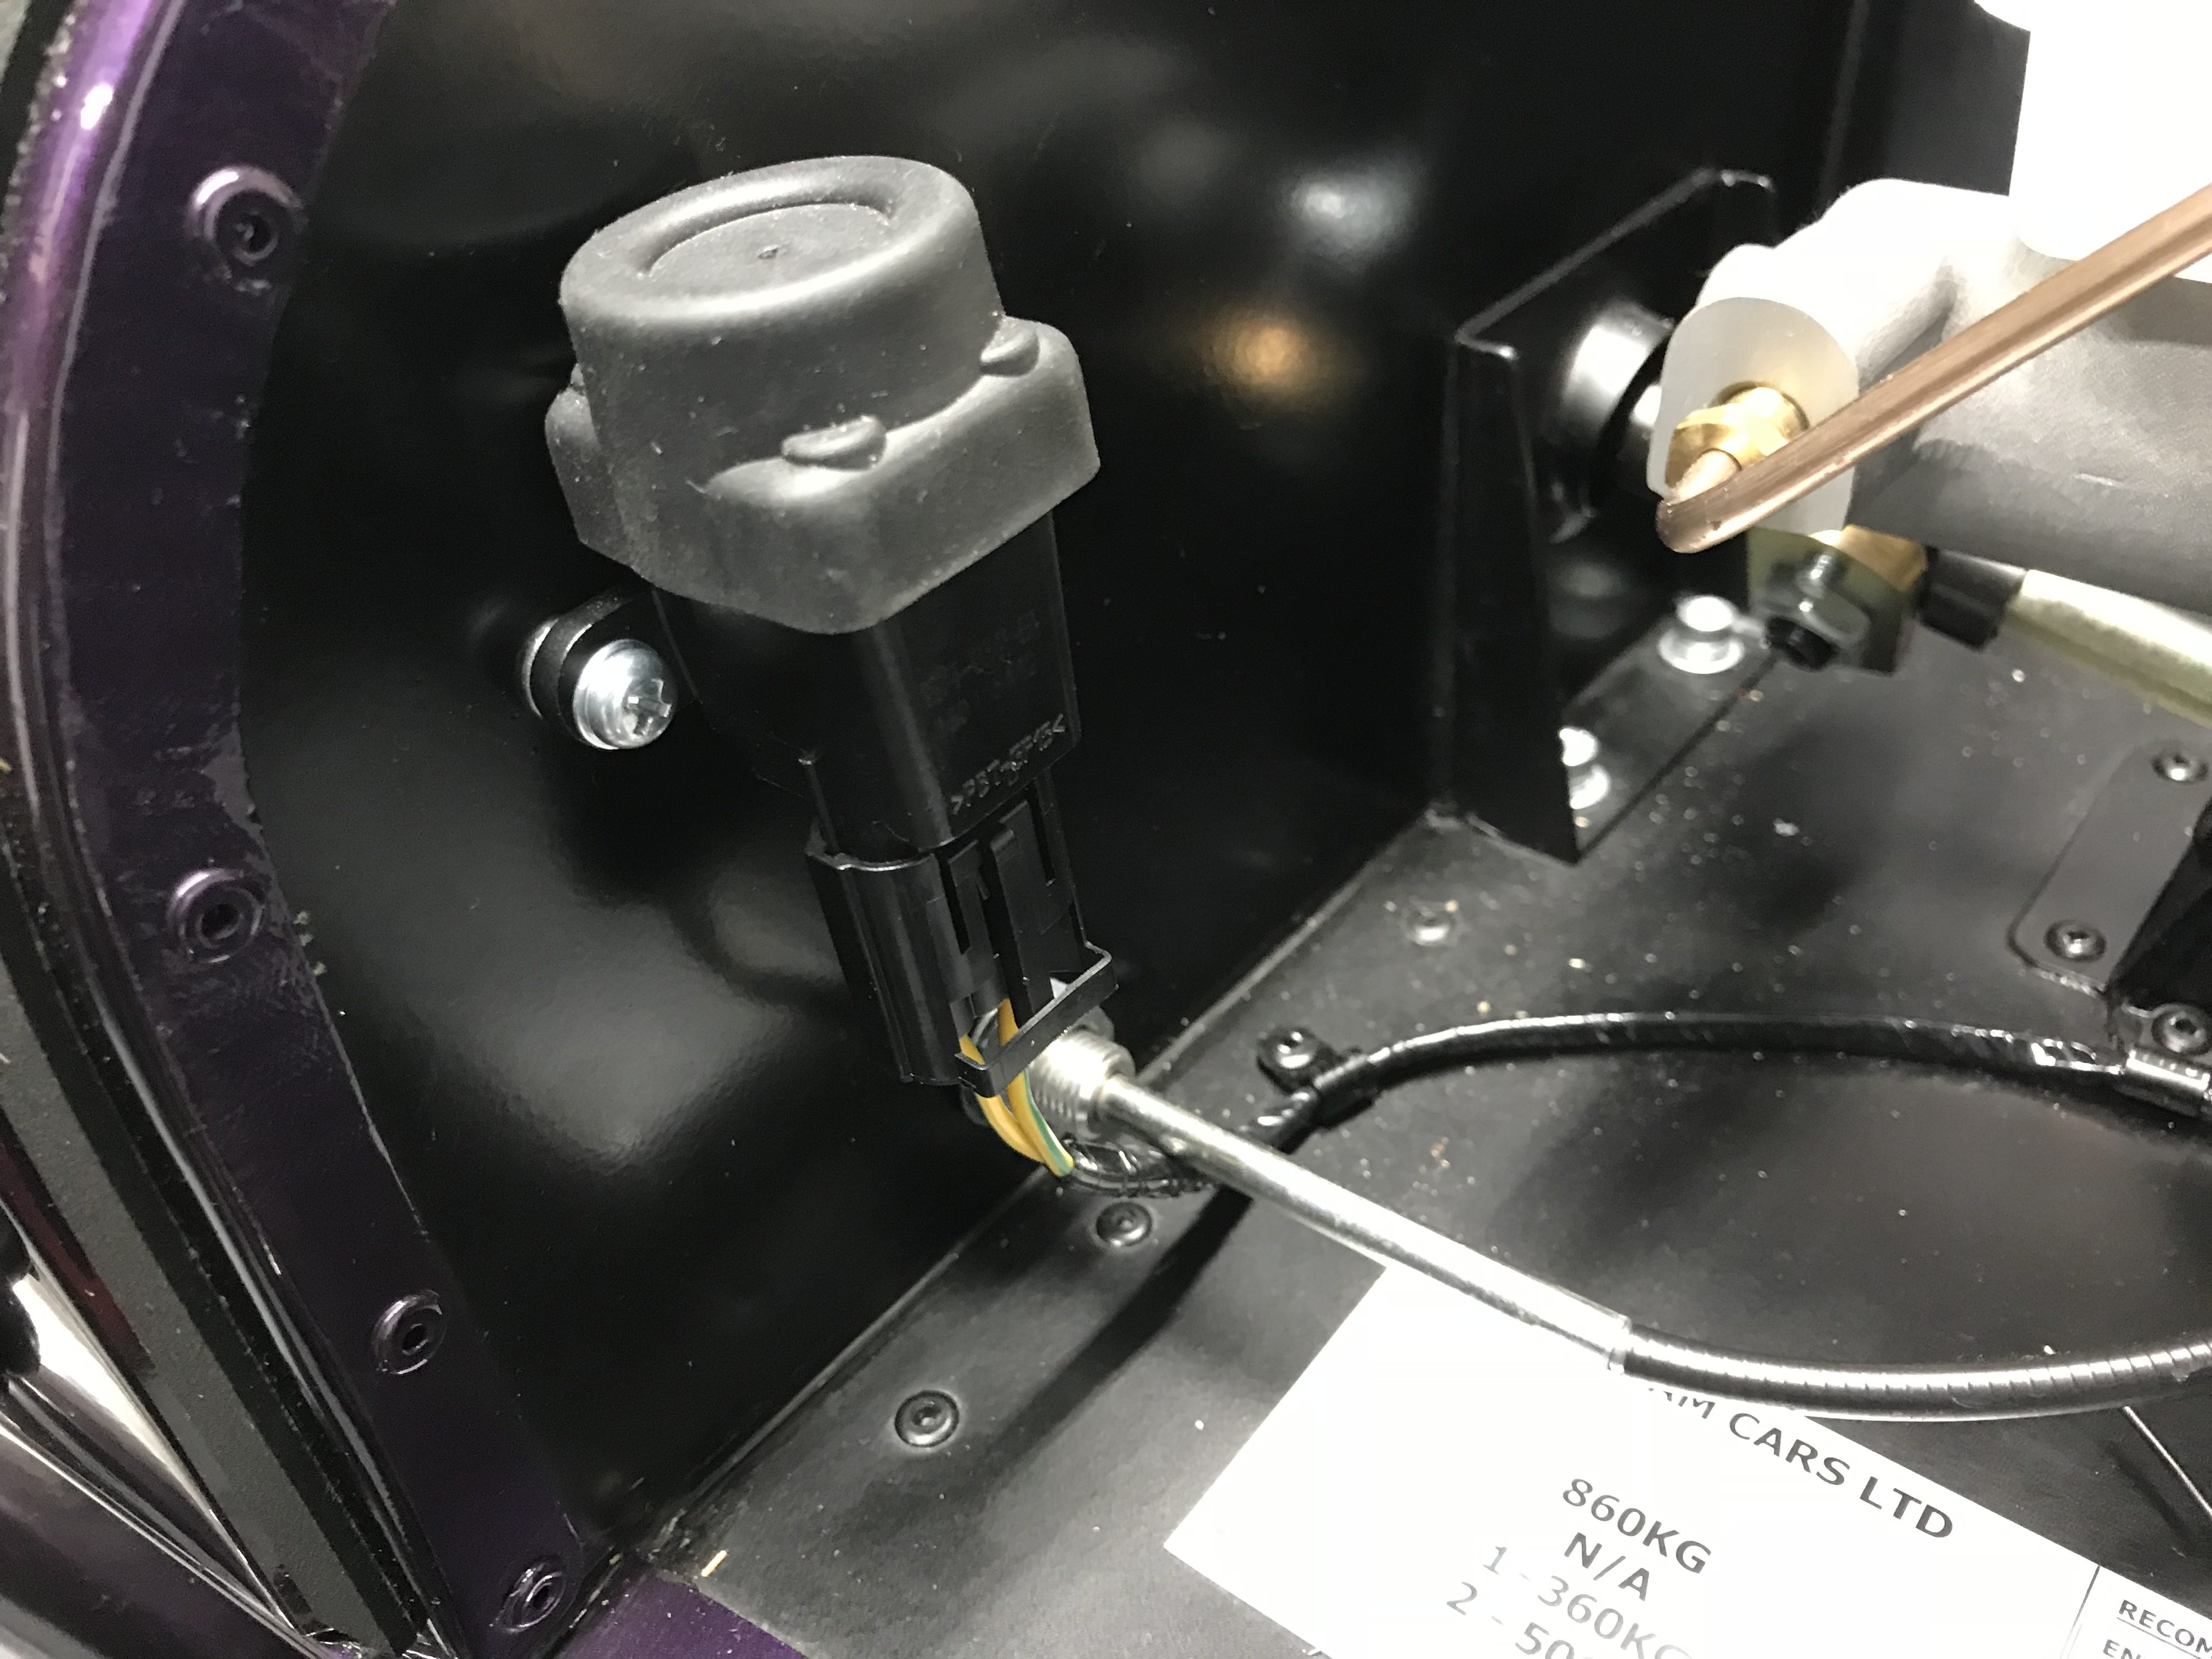
We decided at this point that we needed to know if the fuel pump had power to it. So… we took the boot bottom out (at least as far as we could) and start to look at how the fuel sender and pump are arranged. It seems to be a sealed unit but with a Ford fuel pump controller strapped to the chassis next to the fuel tank.
Hmm. There wasn’t a lot of room to get a mult-meter in there and we ended up with a mirror as the best way of being able to see all the connections. I didn’t want to go and take off the roll-over bar, which seemed to be what was going to stop us from getting the boot base out. Taking off the roll-over bar would me dropping the rear suspension to get at the track-day roll over bar bottom bolt. Hmmm.
Hmmm. Not getting much further here.
After a final go at firing the engine we called it a day. It was tea-time and we decided to regroup in the morning.
….
However, after tea we sat down to discuss the situation and I read a few blogs. I couldn’t find much help there or with Google searches though.
We also had another look at the Caterham electrics diagrams again. They didn’t miraculously make a lot more sense either.
As I sat and pondered the problem I thought we were probably over thinking this. The inertia switch was clearly meant to cut off the electrical supply to the fuel pump. There’s an ECU in the car but it wouldn’t be unheard of if the intertia switch was just in series with the supply to the fuel pump. That would certainly be the safest way of cutting off the fuel supply – no software getting in the way for sure.
So… back to the garage and lets have a closer look at what the intertia switch does.
We unplugged the switch and took it out of the car (well off the bulkhead). The intertia switch seemed to be exactly that: a single pole switch with normally open and normally closed connections switch. A quick buzz with a multimeter confirmed that it didn’t seem to be particularly complicated.
It was at about this point that I turned the switch upside down to check the intertia part of the equation. Yep, it made a definite clunk and sounded like a ball bearing had dropped out of some one way mechanism.
The next thing to try was to bypass the switch. So, out with a length of wire and we shorted out the connections we assumed were the right ones – we assumed that the switch would be normally closed when activated.

And then back to the immobiliser dance… ignition to position 2, dashboard comes to life and immobiliser LED flashes, wave the immobiliser fob under the ignition barrel, LED goes out and hey-presto we hear the fuel pump whir.
Success!
Now, we wondered if our playing with the intertia switch had now properly reset it. So, we put the switch back onto the bulkhead and tried the immobiliser dance again. Hey presto the fuel pump whirred into life again.
Very strange.
We’d fixed it and not really done anything. I’m not a fan of things fixing themselves, they usually just come back to haunt you again. Anyway, we now had a fuel system that we could prime.
It was now late evening but we decided we’d gotta give it another go. I made sure all the cameras were rolling and we tried to fire up the engine again.
After a few seconds of cranking we heard a cough. Just that one cylinder firing that tells you that things are different.
A second or two more and the cough turning into a coughing fit. One cylinder, two cylinders, three cylinders then four. We had life.
Dad was watching the gauges and all seemed fine but I cut the ignition after a few seconds just so we could do a more thorough check of things.
After a cursory check that we hadn’t got any leaks we fired it up again and left it running for a few minutes.
Each of the primaries were starting to change color at the same rate, which was a good thing.
We were eagerly watching the coolant temperature and the oil pressure gauges. The oil seemed fine but we were concerned about the coolant temperature.
It seemed to us that the system was set to run at or above 100C. I.e. its all set to be a pressurized system. However, there was lots of talk on various blogs about thermostats opening at 95C and race thermostats set even lower. We were therefore worried as the temperature gauge rose above 100C and we got more and more nervous.
As we watched the temperature climb there was no sign of the fan kicking in either. So, we decided to call it a night as the coolant temperature climbed above 105C and we decided I’d do some more research and send an email to Derek Howlett.
A great day though… it lives! We’d spent most of the day and evening getting to this point, but well worth the wait to know that we have a working power-plant.

Leave a Comment