

Ok, so now I’m happy that the engine is running ok and the coolant system is doing its job for the moment. Now onto some more cosmetic stuff at the rear of the car.
Boot Floor
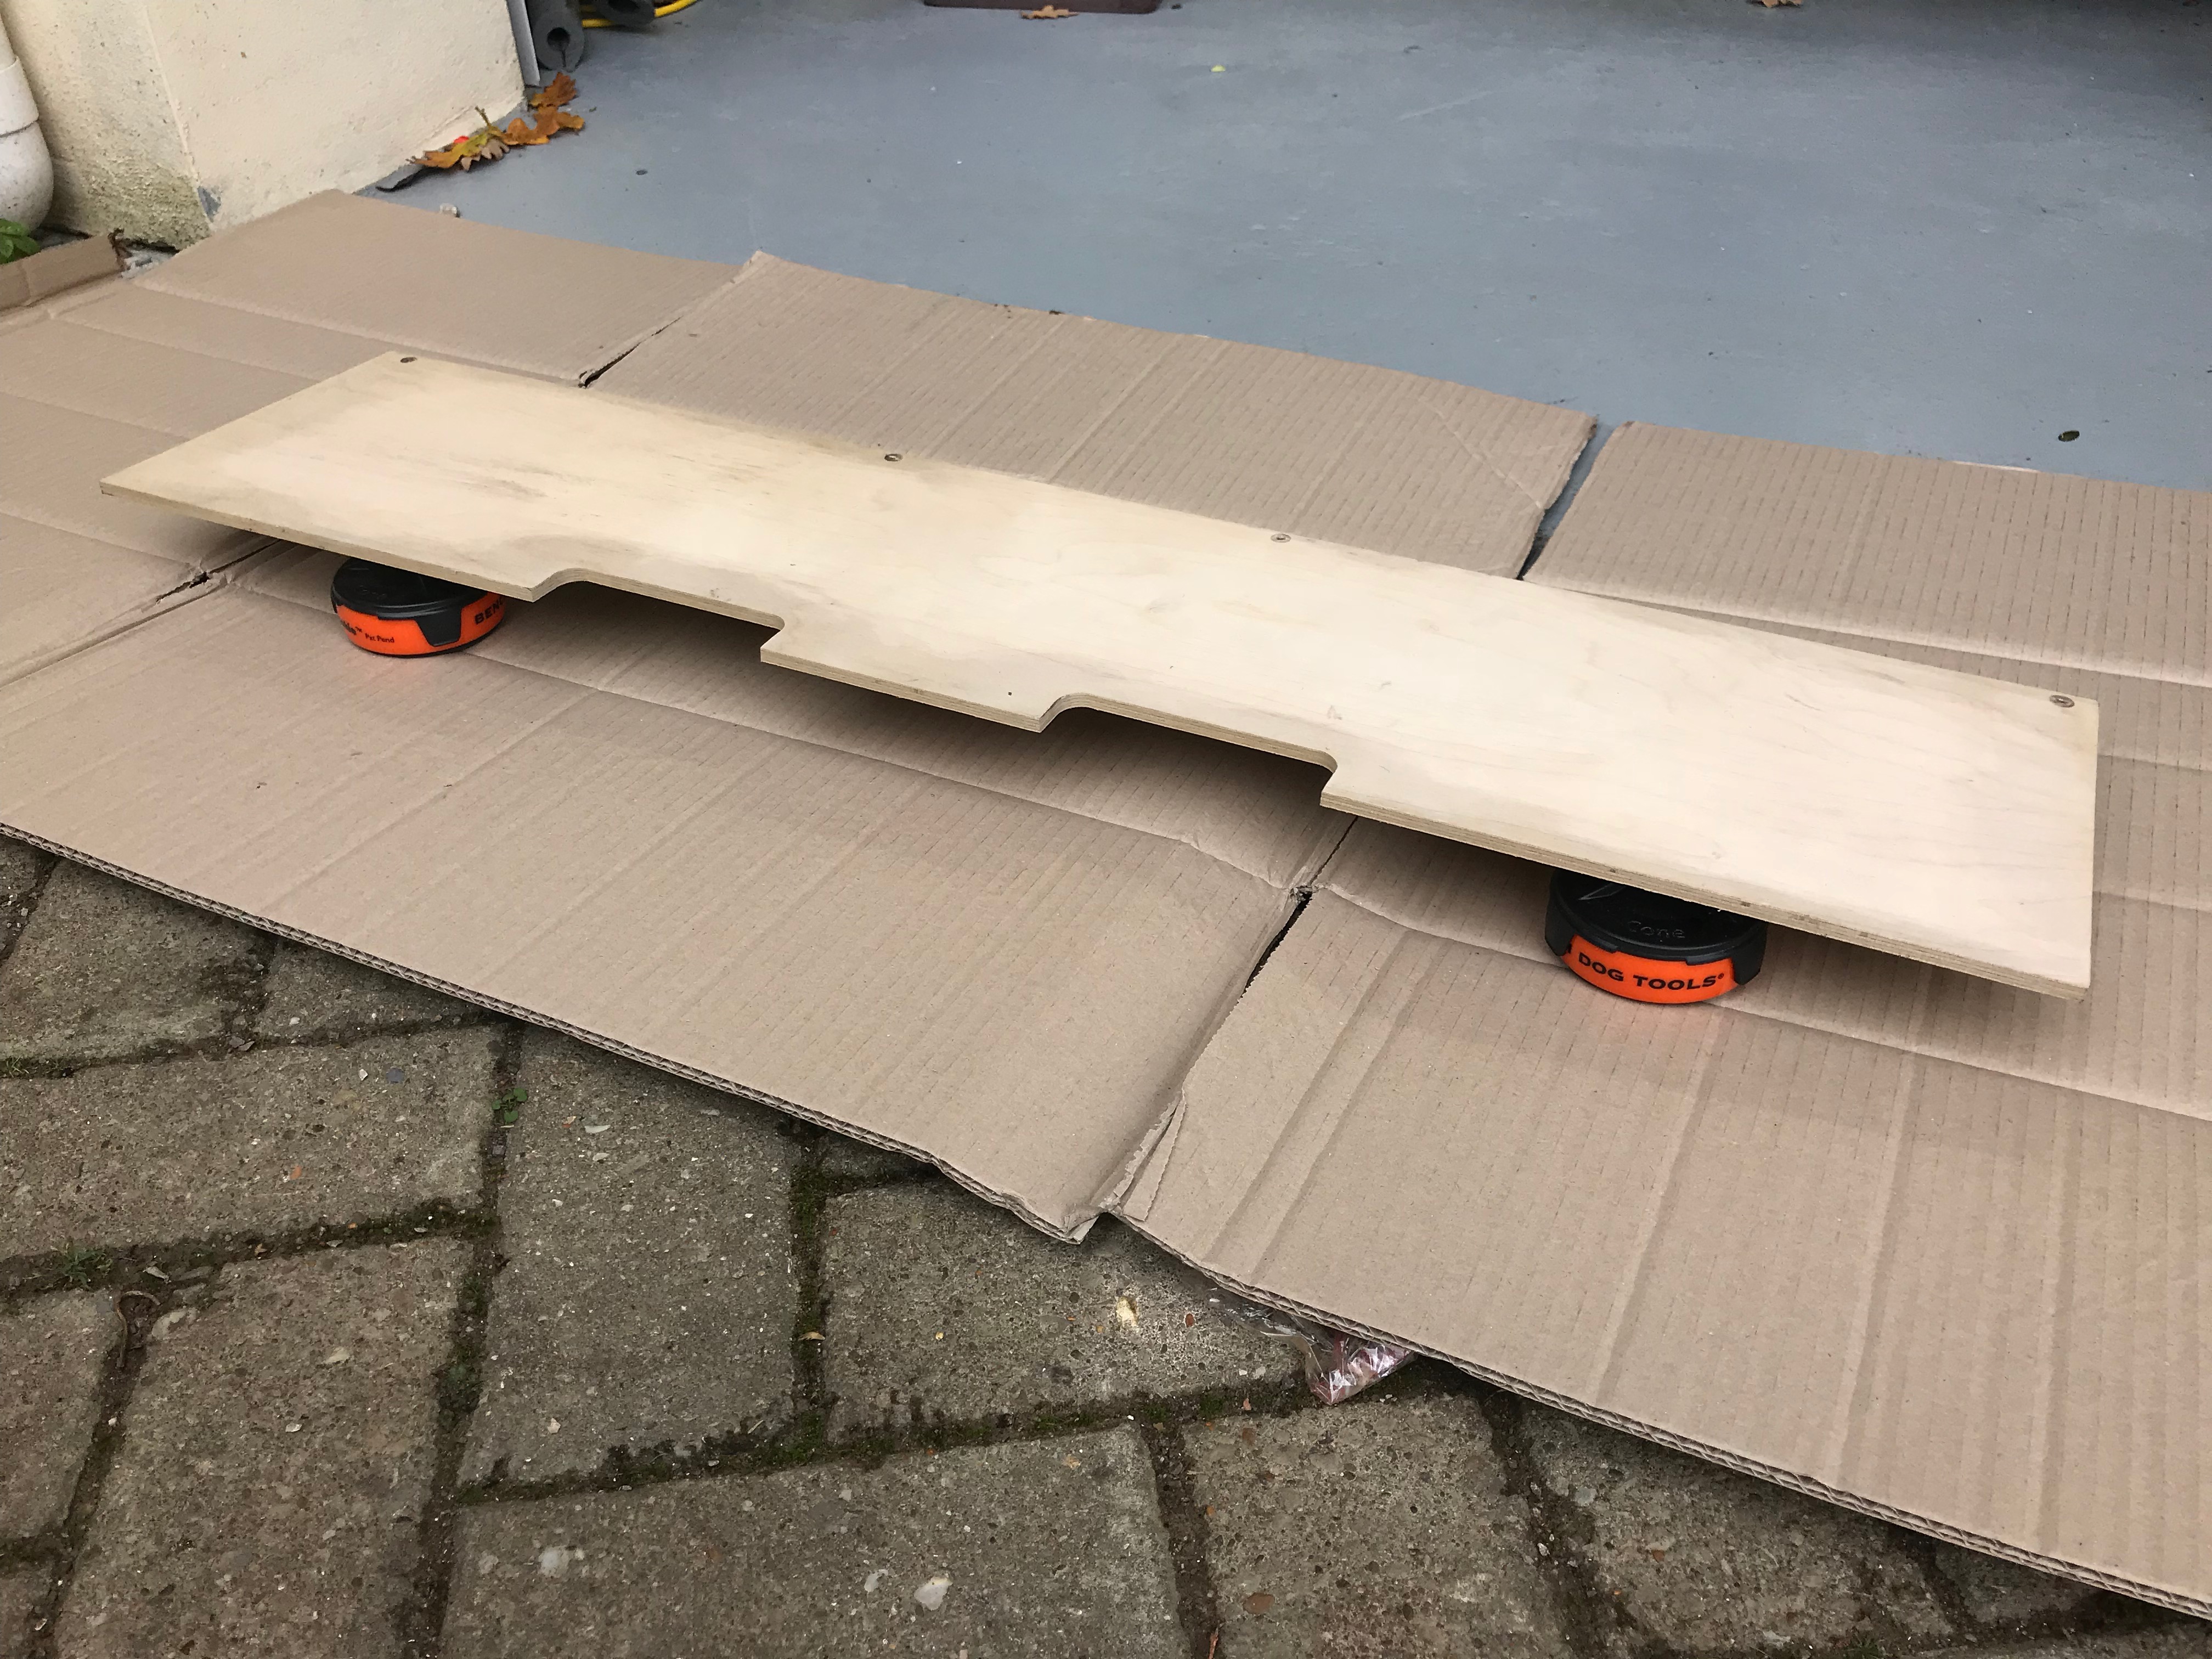
For such a well put-together kit that Caterham produce, the ply-wood boot floor jars a little. The cover for the fuel tank, that takes up about half of the boot floor, is a lovely piece of sandwiched honeycomb aluminium sheet. Yet the remainder of the boot is taken up with a flimsy piece of unfinished ply-wood.
I’ve seen a number of people posting on forums about why Caterham have left this section as Ply. They say it could be crash protection or so it doesn’t squeak behind your ear. I’m more inclined to think its cost saving or that the x-mm of plywood fits nicely in the slot and anything else would require re-engineering of that boot section. Whatever the reason, it still jars.
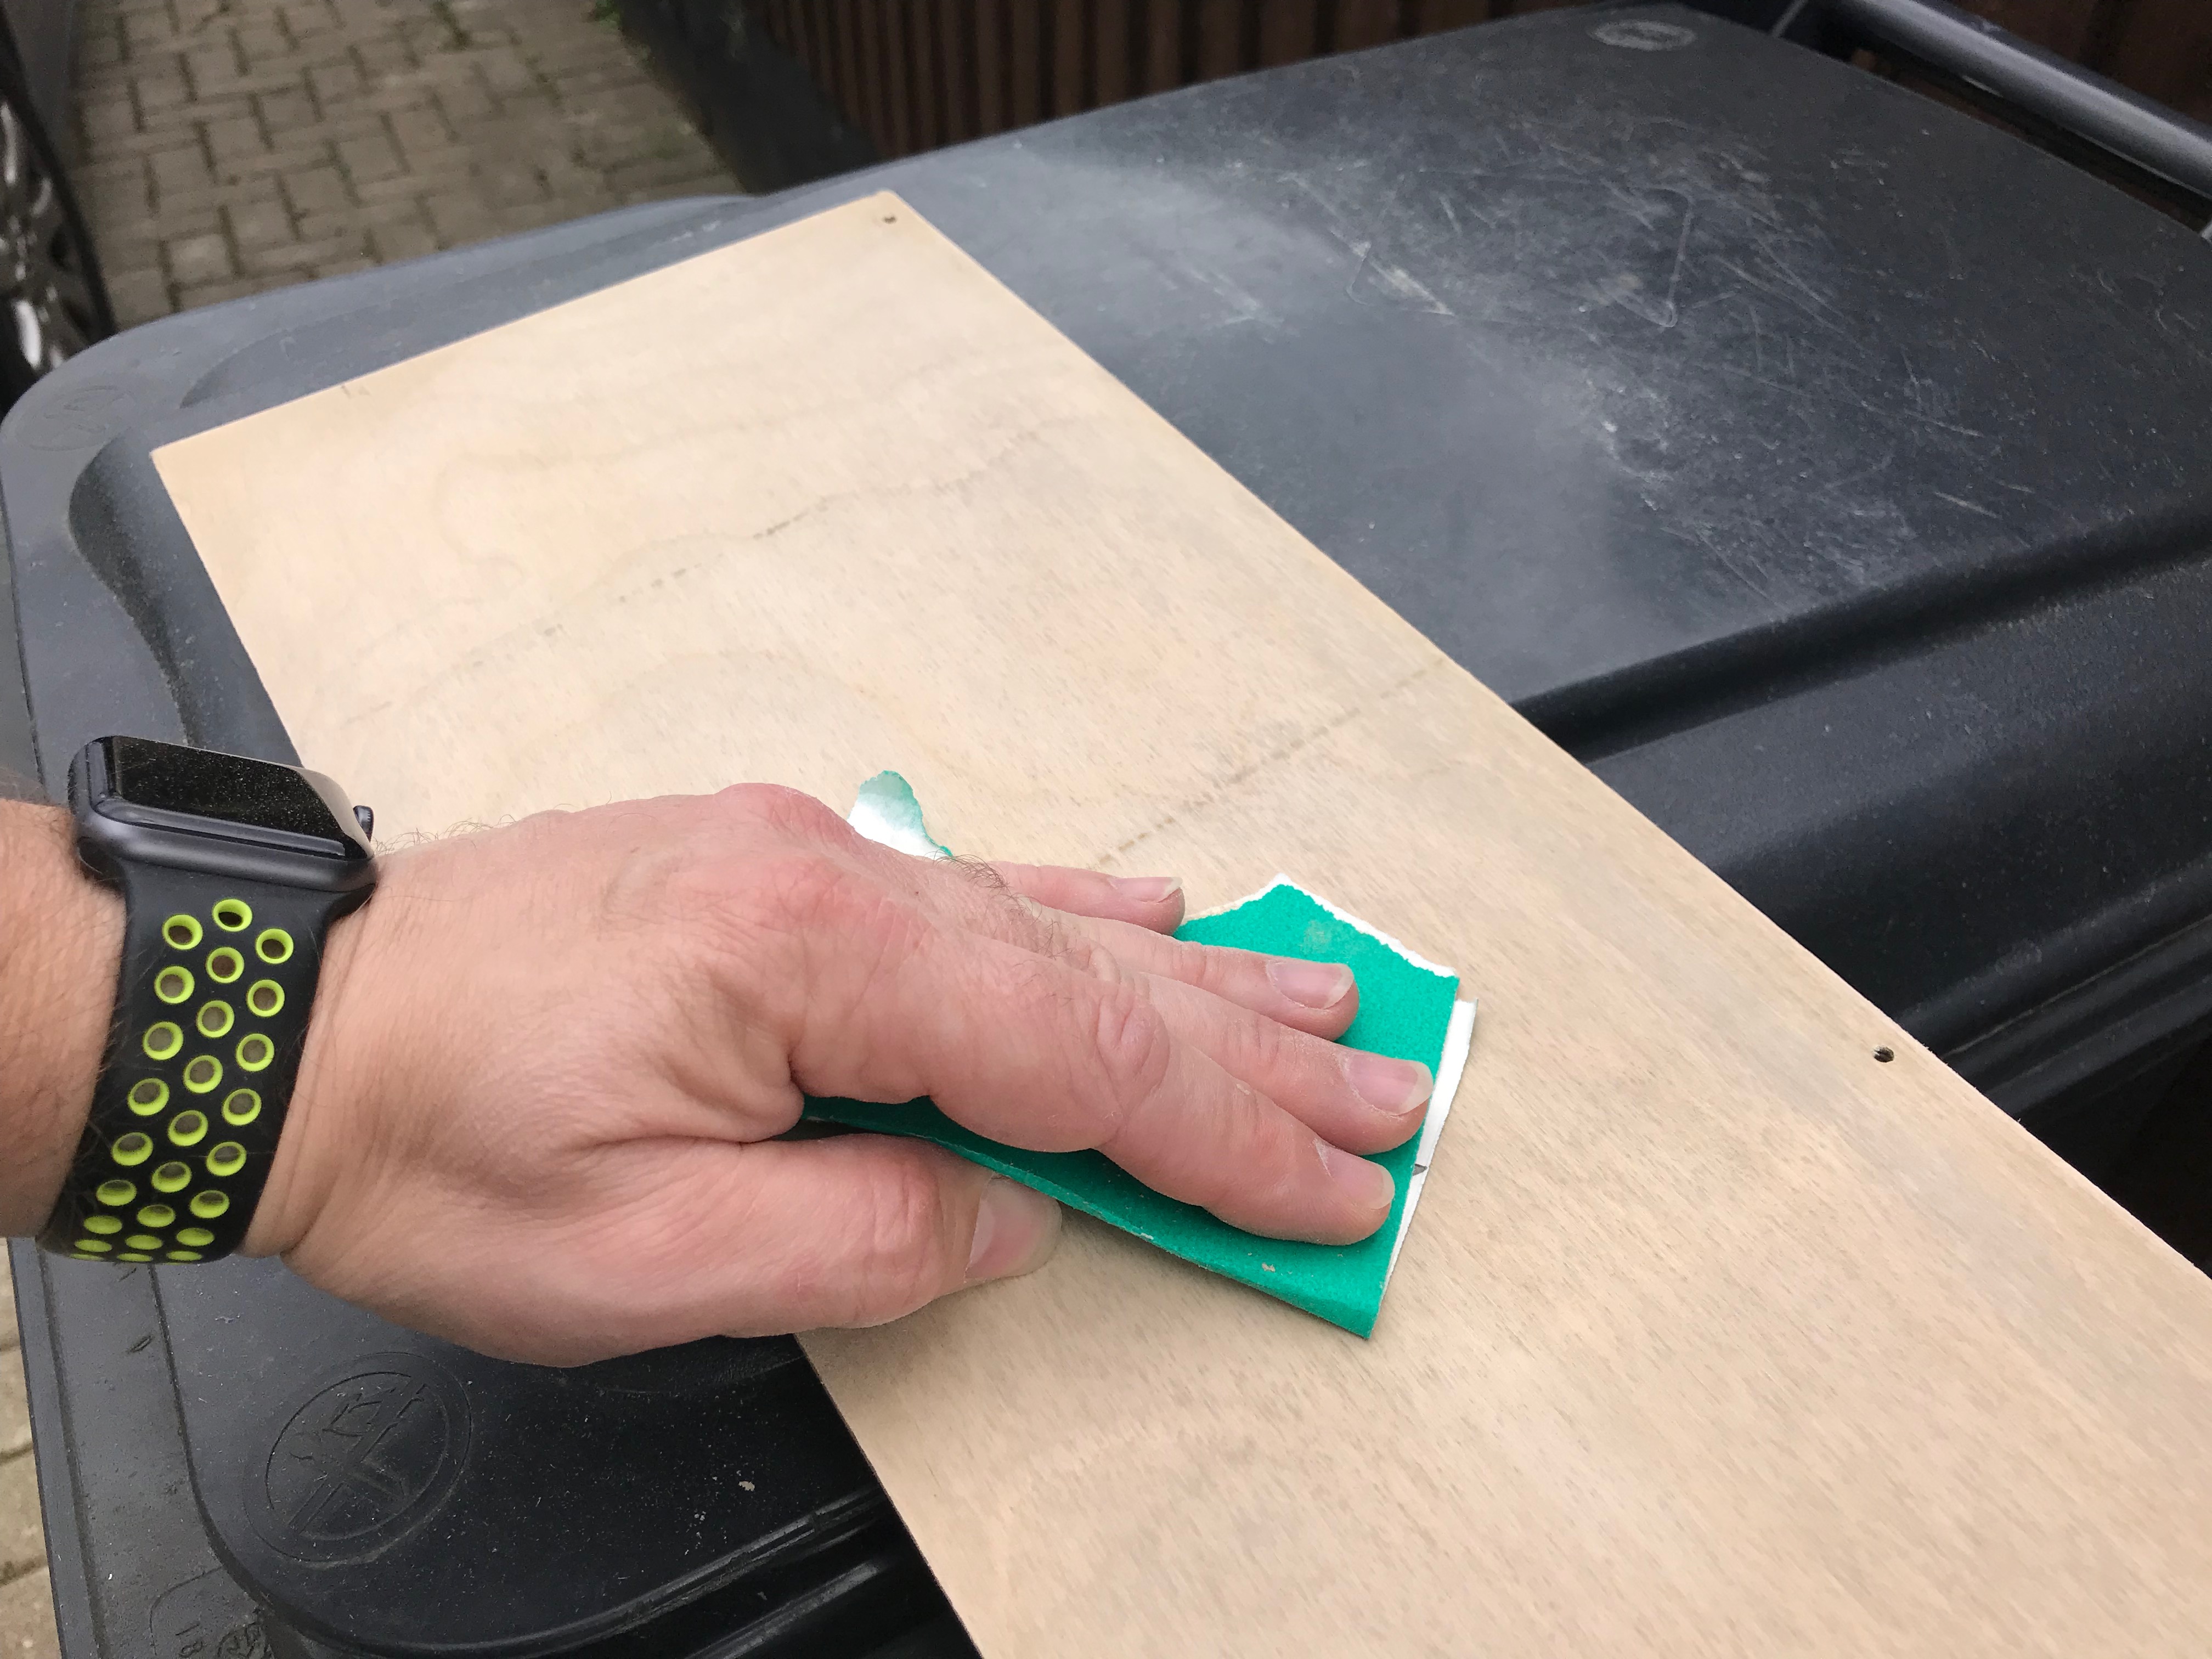
The bottom of this wooden floor section sits above the differential and is therefore exposed to the elements – spray, stones, etc kicked up from the road. I therefore wanted to make sure it was protected and yacht varnish seemed like the ideal choice. I sanded…
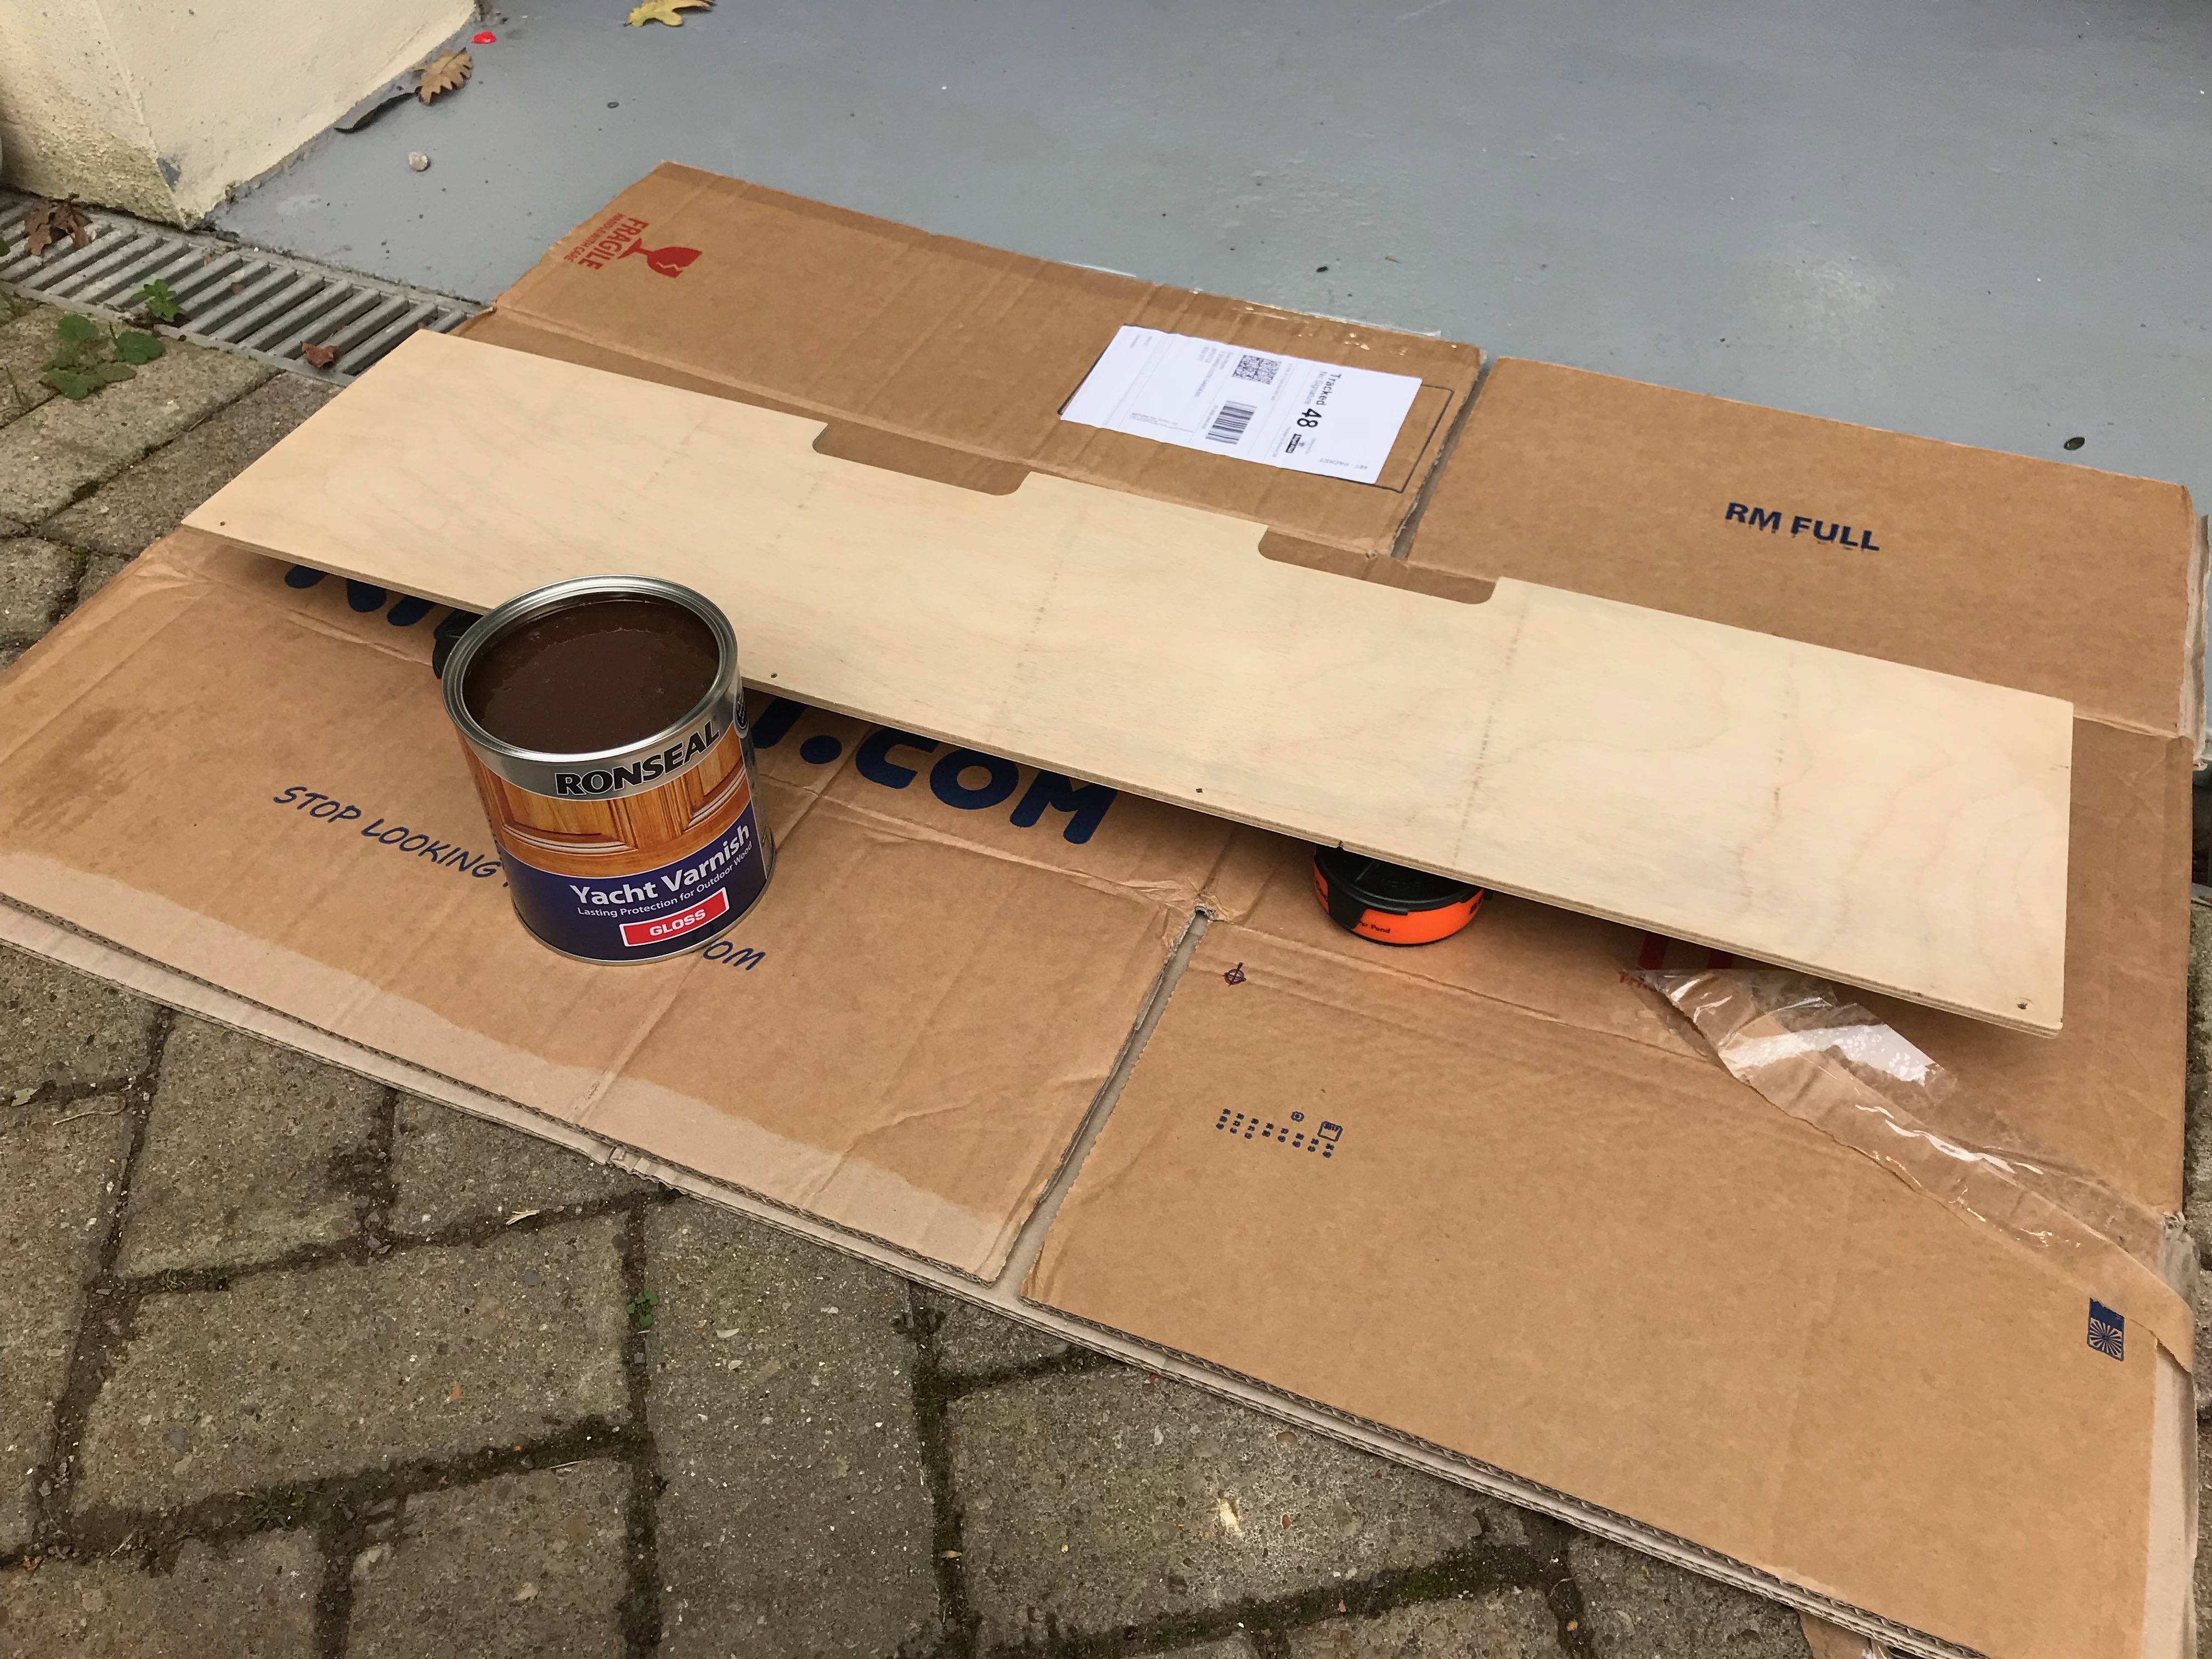
Then varnished the ply-wood twice…
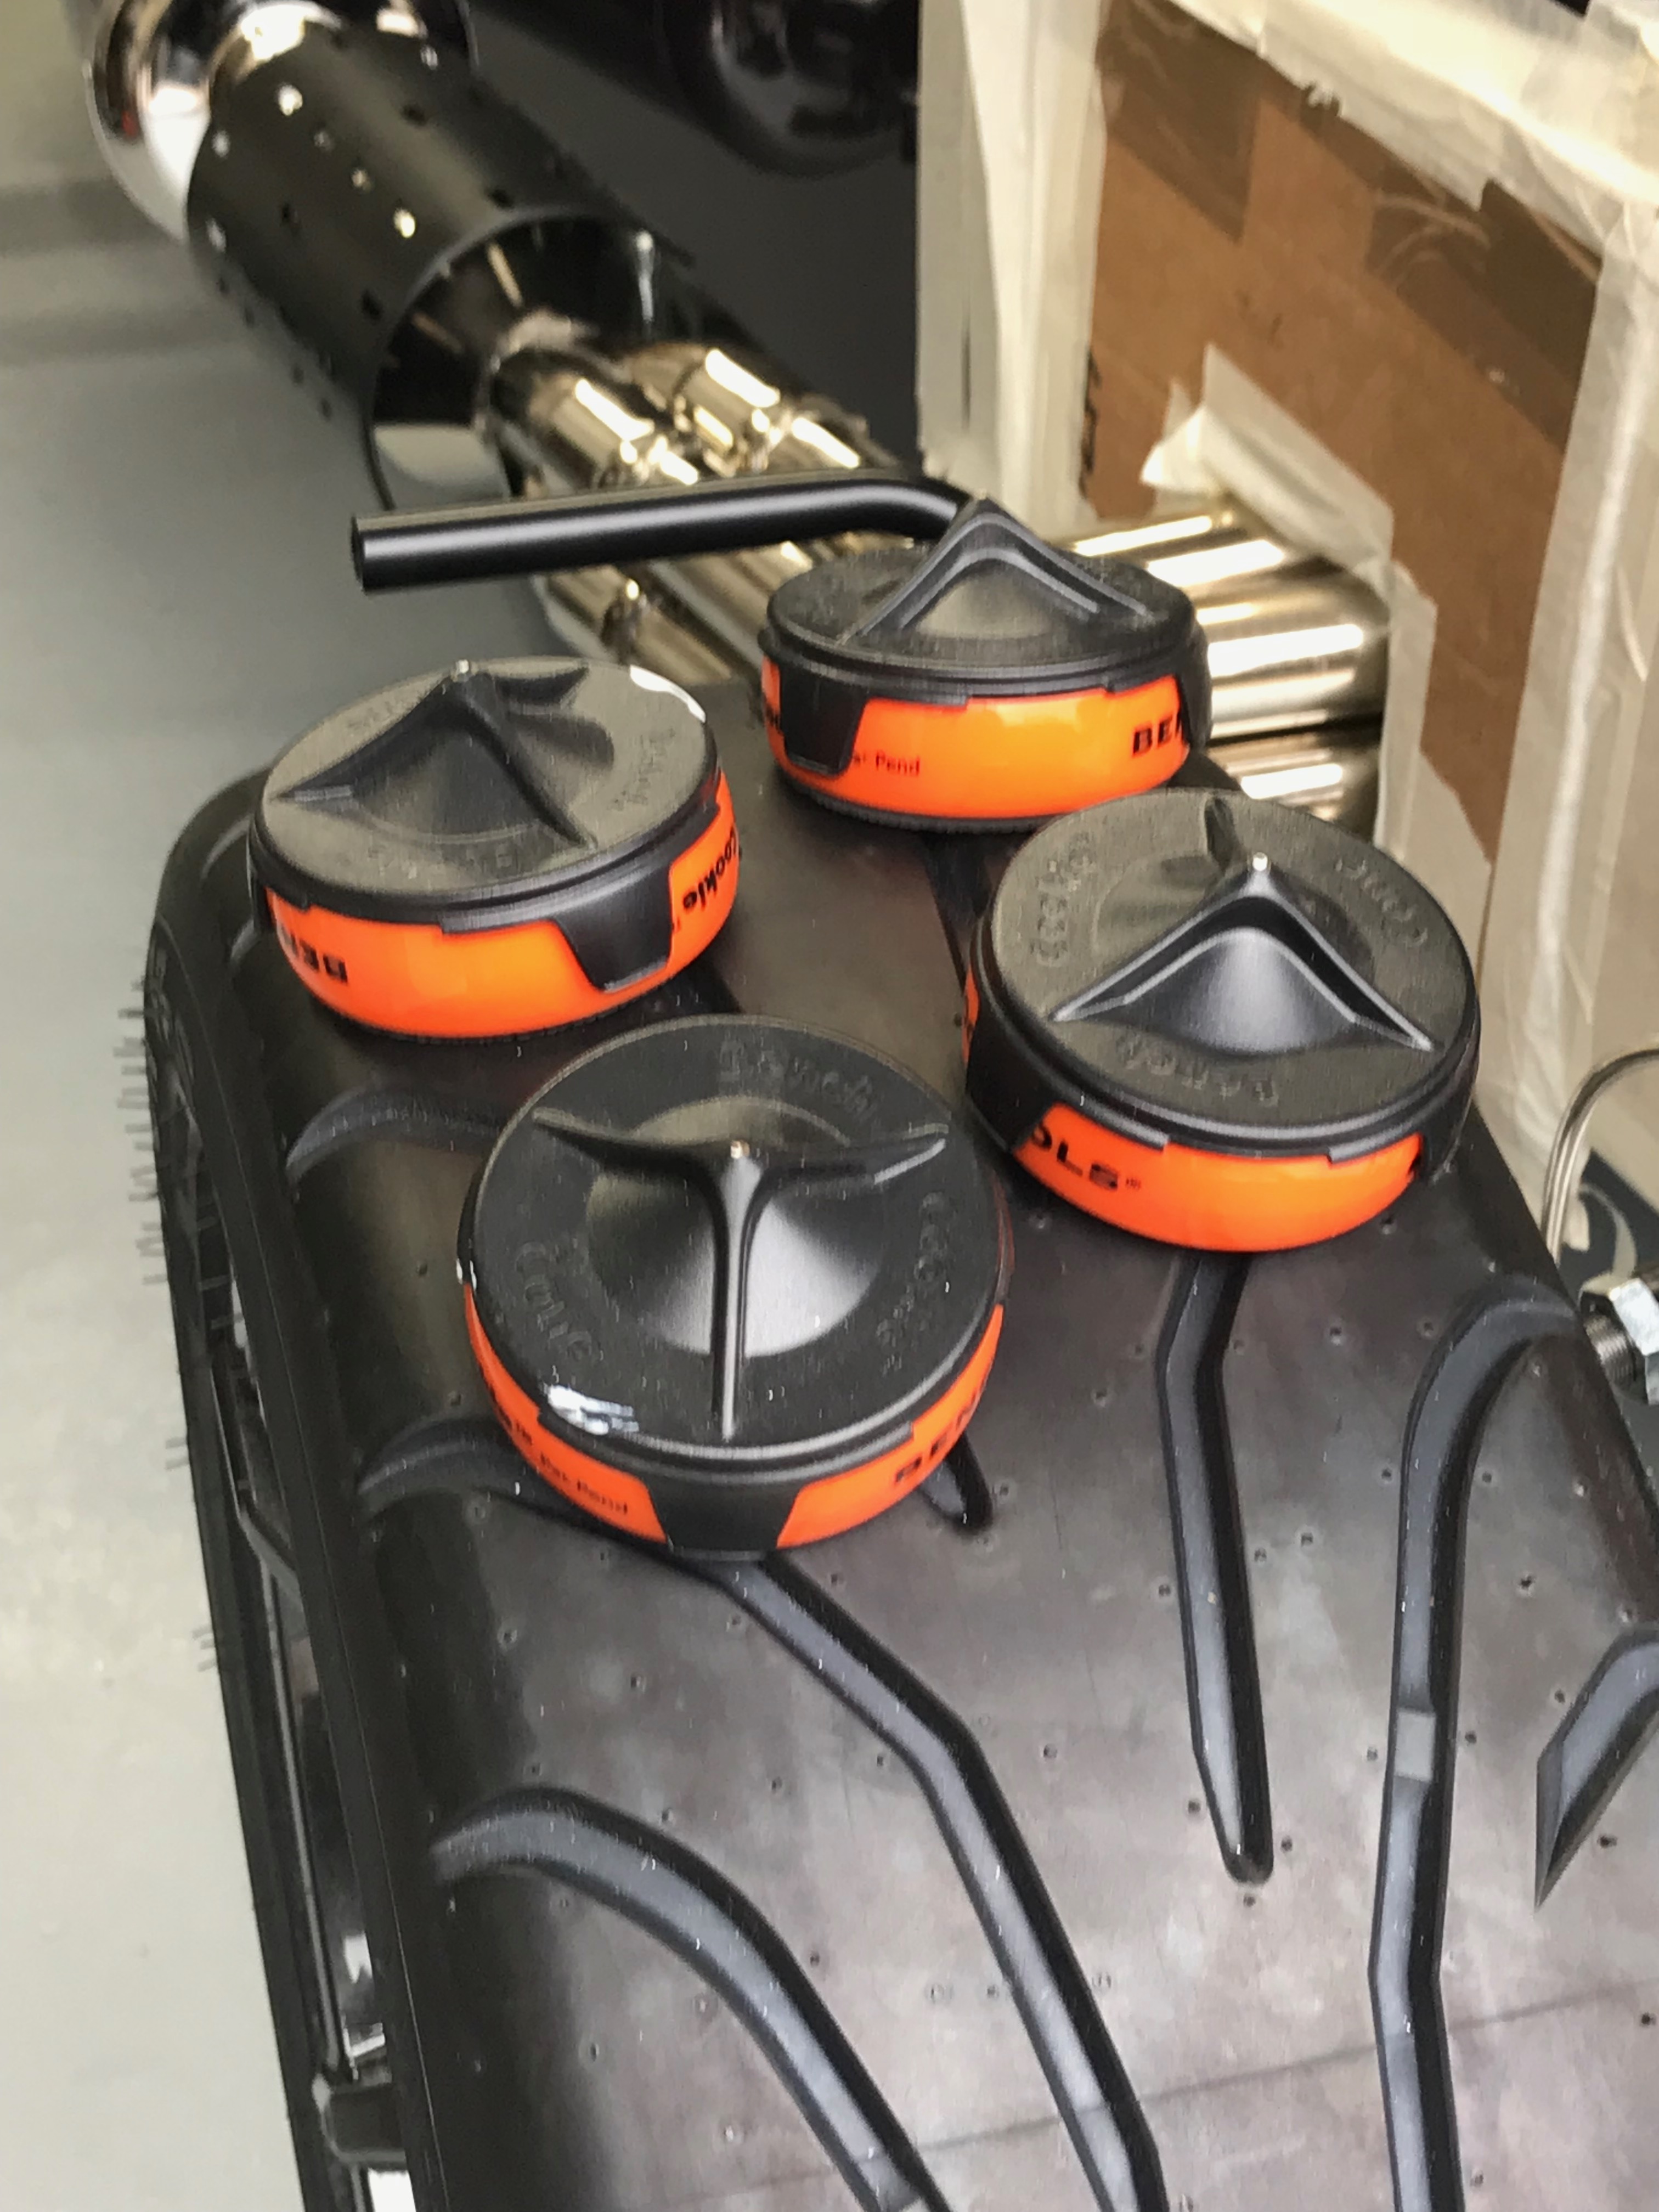
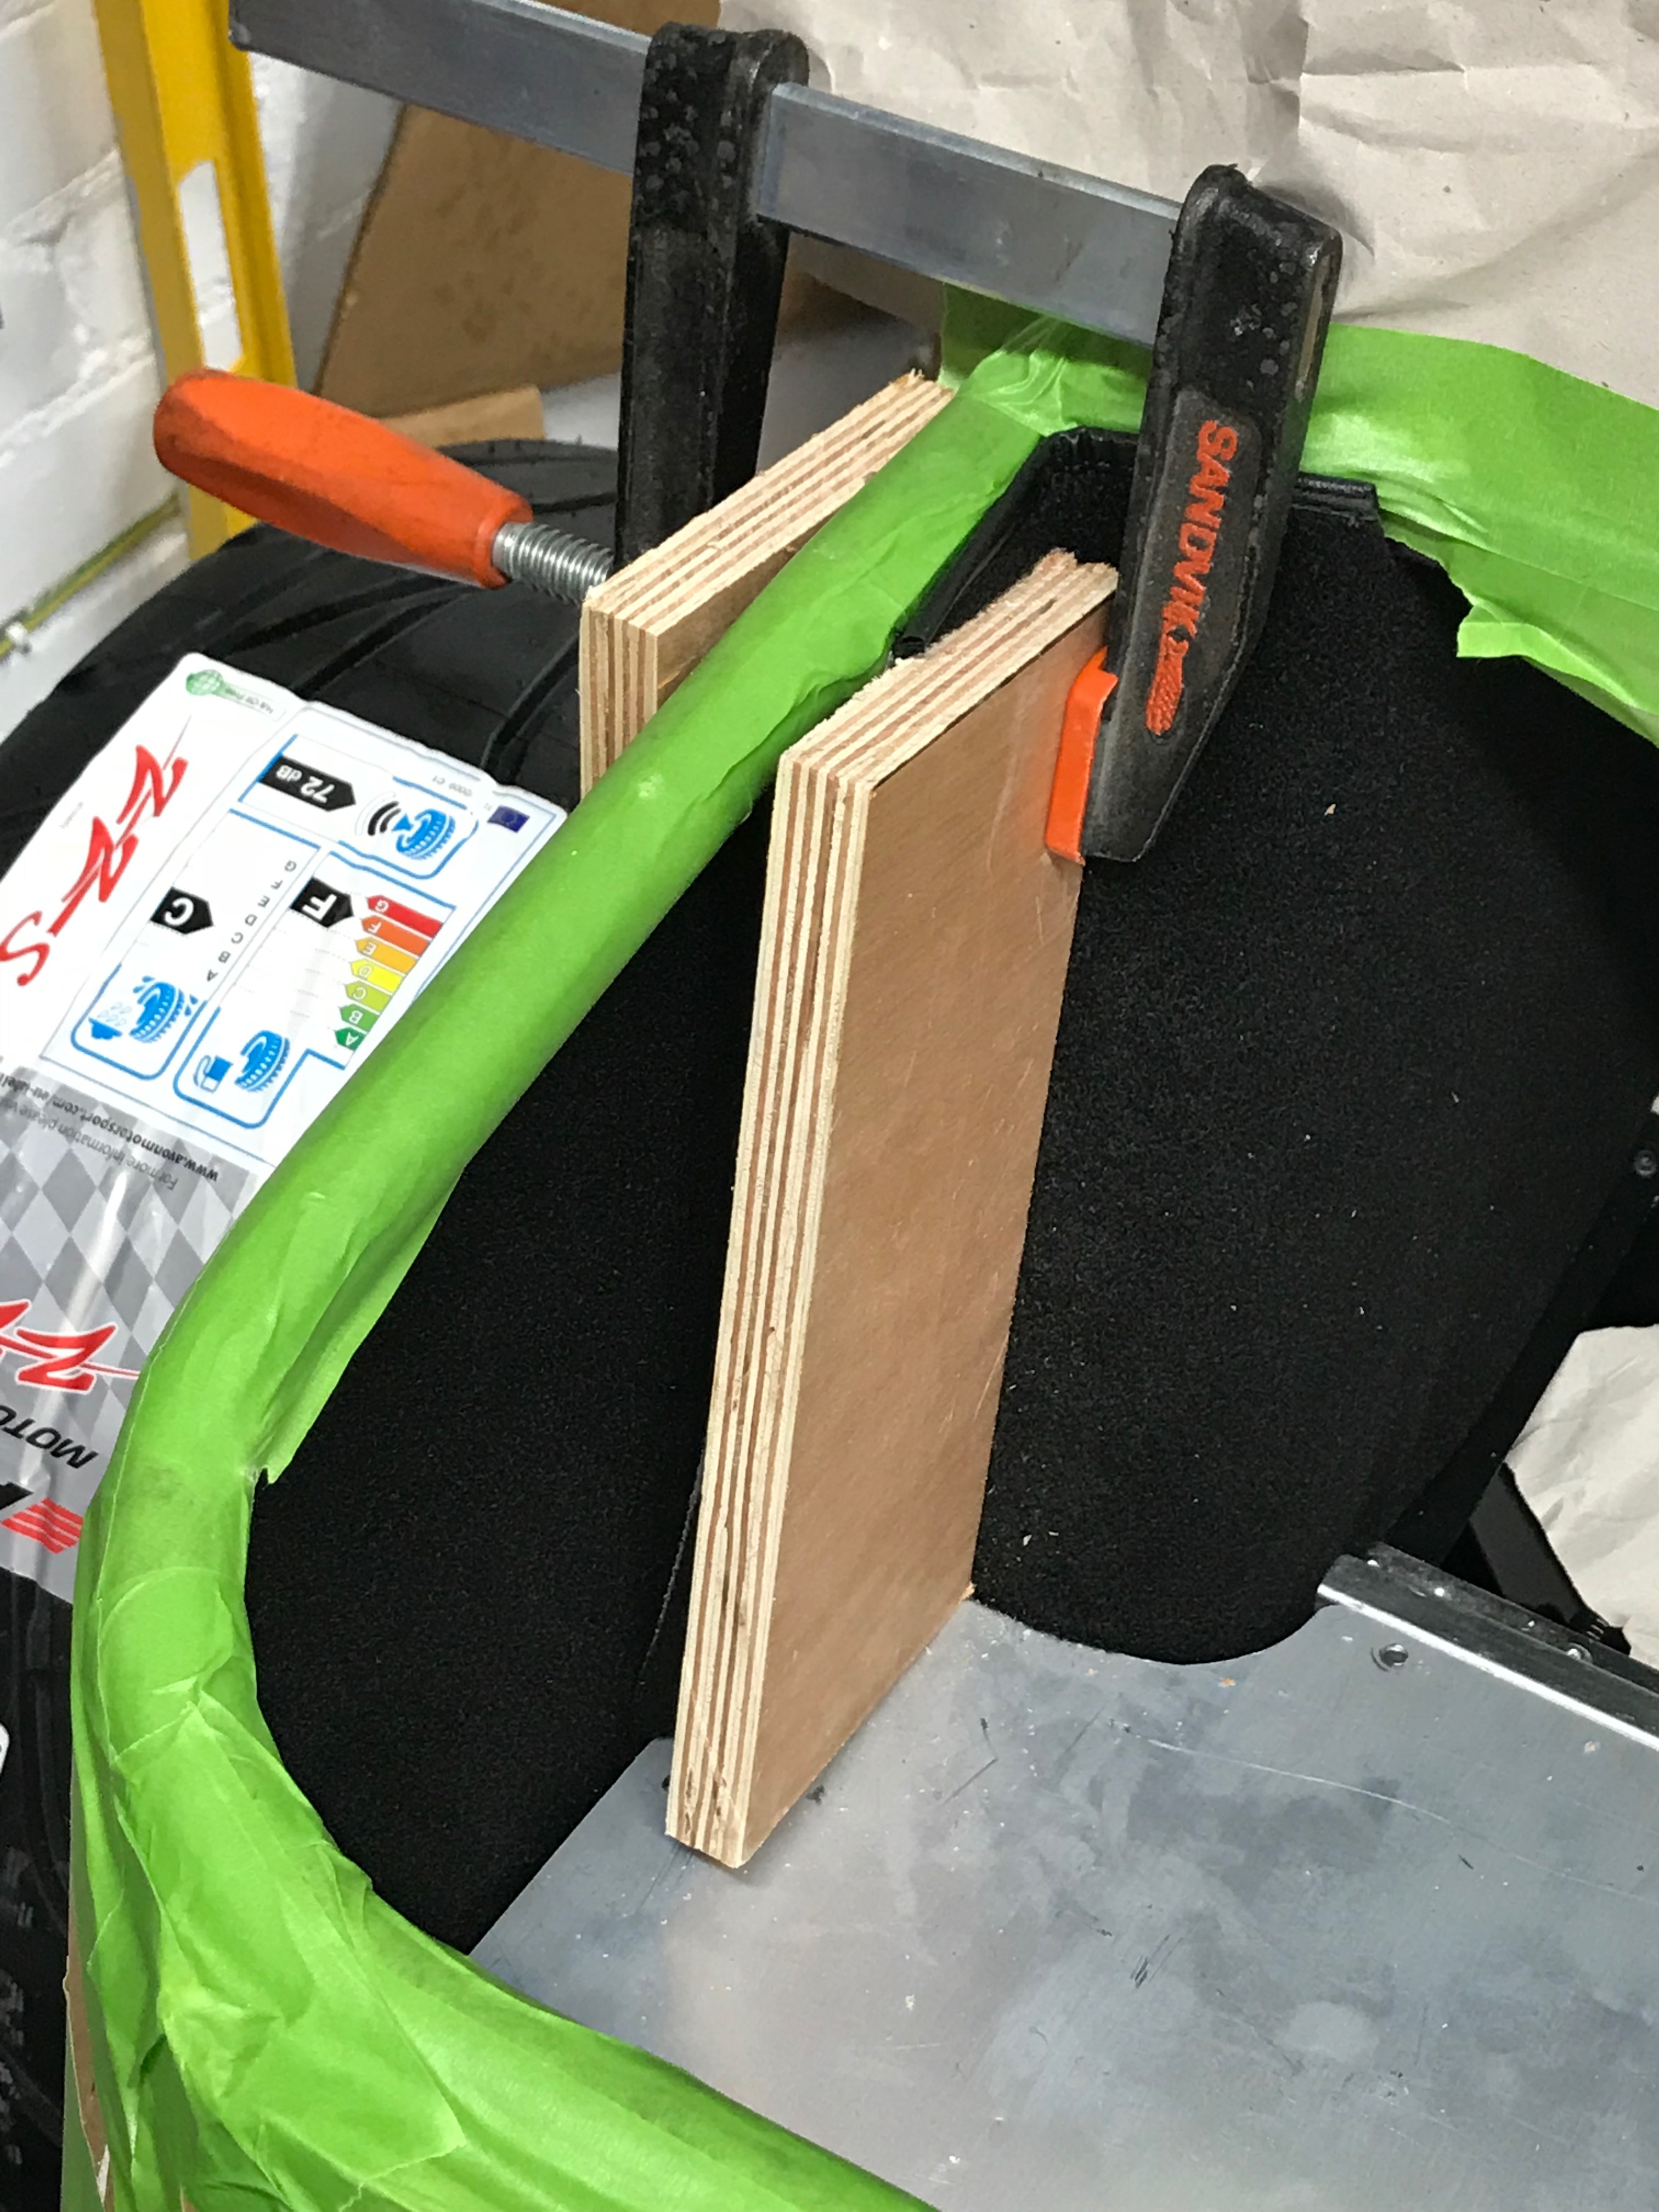
I was using bench dogs to make sure I could varnish both sides without having to wait for one side to dry…
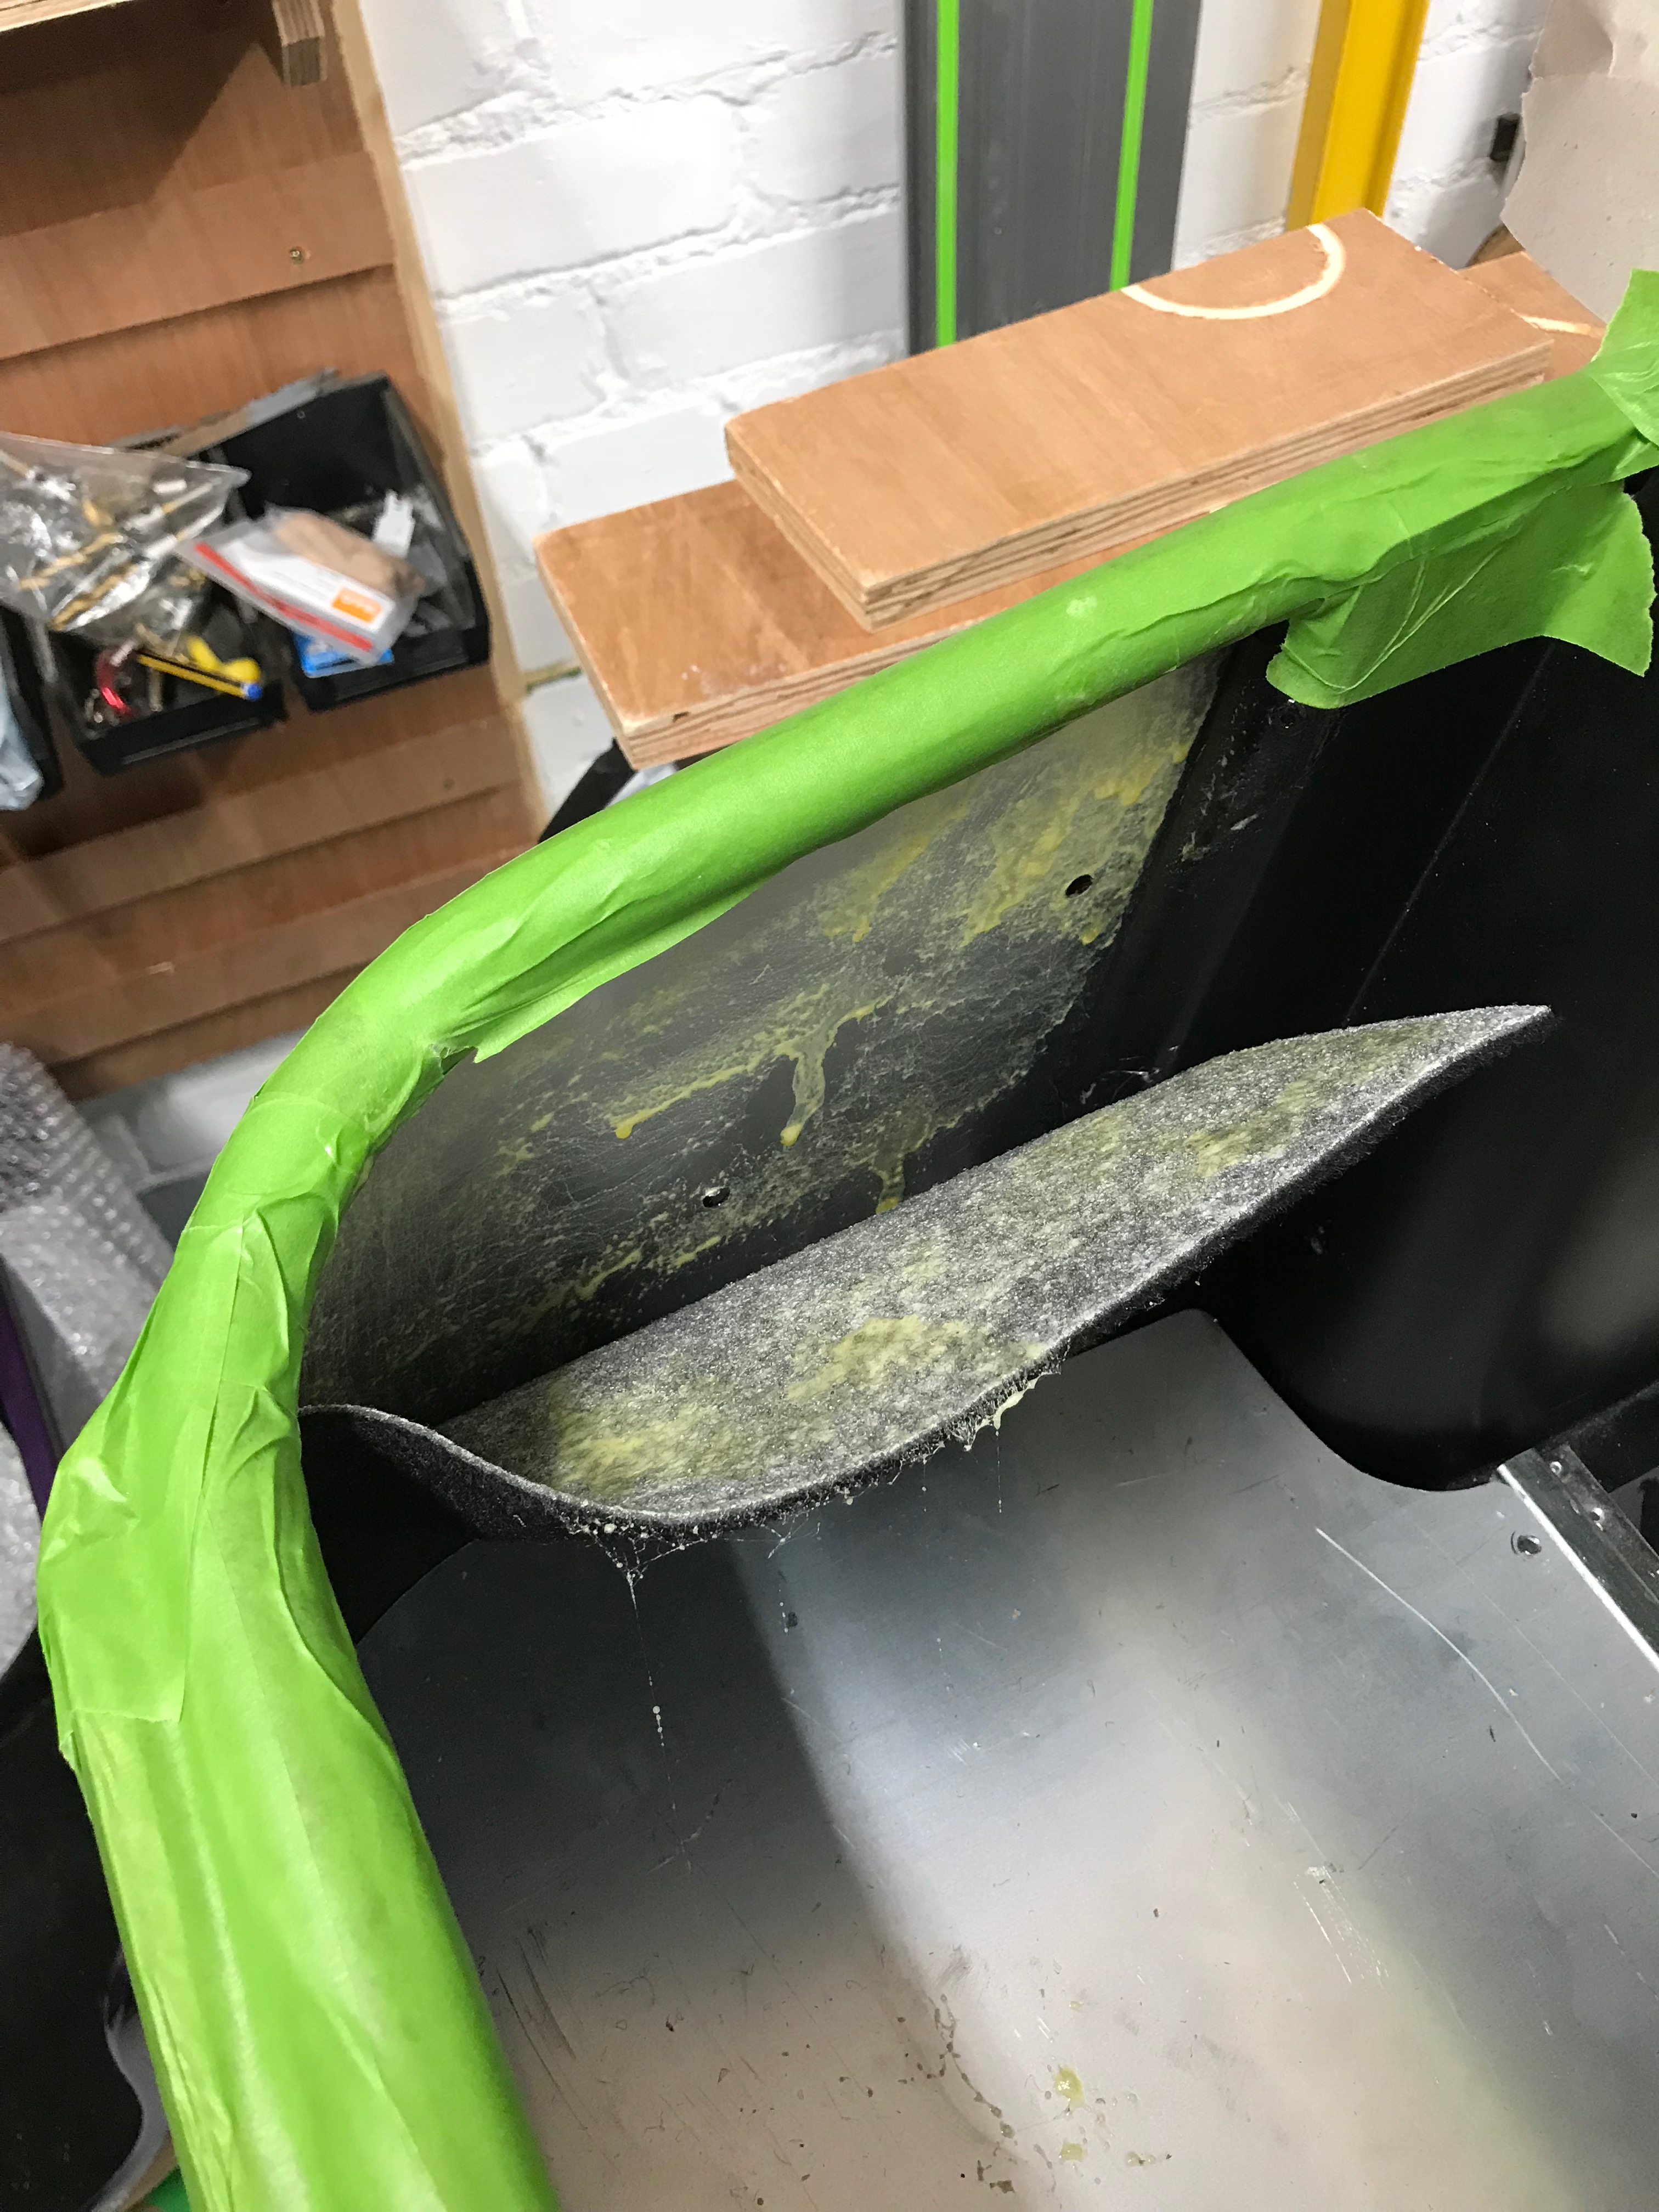
With the boot floor out you can see the diff and handbrake adjuster…
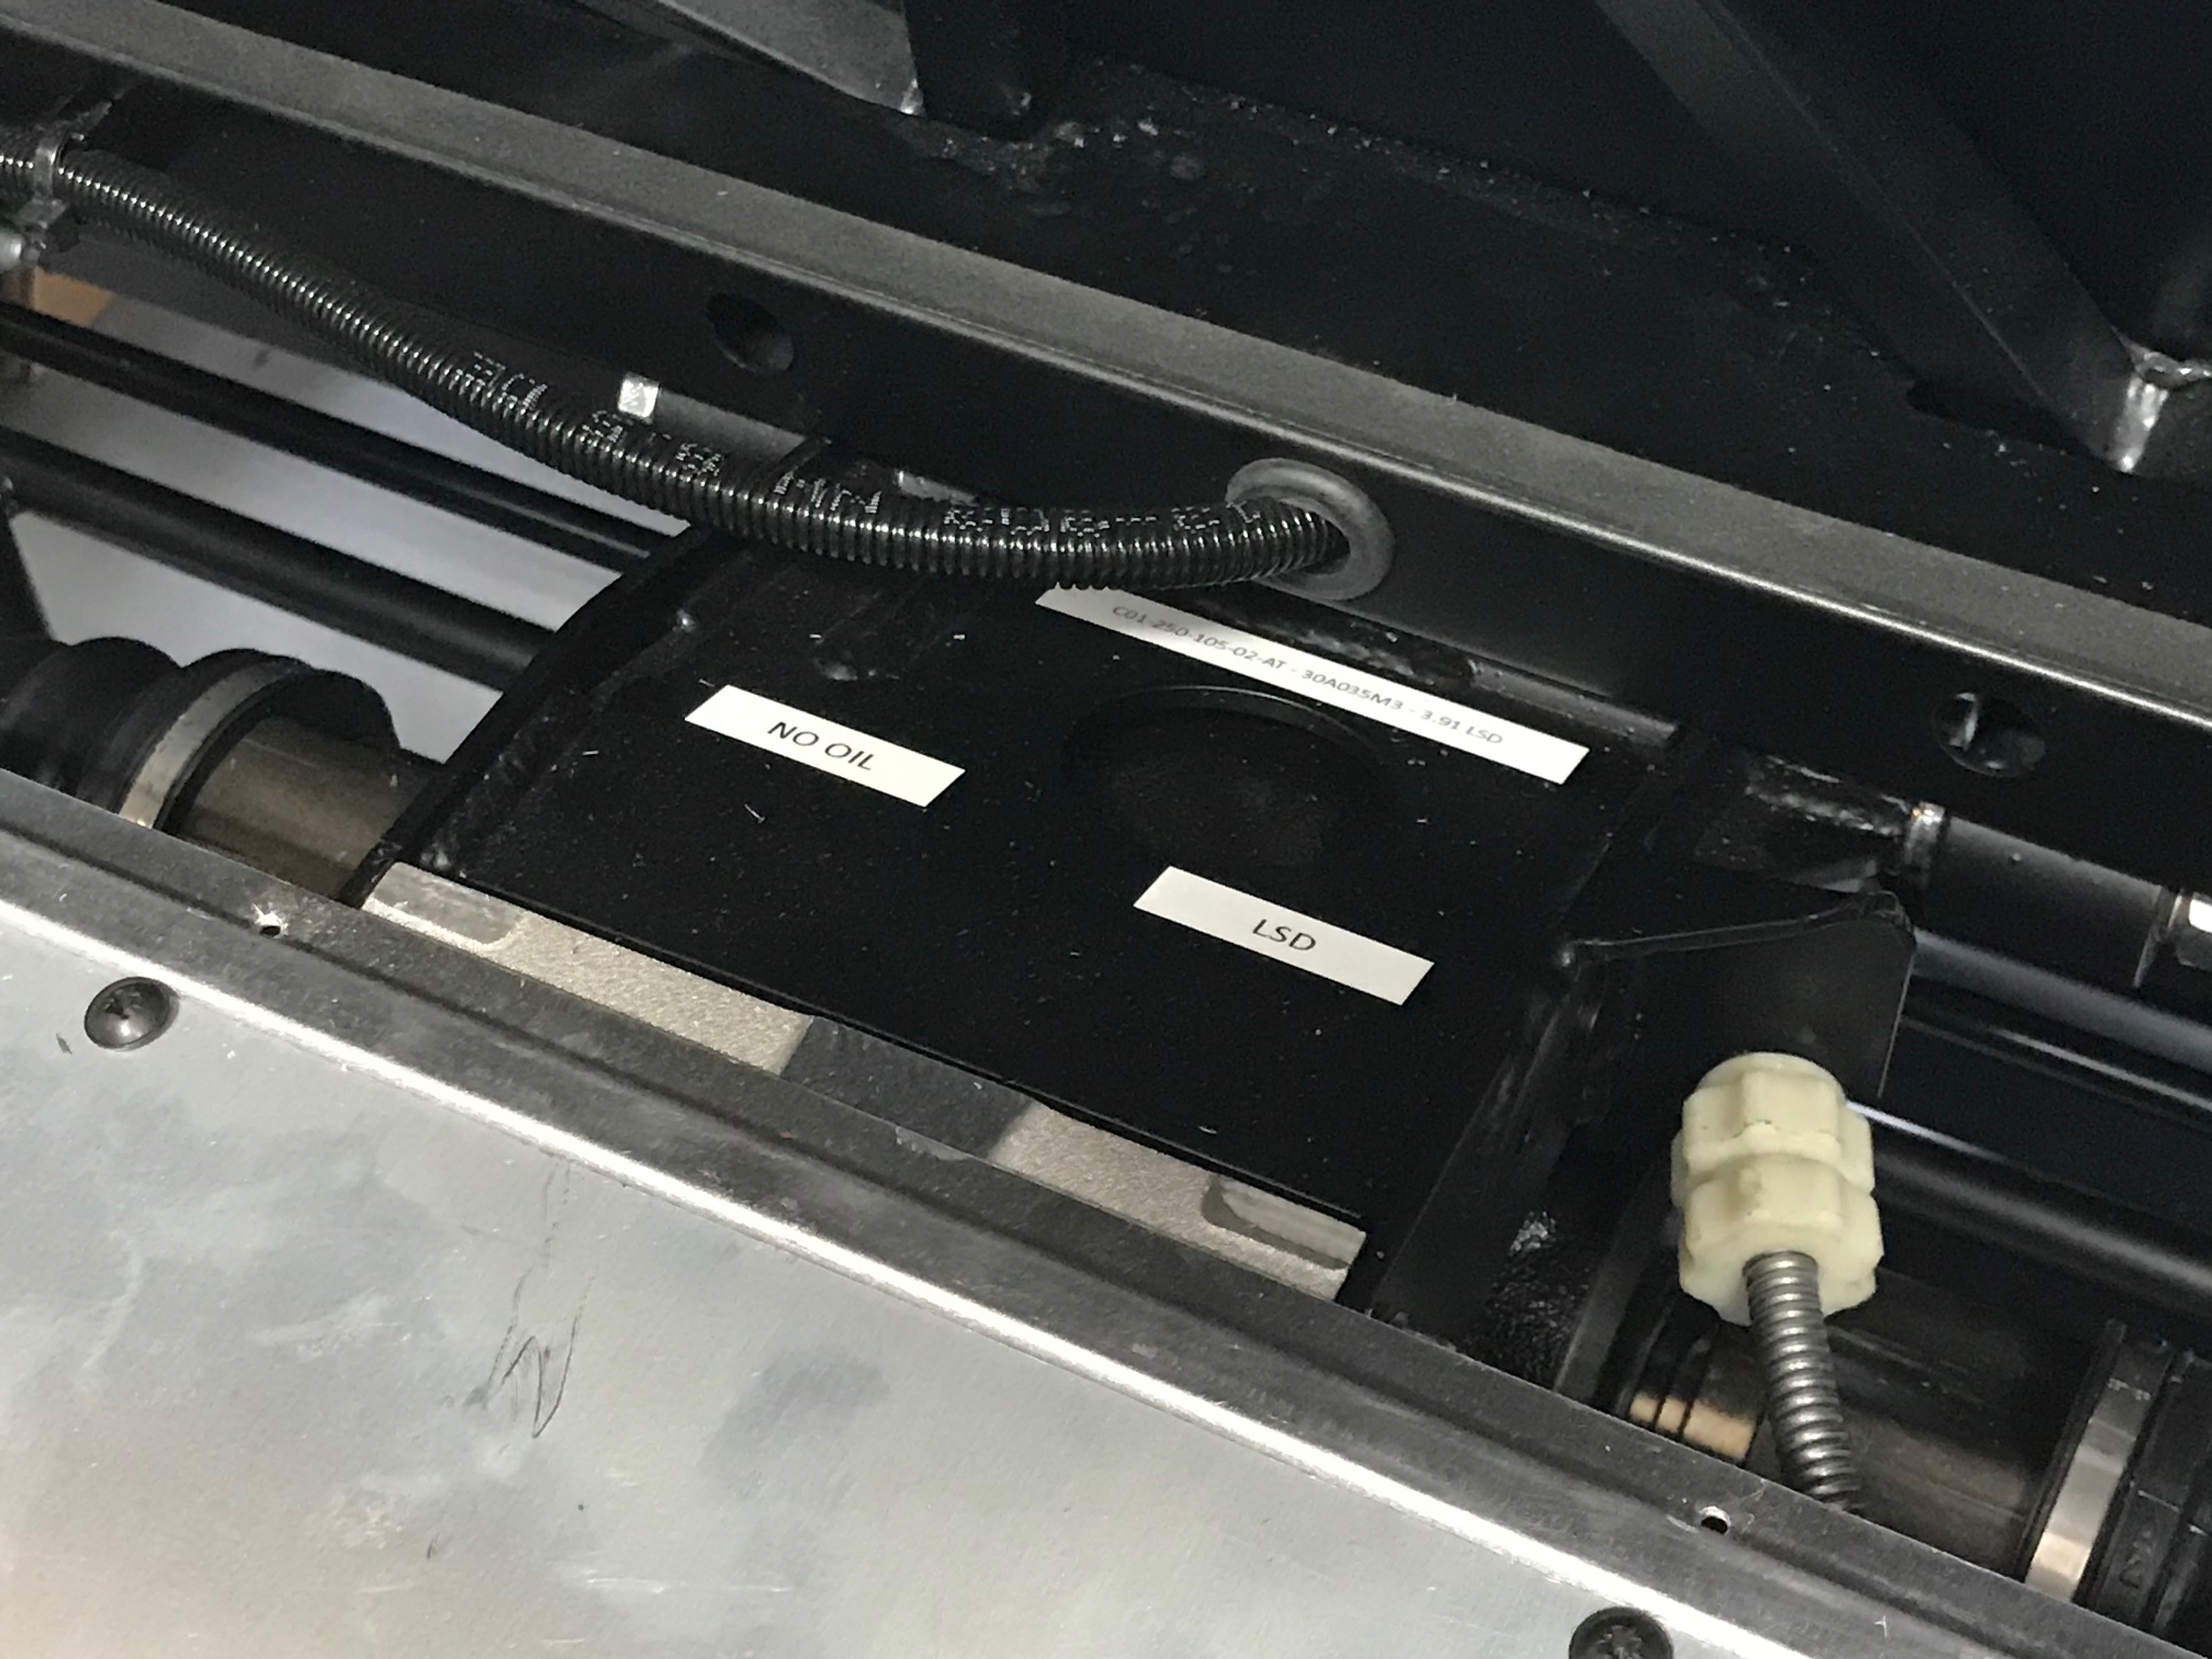
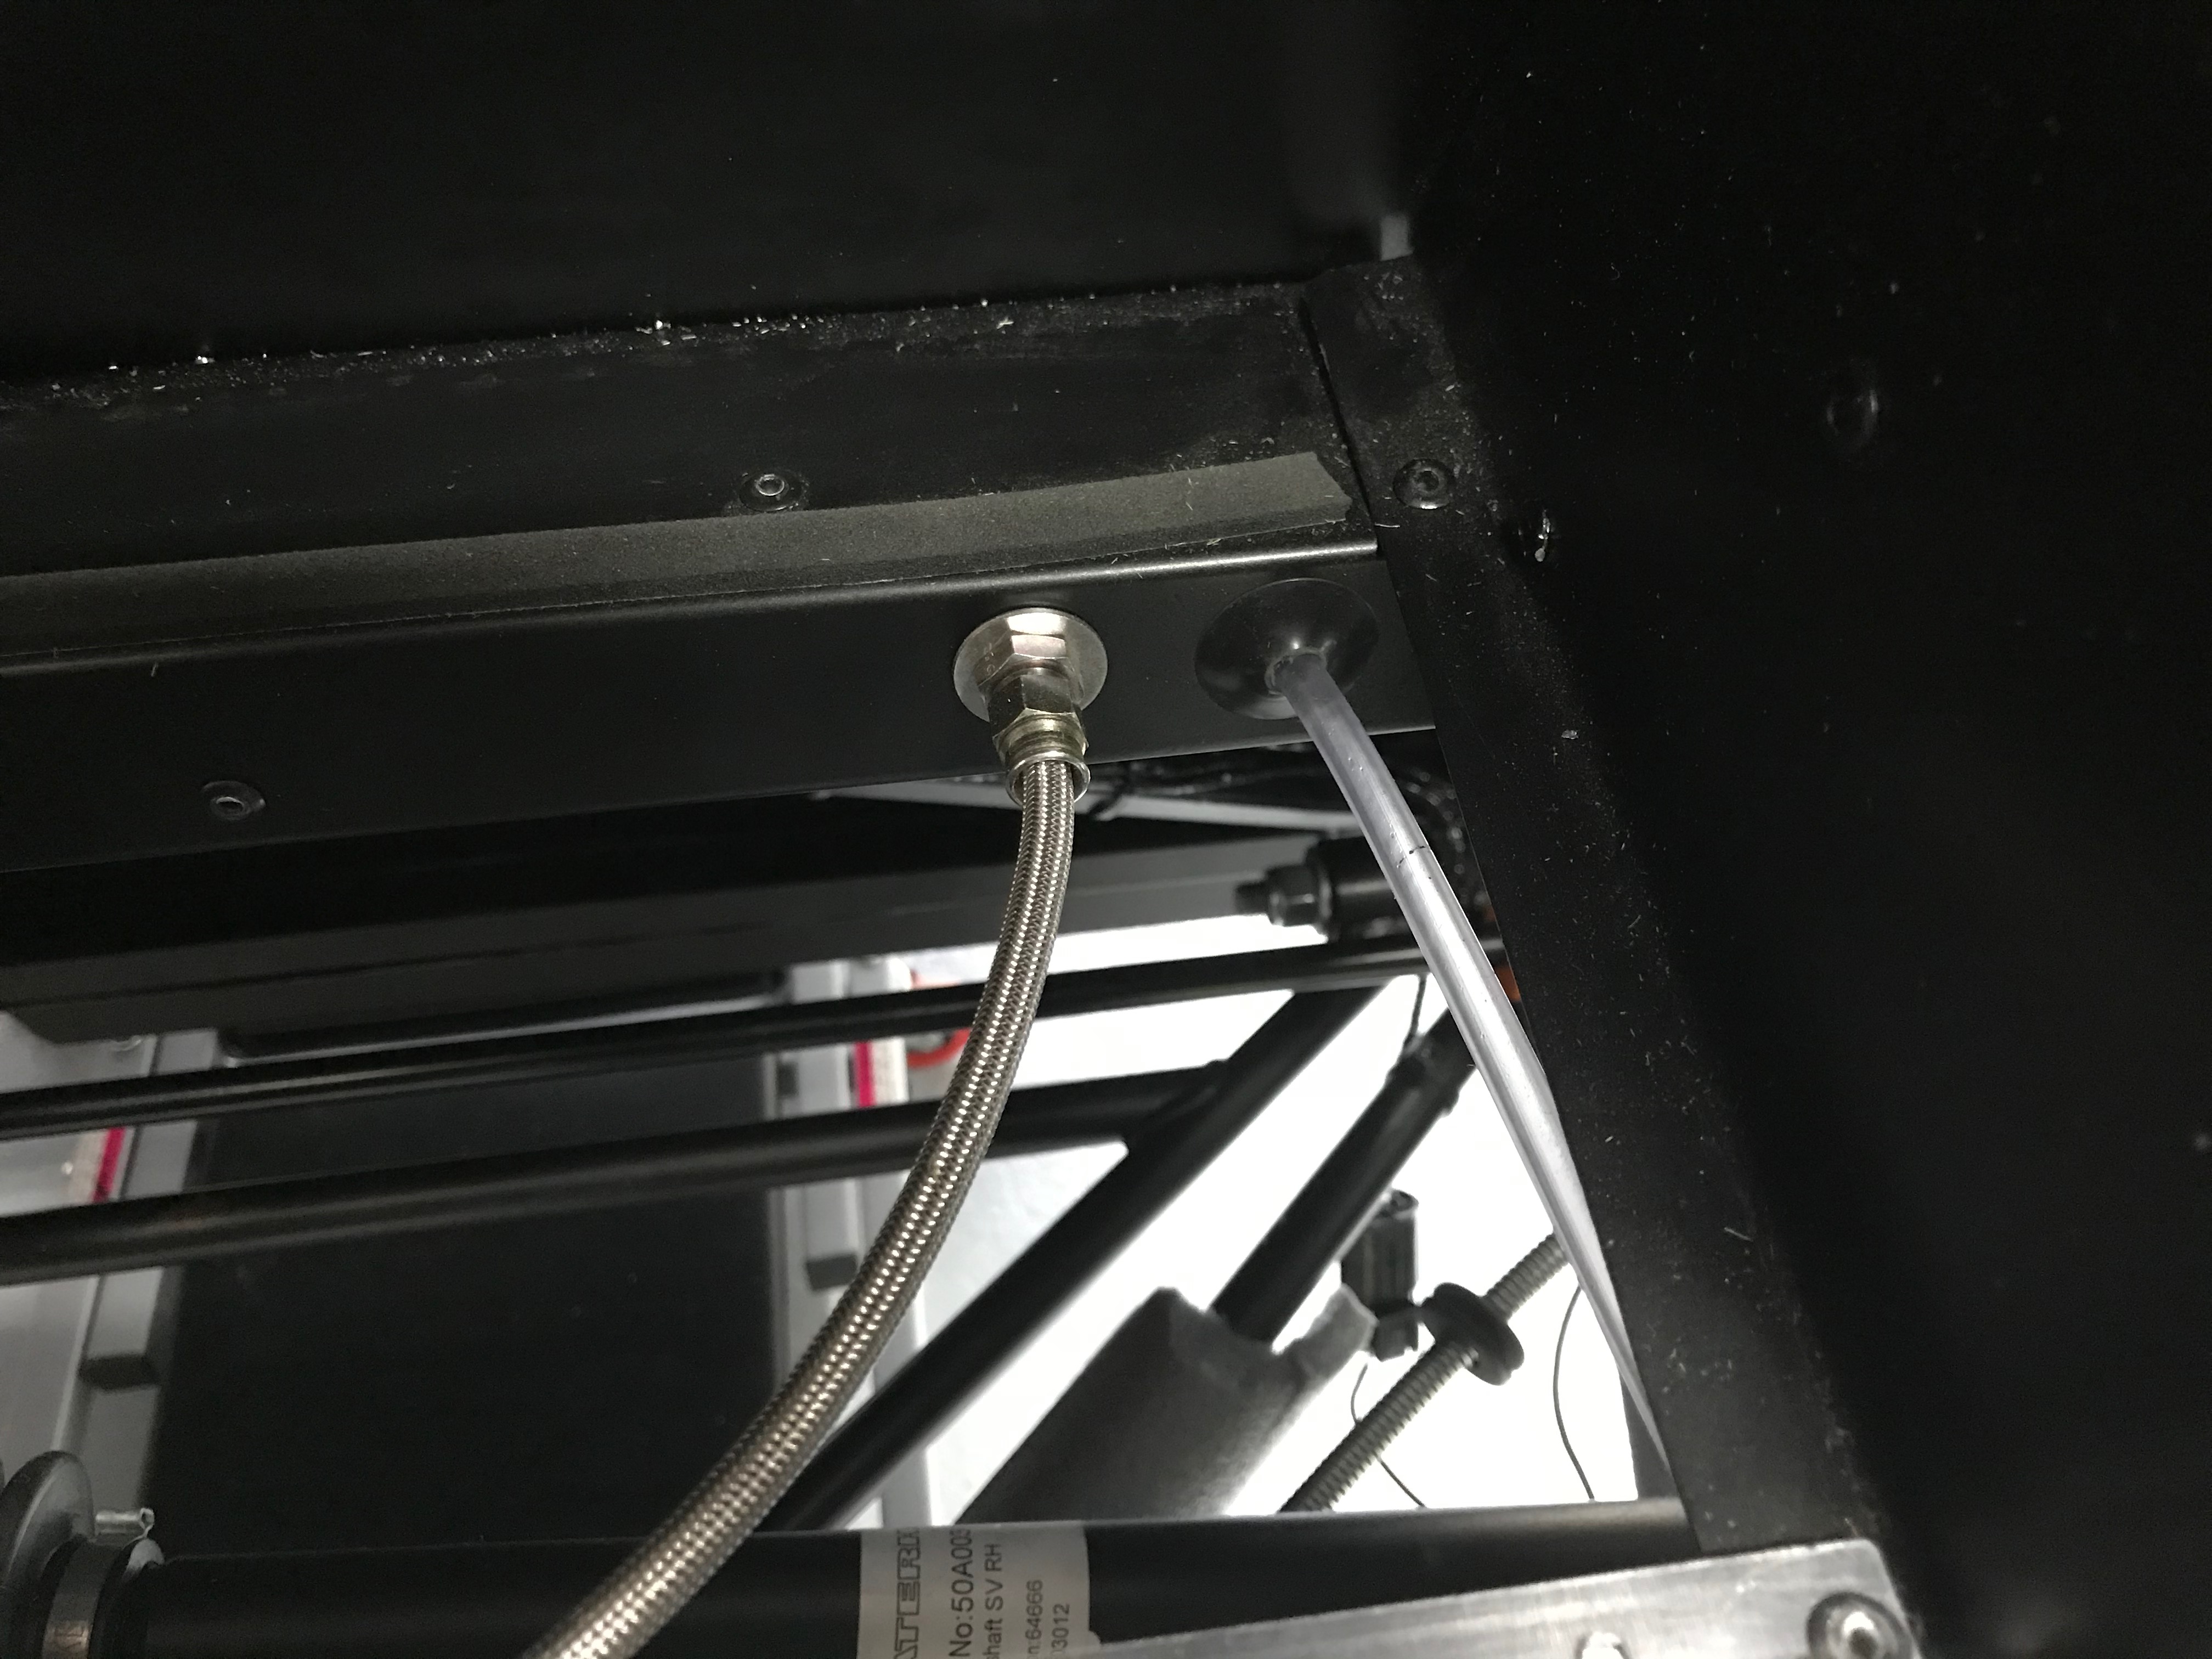
… and the rear flexible brake hose fixings…
Boot Carpets
With the varnish on the boot floor drying it was time to turn my attention to the boot carpets. Yes, I know that’s completely non-essential part of the “real” Caterham experience but I was more interested in their sound deadening properties than their aesthetics.
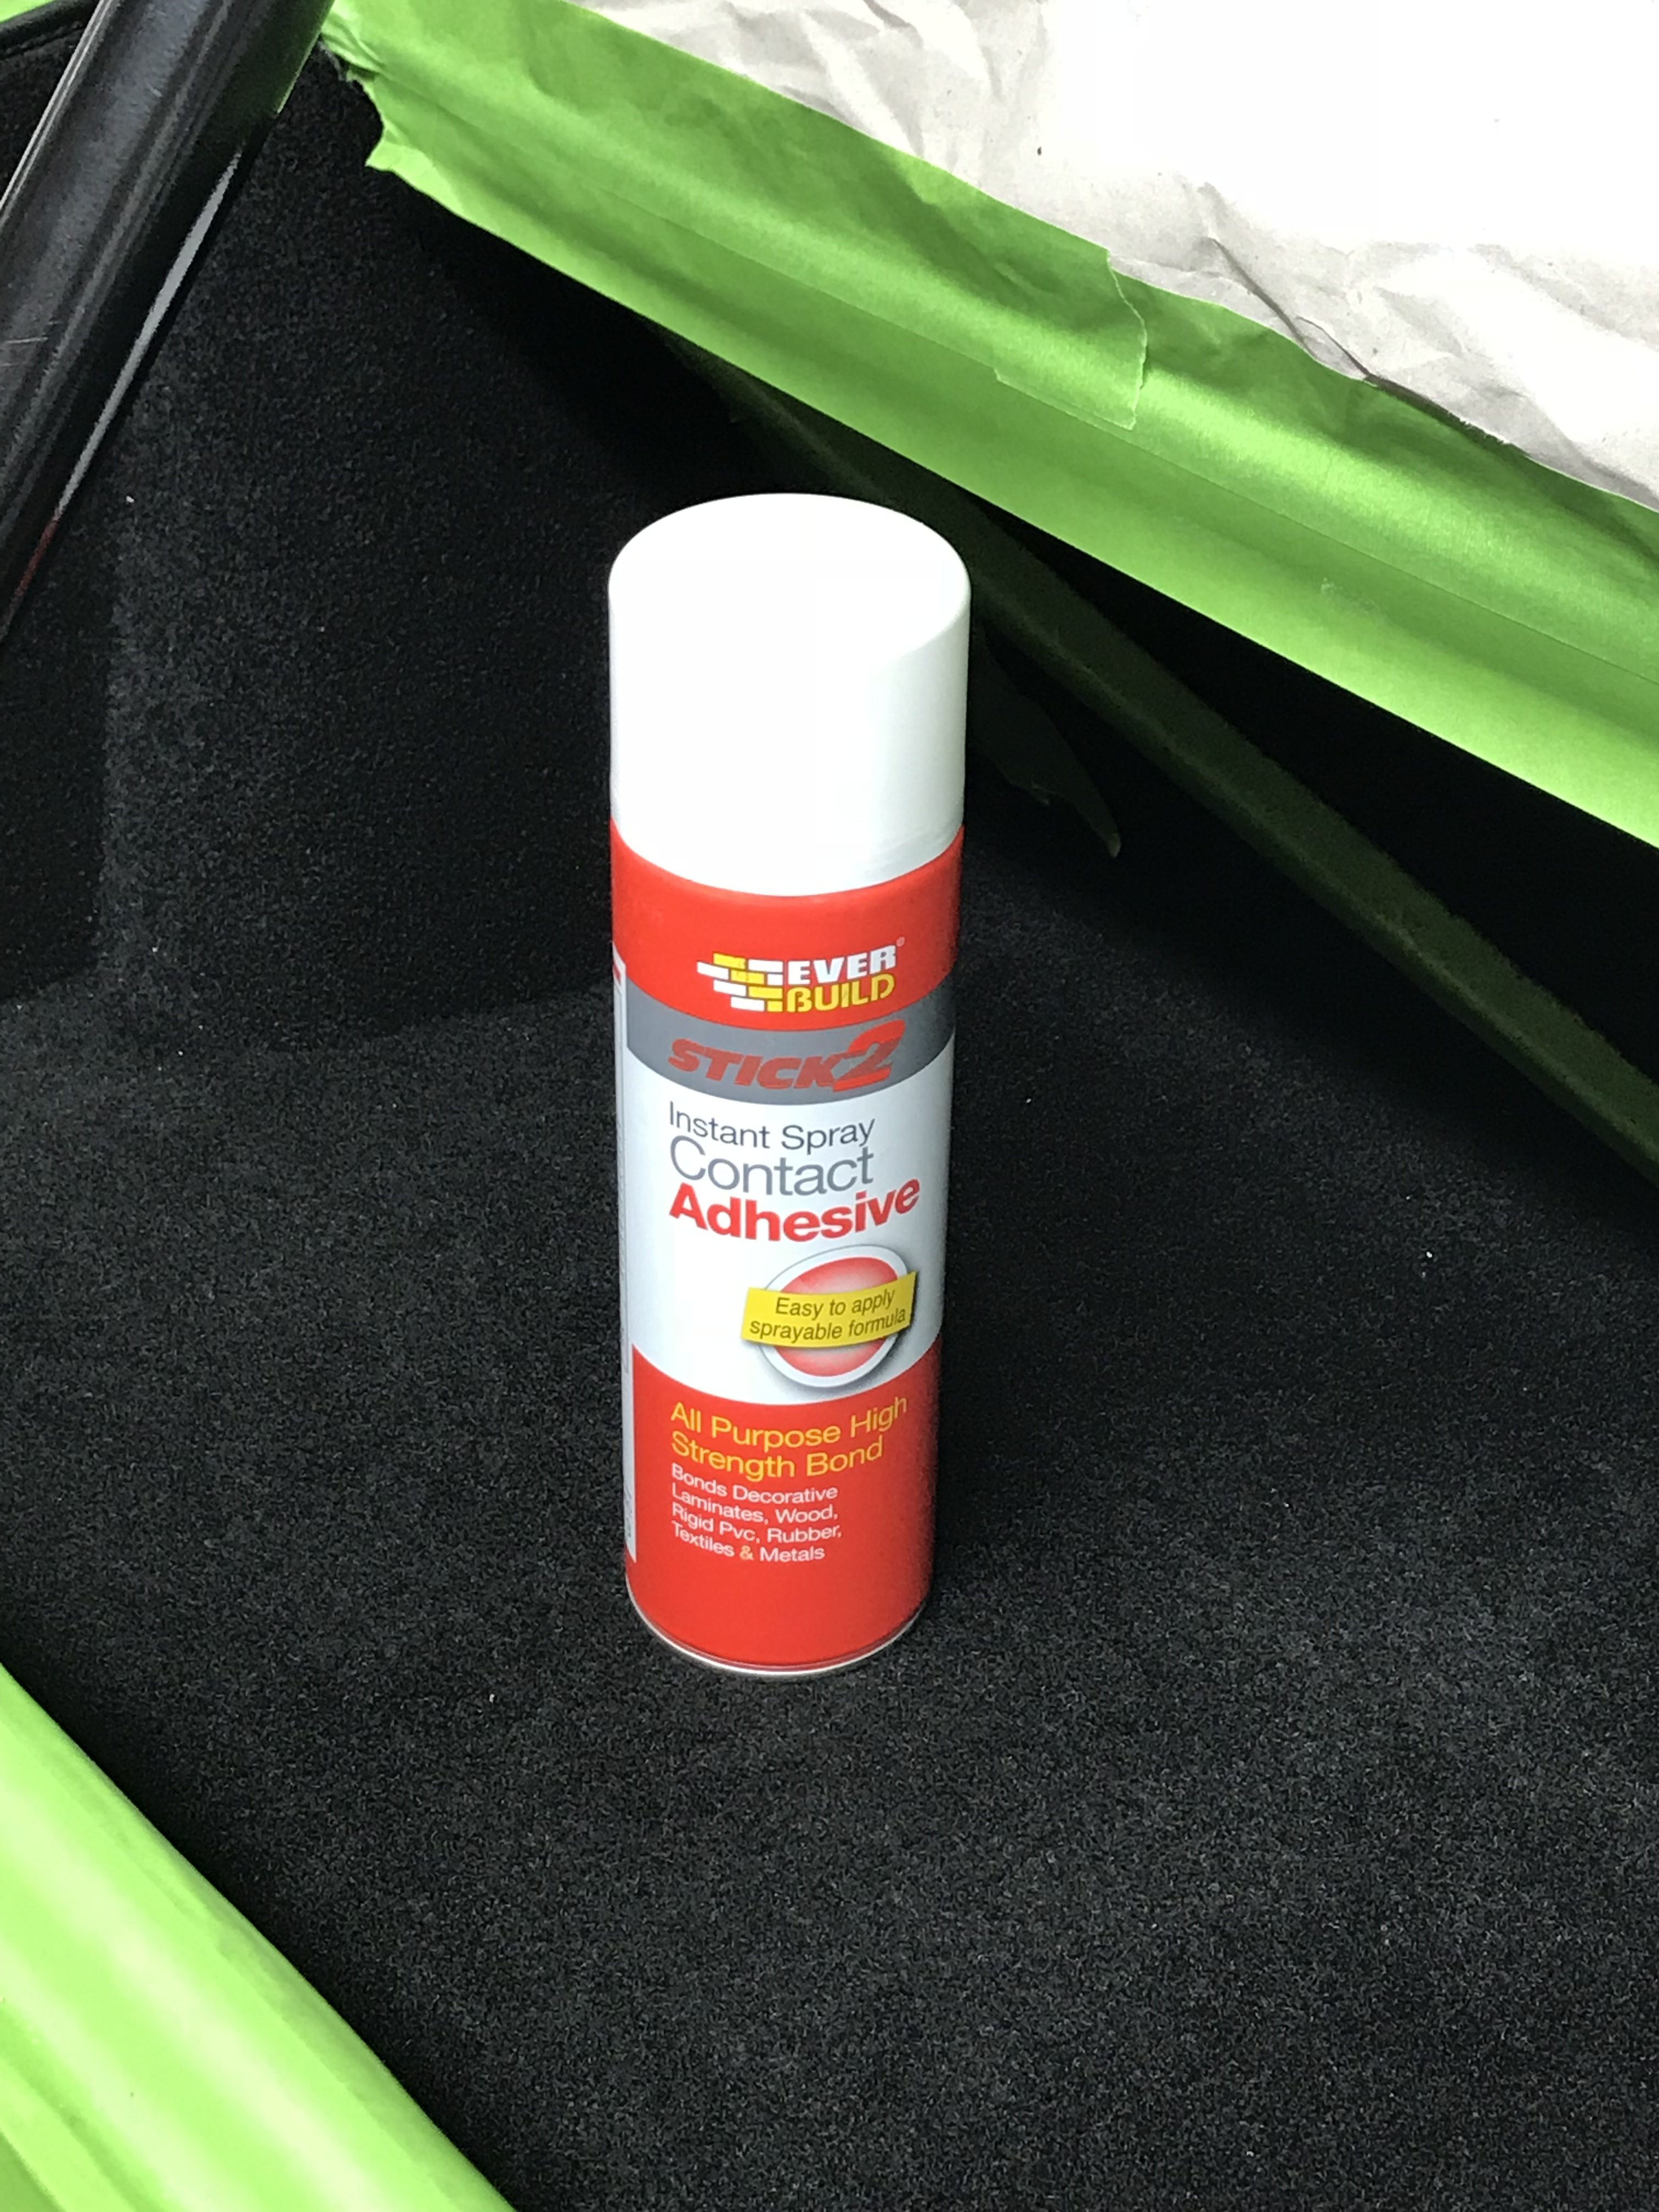
My weapon of choice for the carpets was the spray adhesive as used on the cockpit carpets…
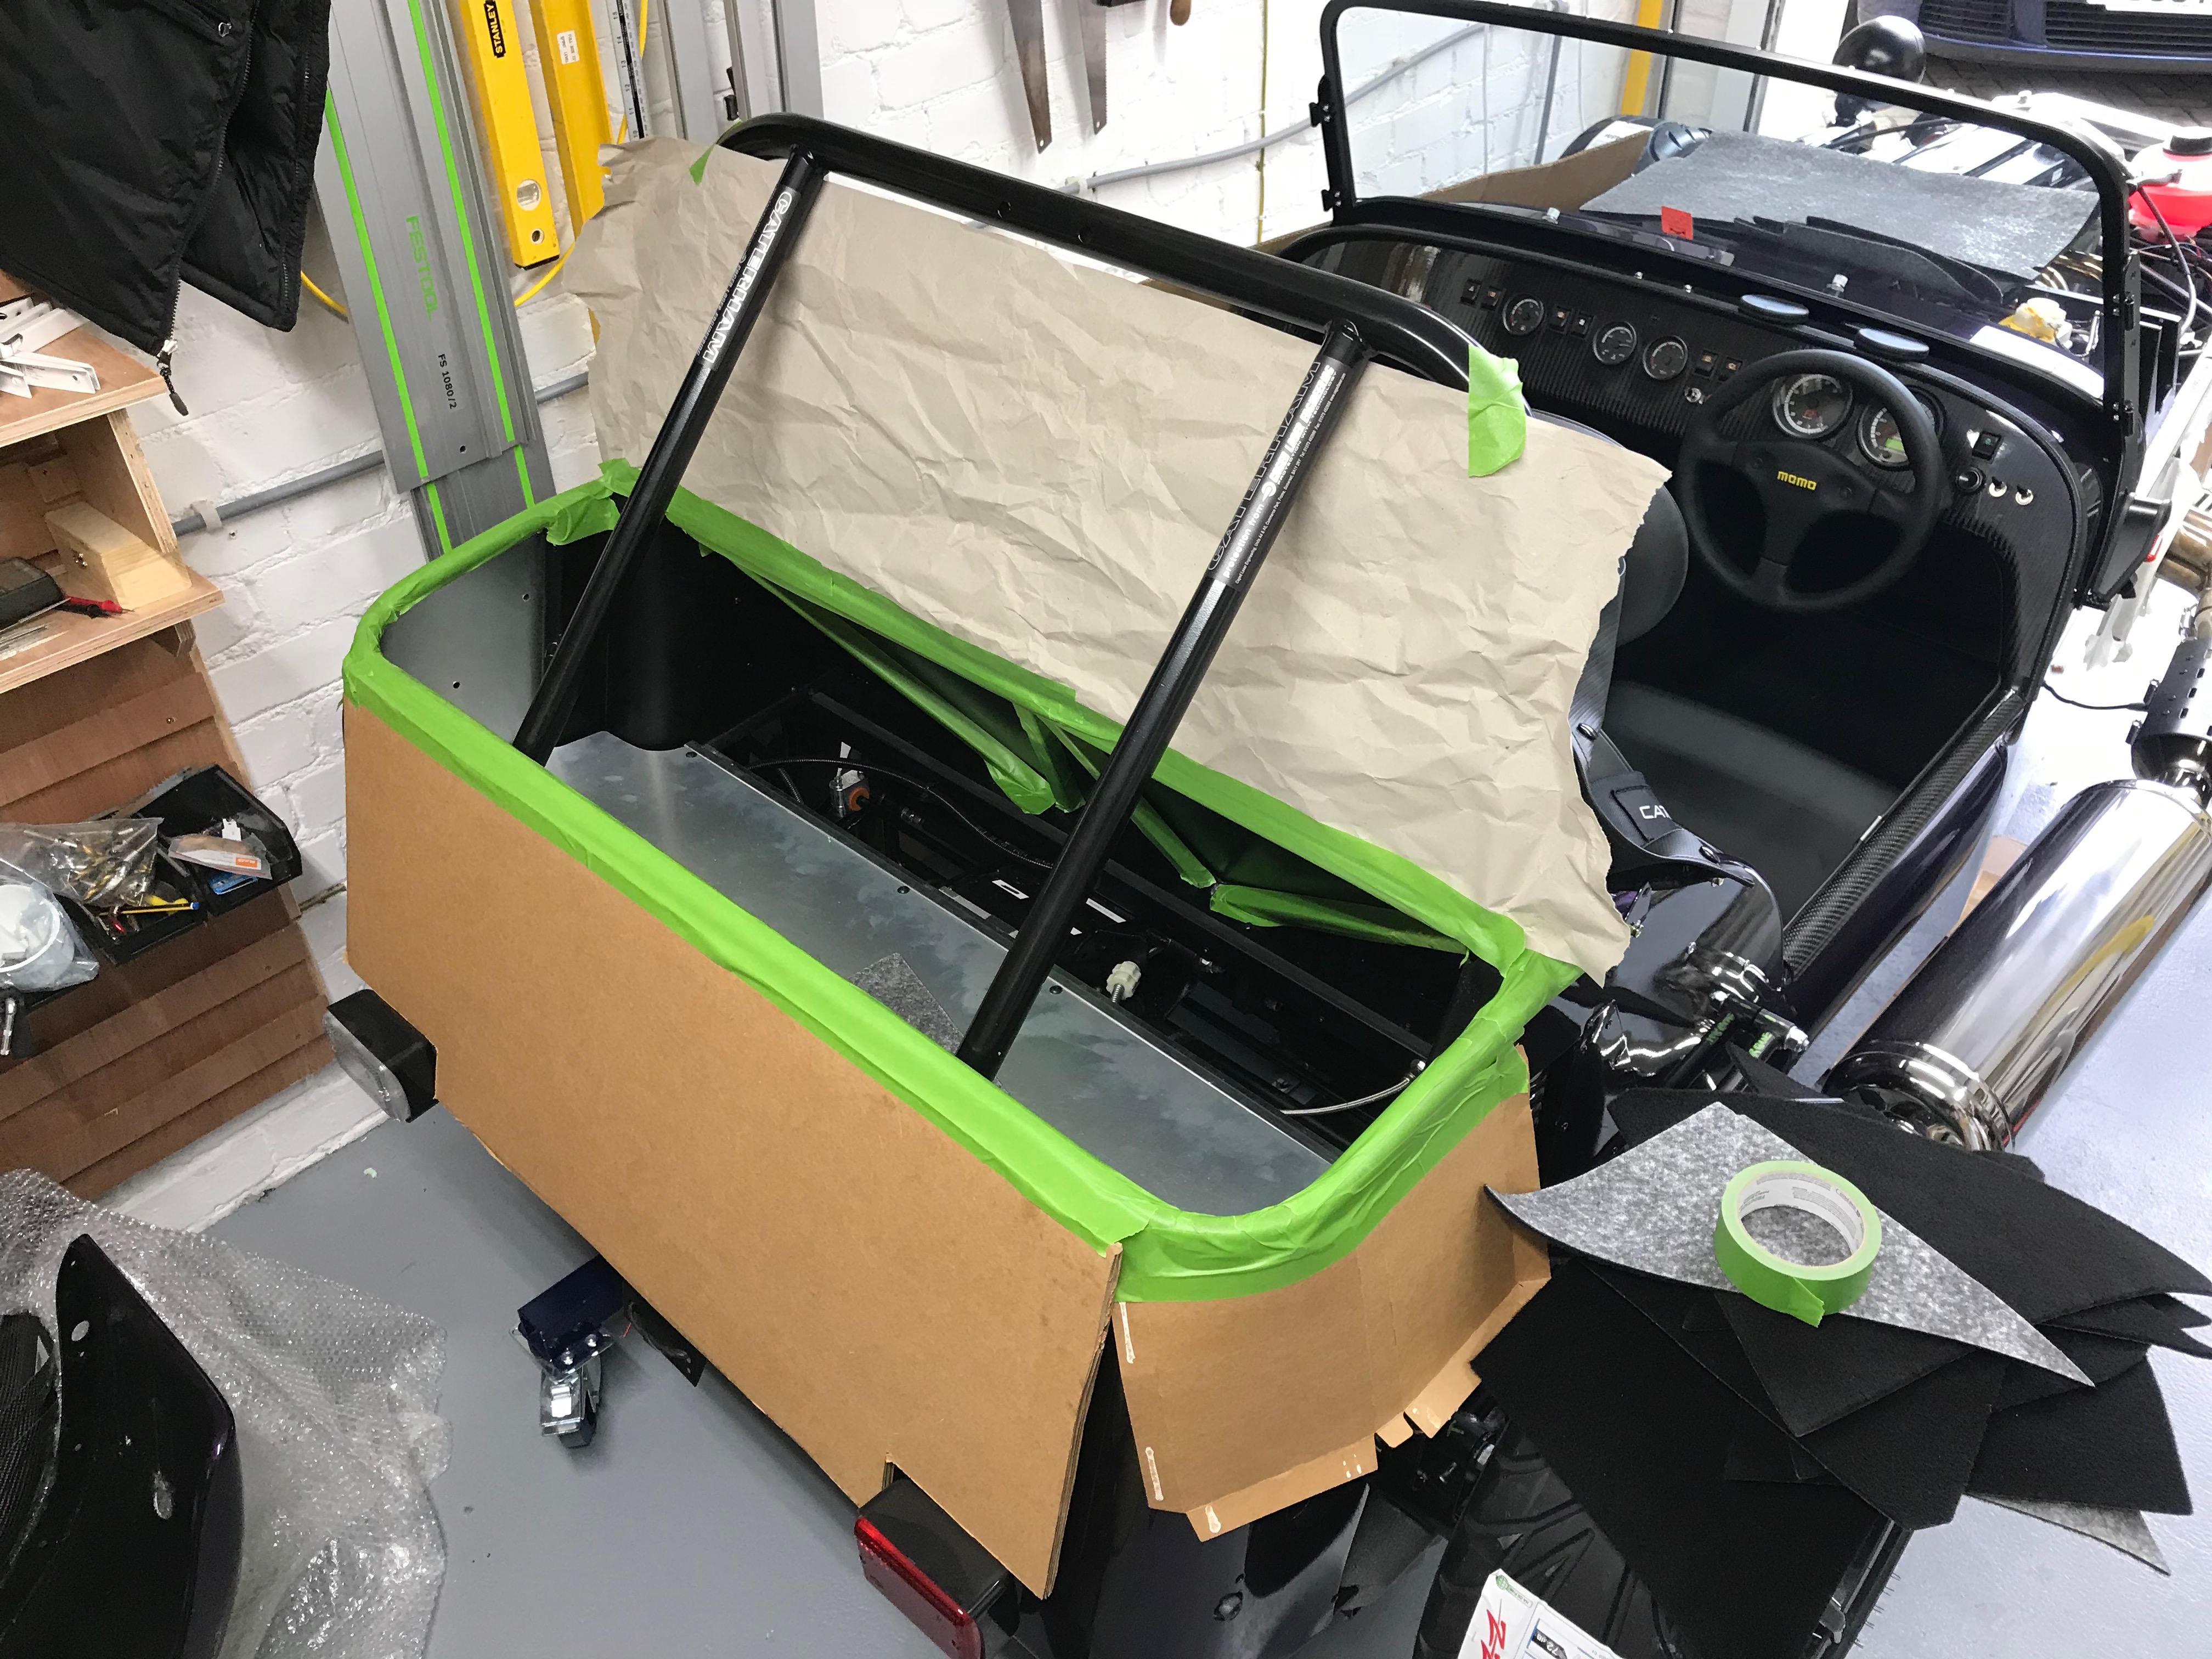
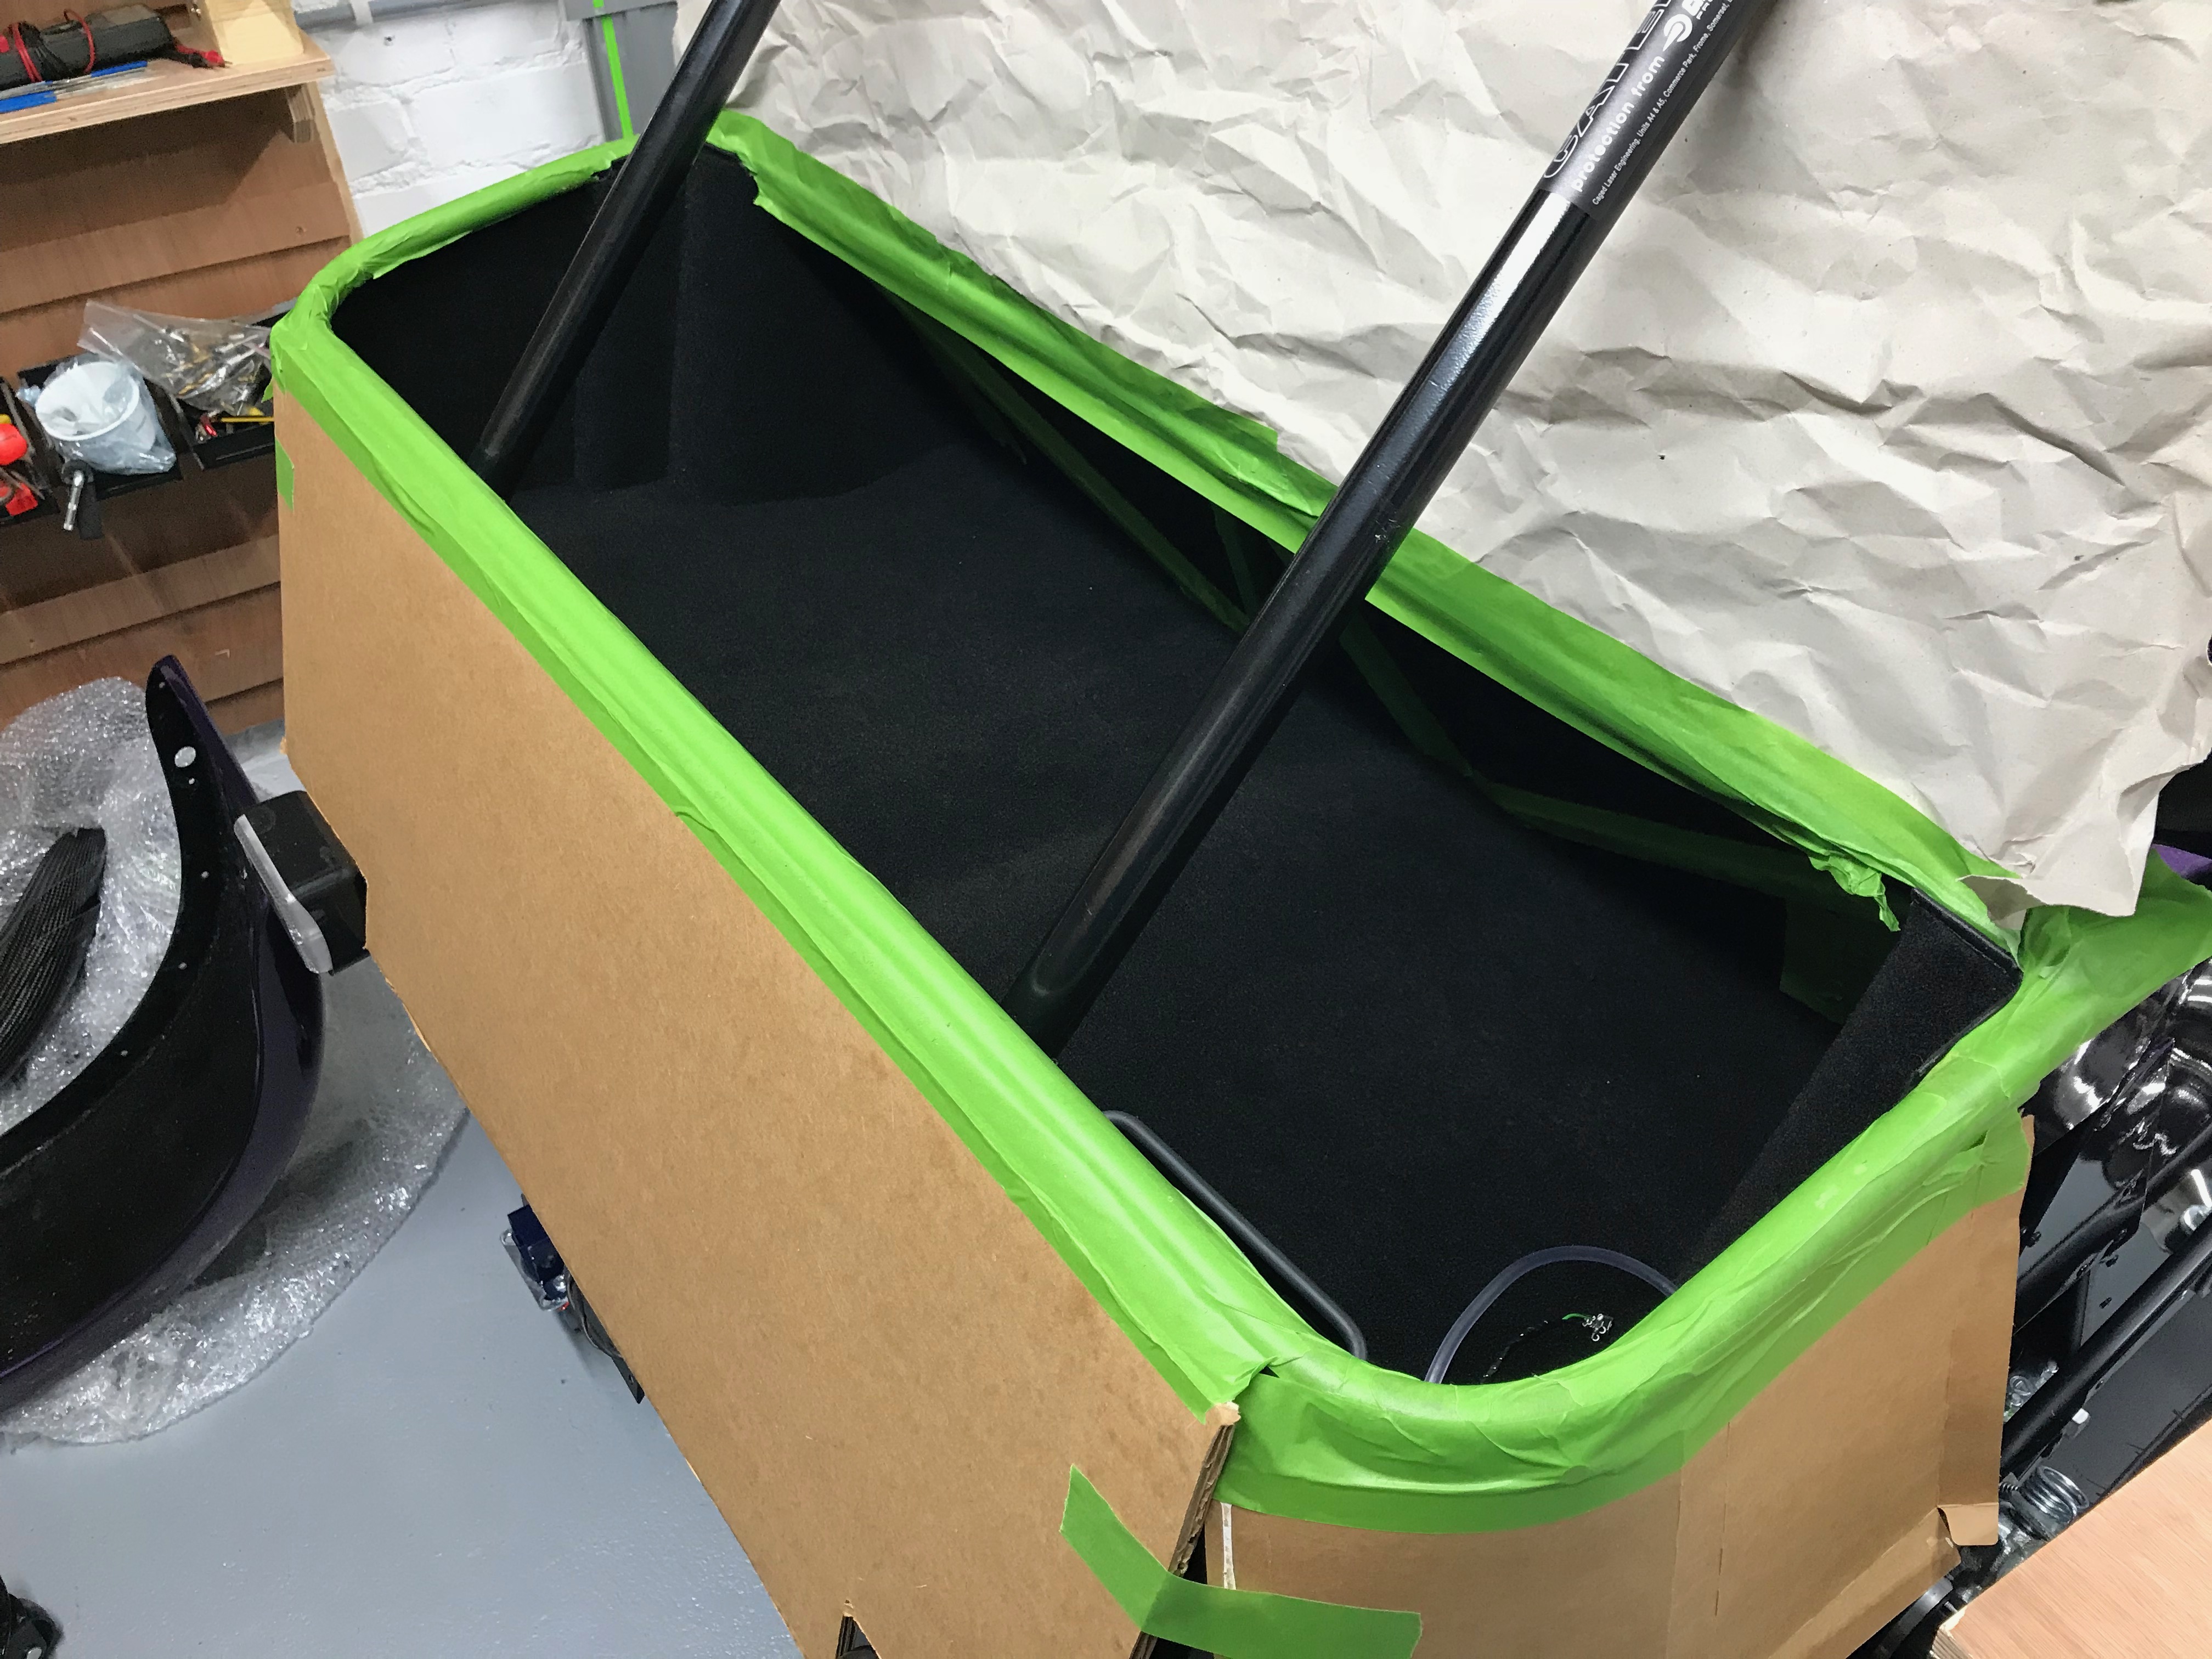
And seeing as I’d be spraying in and around the boot I decided to apply masking tape to anything that didn’t move…
Fuel Filler Pipe Shroud
At this point I also decided that I needed to make sure the fuel filler pipe shroud would fit with the carpets installed.
The fuel filler pipe runs from the fuel filler on the right rear of the car, into the boot and down into the fuel tank. A shroud covers the pipe and I guess gives an extra layer of protection so that something rattling around in the boot can’t puncture the fuel pipe and expose fuel fumes to the boot and it’s occupants.
It seemed that it made sense that the fuel shroud fit directly to the aluminium fuel tank honeycomb and that the carpet sit on top of the shroud base flanges.
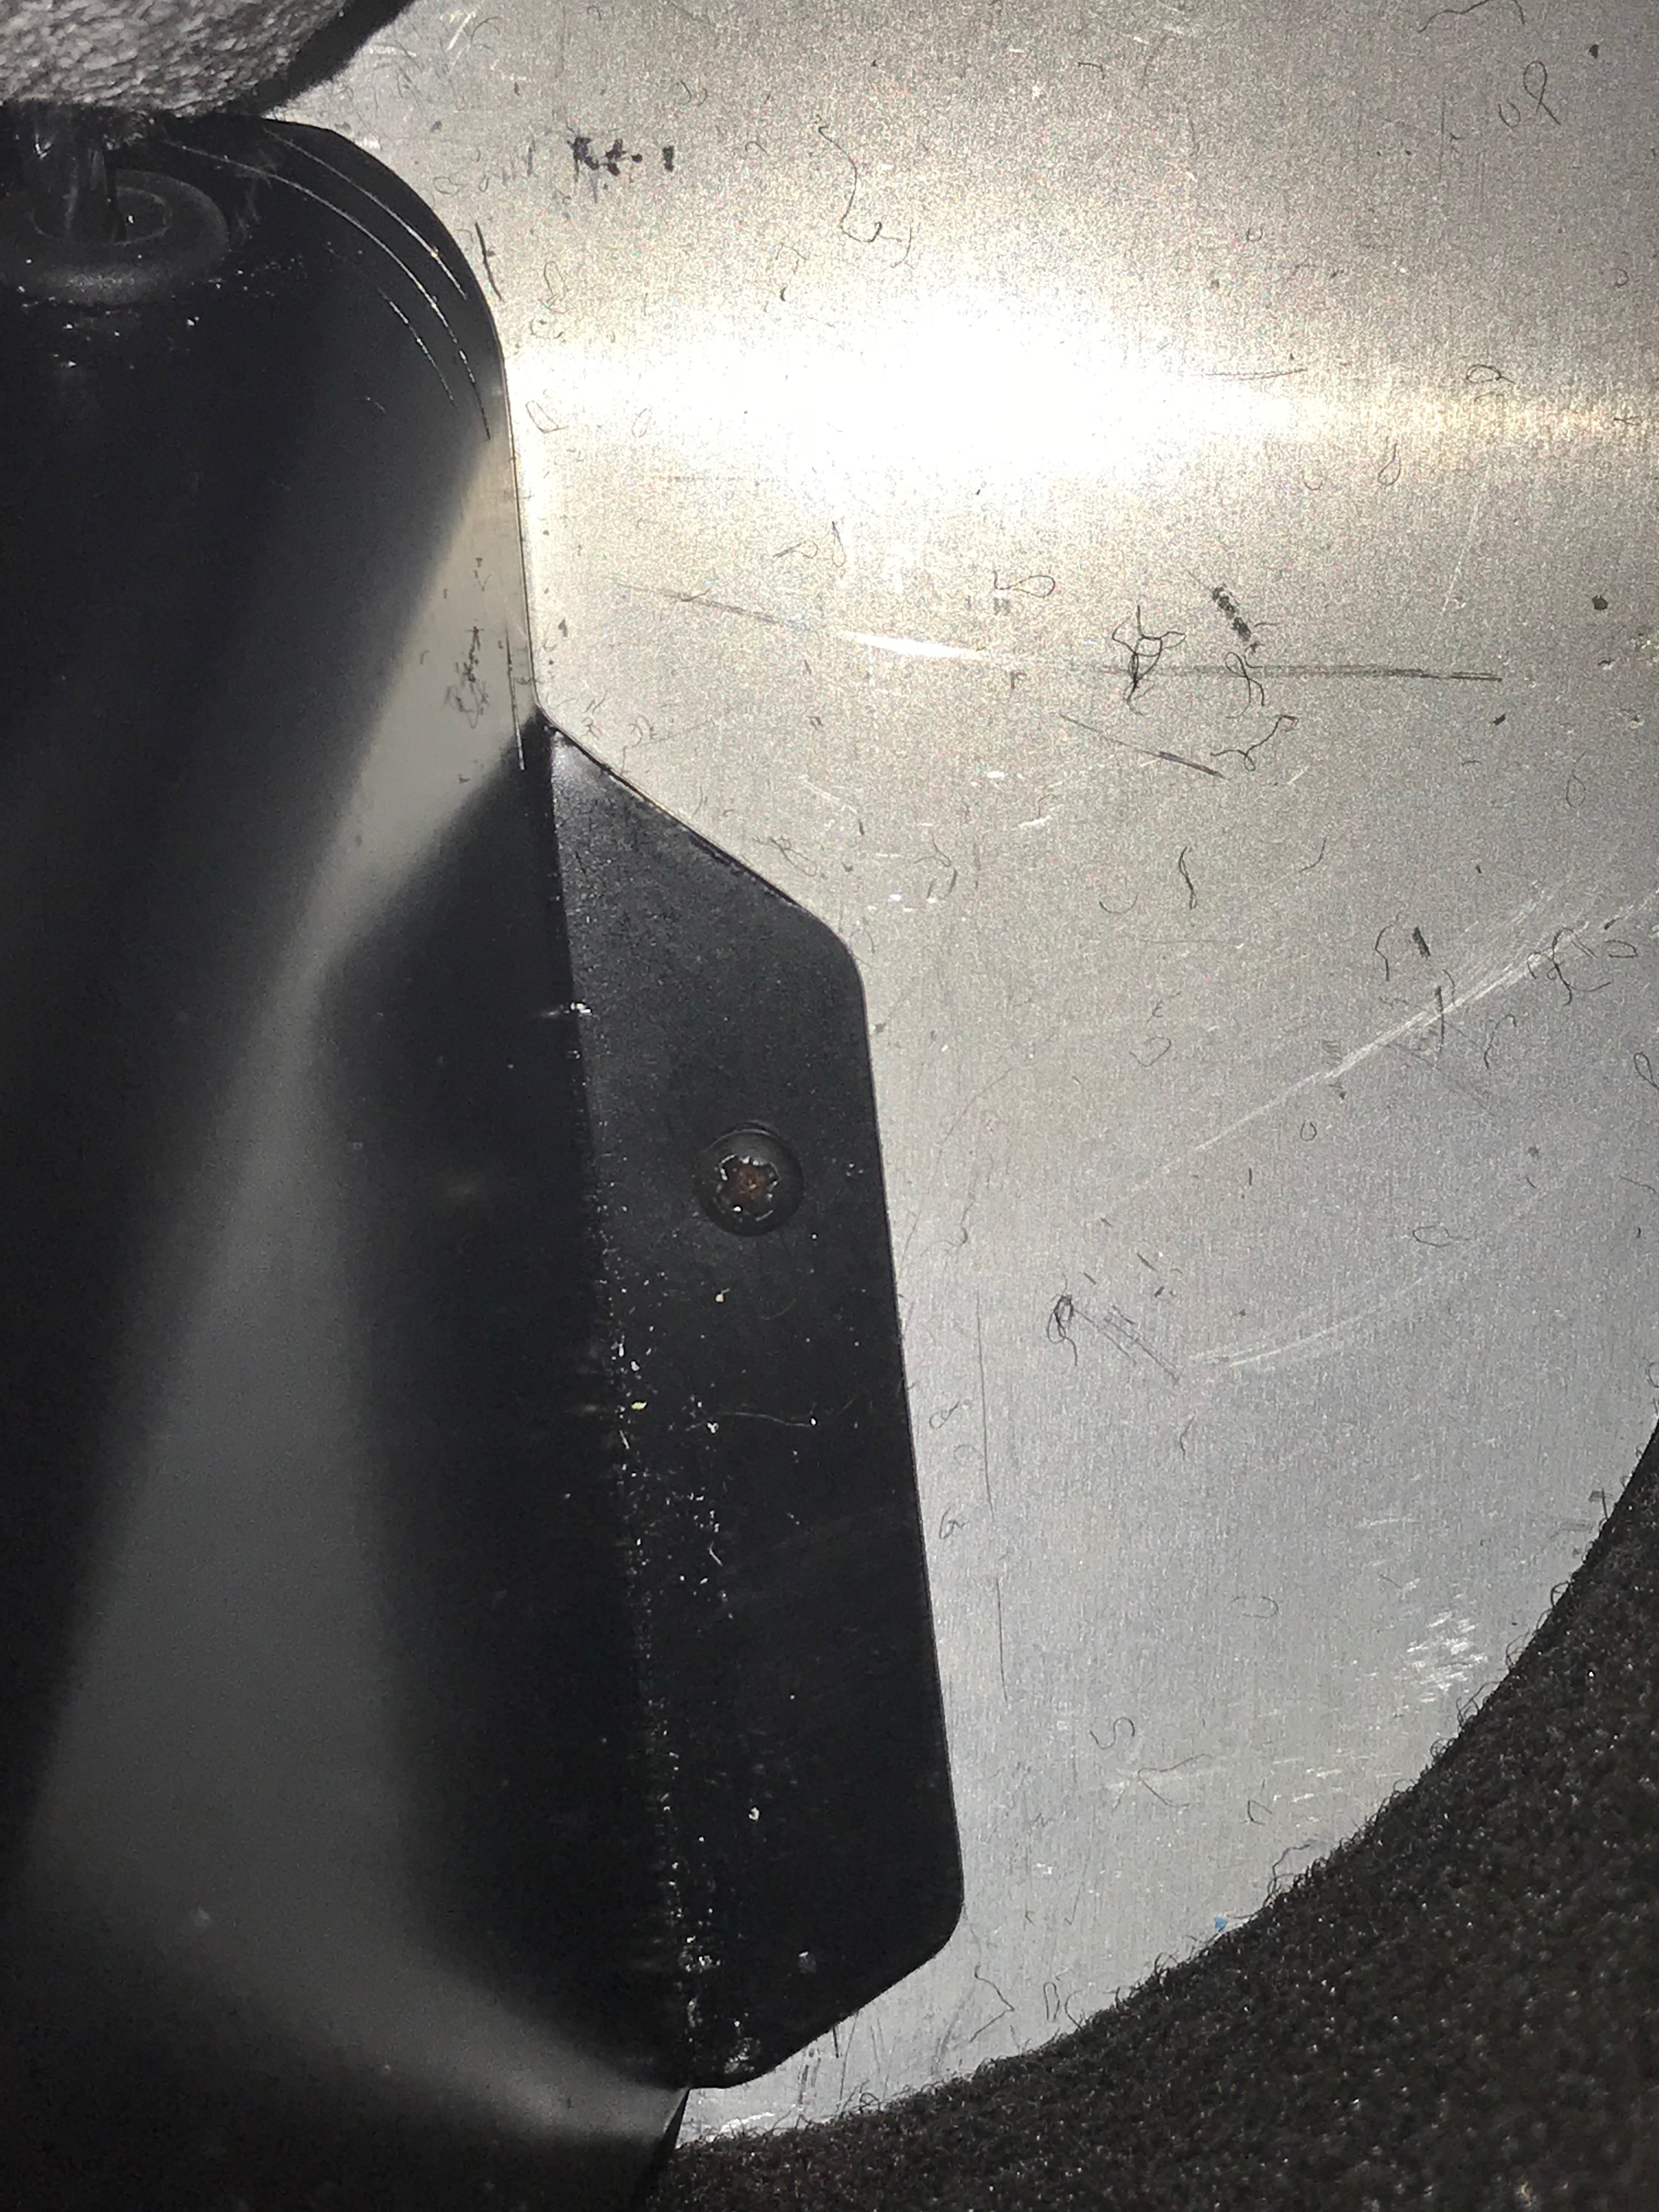
The shroud would fit snuggly in-between the boot floor and the boot top chassis rail, but it was a squeeze. And unmodified, the shroud didn’t sit as far back towards the body skin as I’d like.
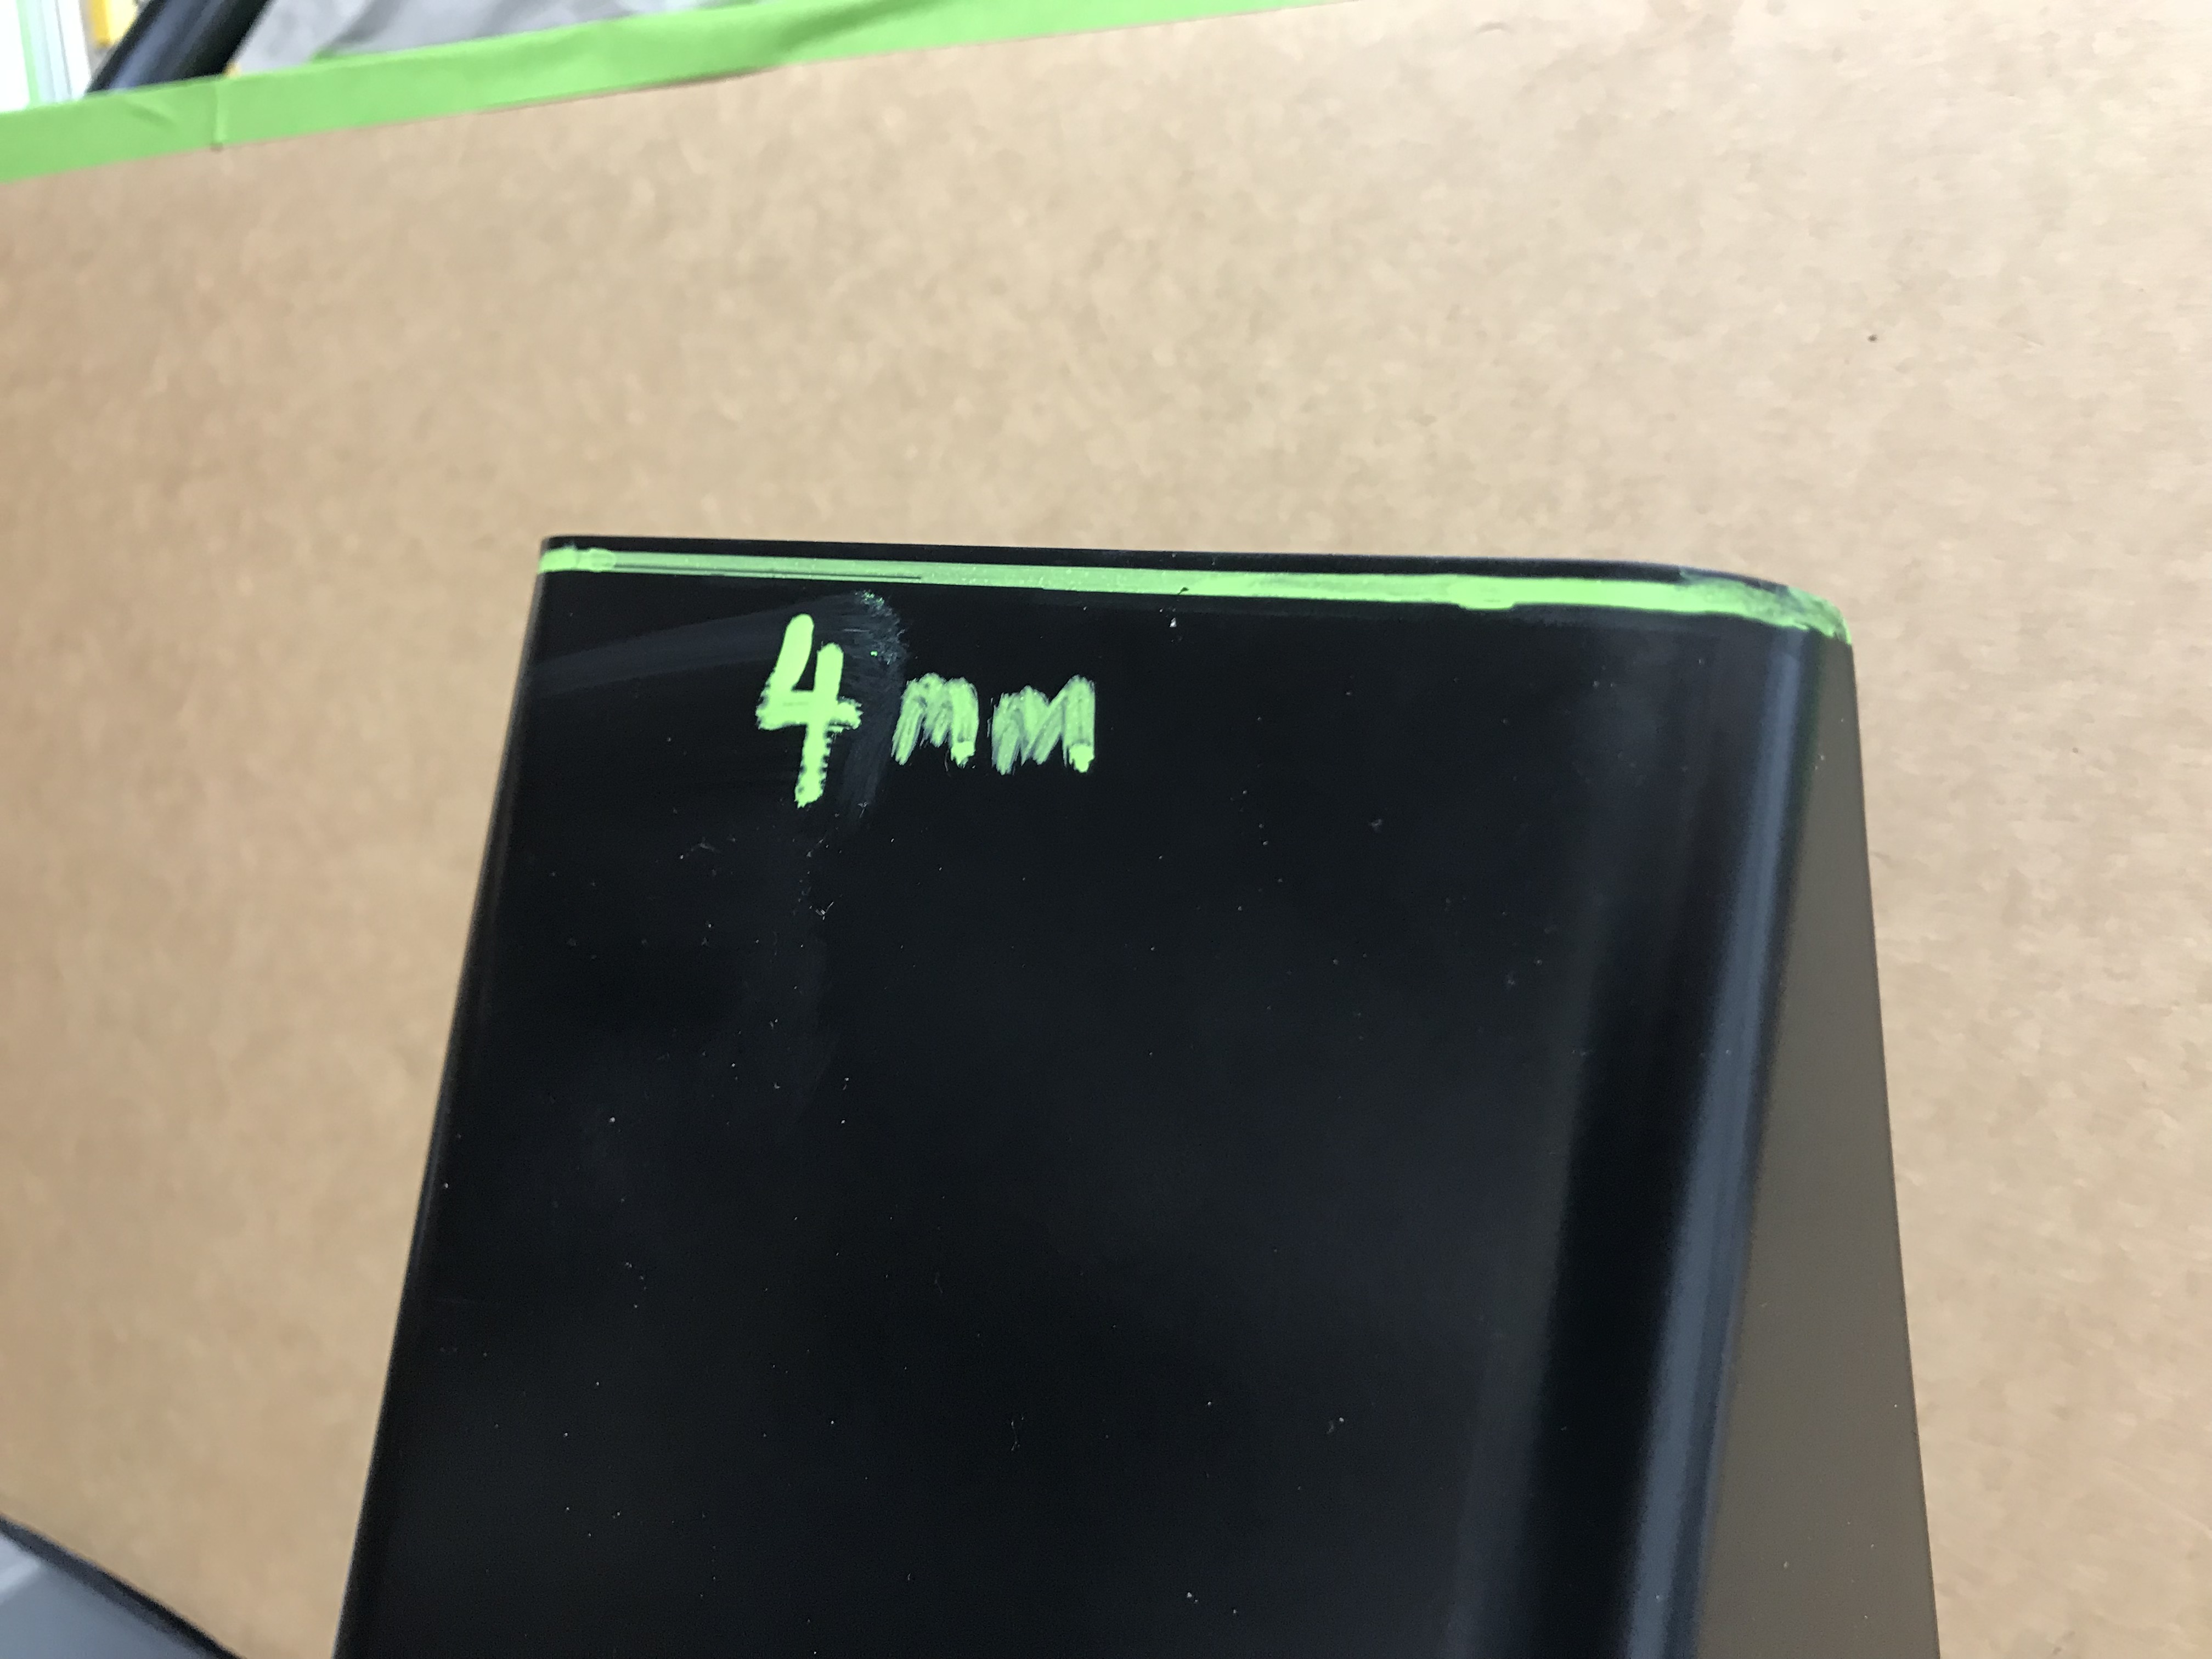
I pondered this for a while to see if I was doing something wrong, but in the end I decided the only way to make it fit properly was to take some of the aluminium off of the top of the shroud. After a few “offering’s up” and some “paint-marker’ing” I decided 4mm needed to come off the top…
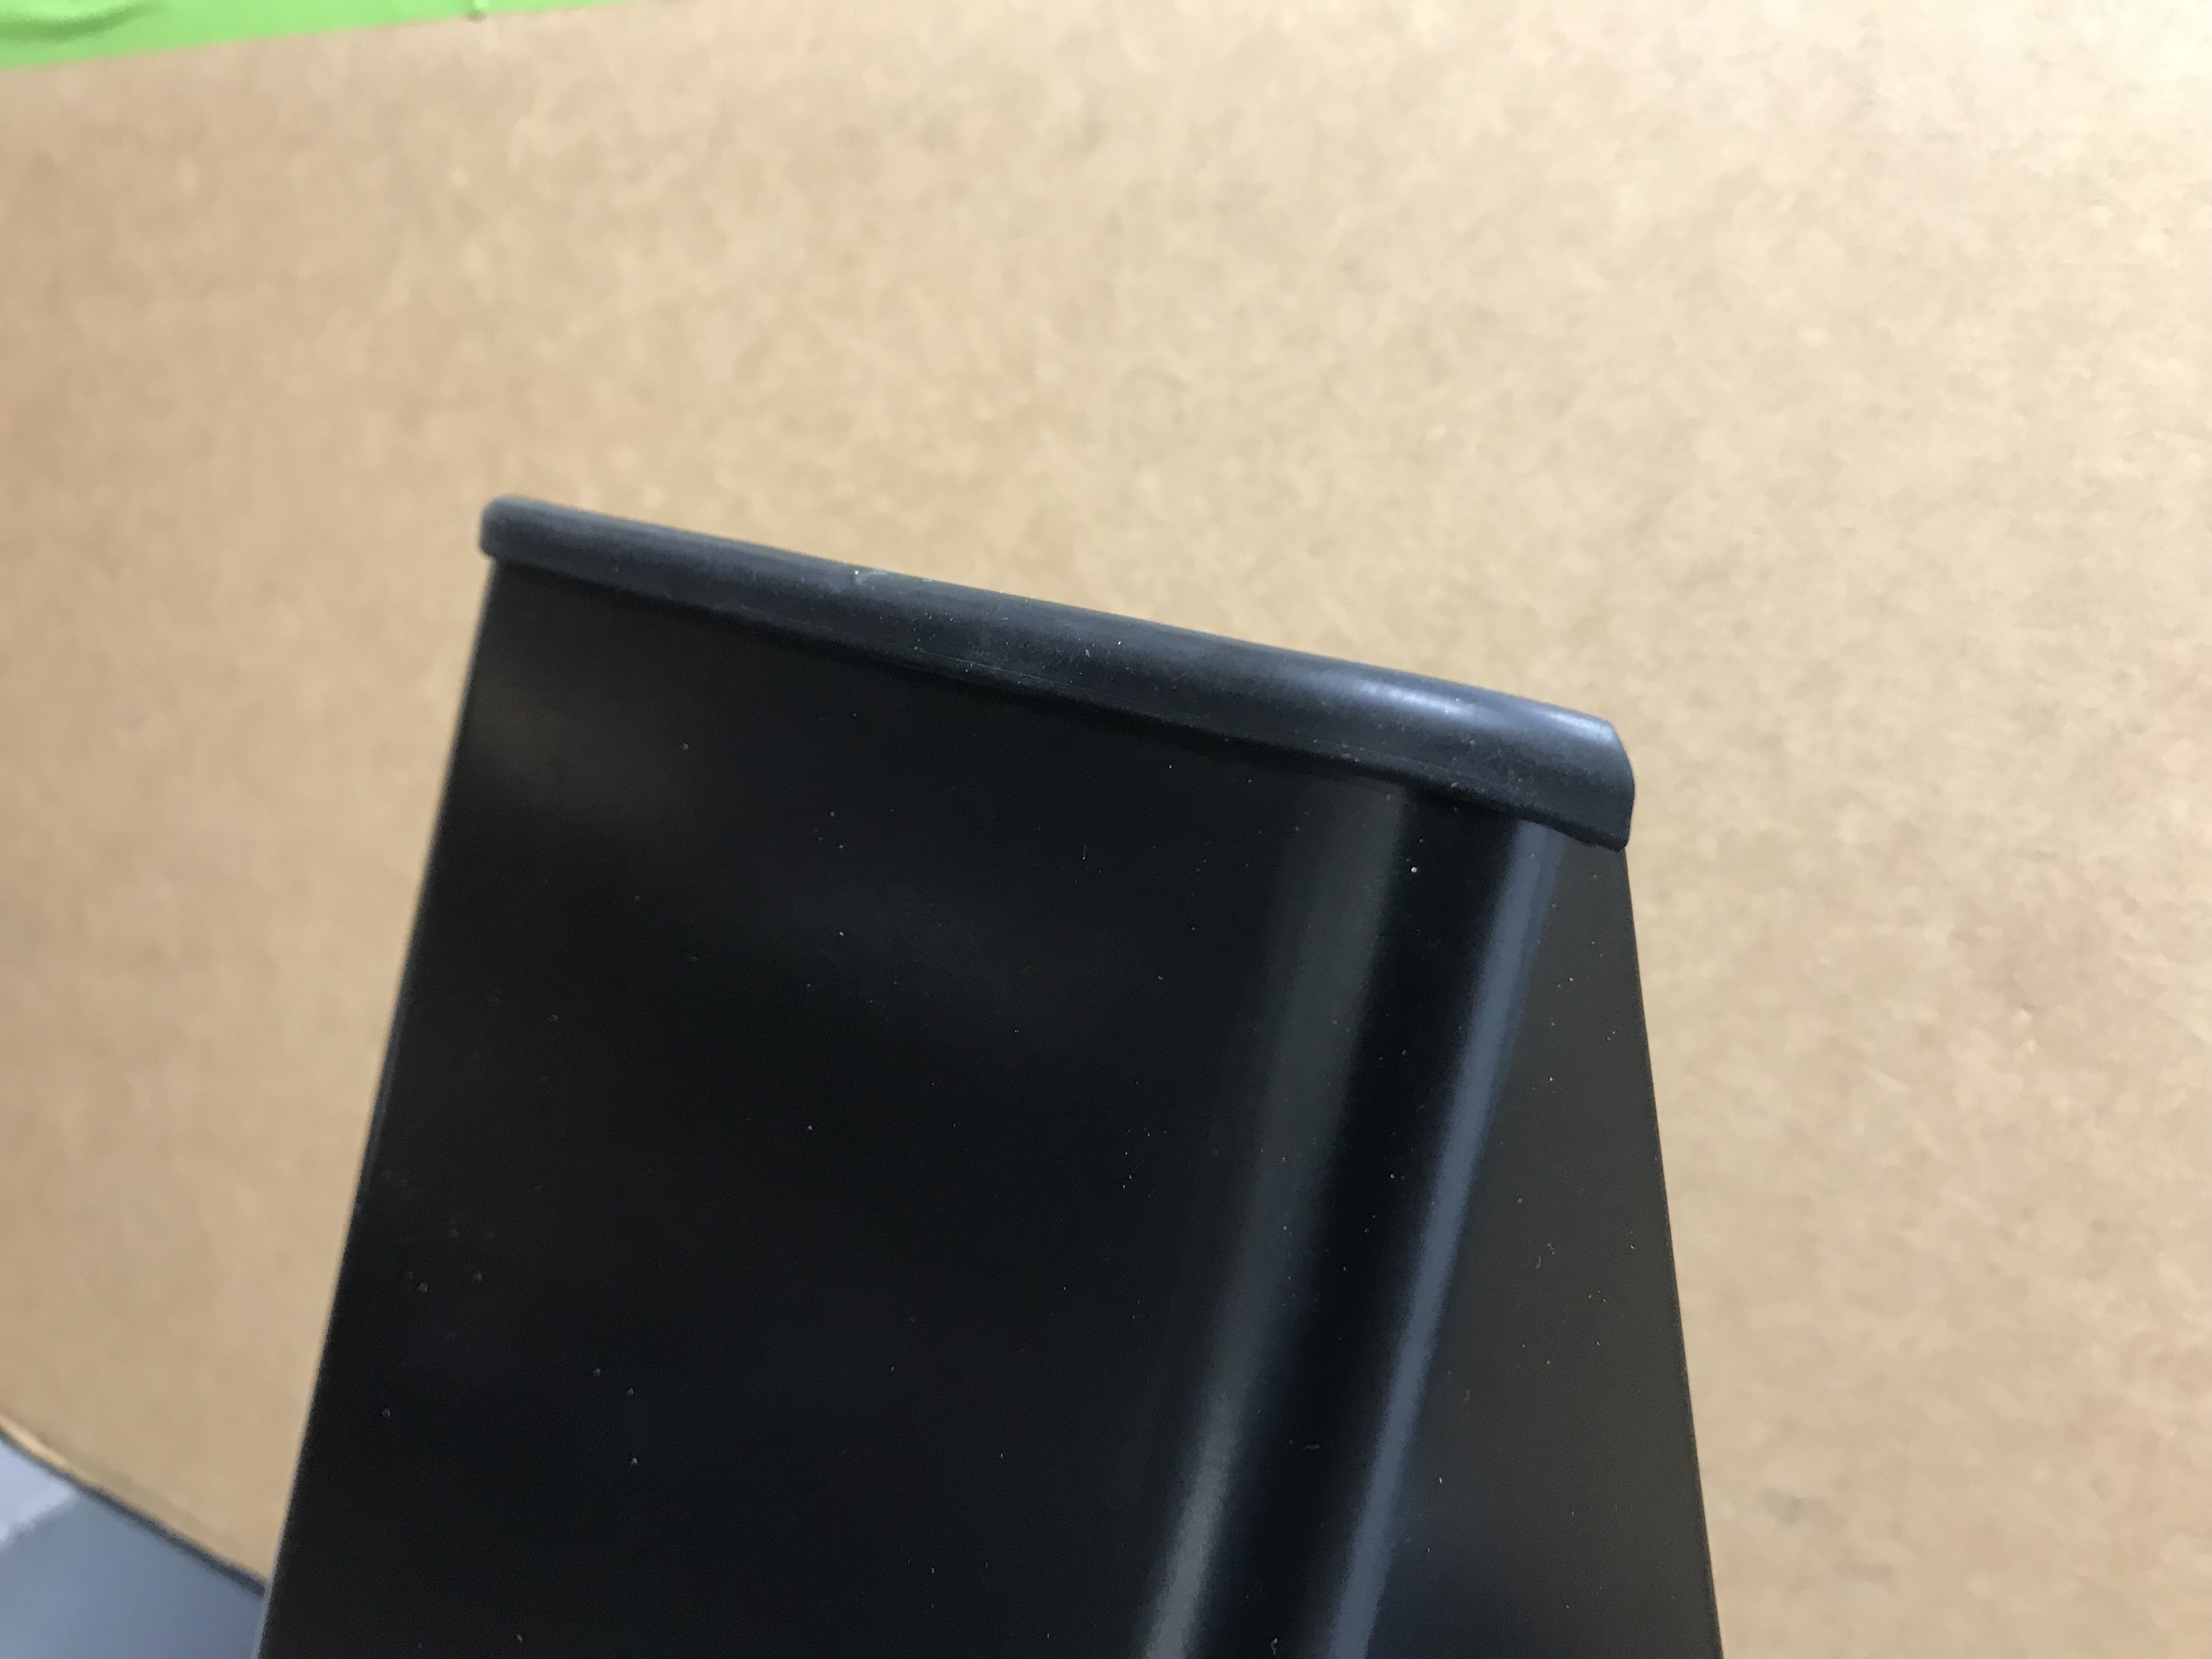
And once it had been cut and the IVA trim had been added, it looked like this…
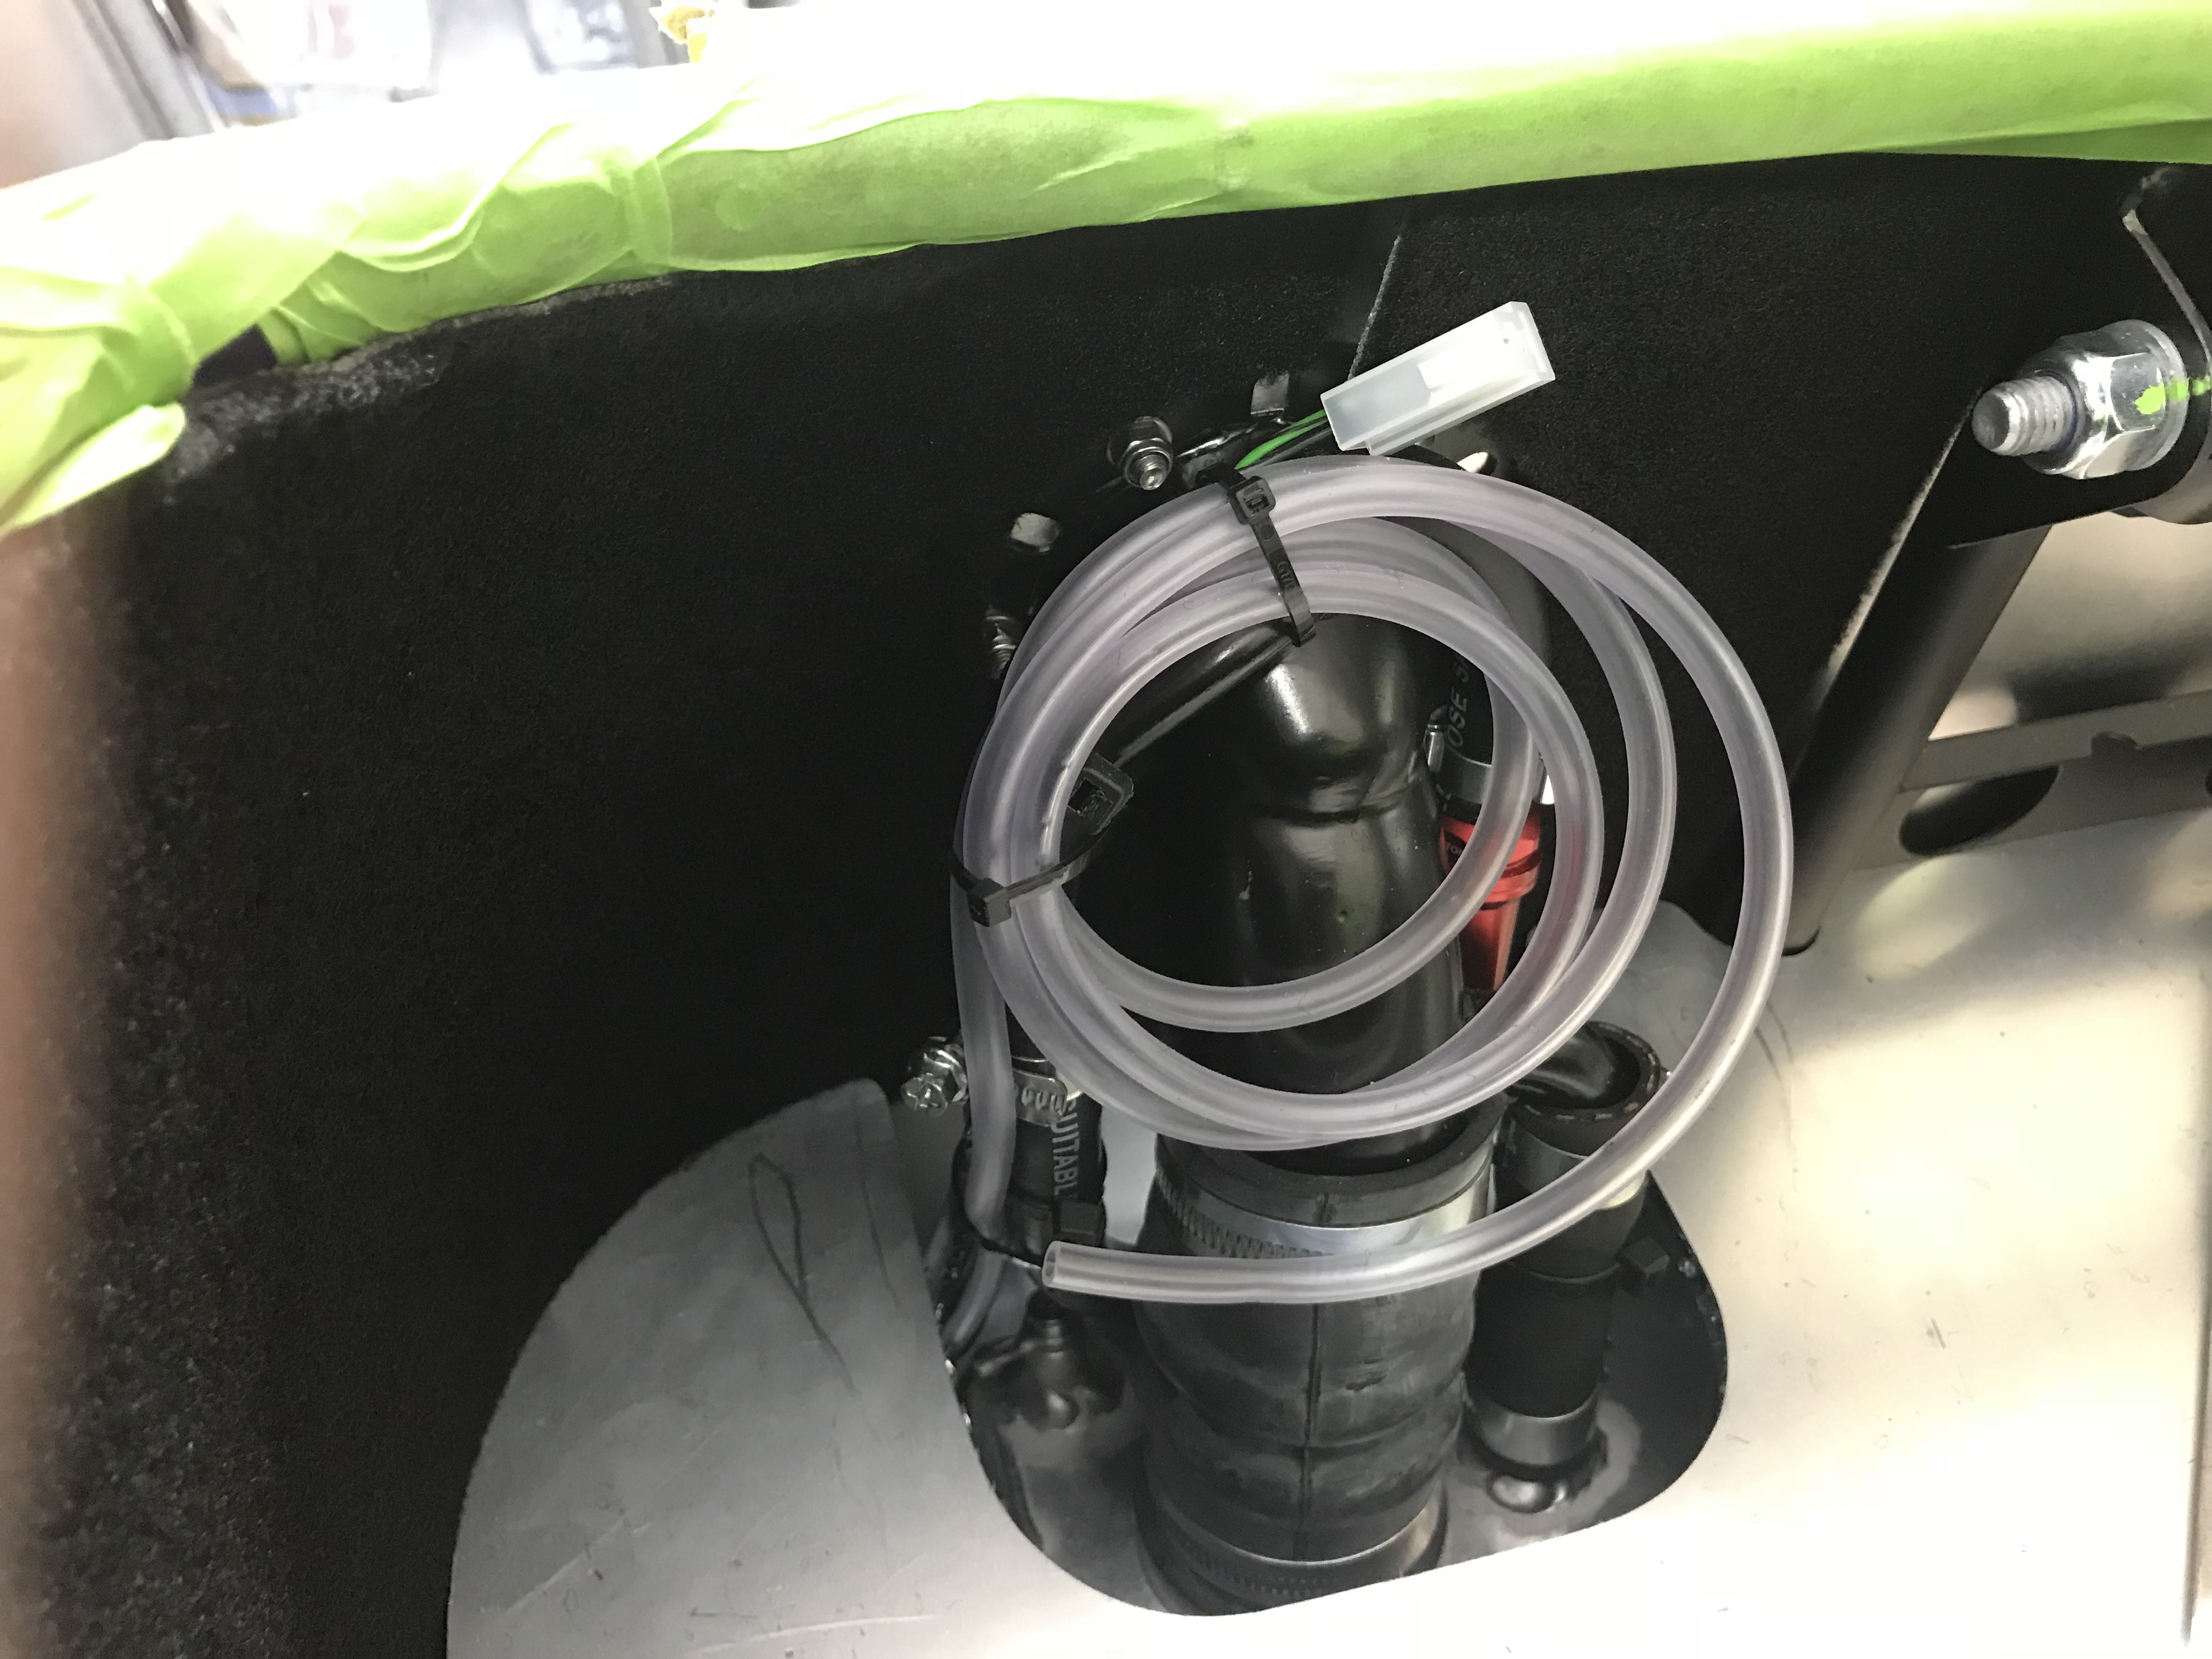
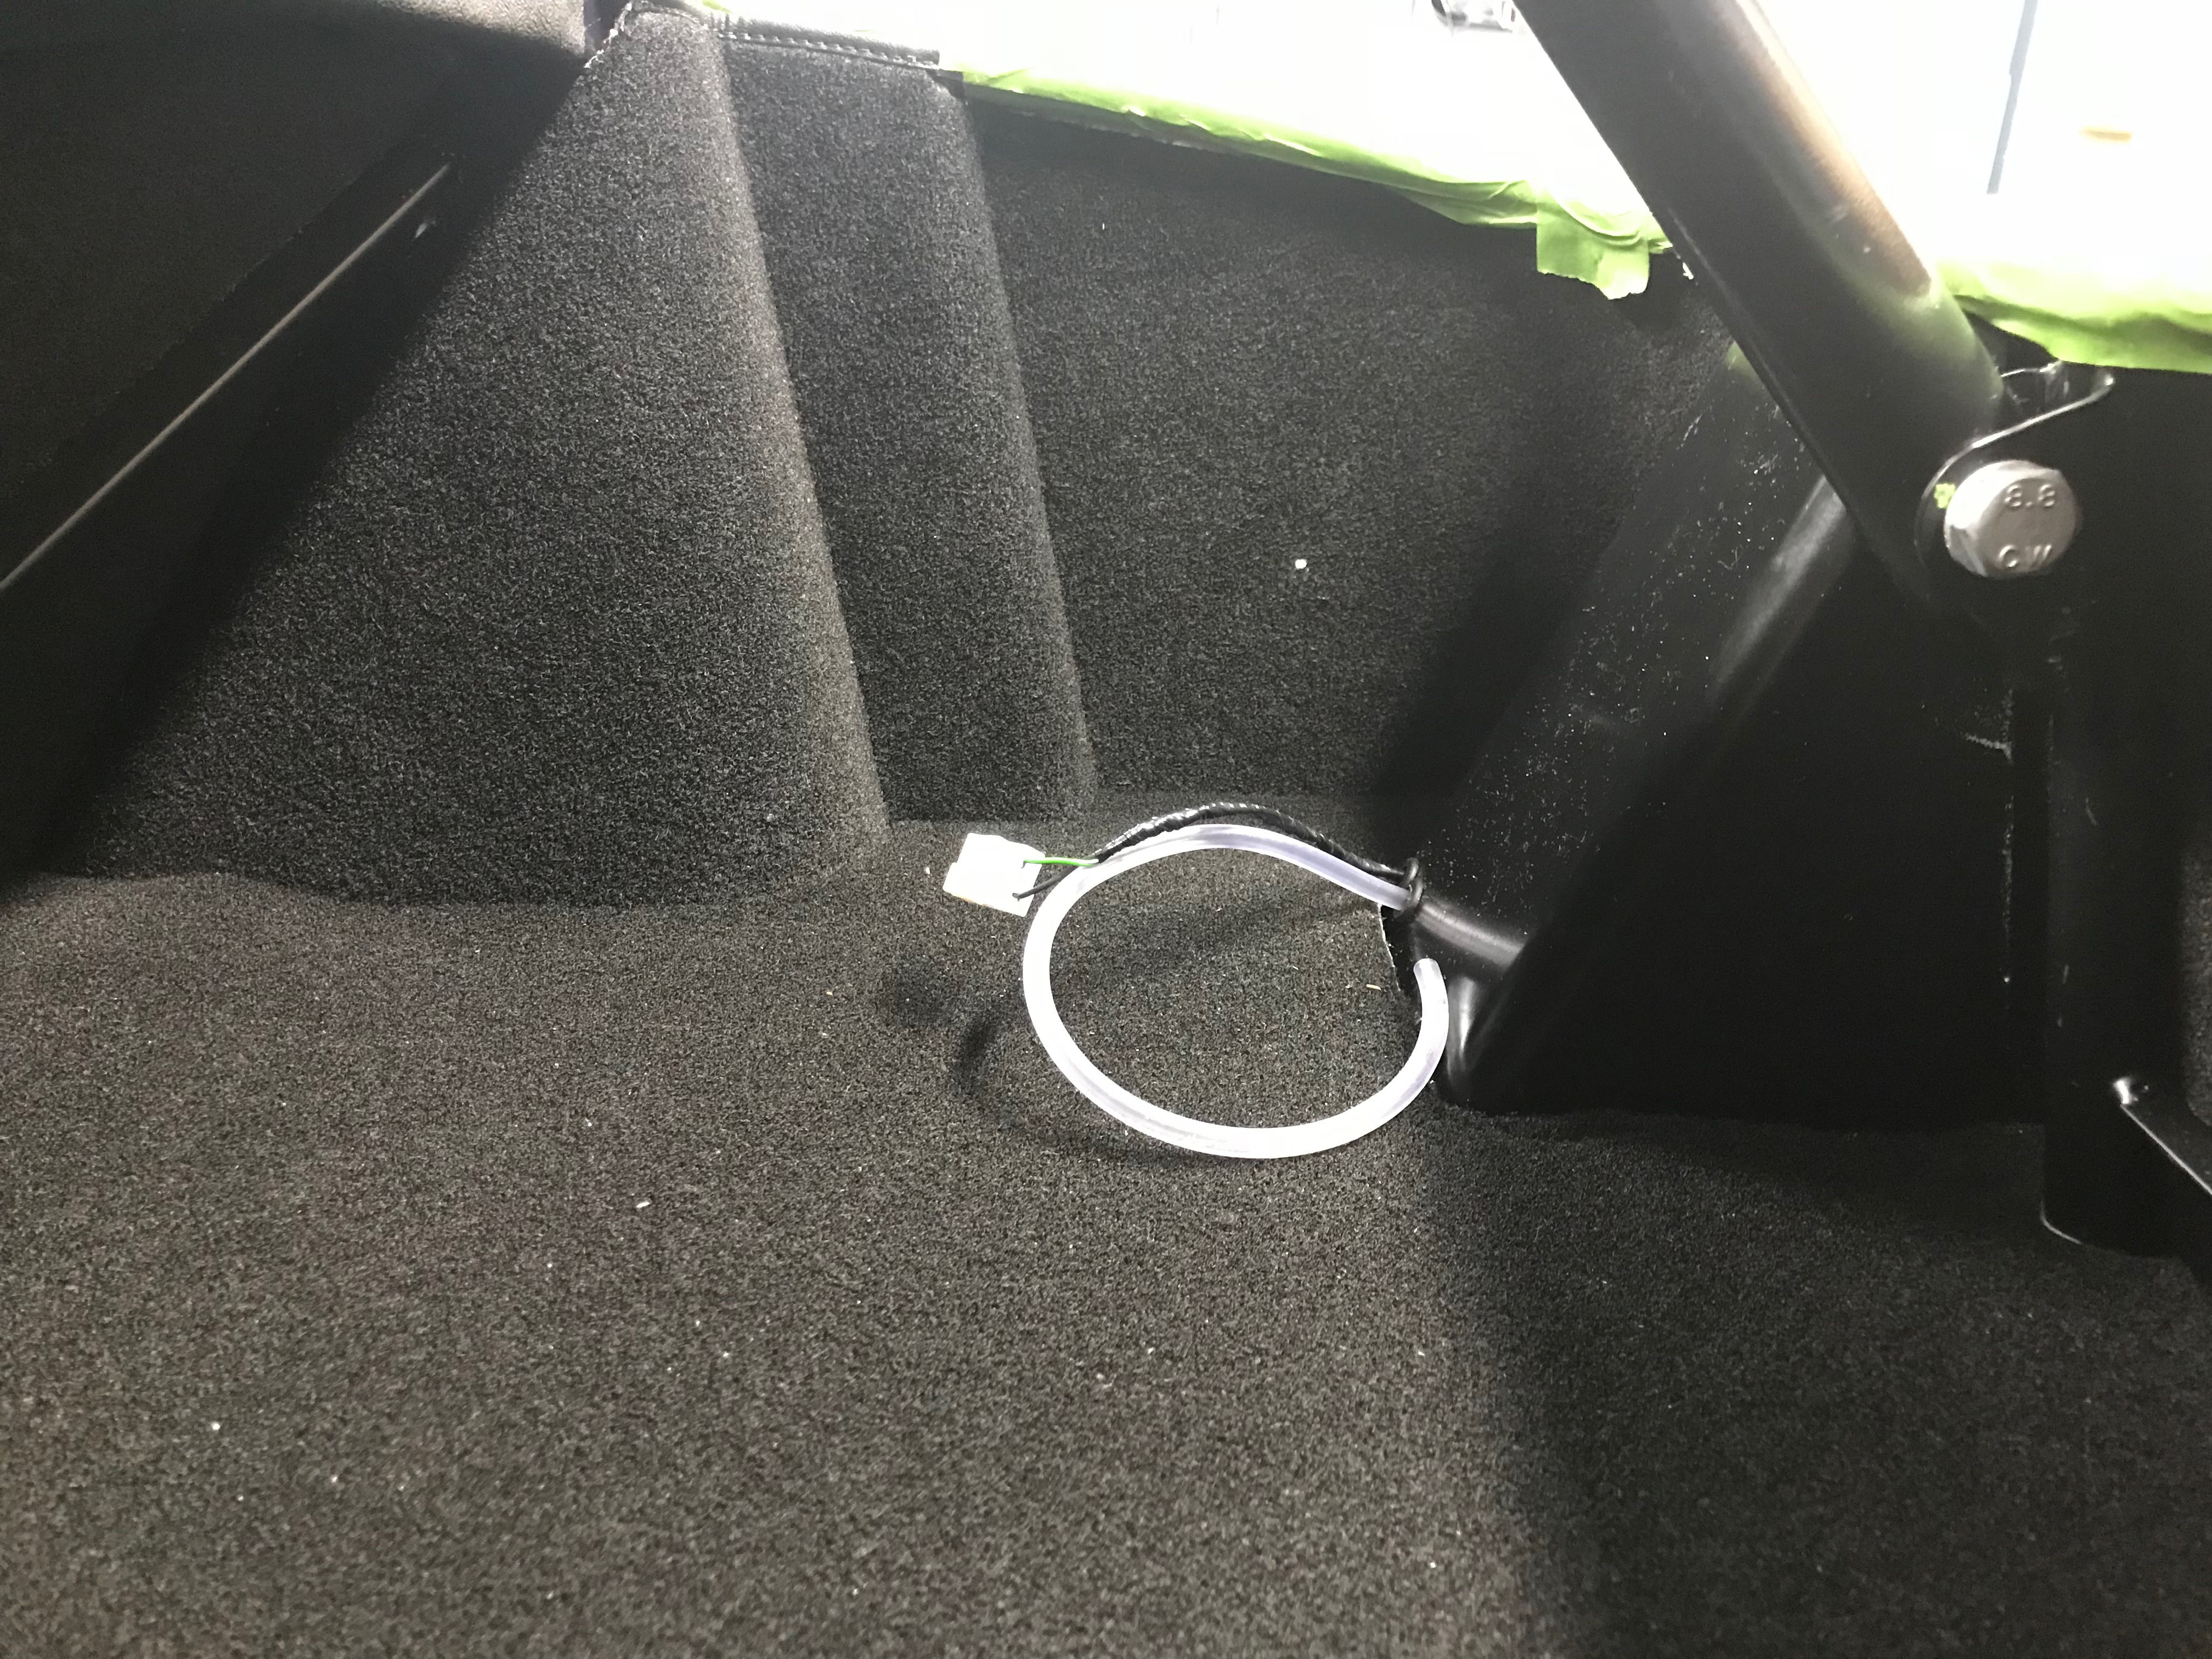
At some stage I’m going to need to get the washer bottle attached to the side of the boot and run the washer fluid pipe and electrical connections through the fuel filler shroud…
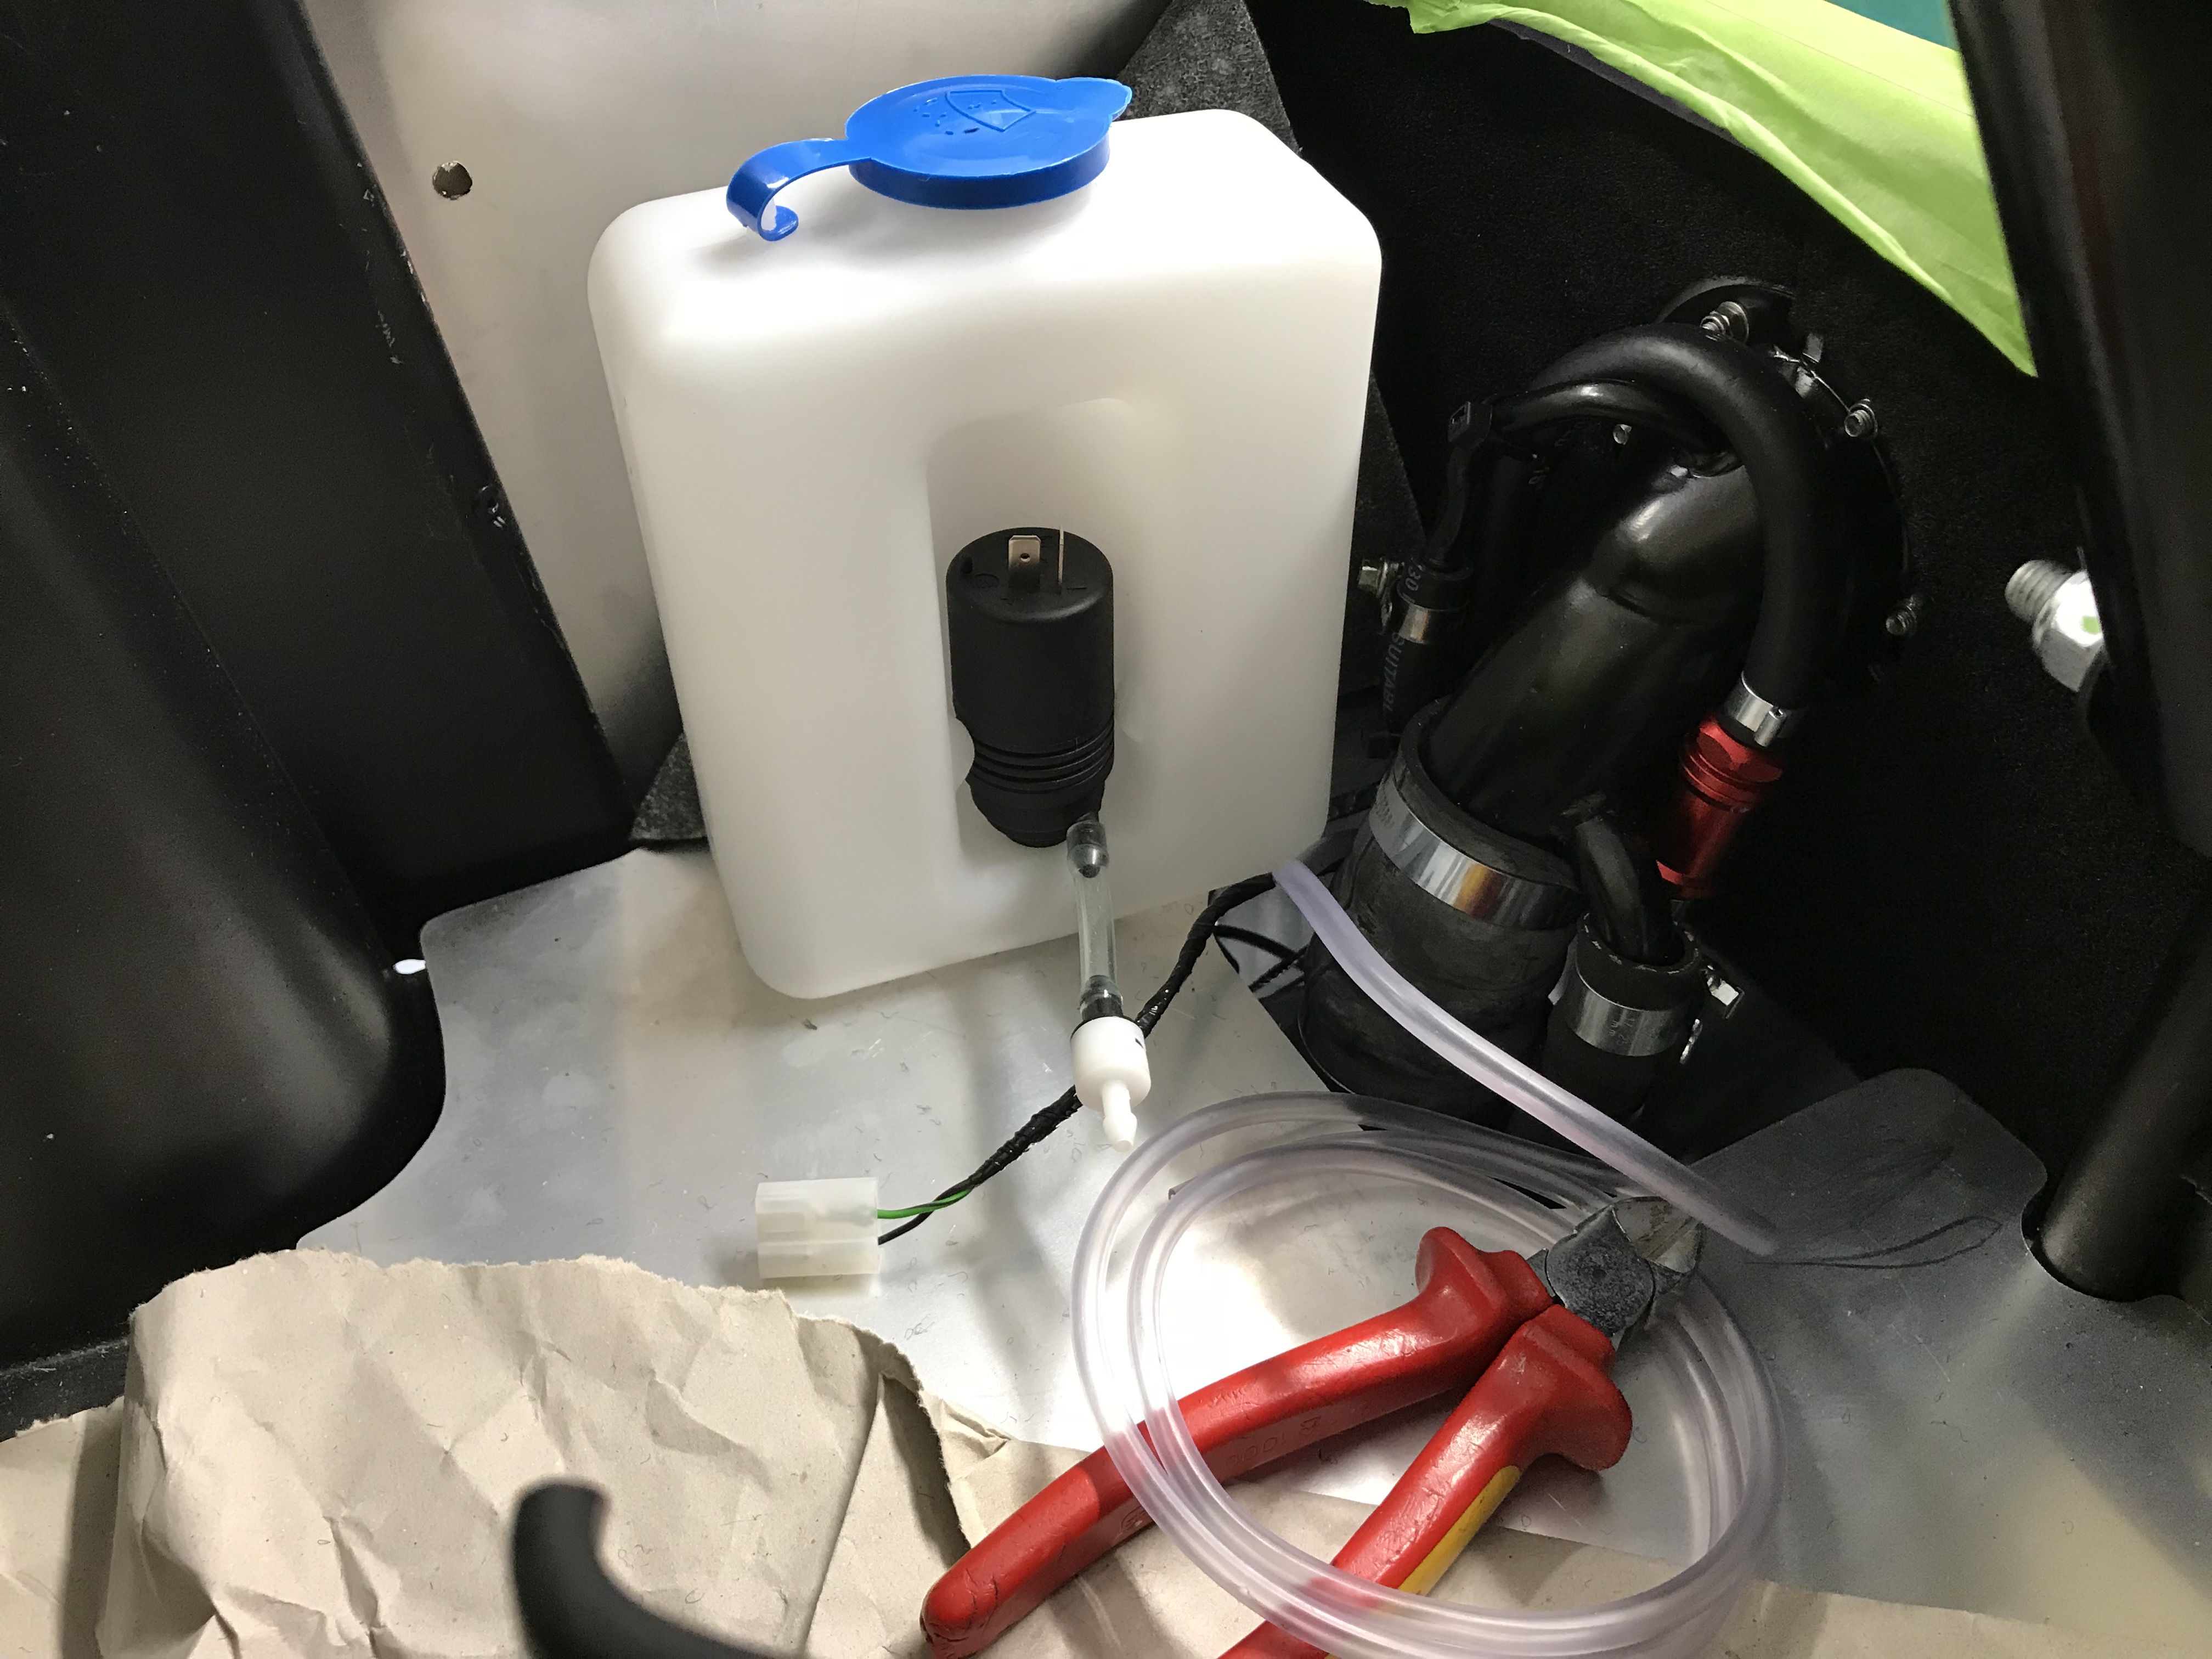
For the moment I just need to worry about getting the pipework and electrical through the fuel shroud, I’ll worry about connecting them to the washer bottle when I’ve figured out how to attach the washer bottle to the bodywork side skin and then I’ll know how long to make the pipe/cables.
However, even at this stage the washer bottle electrical connection didn’t seem to have enough length left in it to get to approximately where the washer bottle would go. So I cut the cable ties down the side of the petrol tank and re-arranged them to give me more cable to play with…
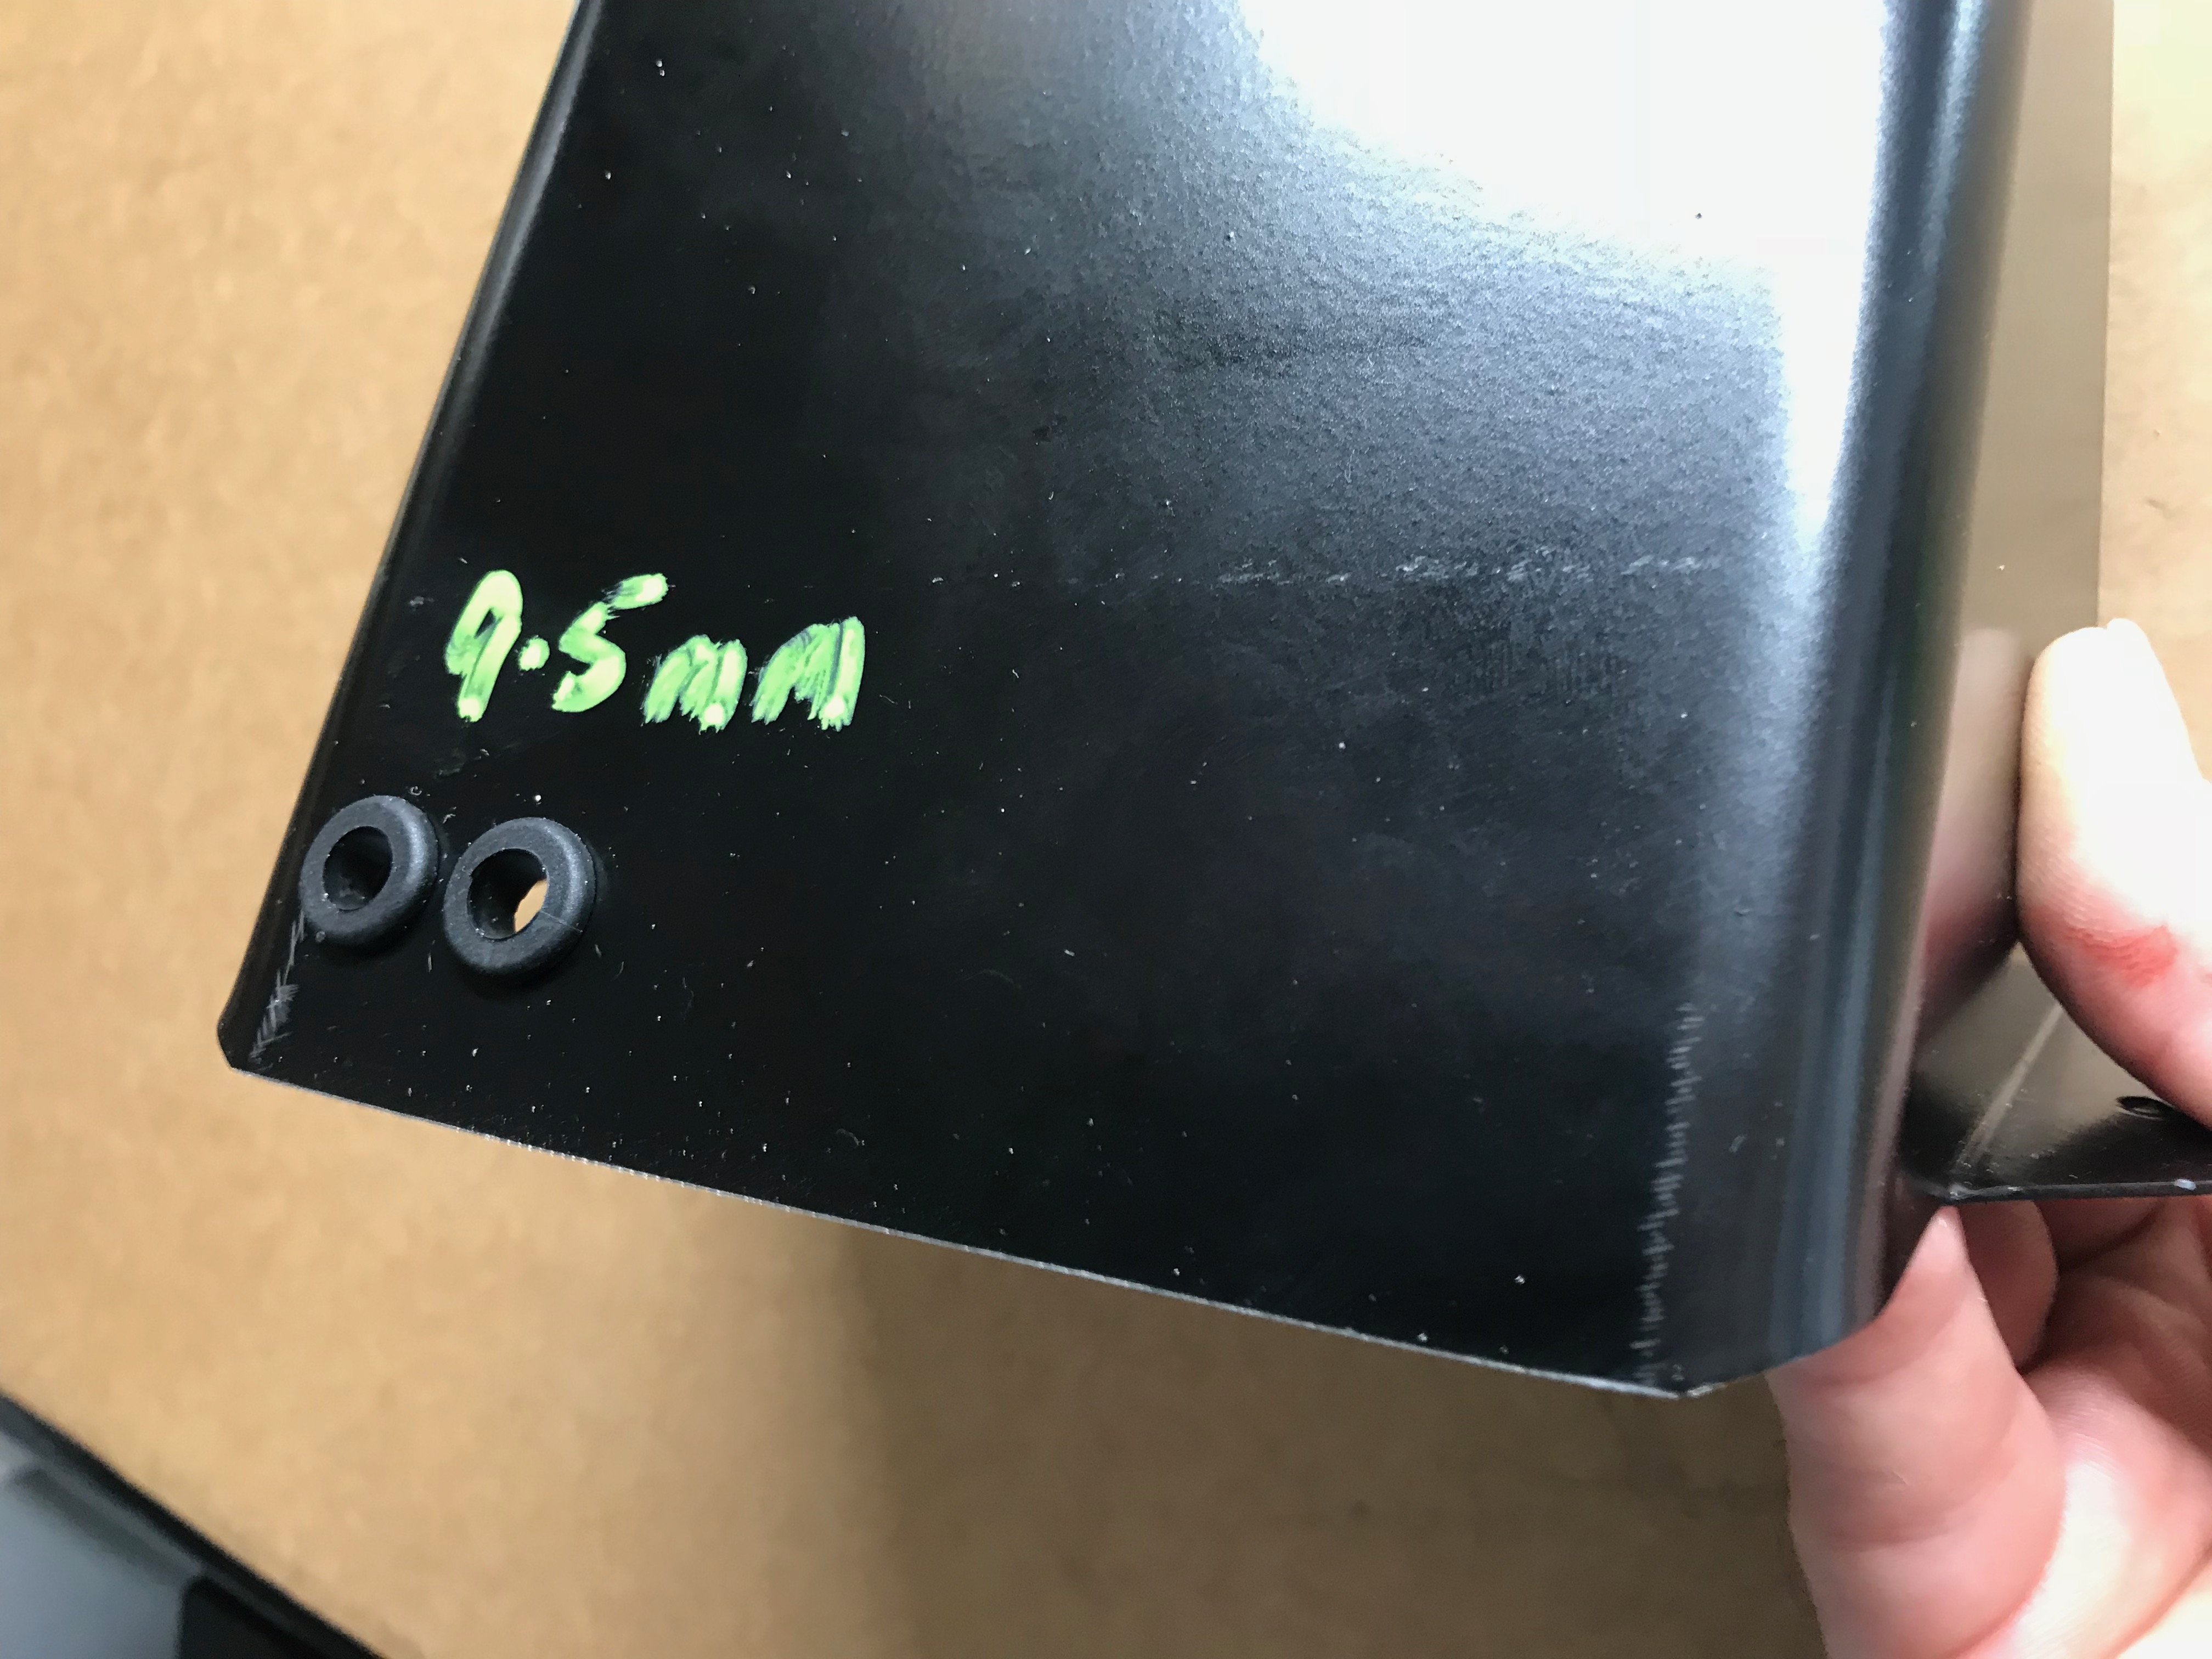
Next up was to drill holes in the fuel filler shroud to take the washer fluid tube and the electrical connection. I used a hole punch to mark out where I wanted to the hole and drilled a 9.5mm hole to fit exactly the grommets I had…
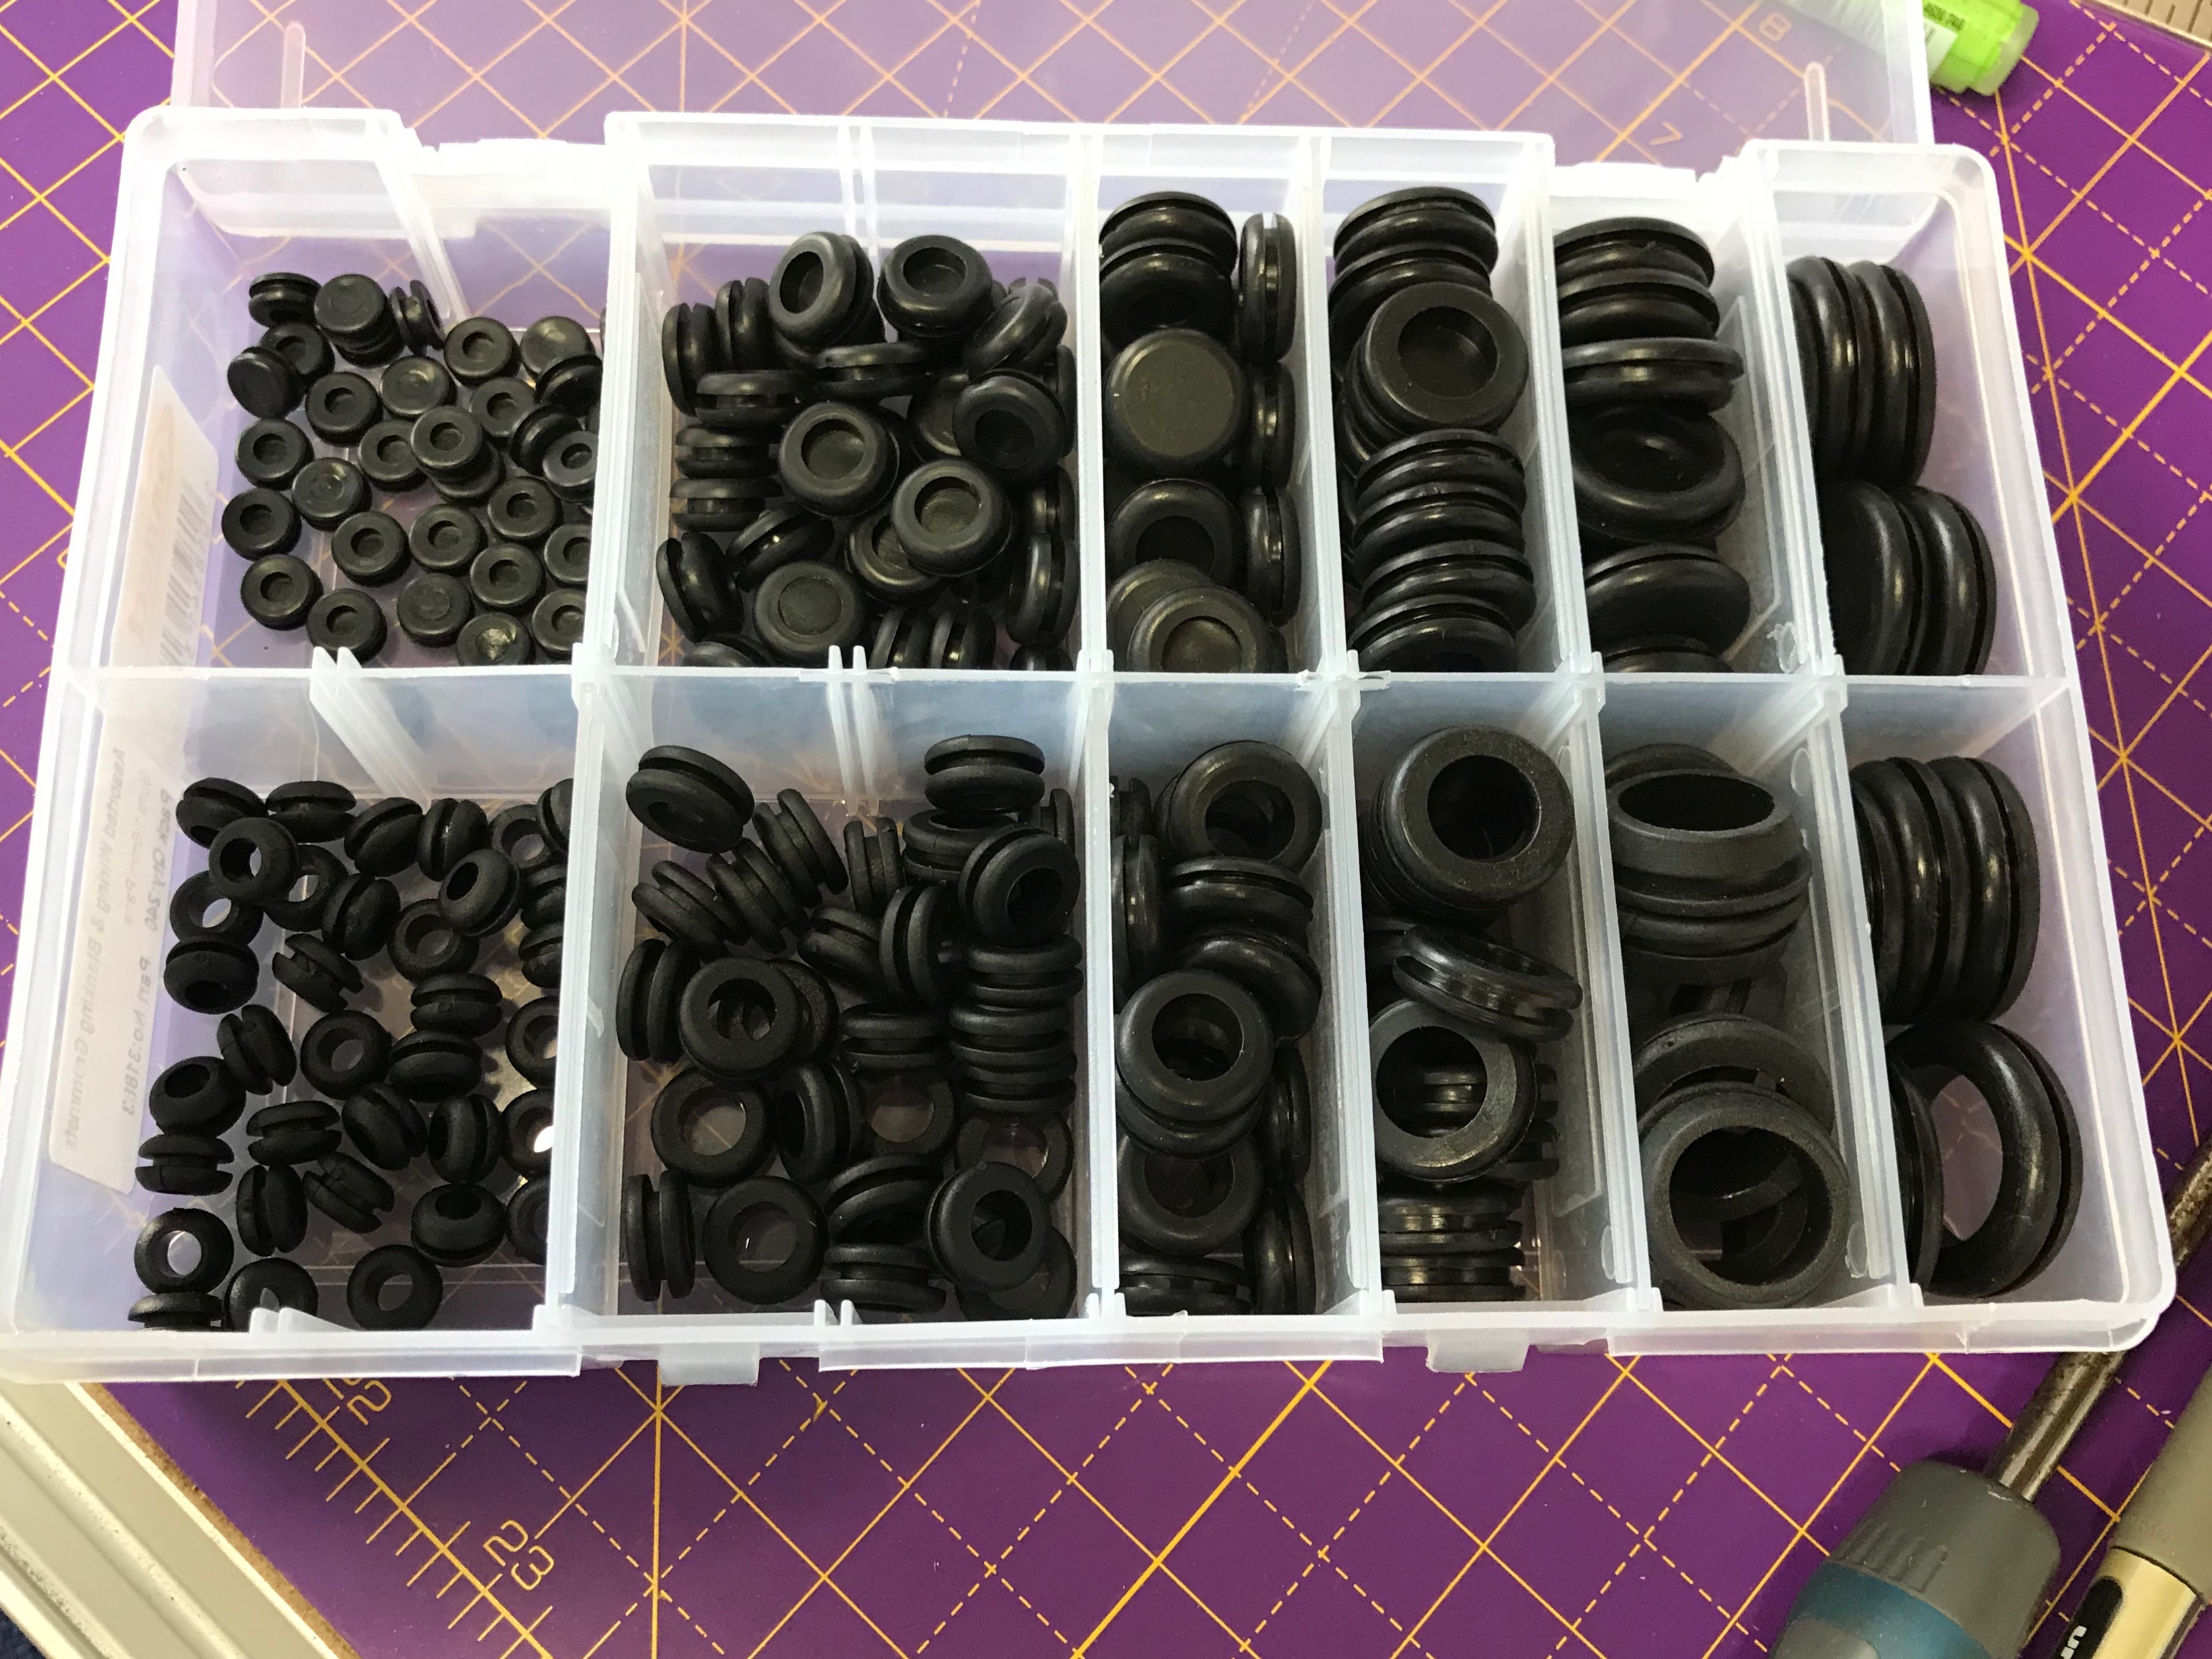
I used 13mm OD / 7.5 ID (which need a 9.5mm hole) grommets but I think eventually I did find some grommets in a bag that should have been used for this job. The washer fluid tubing has an OD of around 6mm.
The grommets looked like this when they were fitted…
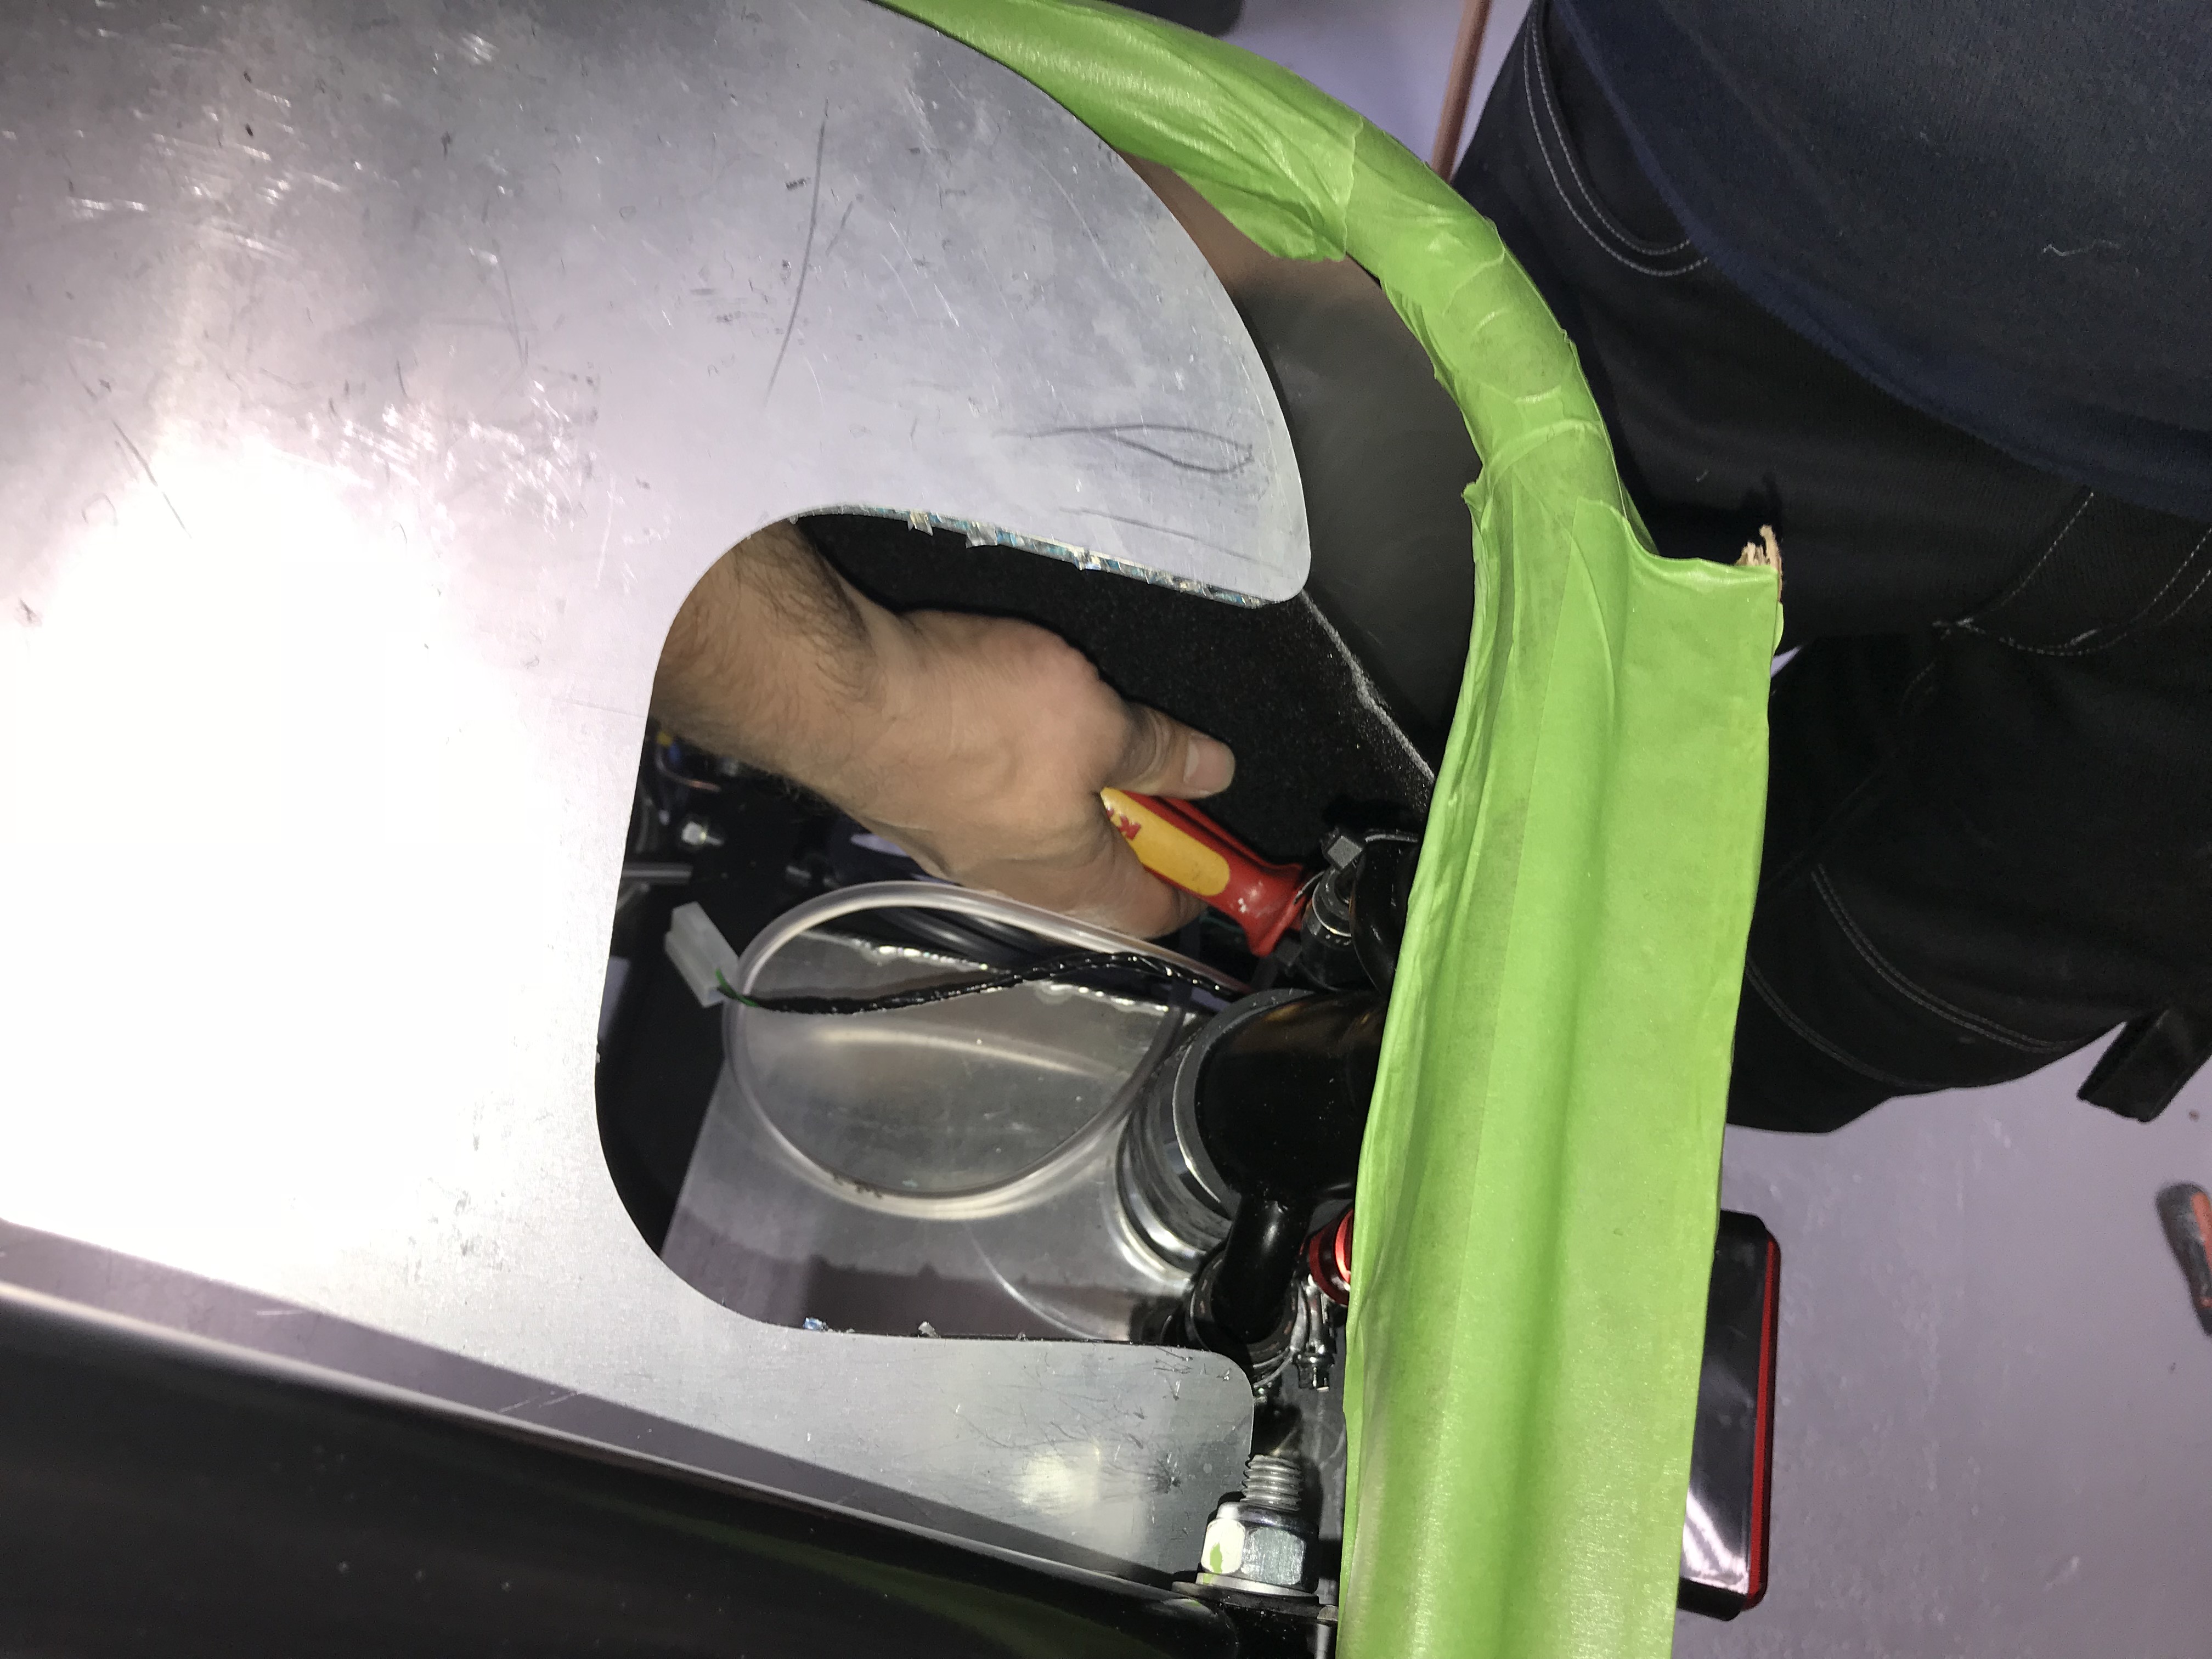
I also needed to get the electrical connections through the grommet…

… which was simple once I’d taken the electrical connections out of their shroud and passed them through the grommet.
I’ll leave fixing the washer bottle to the inside of the boot until all the carpets are in place… and I’ve figured out how to actually fix the washer bottle.
Back to the carpets
With the fuel shroud figured out I could fit the boot carpets.
I was going for a permanent fixing, so applied contact adhesive to both the carpet side and the bodywork side…
I held the carpet in place to cure with plywood and clamps…
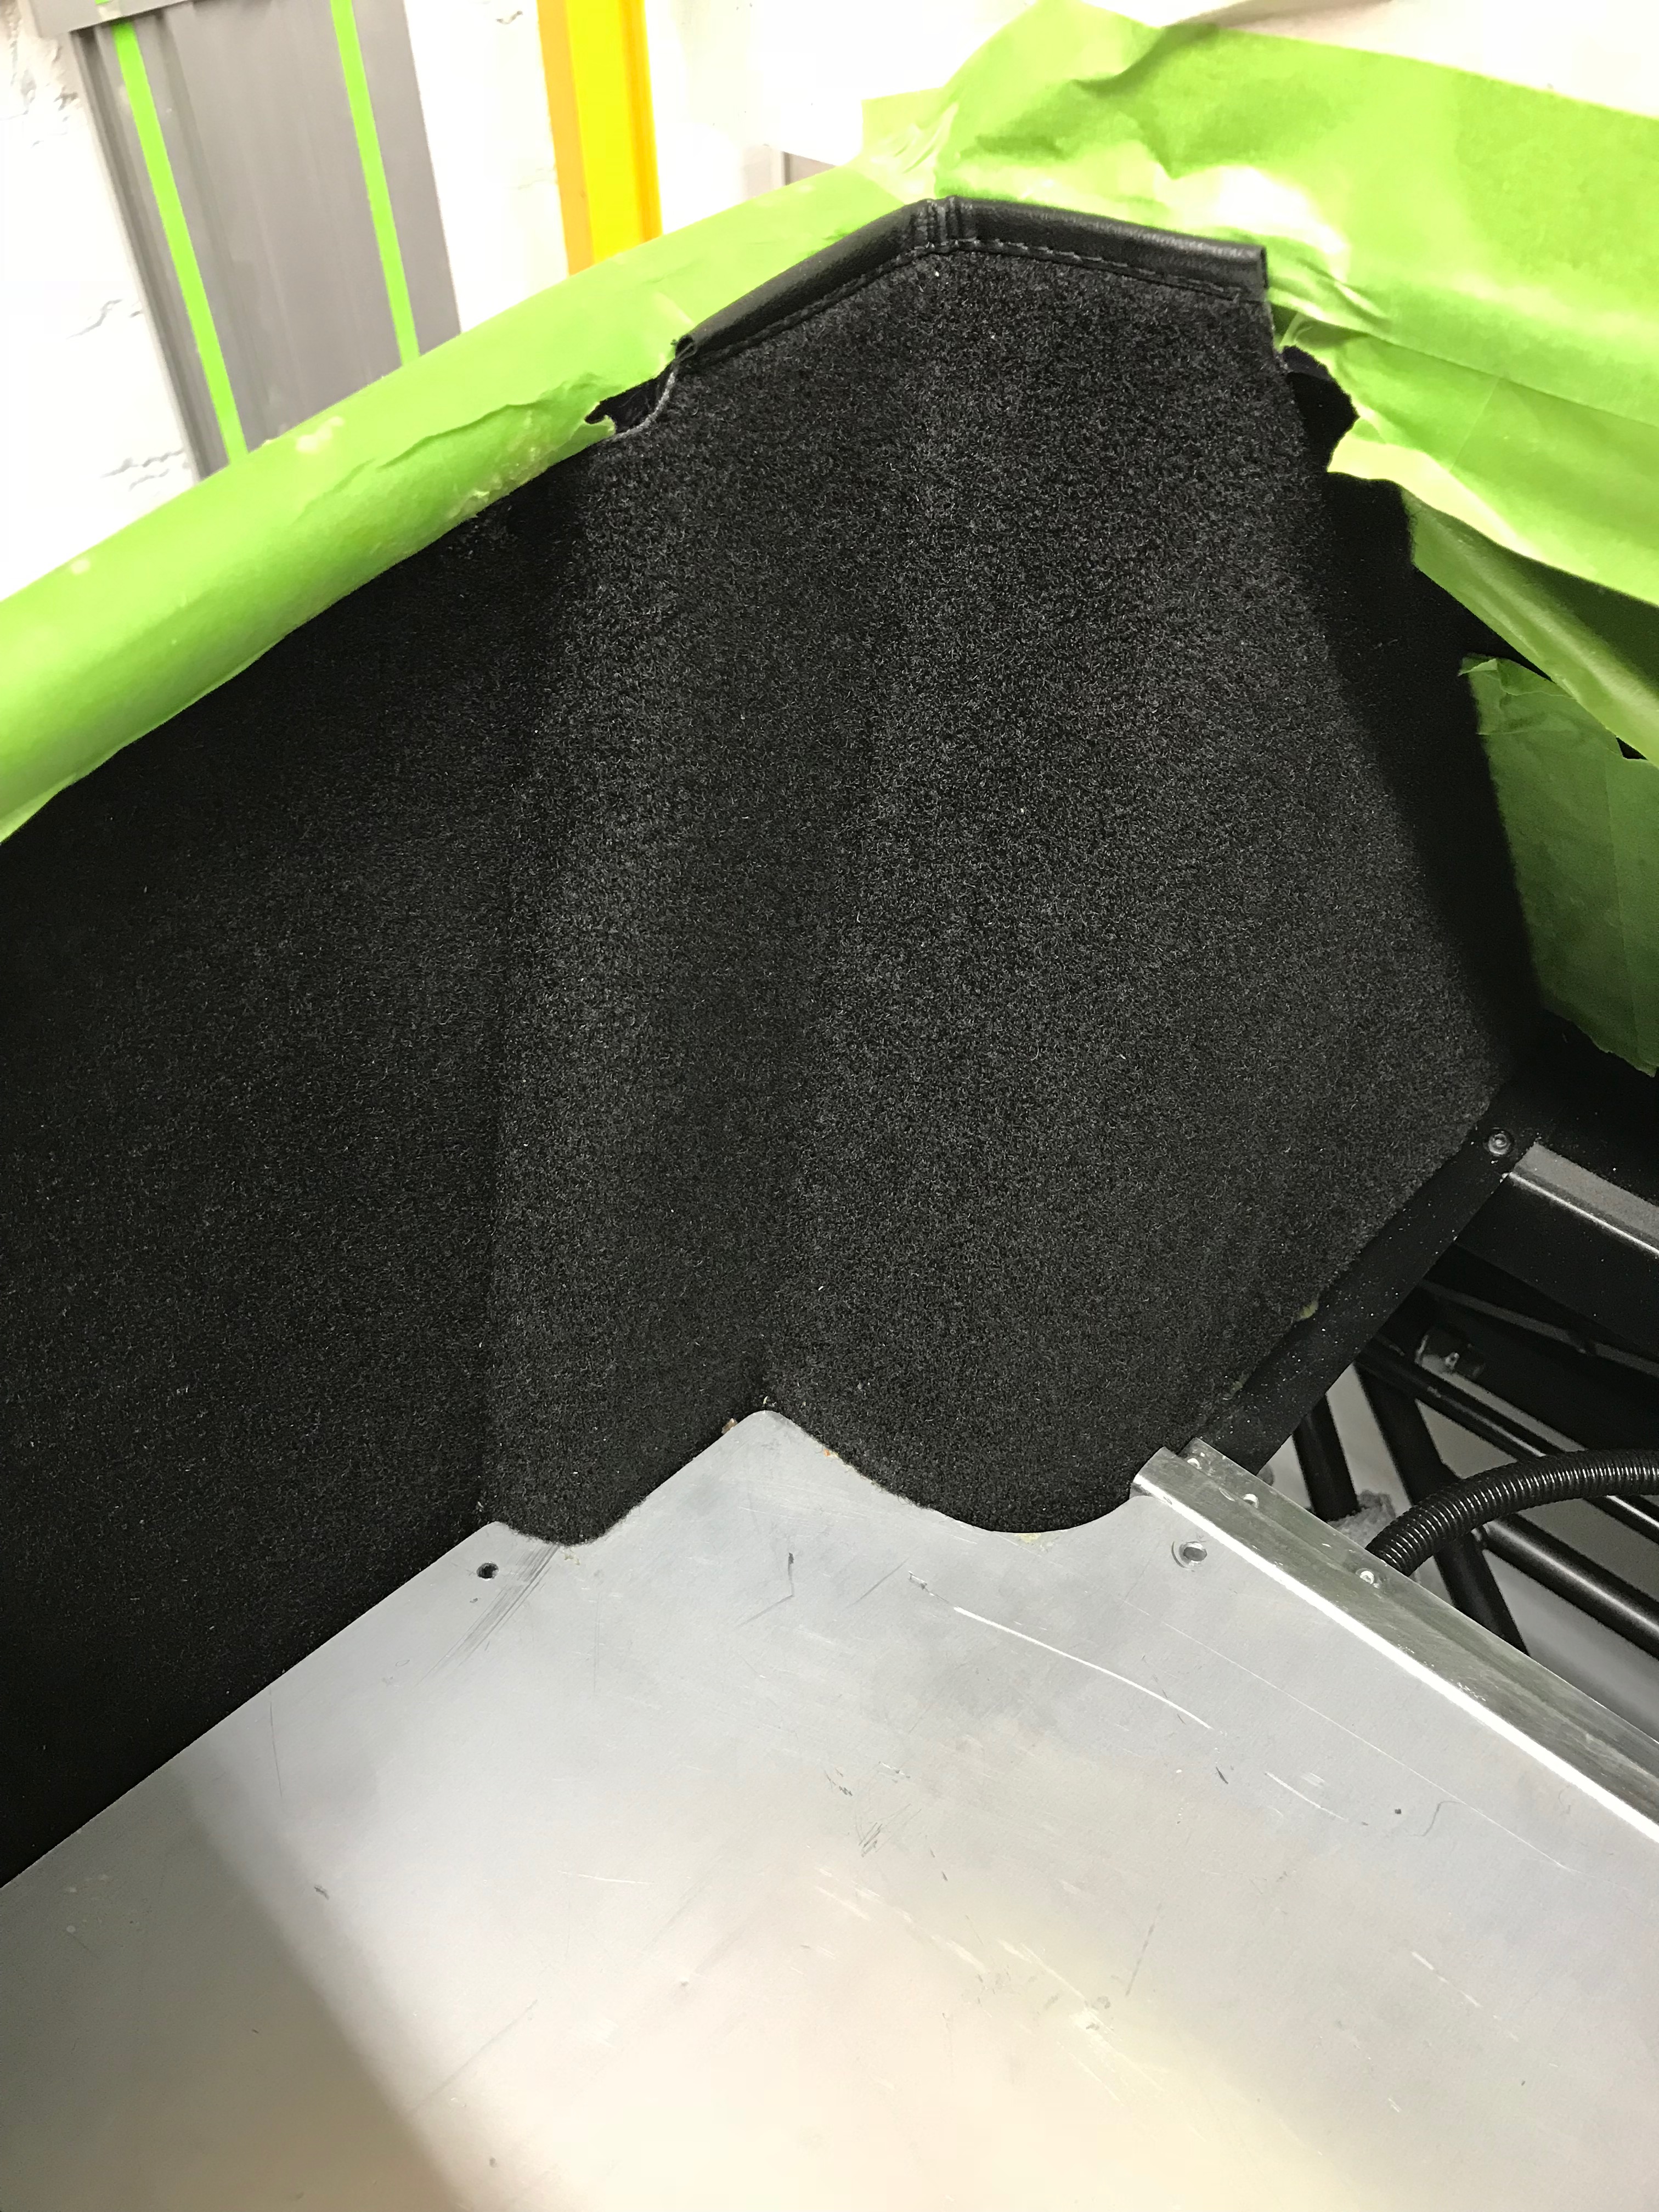
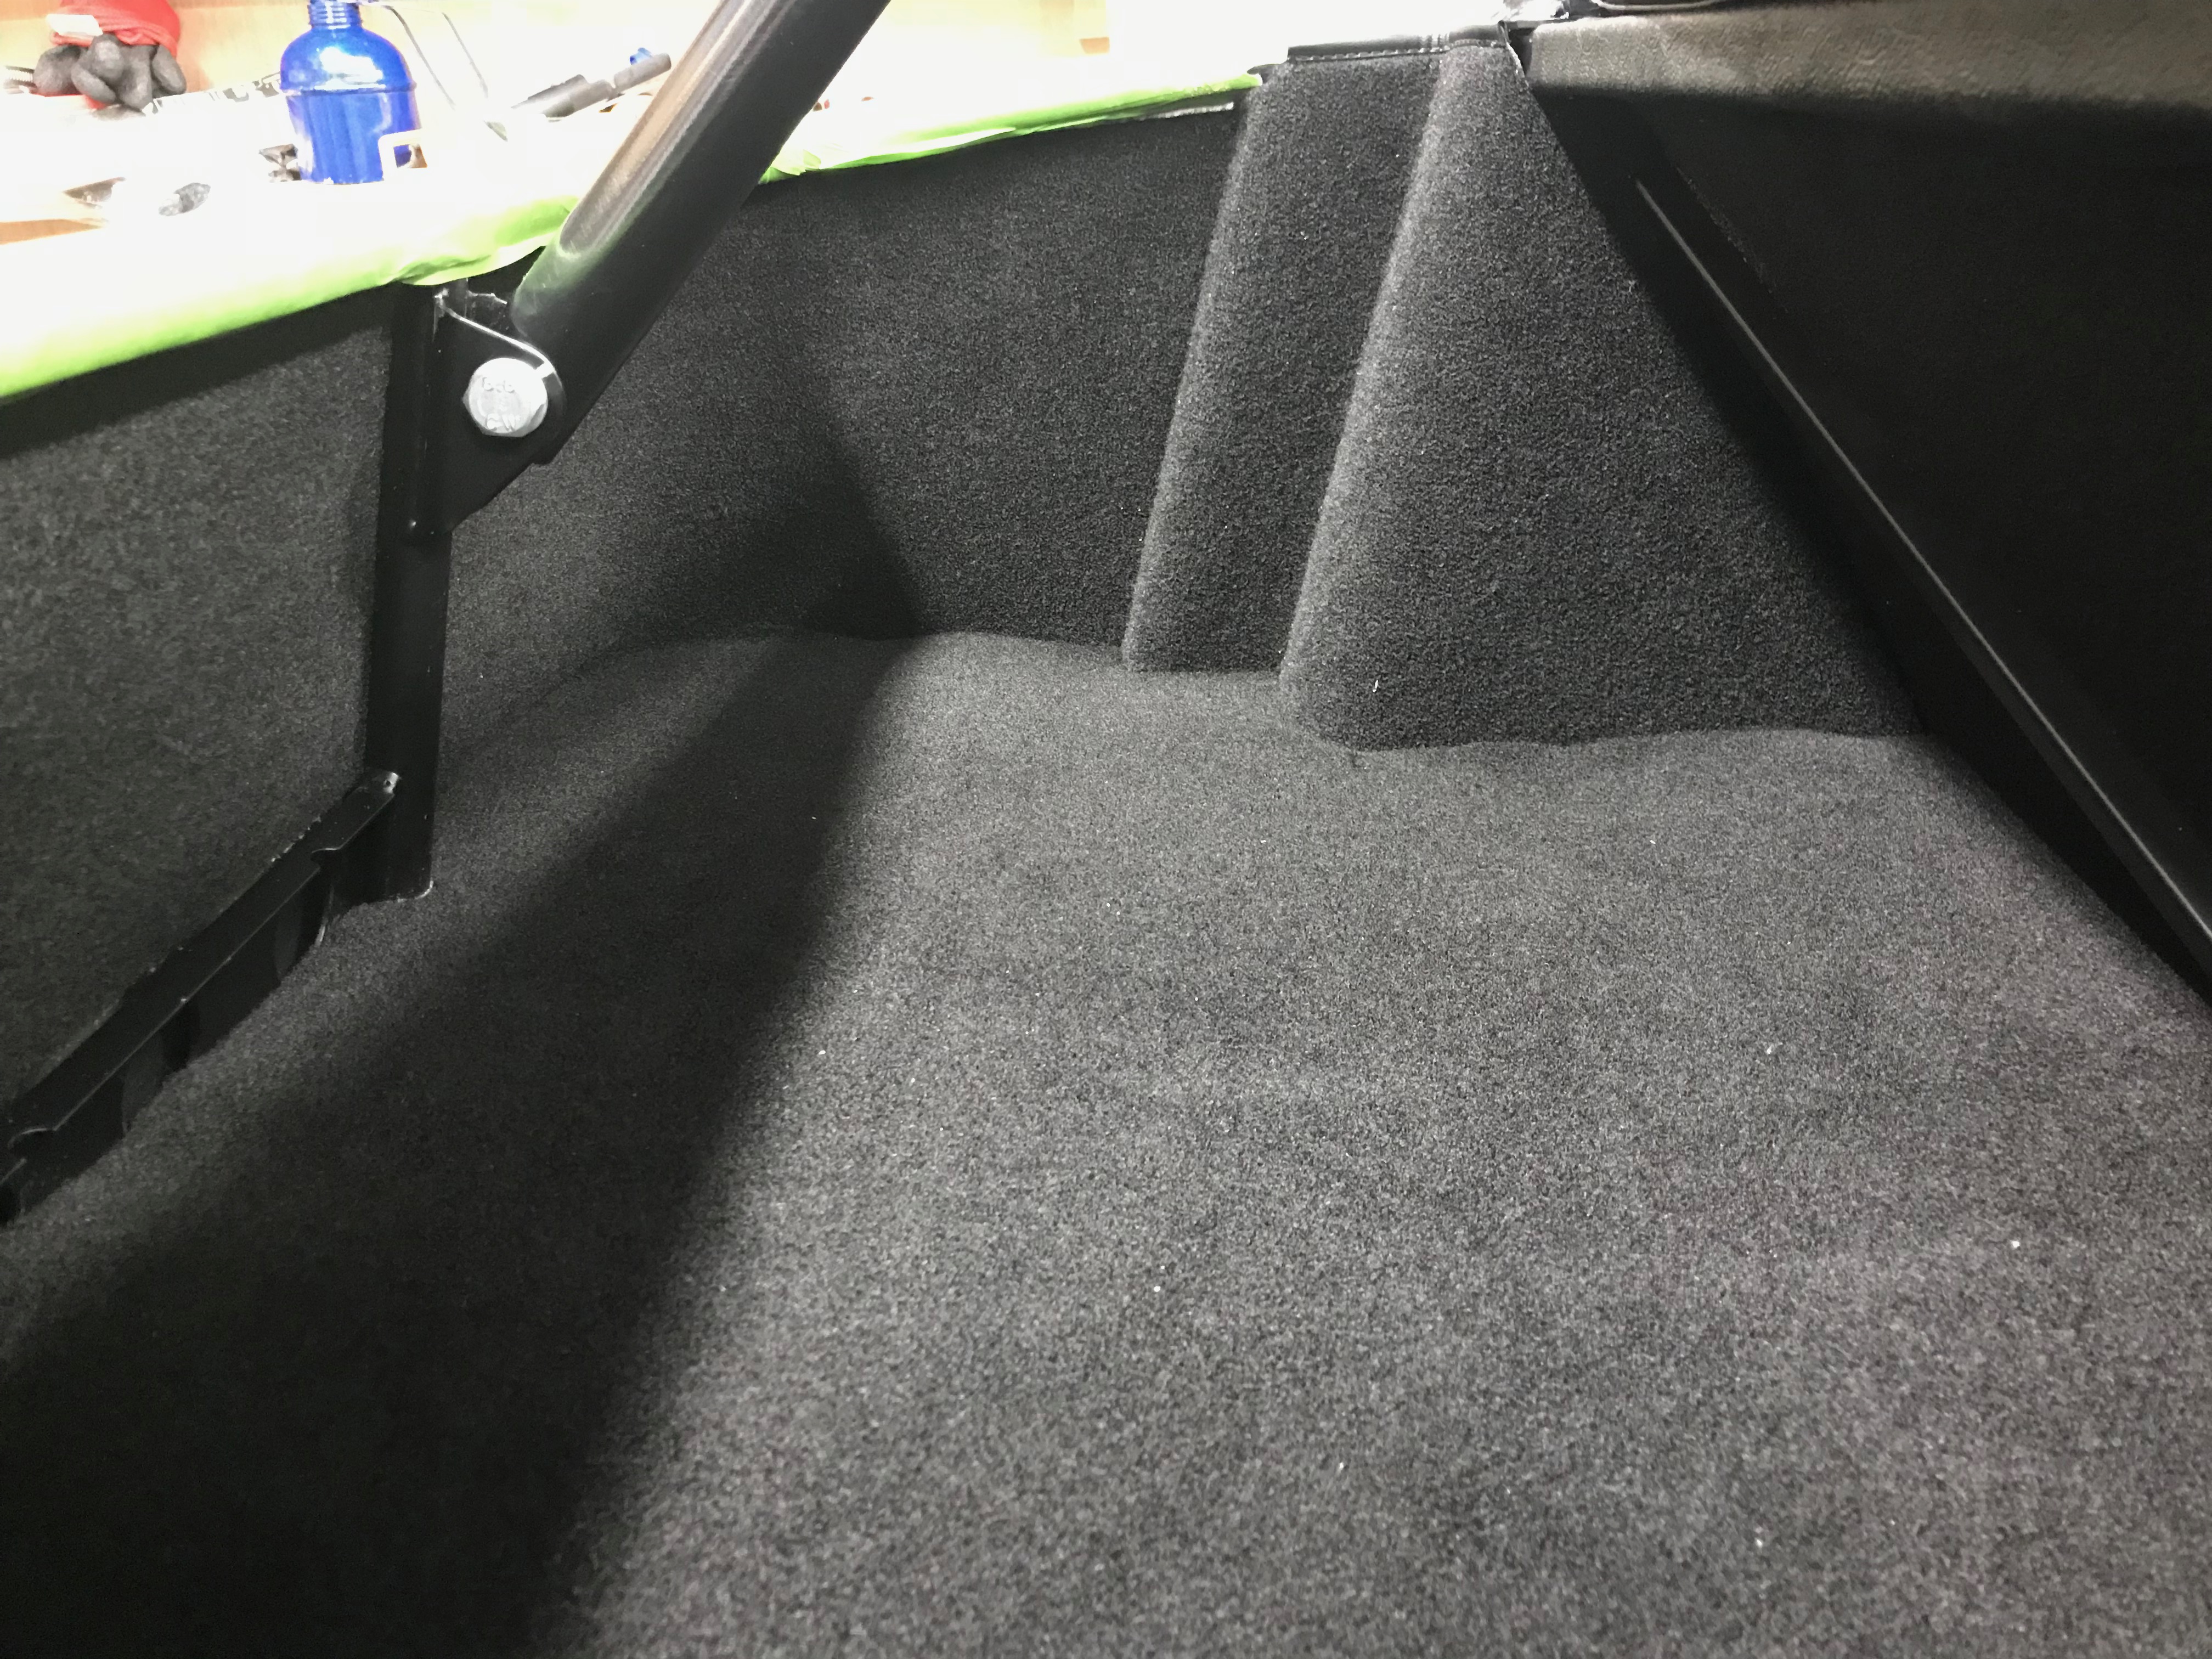
I was pleased with the side carpet installation…
There didn’t seem to be any option but to cut the rear boot carpet around the fuel filler shroud…
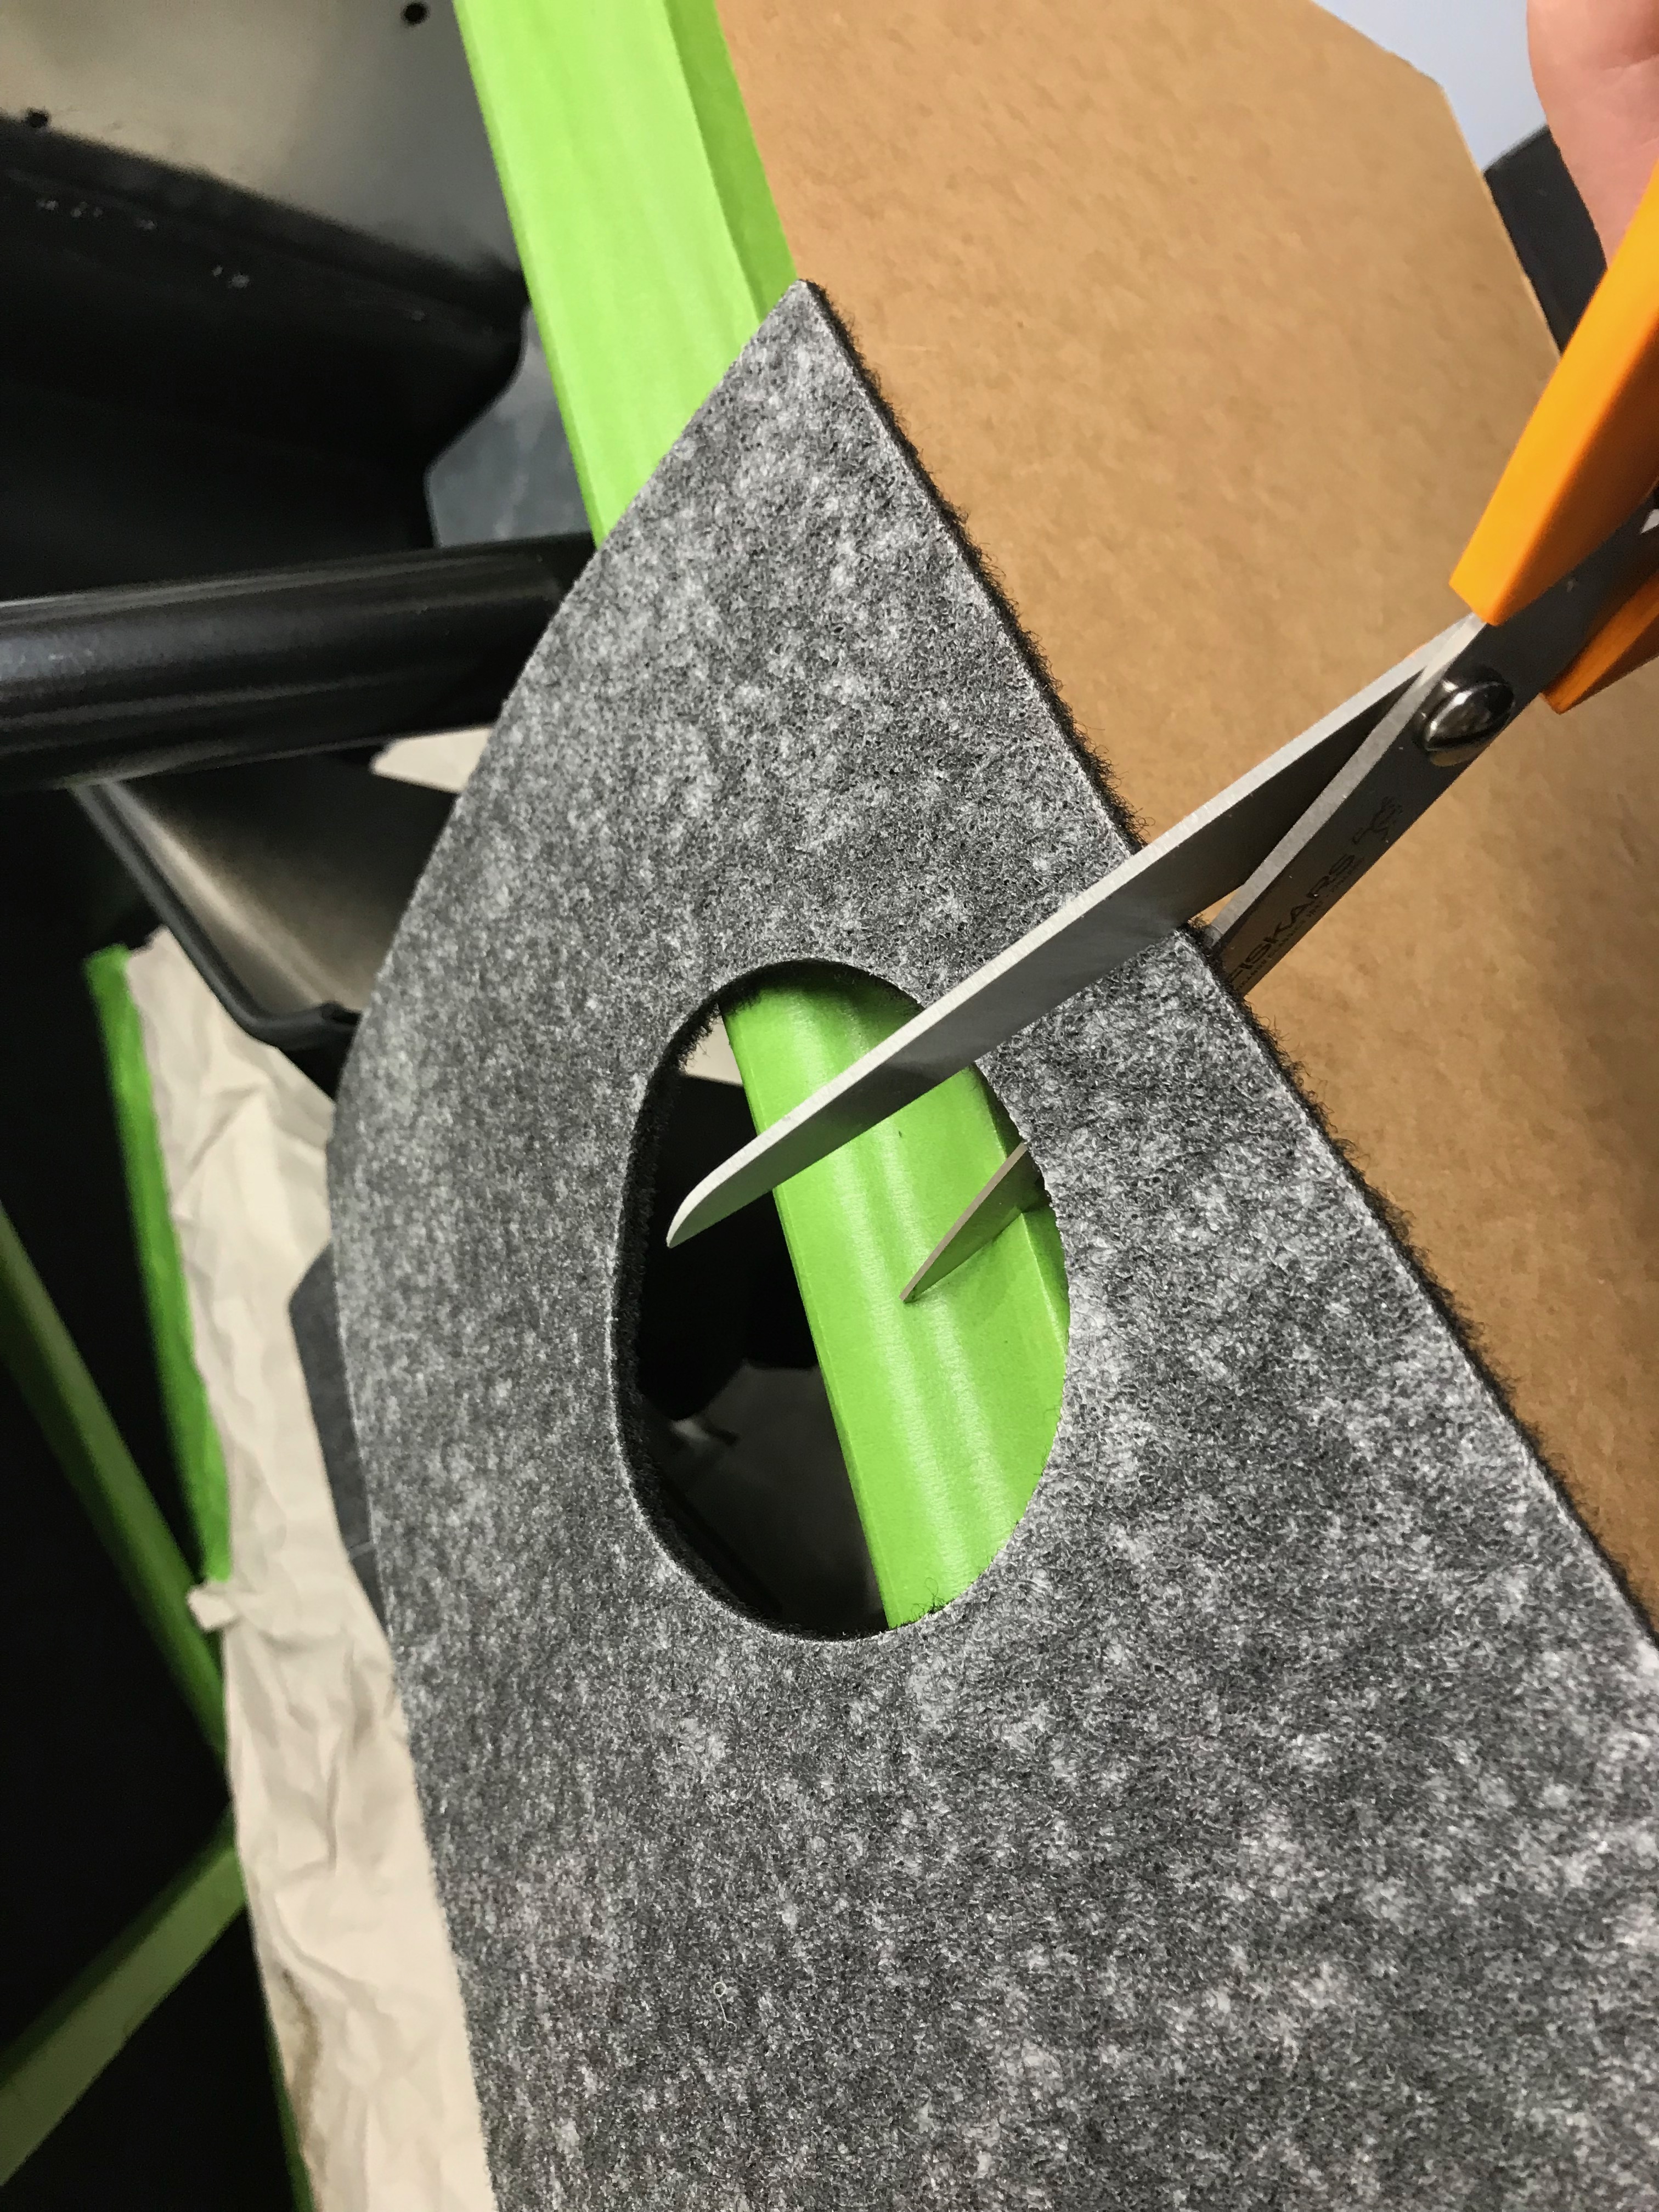
Fitting the carpet around the fuel filler shroud was a bit of pain where it meets the boot floor. I couldn’t find an easy way of deciding where to cut the boot floor carpet. In the end I eyeballed it and got it a bit wrong. Maybe I’ll buy a piece of carpet to fix that some time in the future but it looks perfectly ok until you look closely. What I should have done is create a cardboard template, but I was running out of time and a little bit of patience at this point in the day and rushed it 🙁
I decided to leave the boot floor carpet floating and not to glue it in place. I reasoned that I might need to get access to the diff or brake lines from the top later on. [Note from the future: I did]. I also left the floor carpet a little big. It didn’t seem to fit correctly in the end but I decided to let everything settle before I see how much I need to trim it by. So… you can see it’s rucked a little in the image below.
Aesthetic note: I actually quite like the green against the Purple… I wonder if that could be the accent colour for any bonnet/side stripes I add later.
That’s the boot carpets done. Still need to fit the washer bottle properly but that’ll wait for another day.

Leave a Comment