
This was one of those jobs I’d not been looking forward to. Definitely not a “bolt them on an forget them”. The rear wings were going to need some fettling… and expensive-to-replace fibre-glass fettling at that!
The car arrives in its kit form without the rear wings attached. They’re a big part of the aesthetic look of a Seven but they’re large fibre-glass moulded parts and unwieldy to handle and expensive to replace if you screw up either attaching them to the chassis or fitting the stone guards that are essential to stopping the wings getting trashed by stones being thrown up from the front wheels.
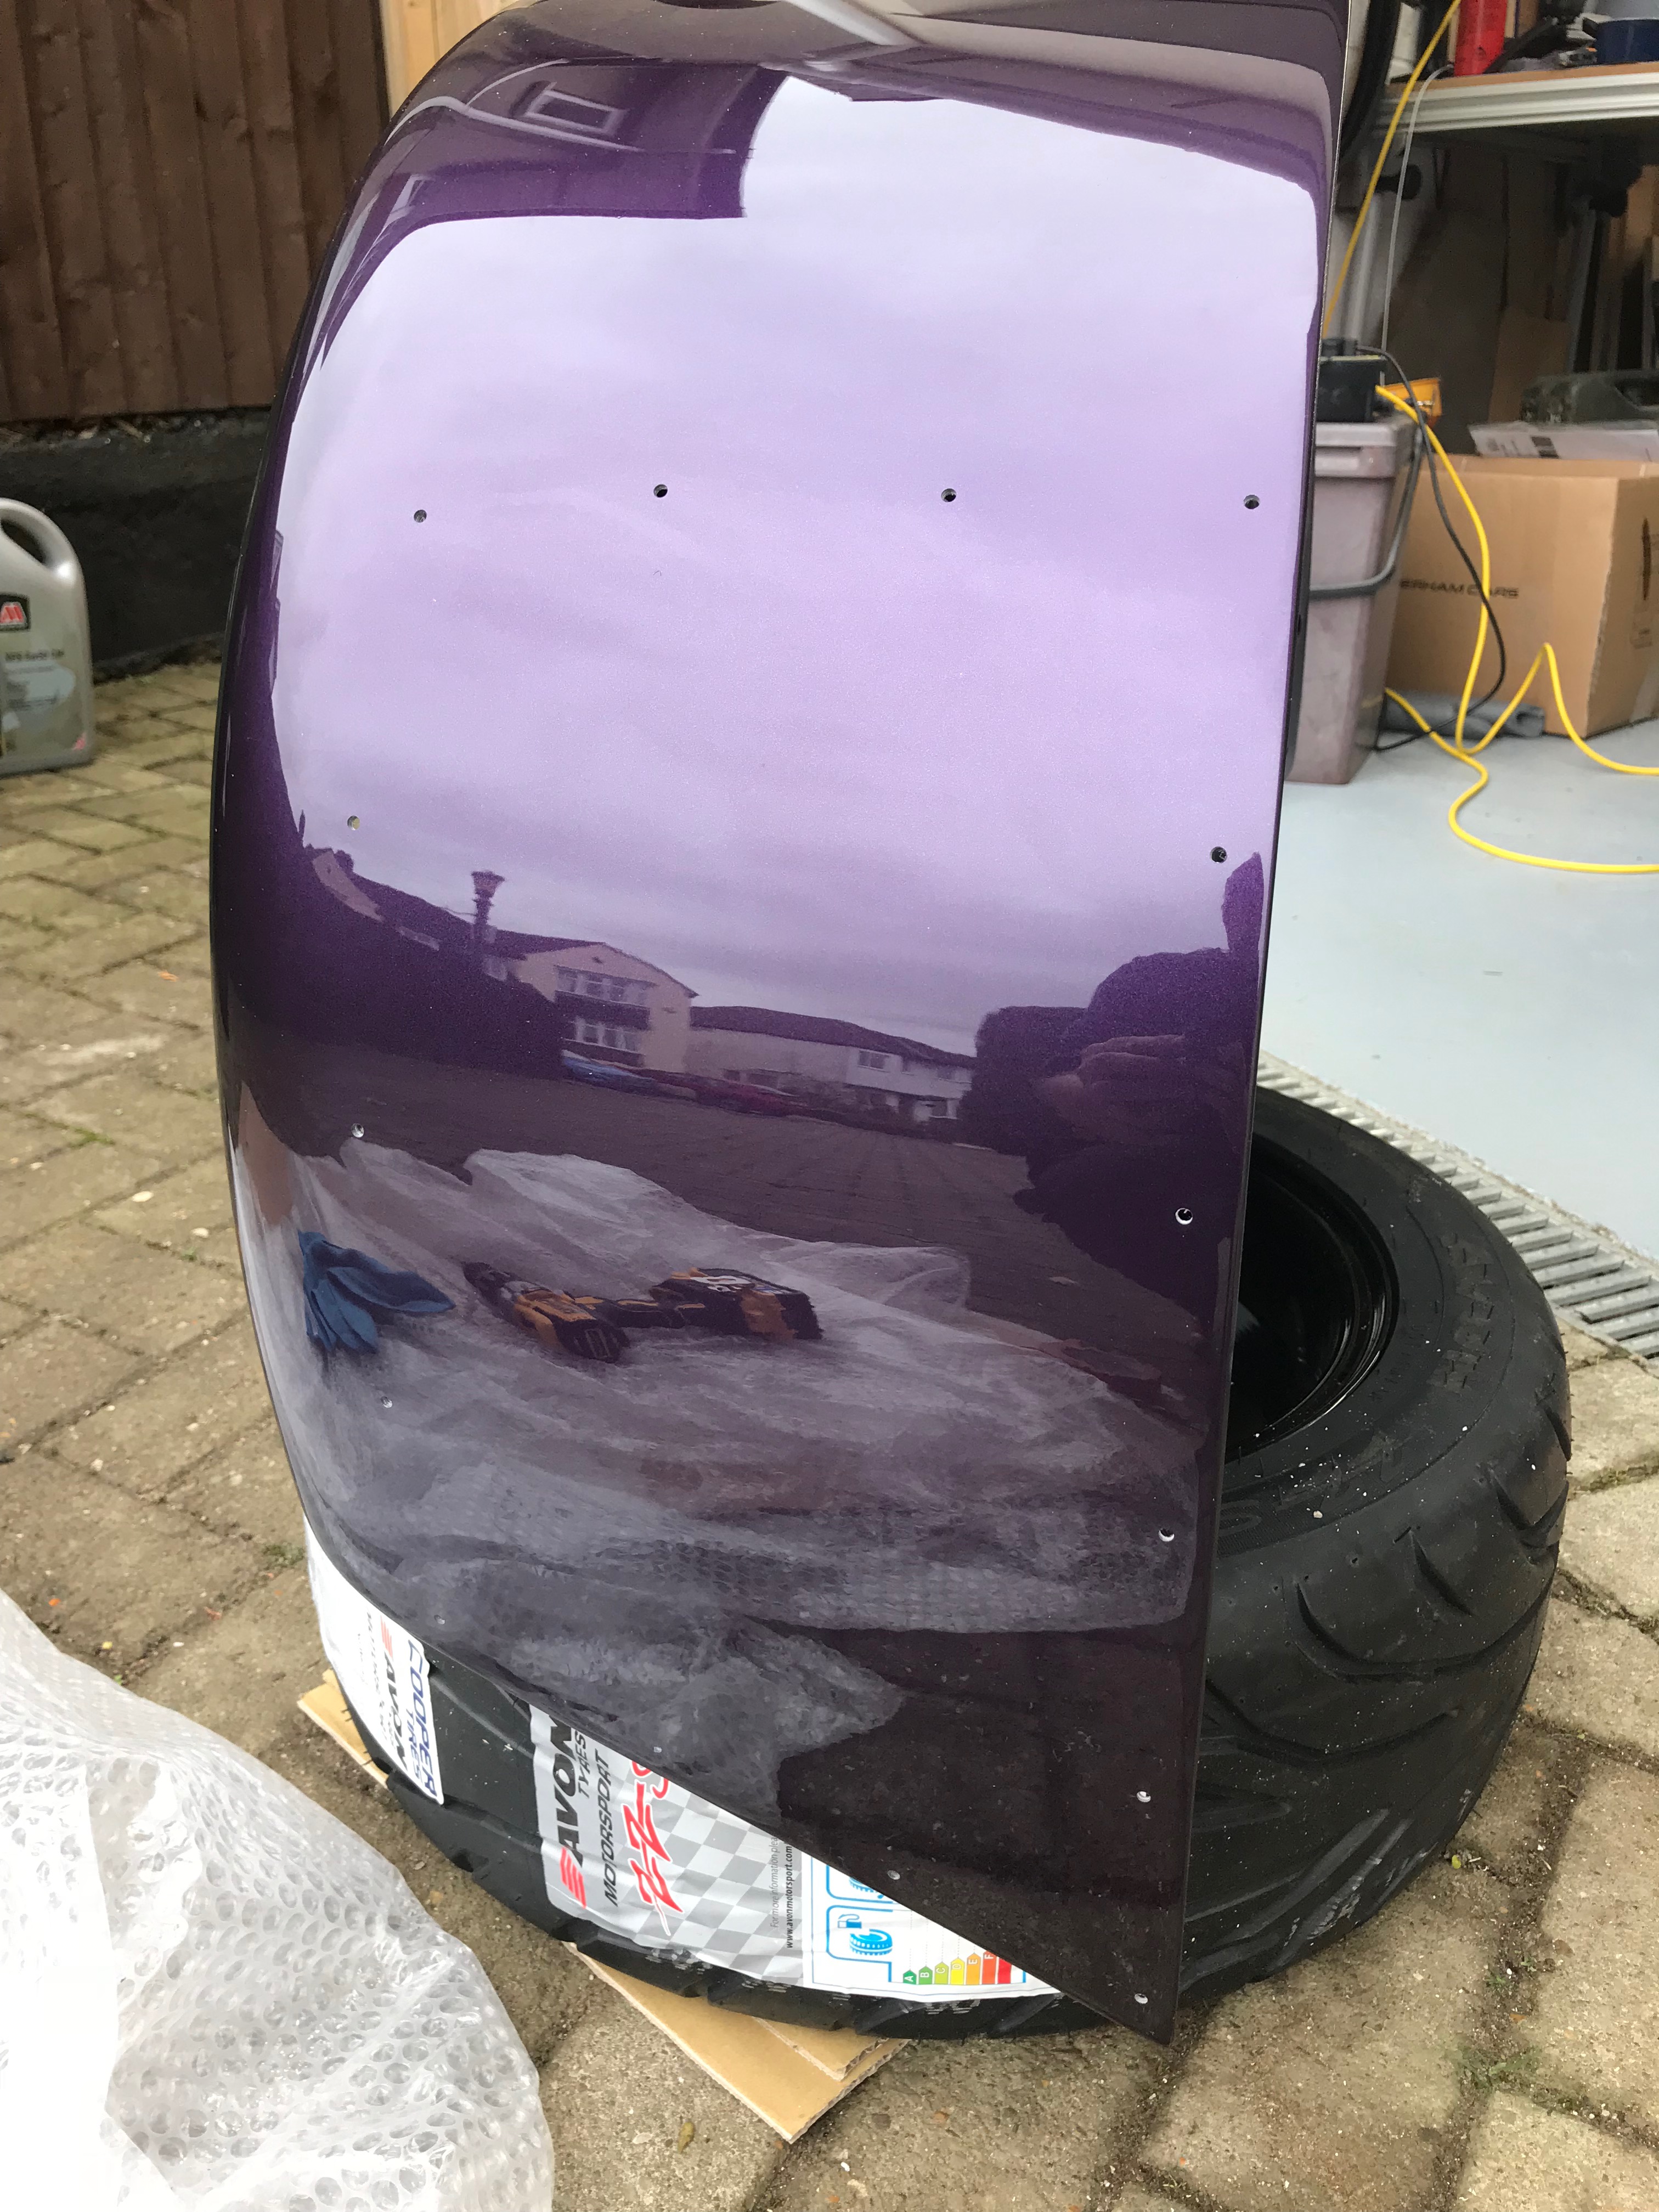
Without the wings the rear wheels look like this…
There were a number of options for the rear wings when ordering the initial kit: the main ones being:
- fibre-glass vs carbon and
- stone-chip-guards vs chrome-guards vs no guards.
The cost of going carbon for the rear wings didn’t seem to be worth the expense (for me). I wasn’t keen on the “carbon” look of the rear wings and the weight saving for the occasional track day didn’t seem worth it.
However, I’d been advised that stone-guards are essential. Stones get thrown up by the front wheels and will directly target the rear wings. The stone guards are theoretically sacrificial plates that sit on the leading edge of the wing and can be replaced for a lot less cost than a whole rear wing. Now… I had been a little aesthetically concious with the front wings and spec’ed them in carbon… so I went for carbon stone guards instead of chrome… The “black pack” you get with an R spec car and the carbon front wings seemed to work better with carbon rear wing protectors. I hope that all makes sense.
Anyways, the task today is to get the wings to fit the car (no mean feat) and then the wings need to be drilled for the stone guards to be fitted. Again, that’s lots of fettling to an expensive fibre-glass component (did I mention that already!).
Bane Getup
My first task today was to get me ready for cutting, dremeling and drilling lots of fibre-glass, a cross between Batman Bane and Darth Vader…
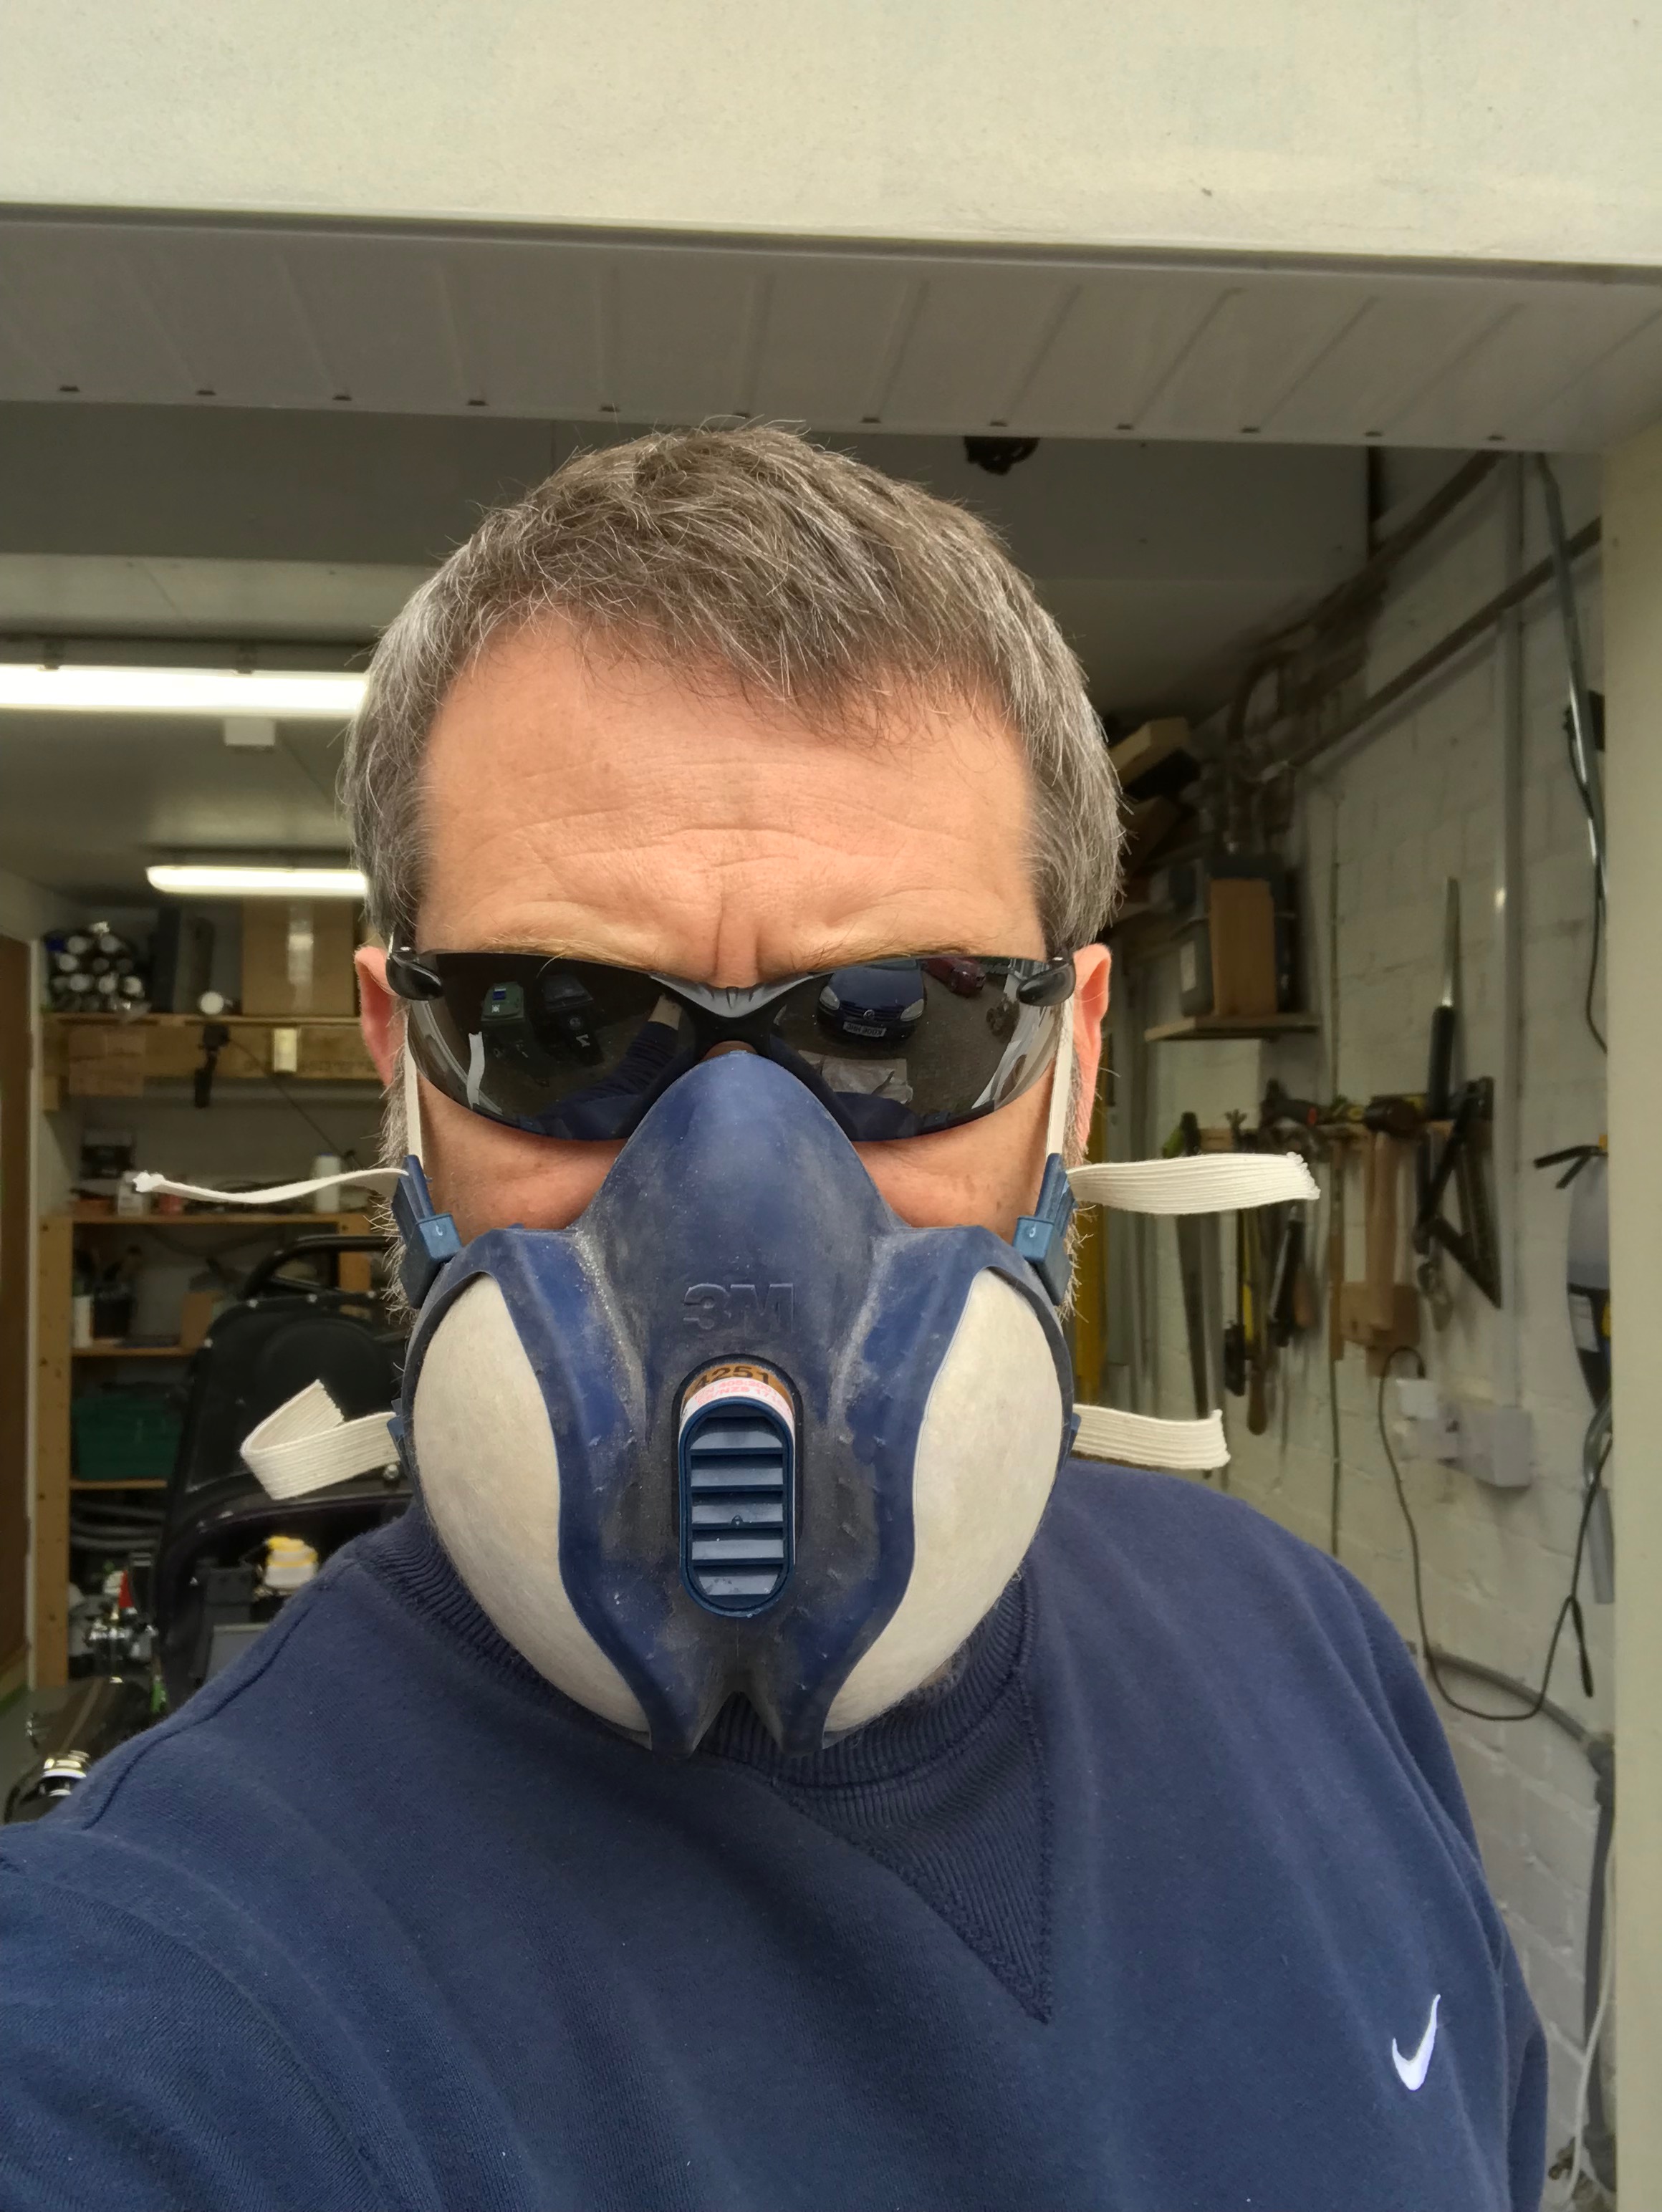
With this protection I found that by the end of the day my lungs still suffered from residual dust in the air. I also found my eyes weren’t protected as well as I’d hoped, probably again from residual dust, and were sore for a few days. I would recommend goggles rather than the glasses I wore.
Radius Arm Slots in the Wings
Like most of the car before it, I started on the RHS first – I have more space on the right in my garage and can spend more time pondering options in that space.
The first job today is to turn a hole that’s pre-cut in the wings for the radius arm, into a slot. It is possible to avoid this by taking the radius arm off, fit the wing and then re-attach the radius arm. That sounded like a lot of work and I also thought I was likely to need to take the rear-wings off again. It seemed easier just to cut the slot and have greater flexibility on wing fitting/re-fitting. That seemed to make sense to me anyway. The radius arm can be fitted in one of two configurations and I may need to take the wings off at a later stage and “slot” the other hole in them for the other configuration option.
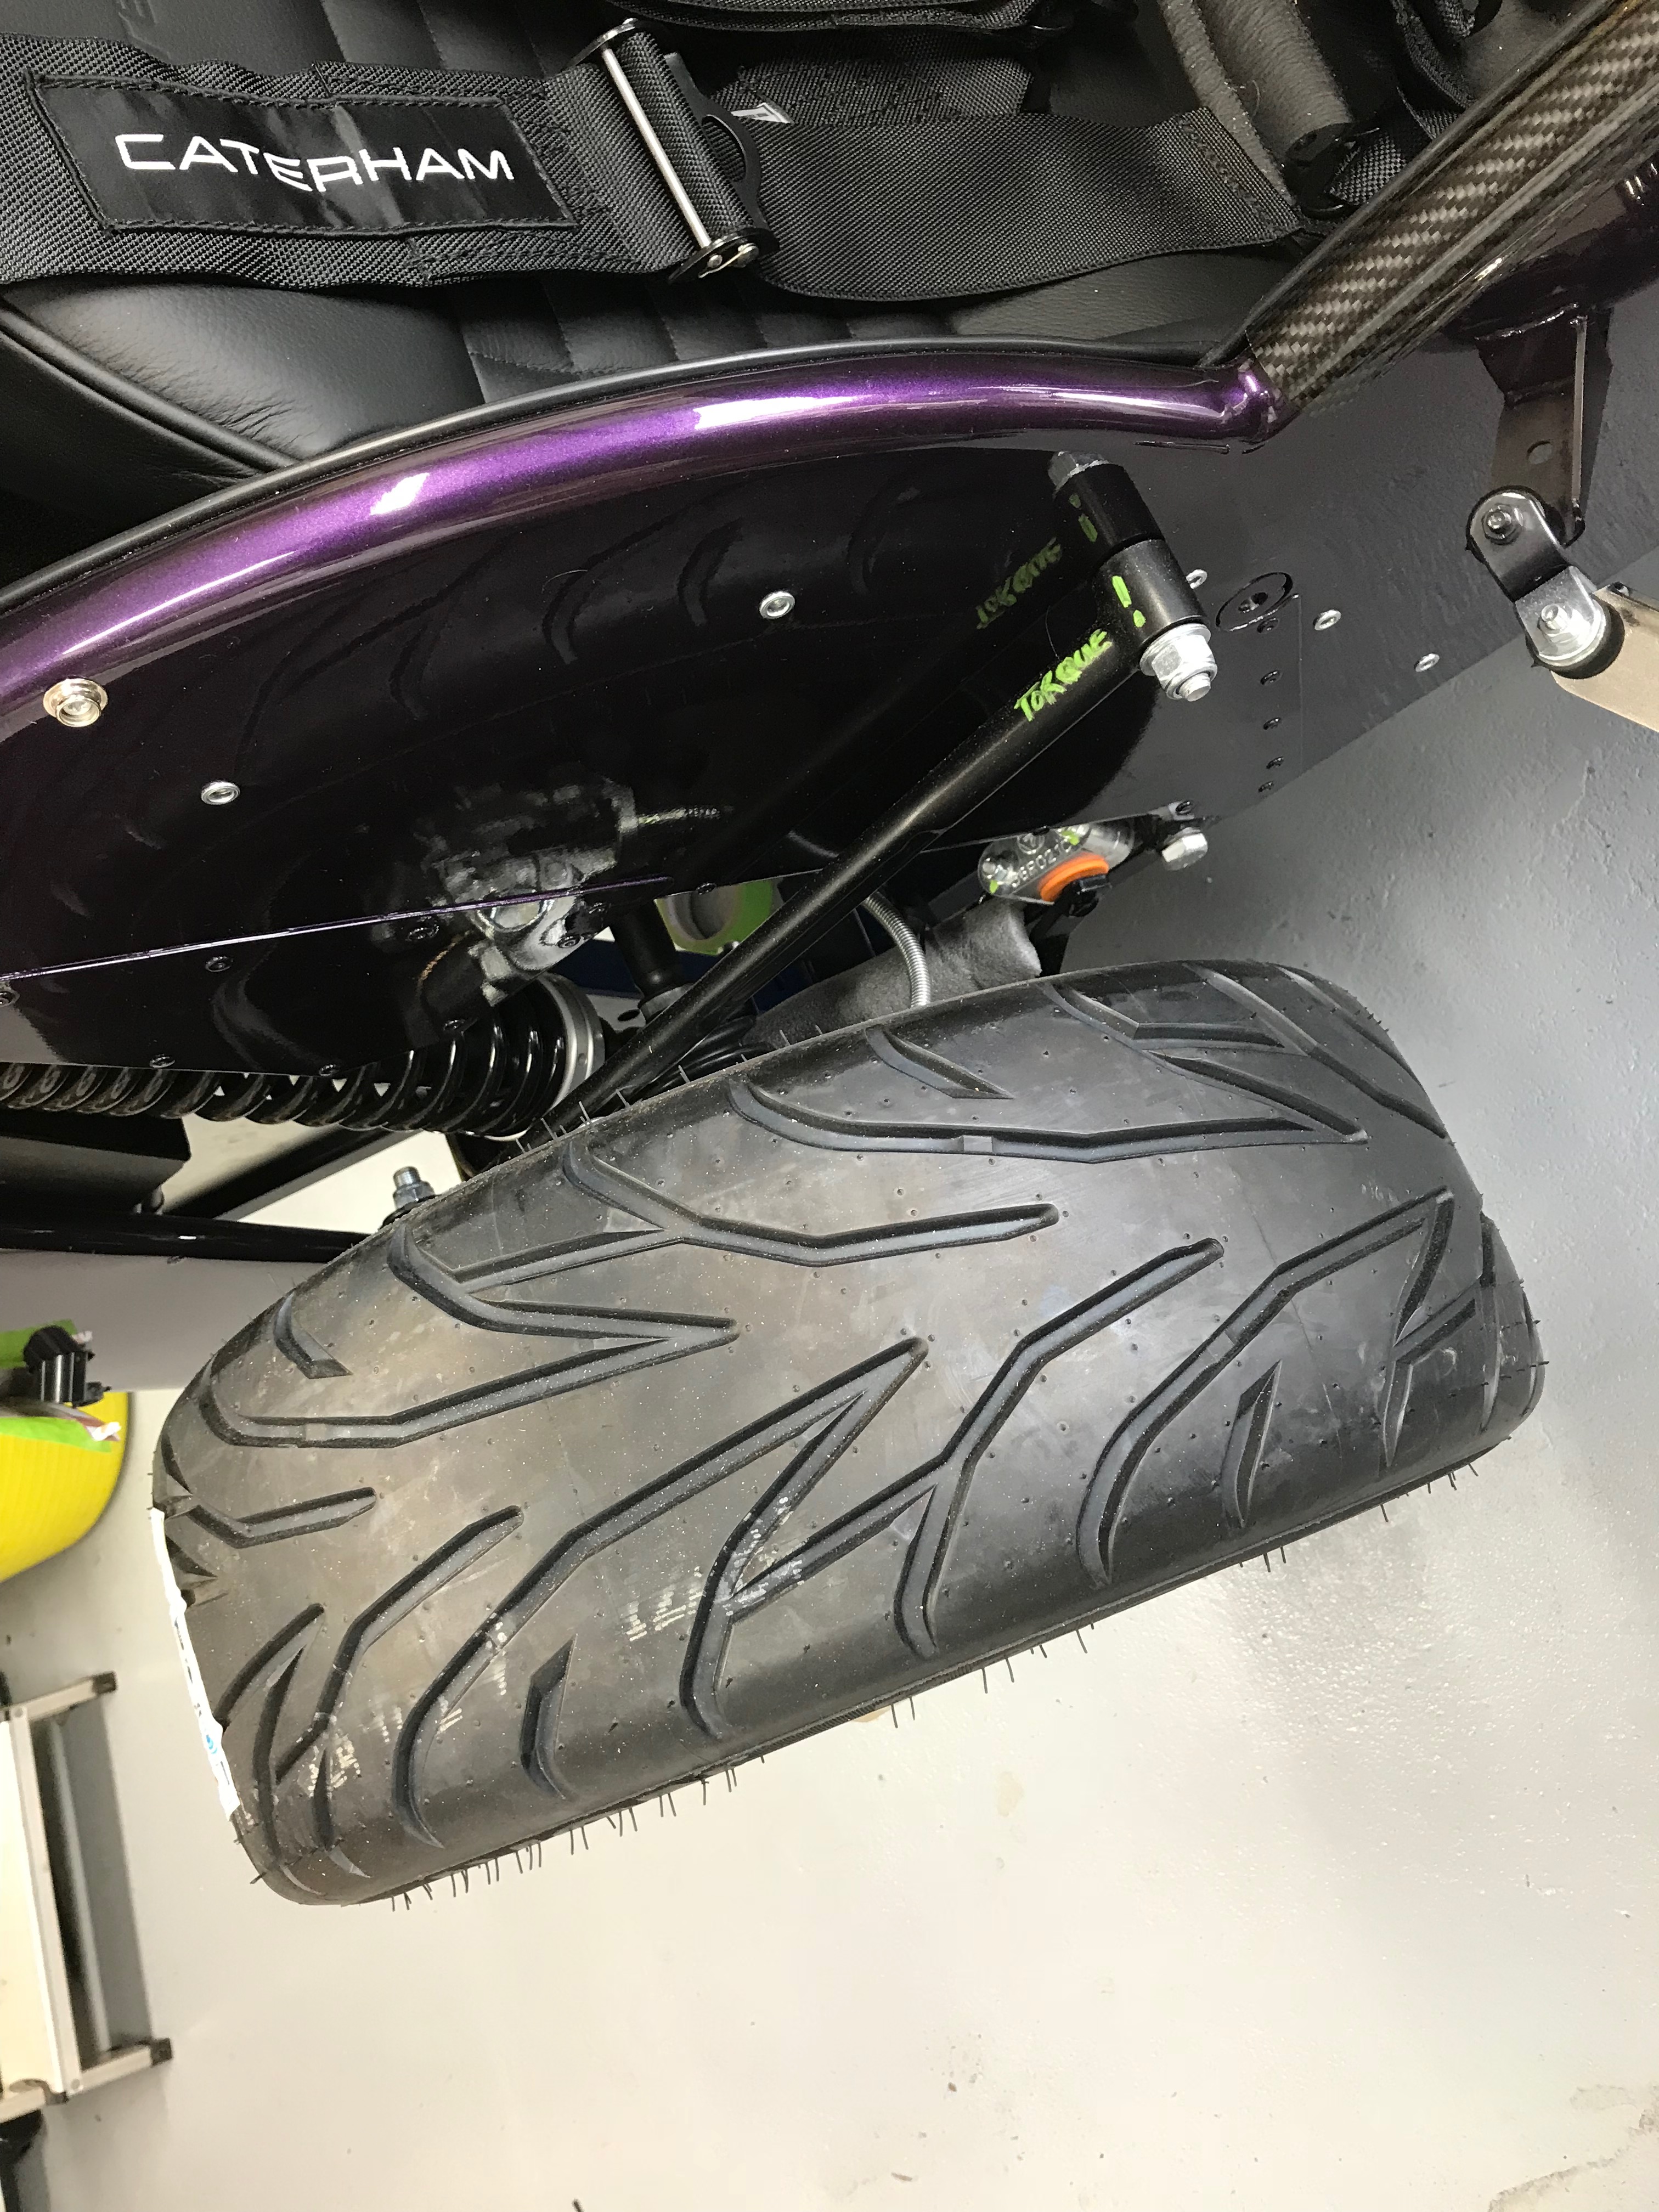
For those confused, the RHS radius arm is the black steel bar marked in green pen with “TORQUE” in the image of the rear wheel at the top of this post. I’d marked the arm with TORQUE to remind me they needed torquing once the weight of the car was on the ground or at least on the De Dion tube. The wings are pre-cut with two large diameter holes in the side flange so the radius arm can be connected through them – you can see one unaltered hole in the image below.
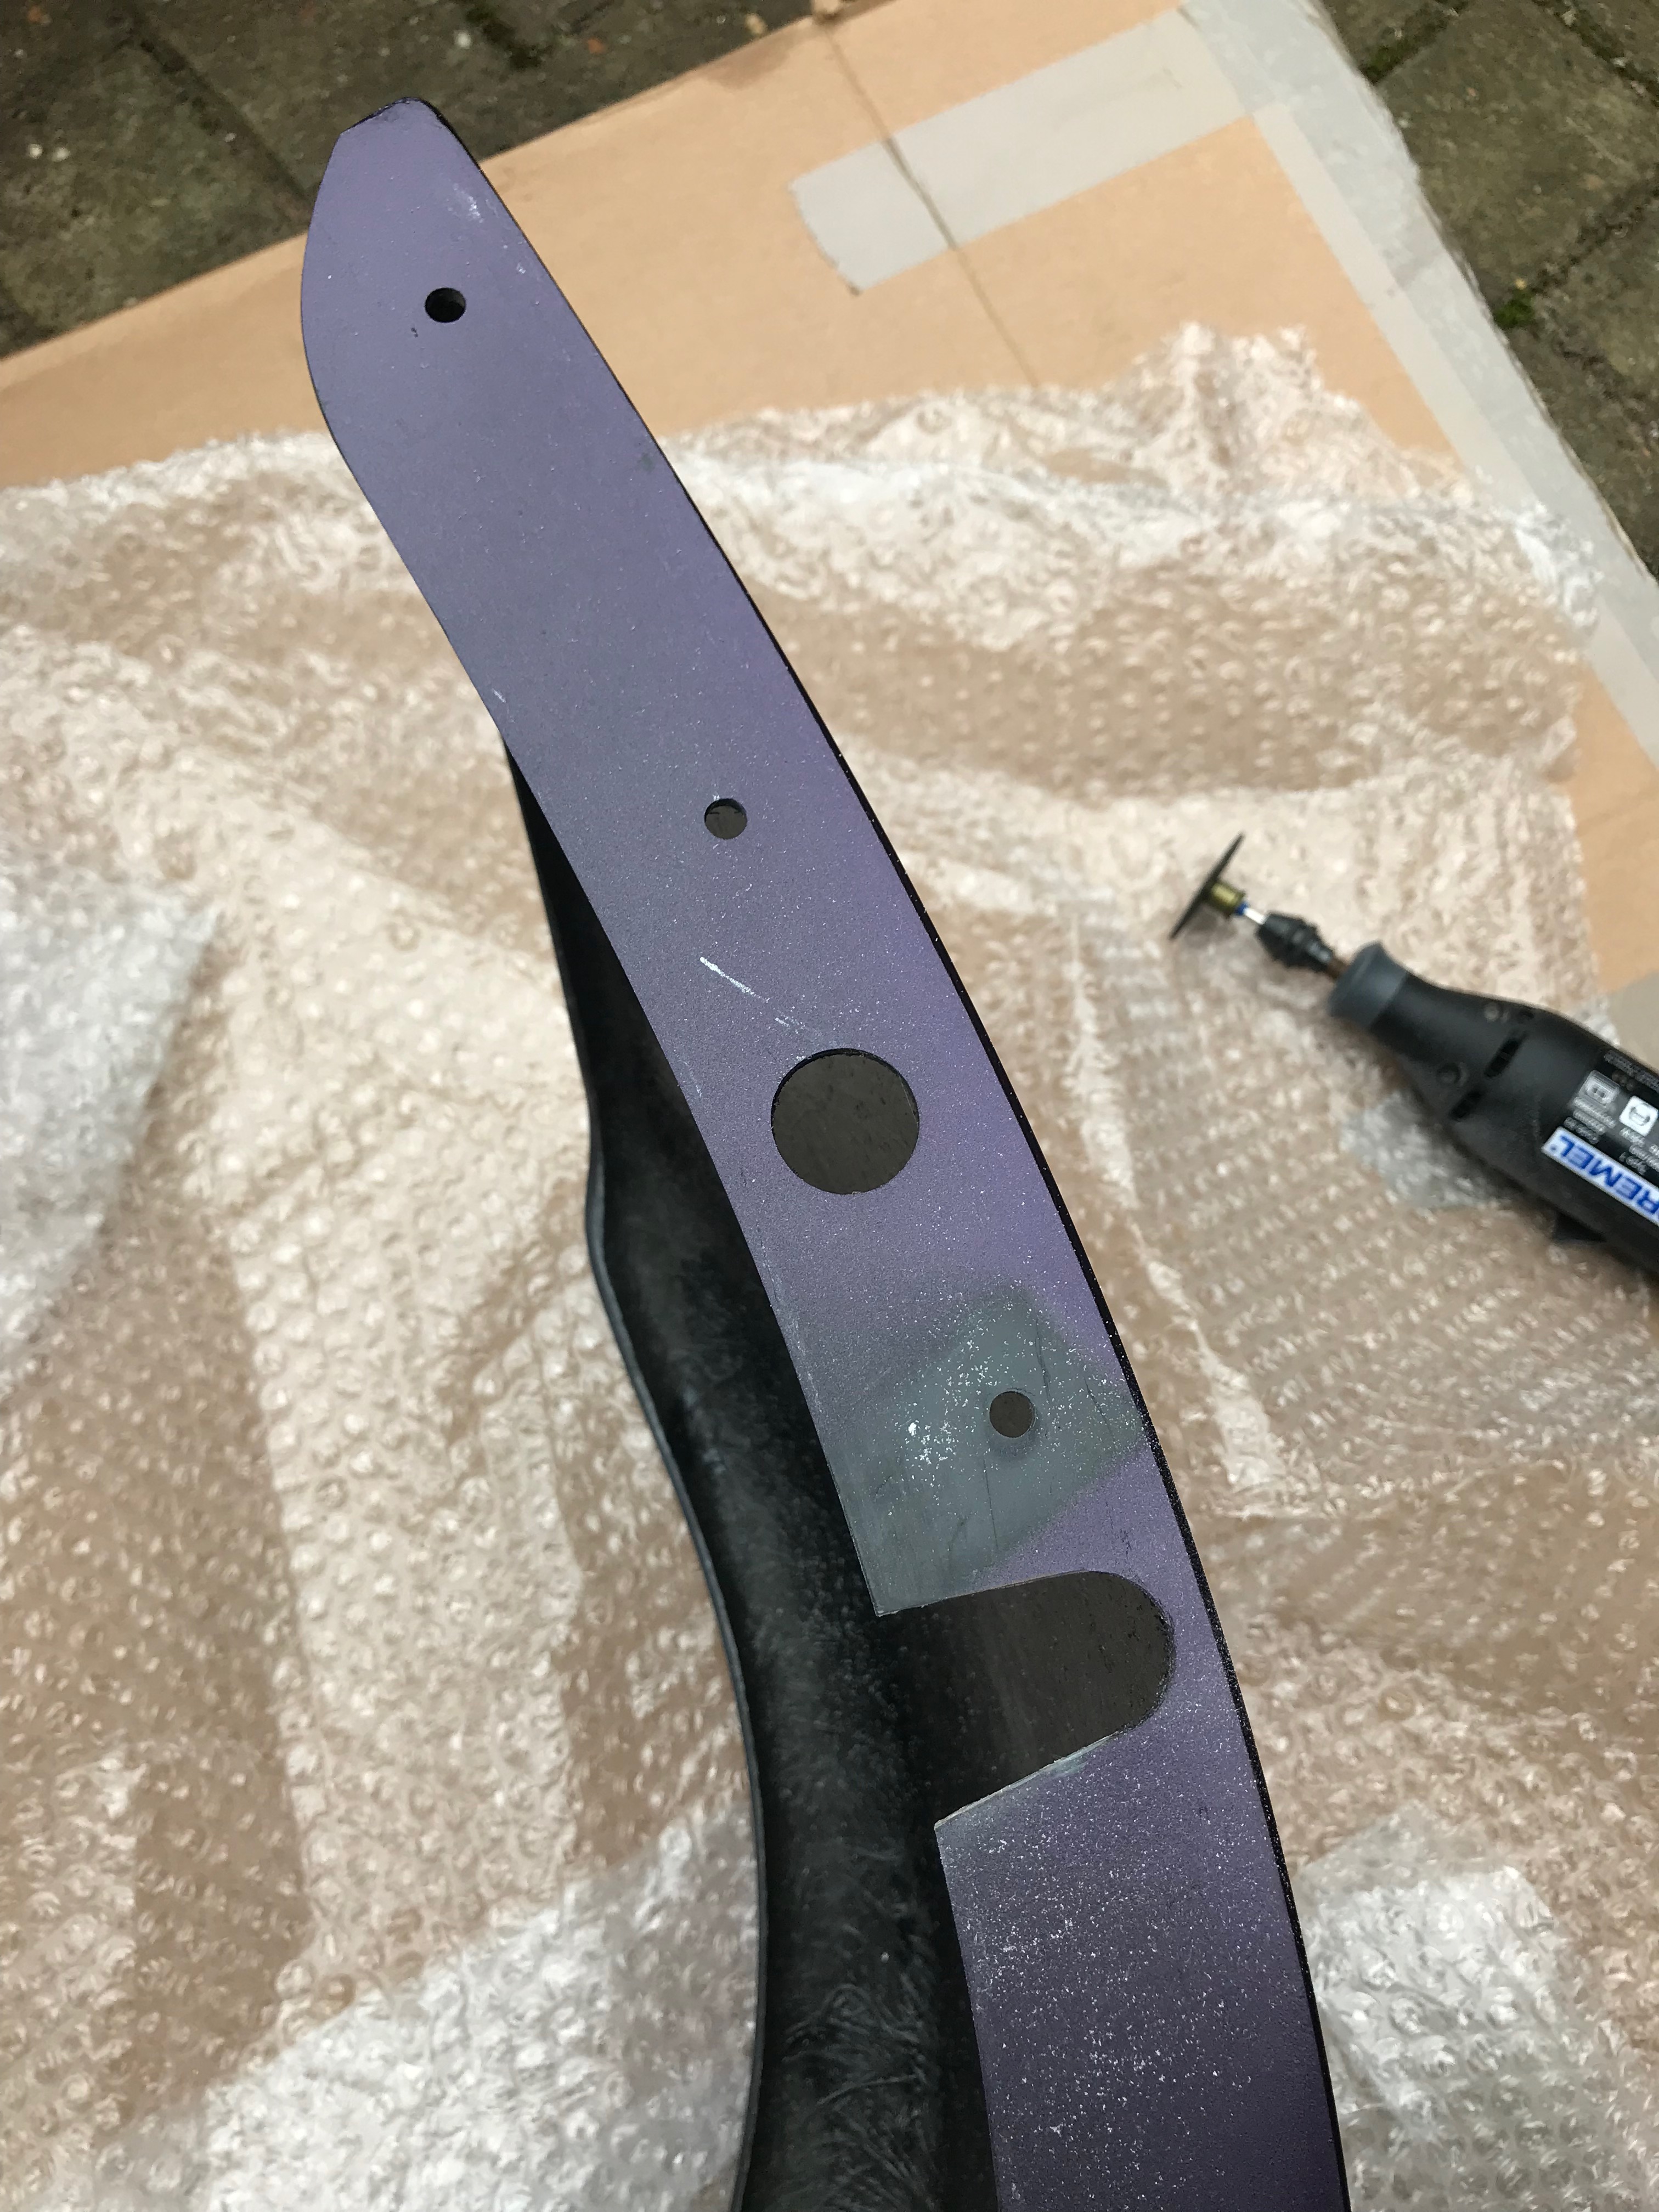
I had three or four goes at creating the slot, making it wider each time, and ended up with something around this size…
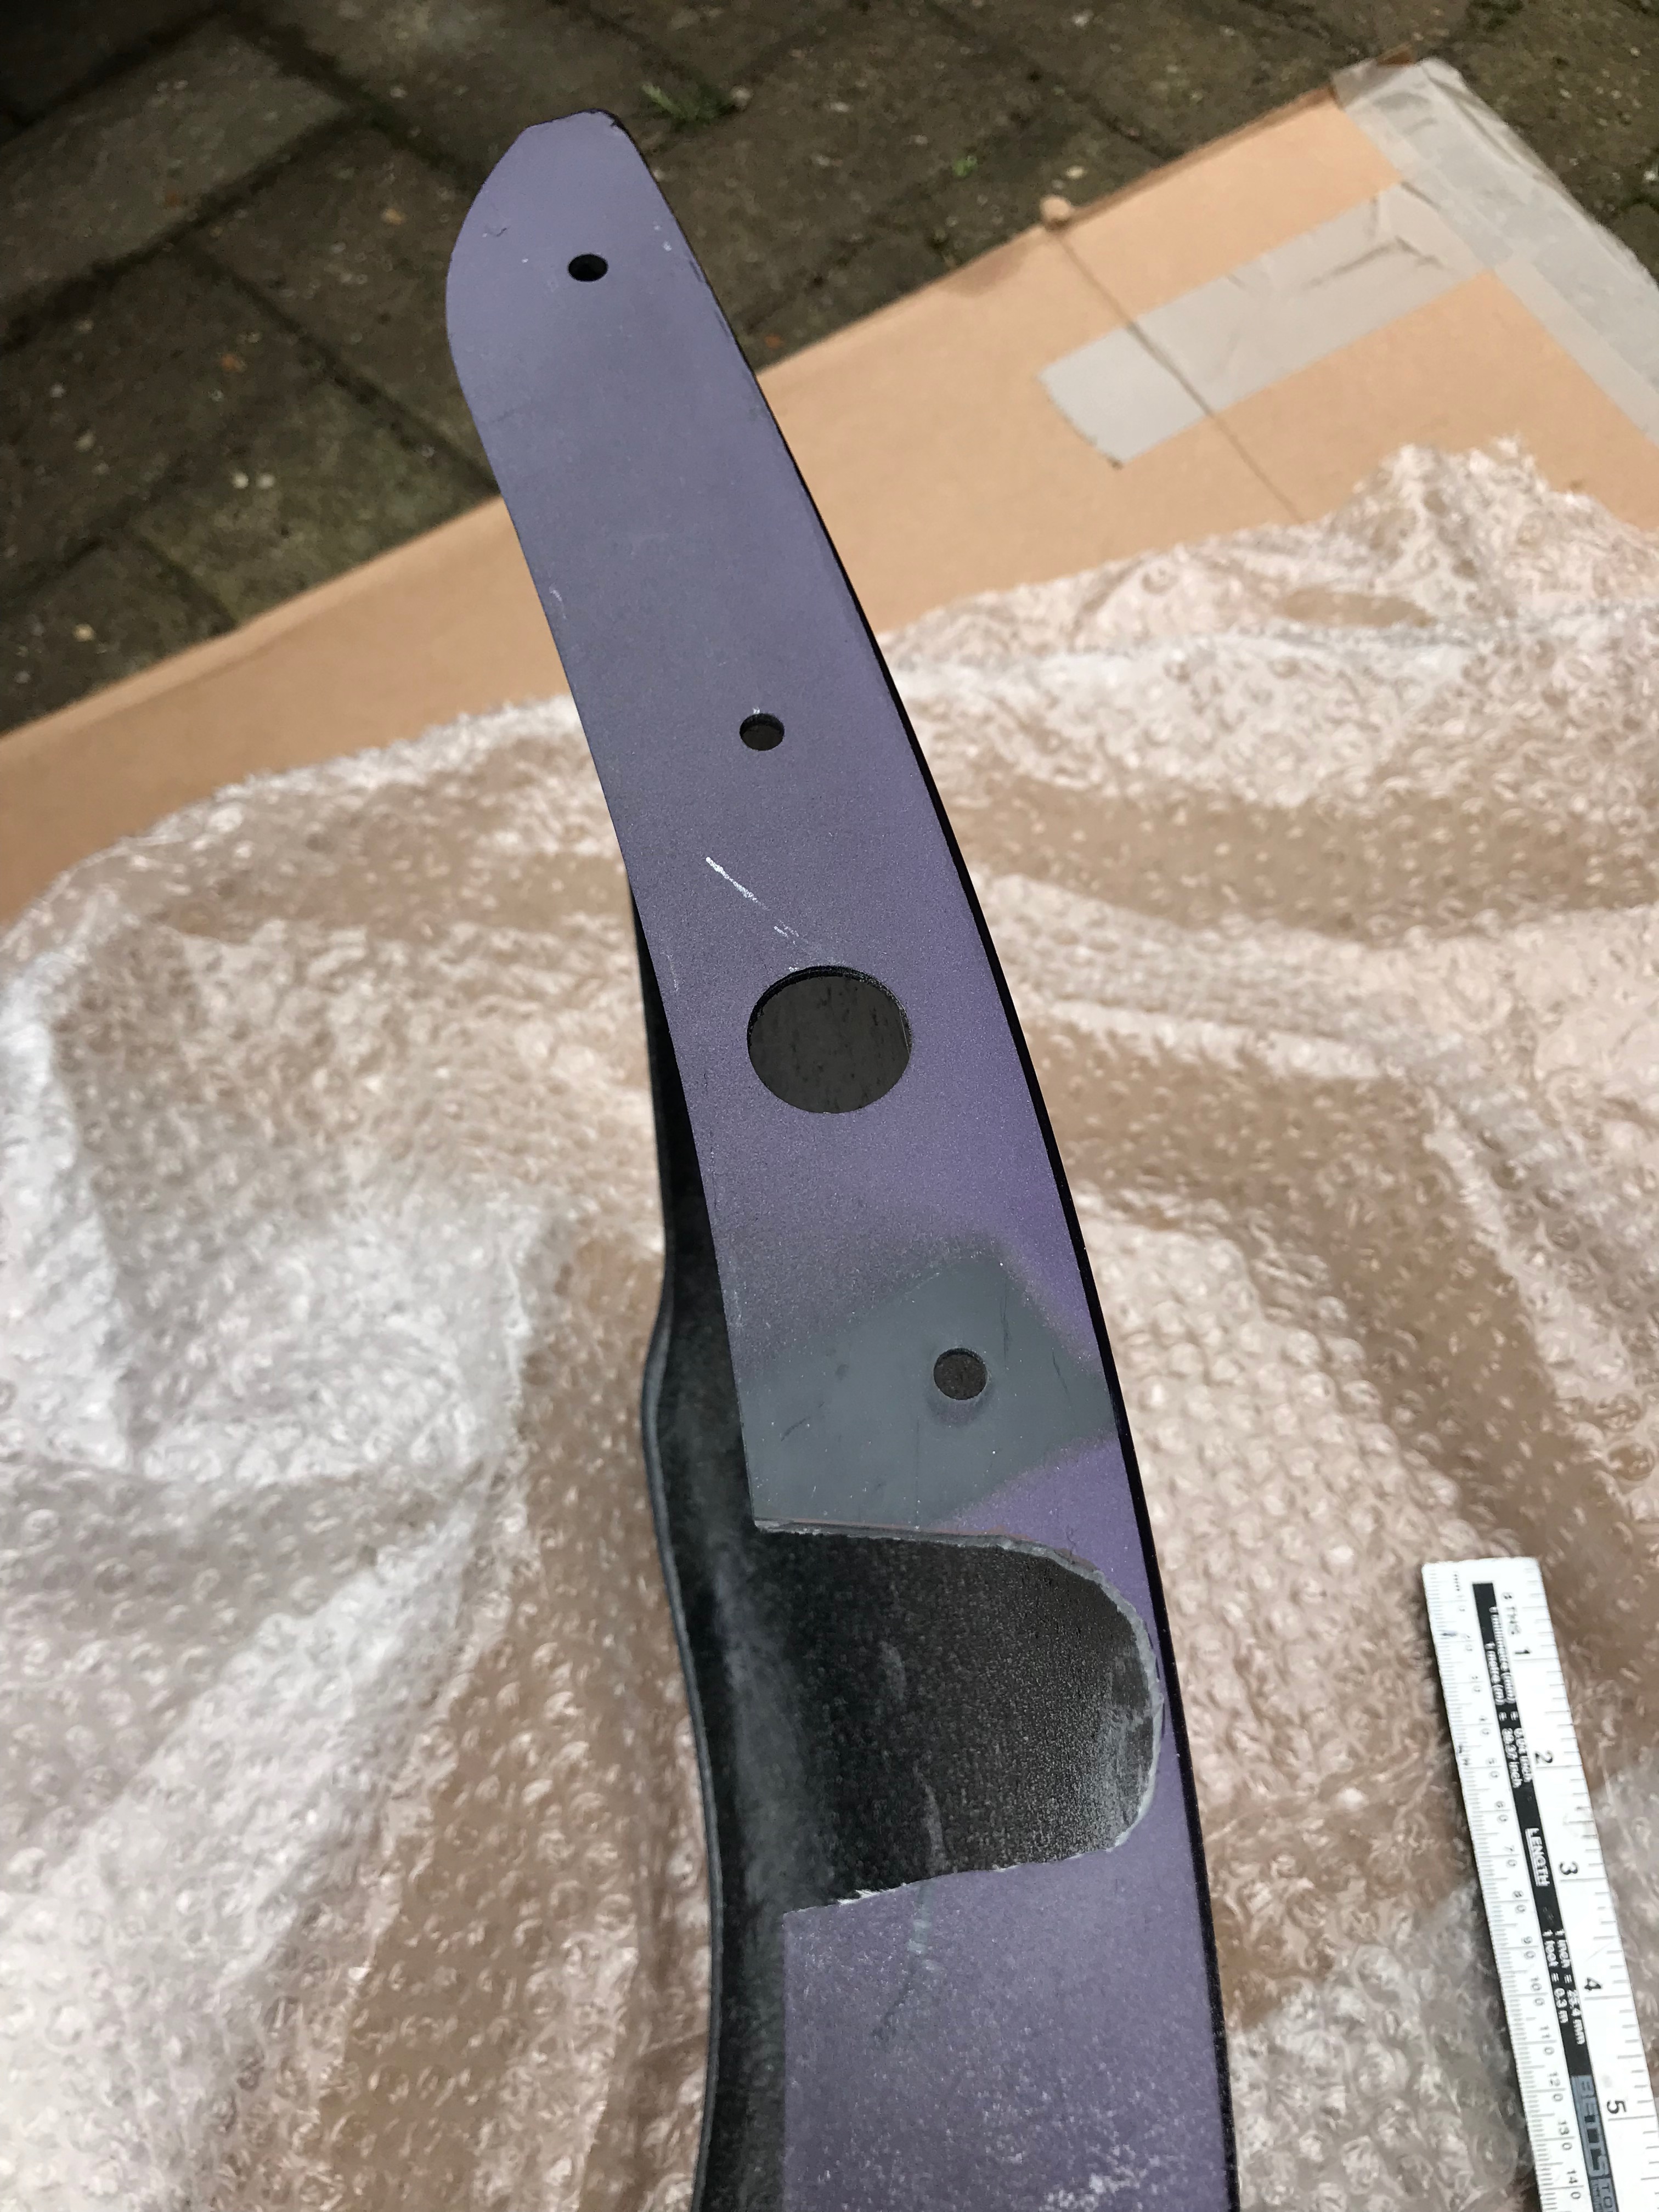
The slot seemed a bit excessive, and reduced the rigidity of the wing at that point, but the manual says that that’s ok because it’s going to be well secured to the bodywork and won’t make a difference once in place. I managed to make a smaller slot for the LHS wing when I got to that later in the day.
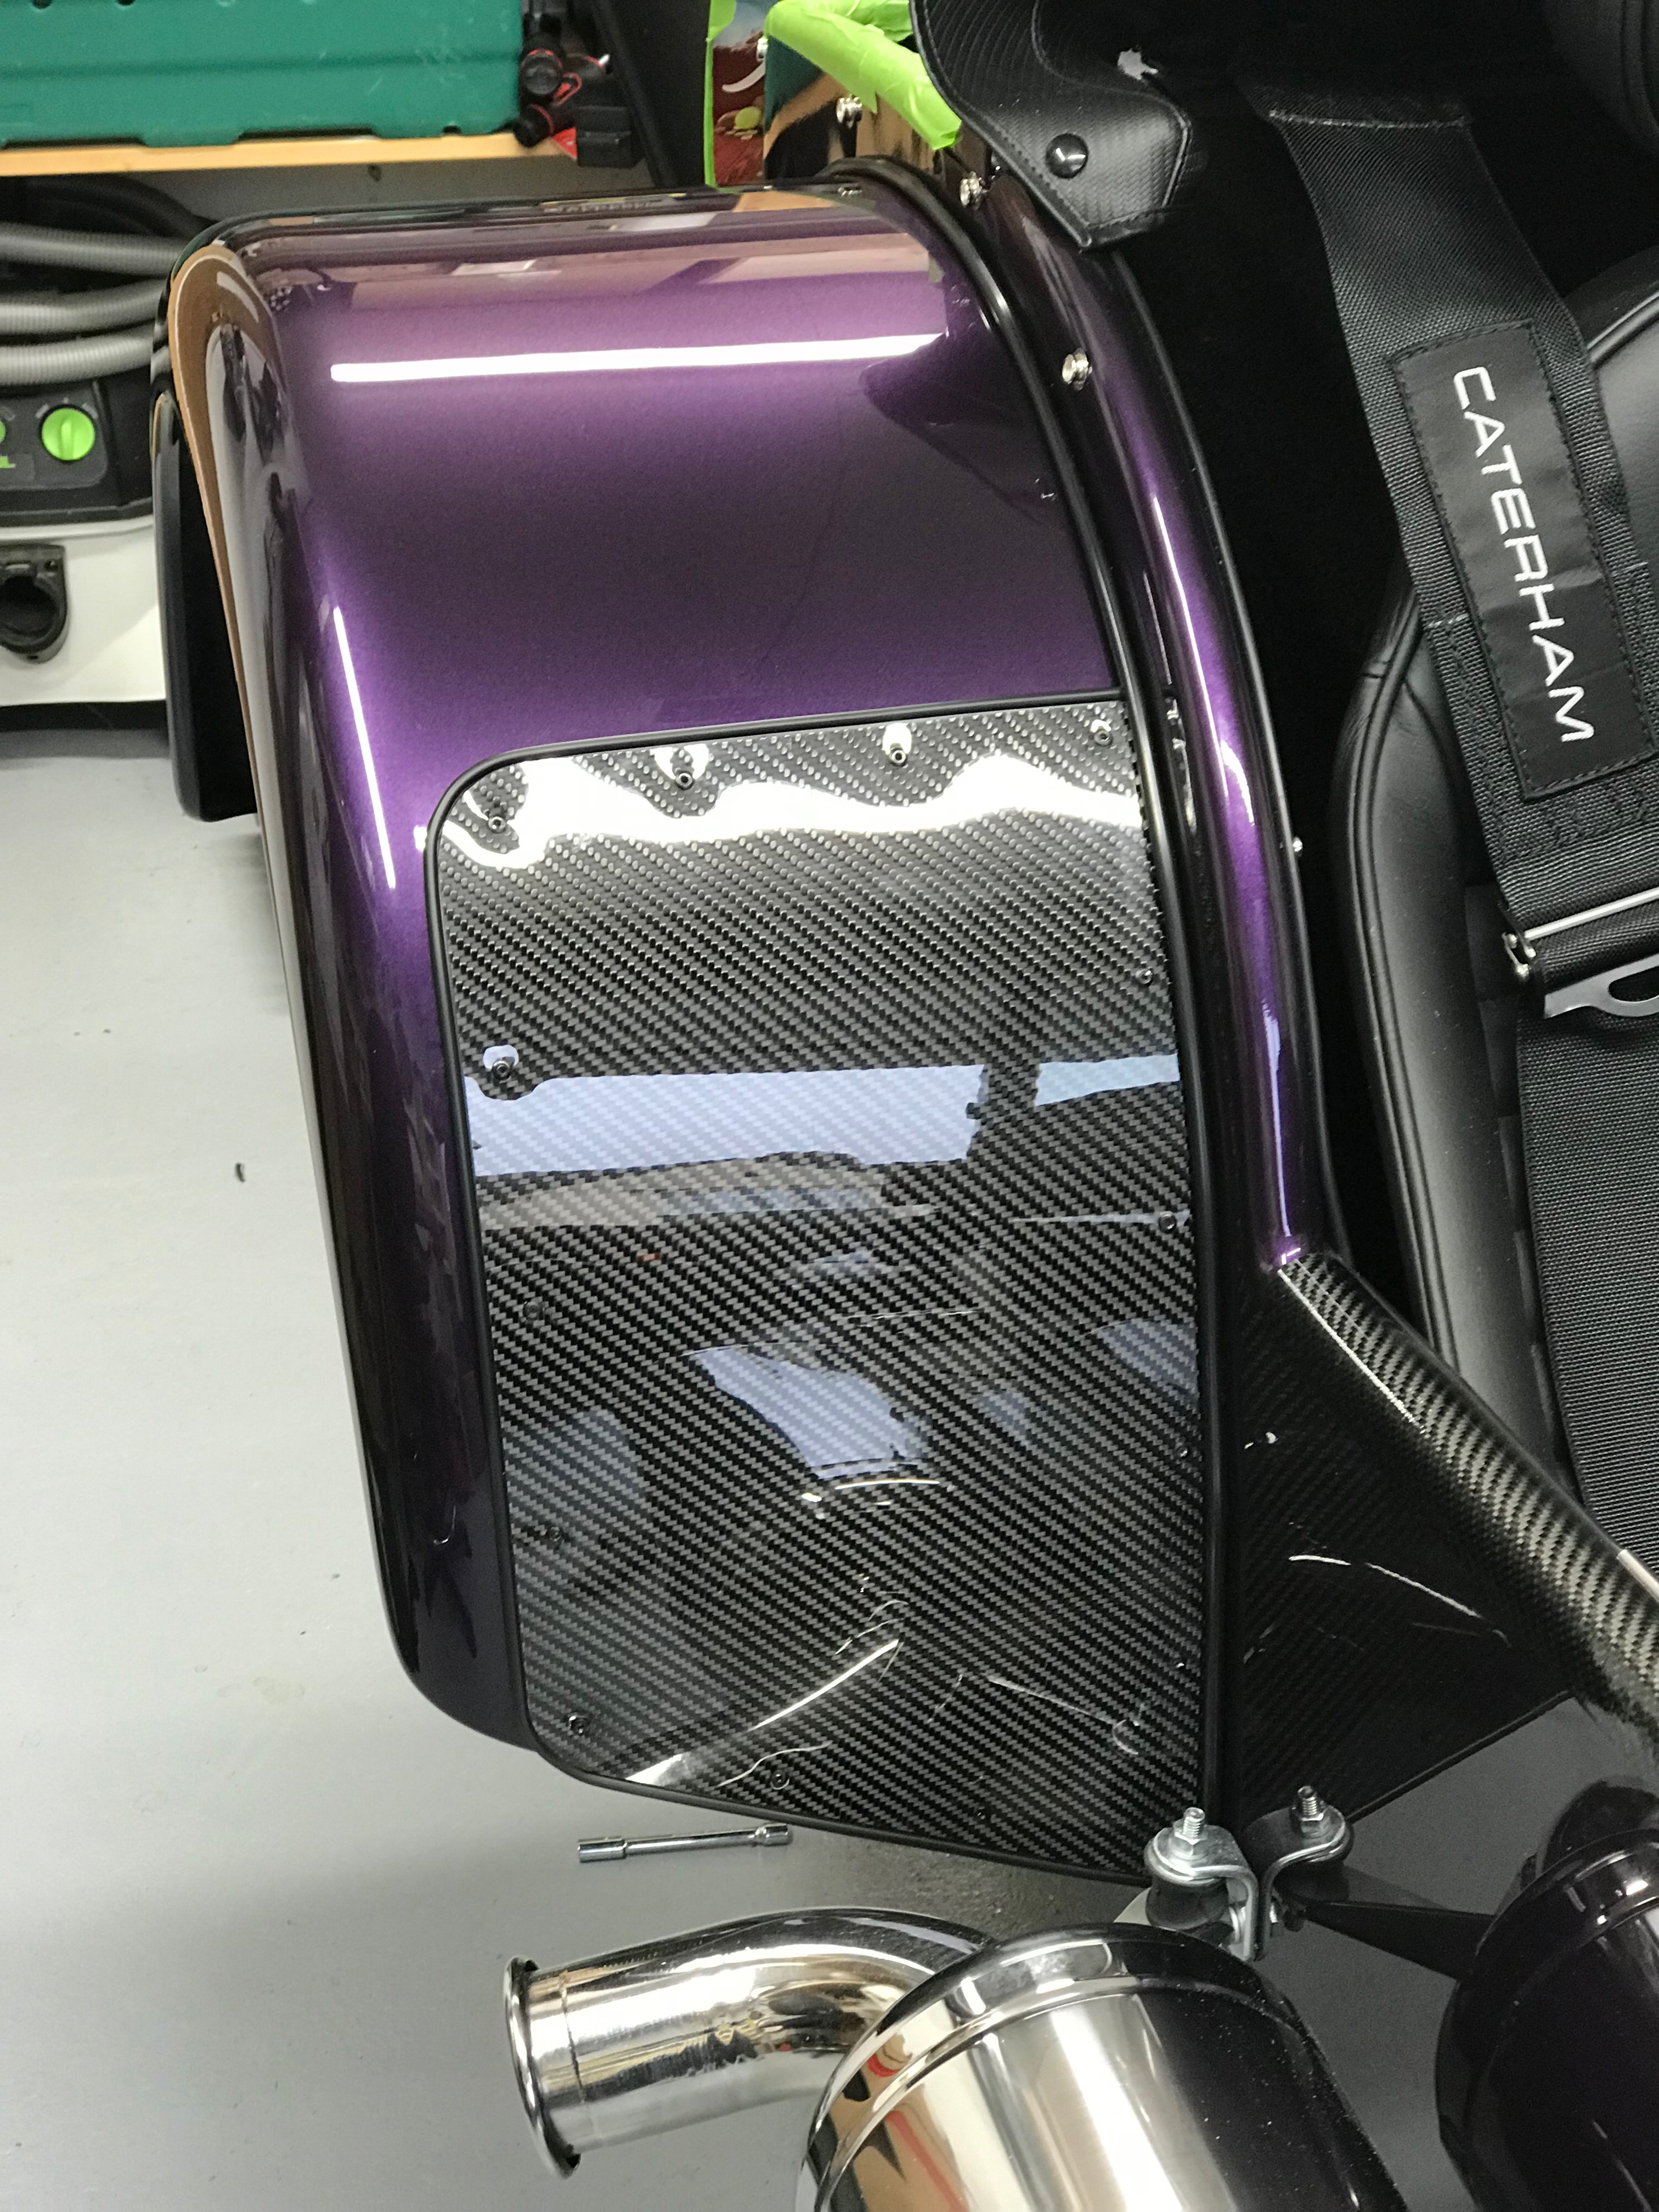
Testing out the Wing Fit
Now I could temporarily tack the wing to the bodywork and see how it hung. That allowed me to visualise where all the trim piping would go and where the stone guards needed to sit so there were no gaps and they didn’t interfere with the fit of the wings.
I found that not all of the wing mounting holes lined up with the bodywork. So… Out with the dremel again and fettle those holes. I found the RHS wing worse in this respect than the LHS wing… though I’m fully open to the fact that I was more prepared to “persuade” the LHS wing into position at that point in the game.
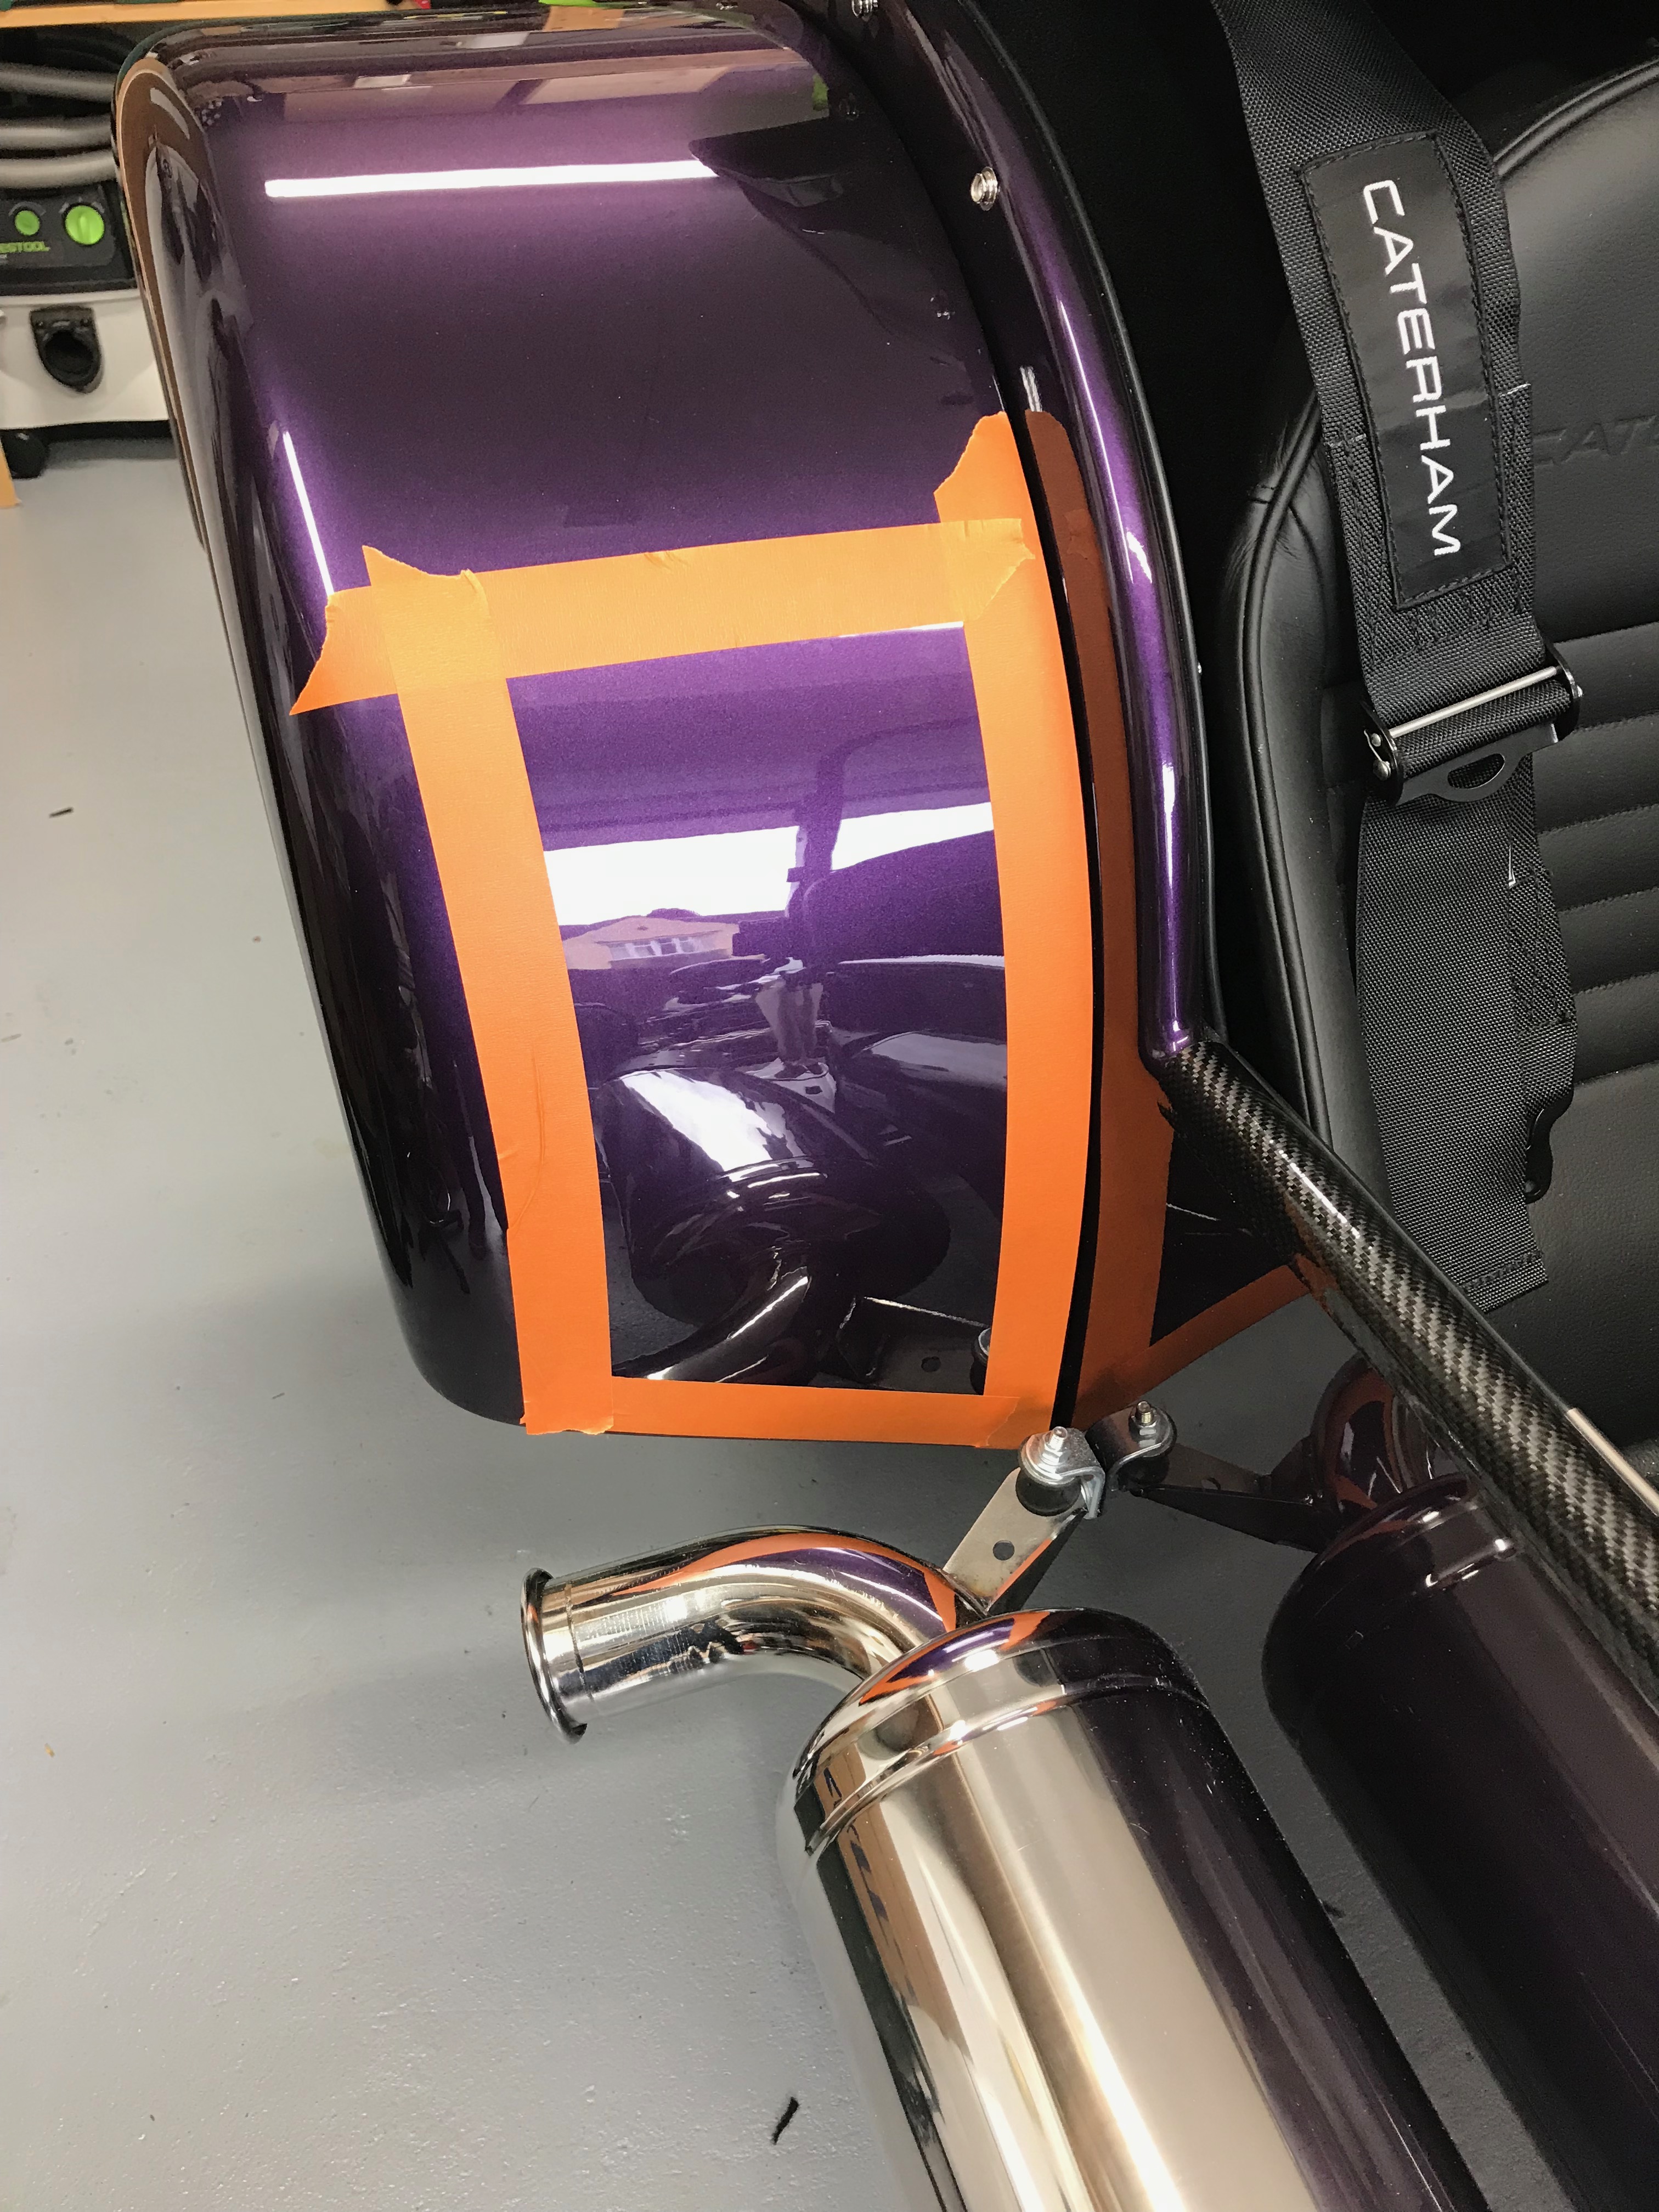
I applied masking tape to the wing where the stone guard would sit, again allowing me to visualise things better…
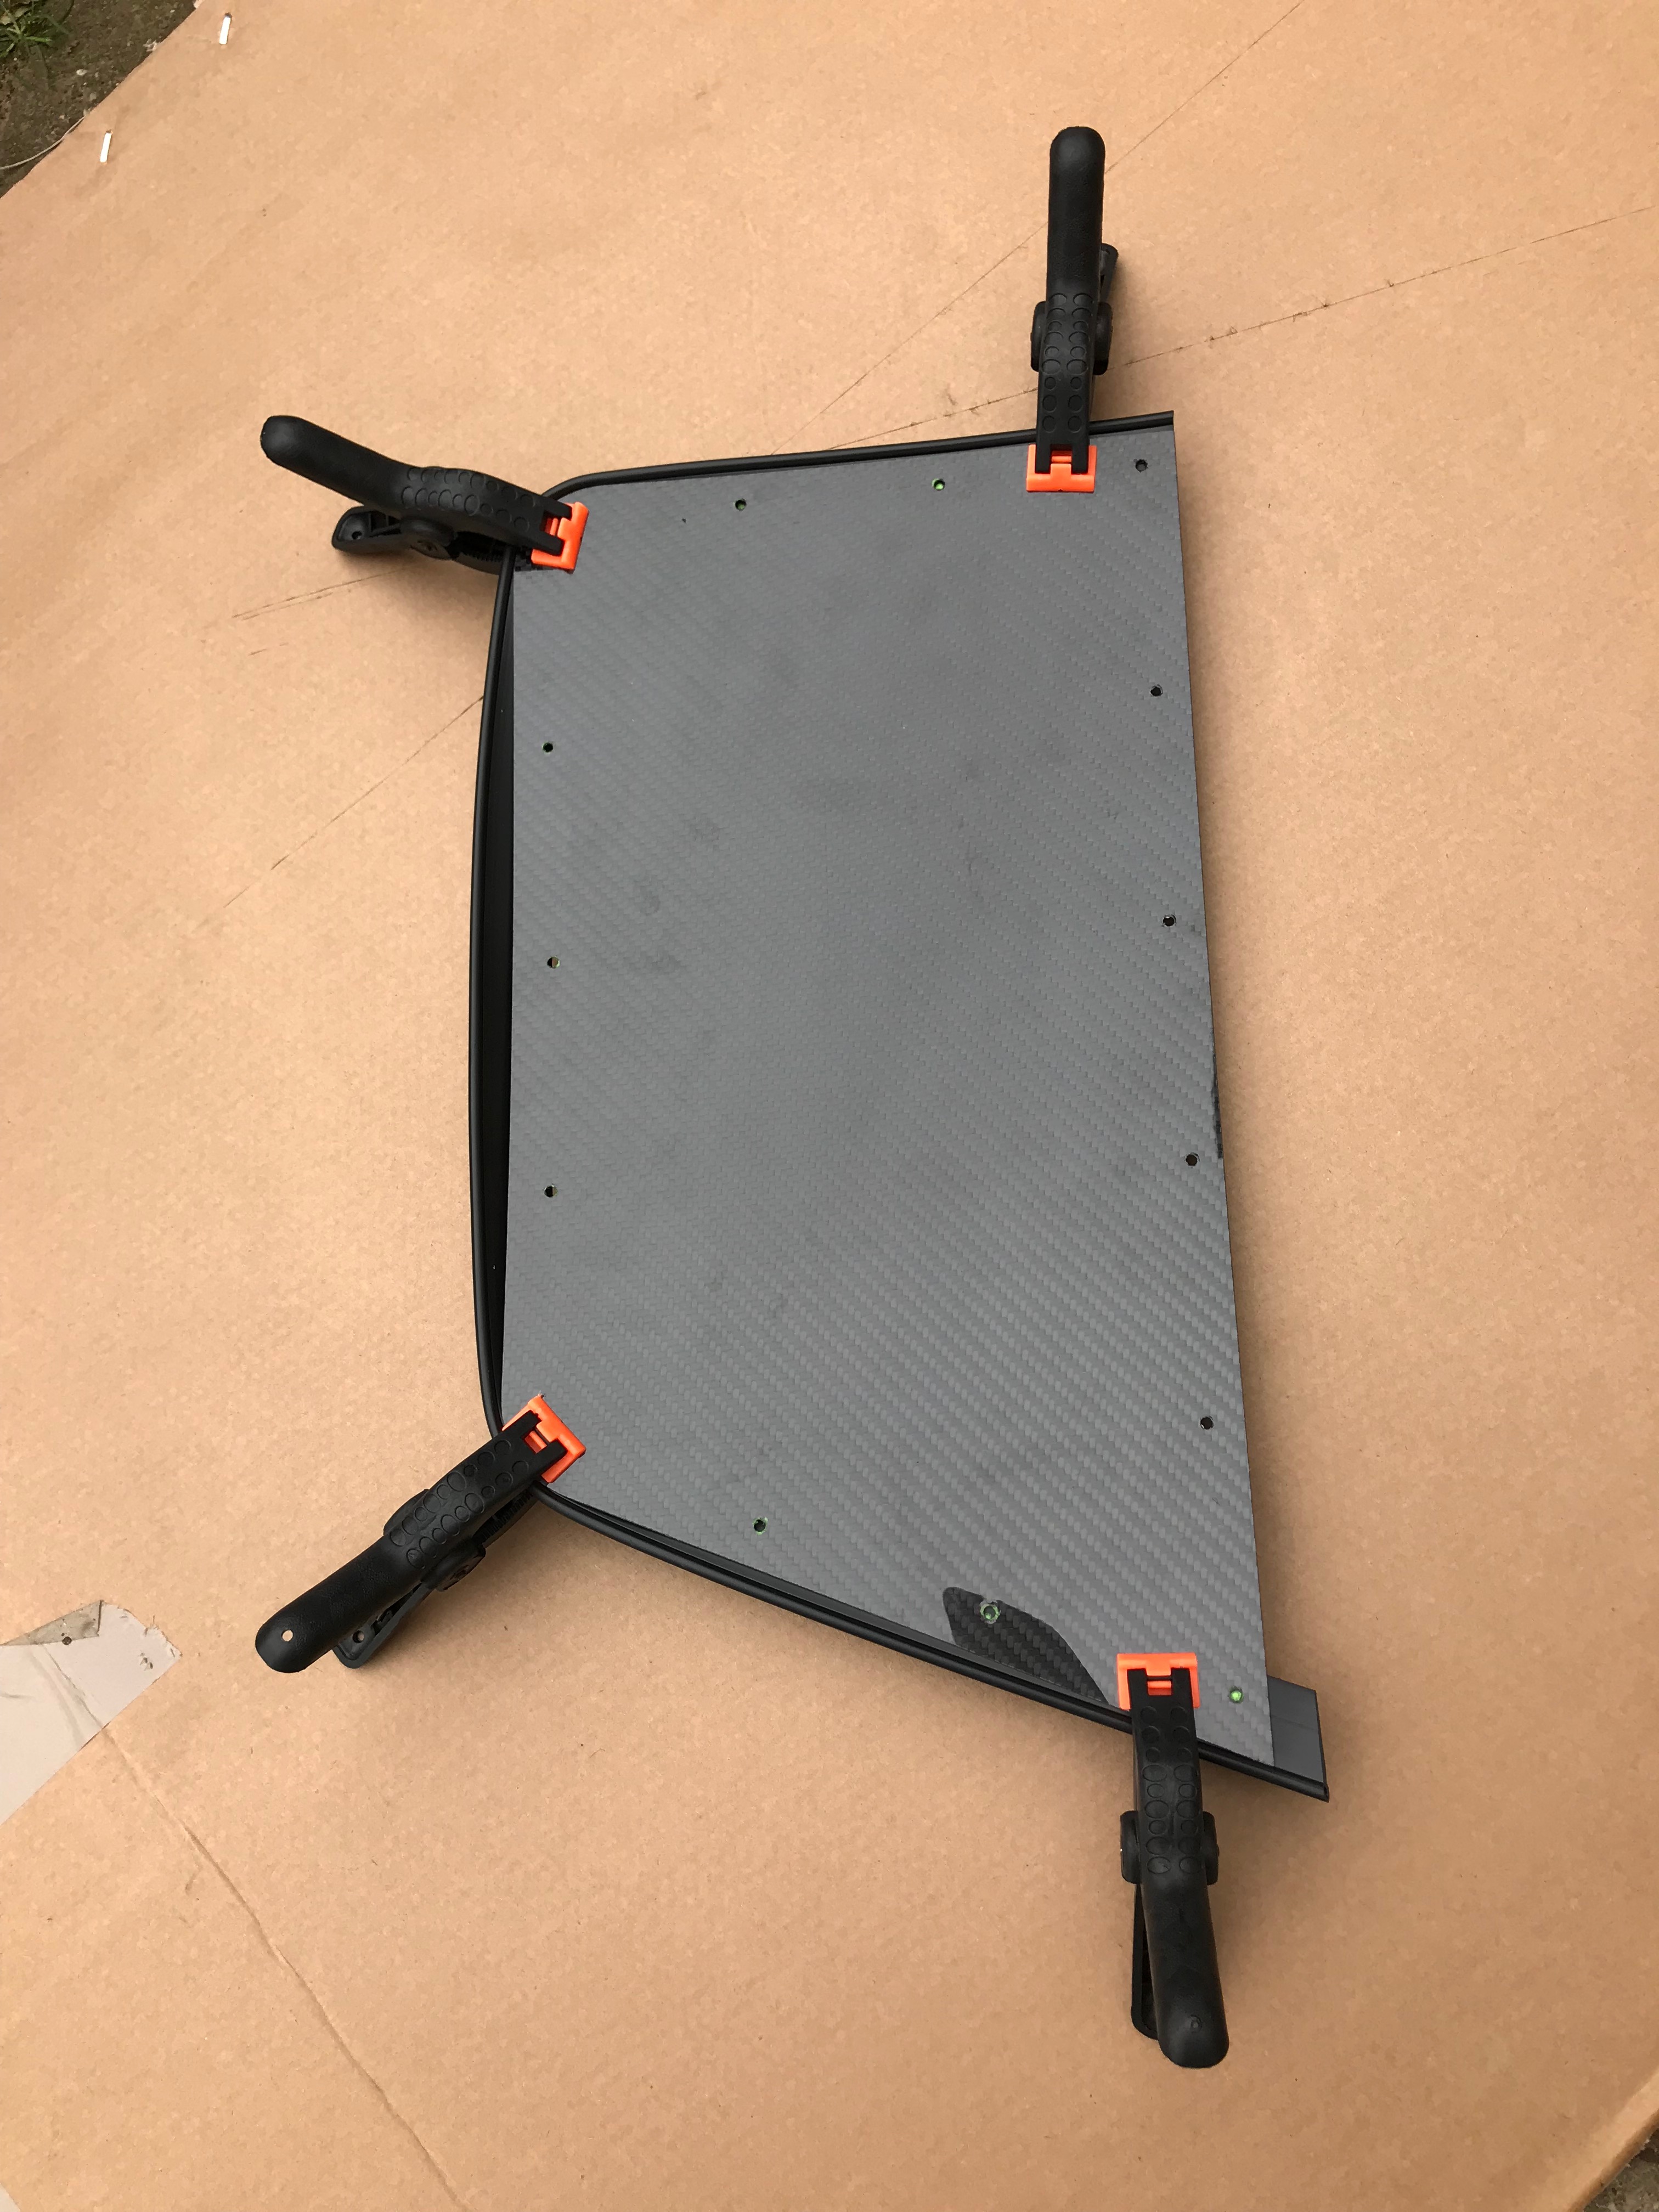
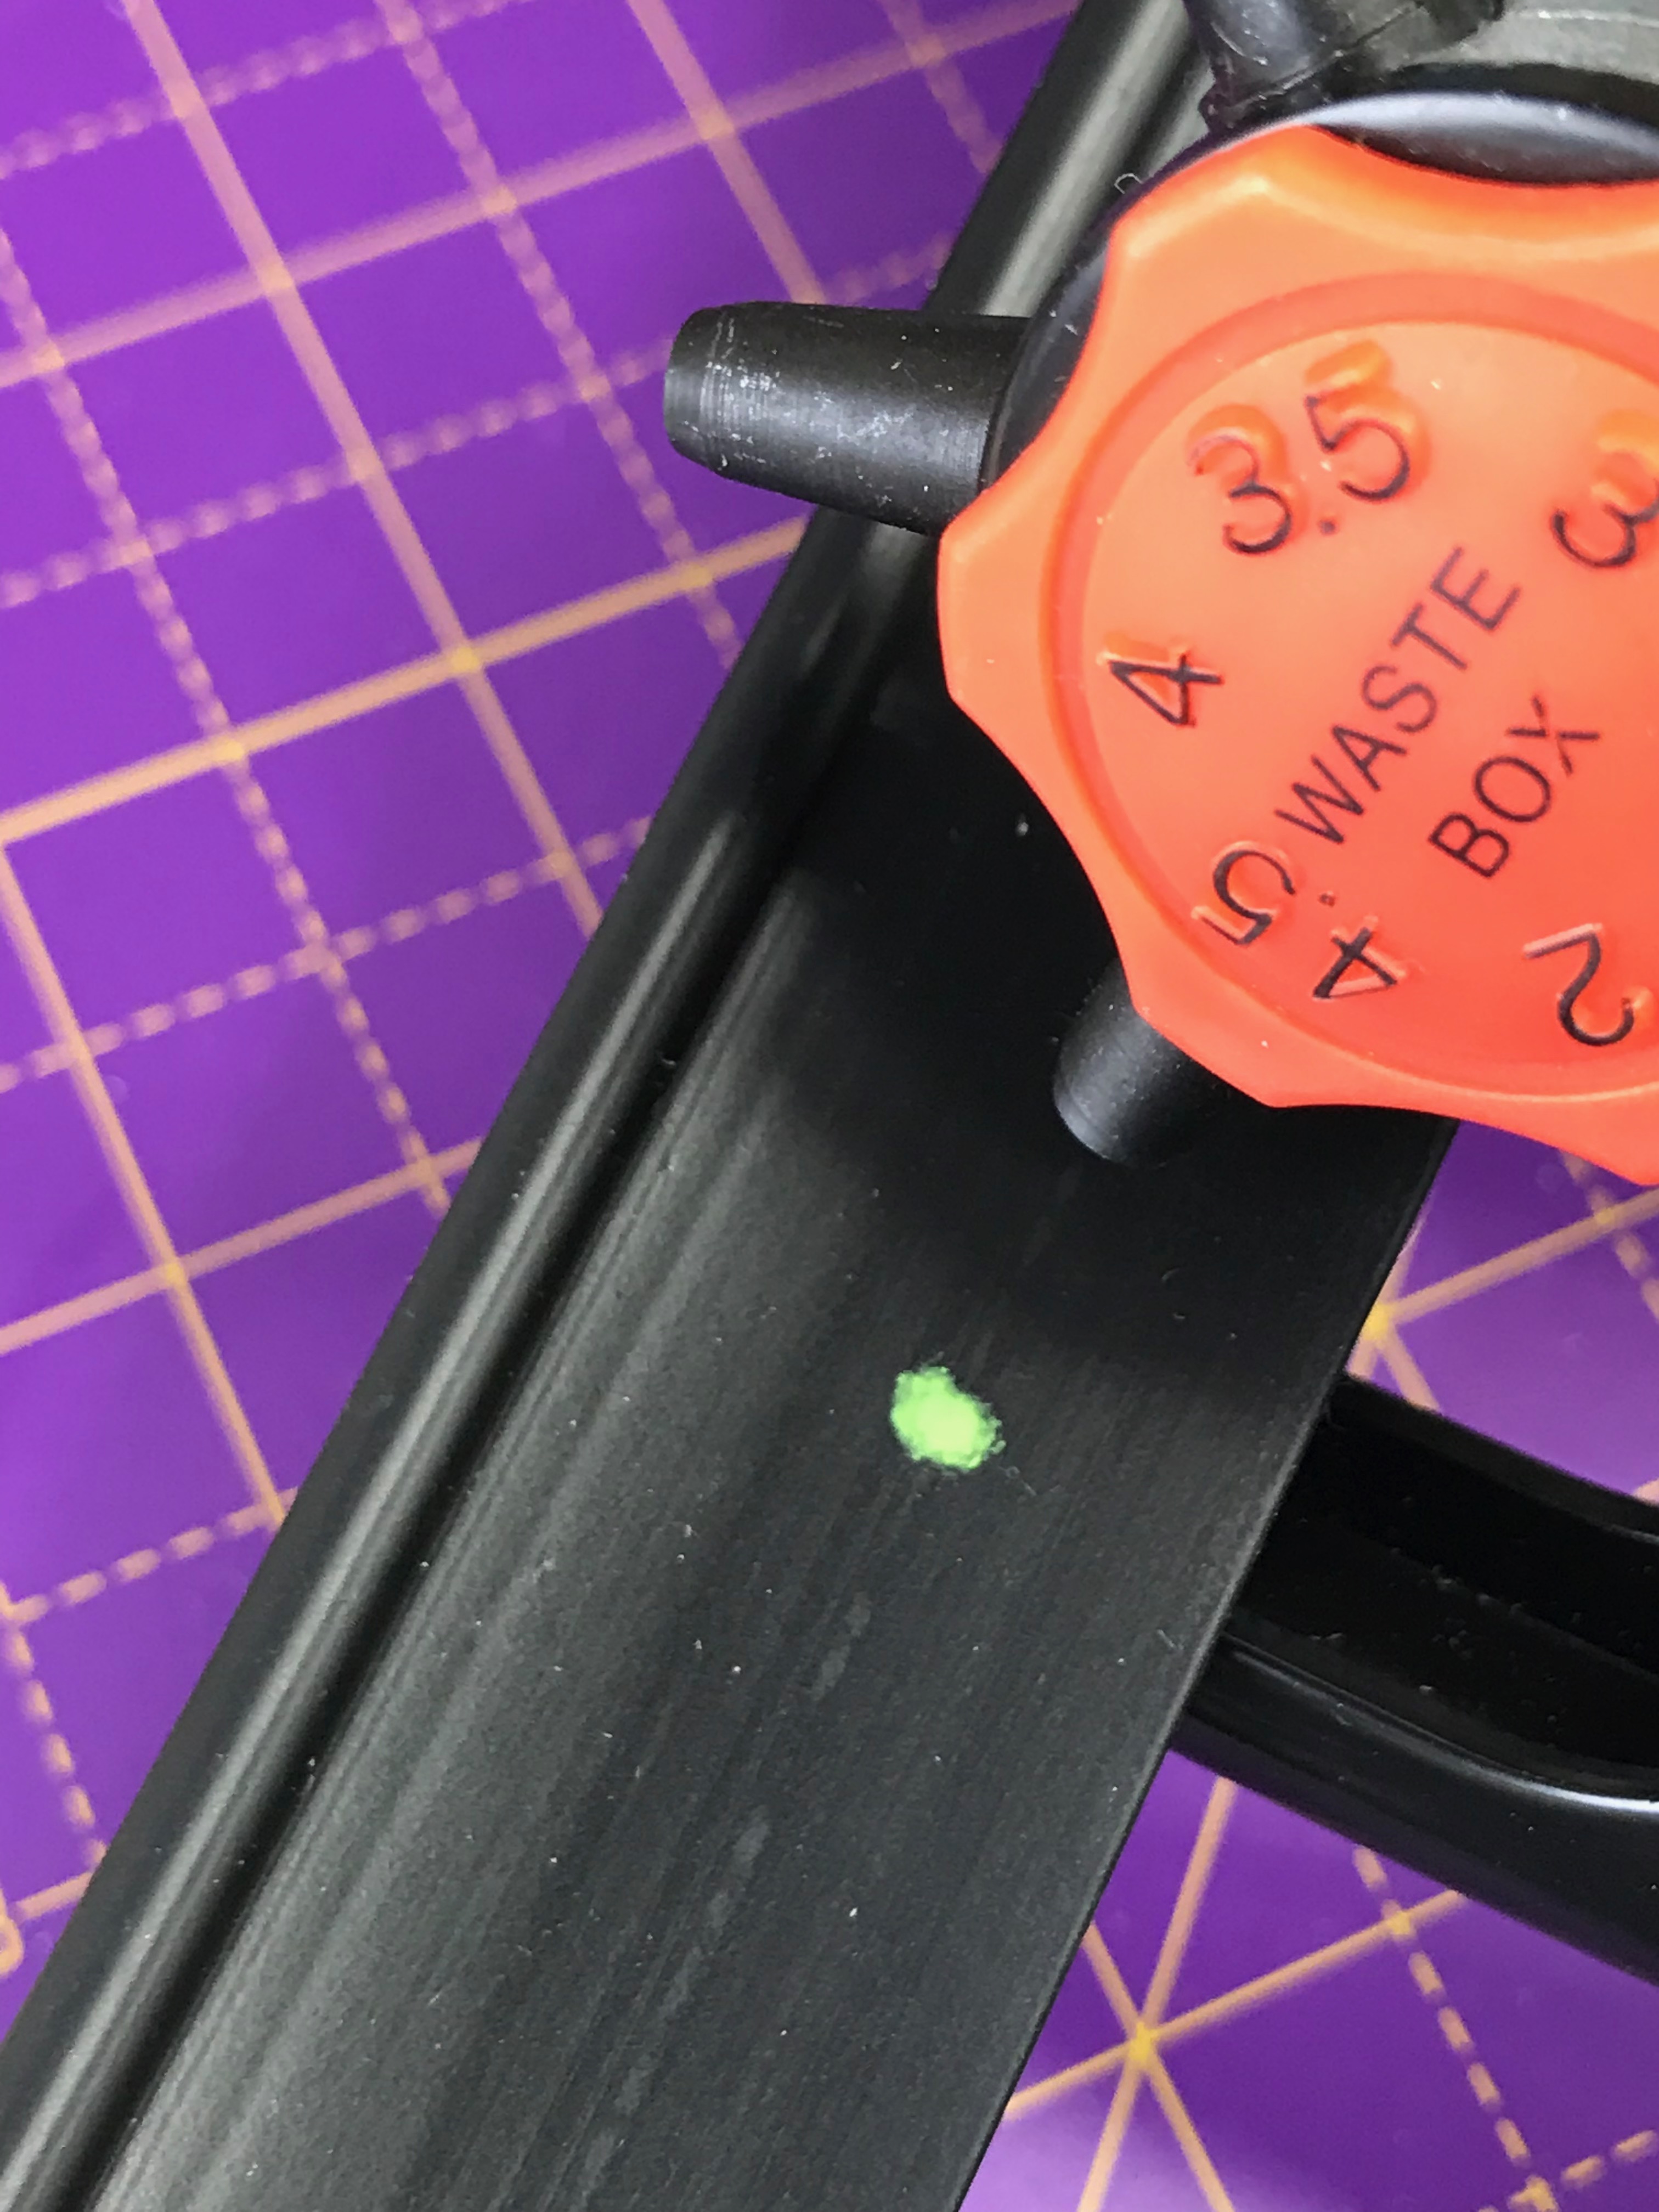
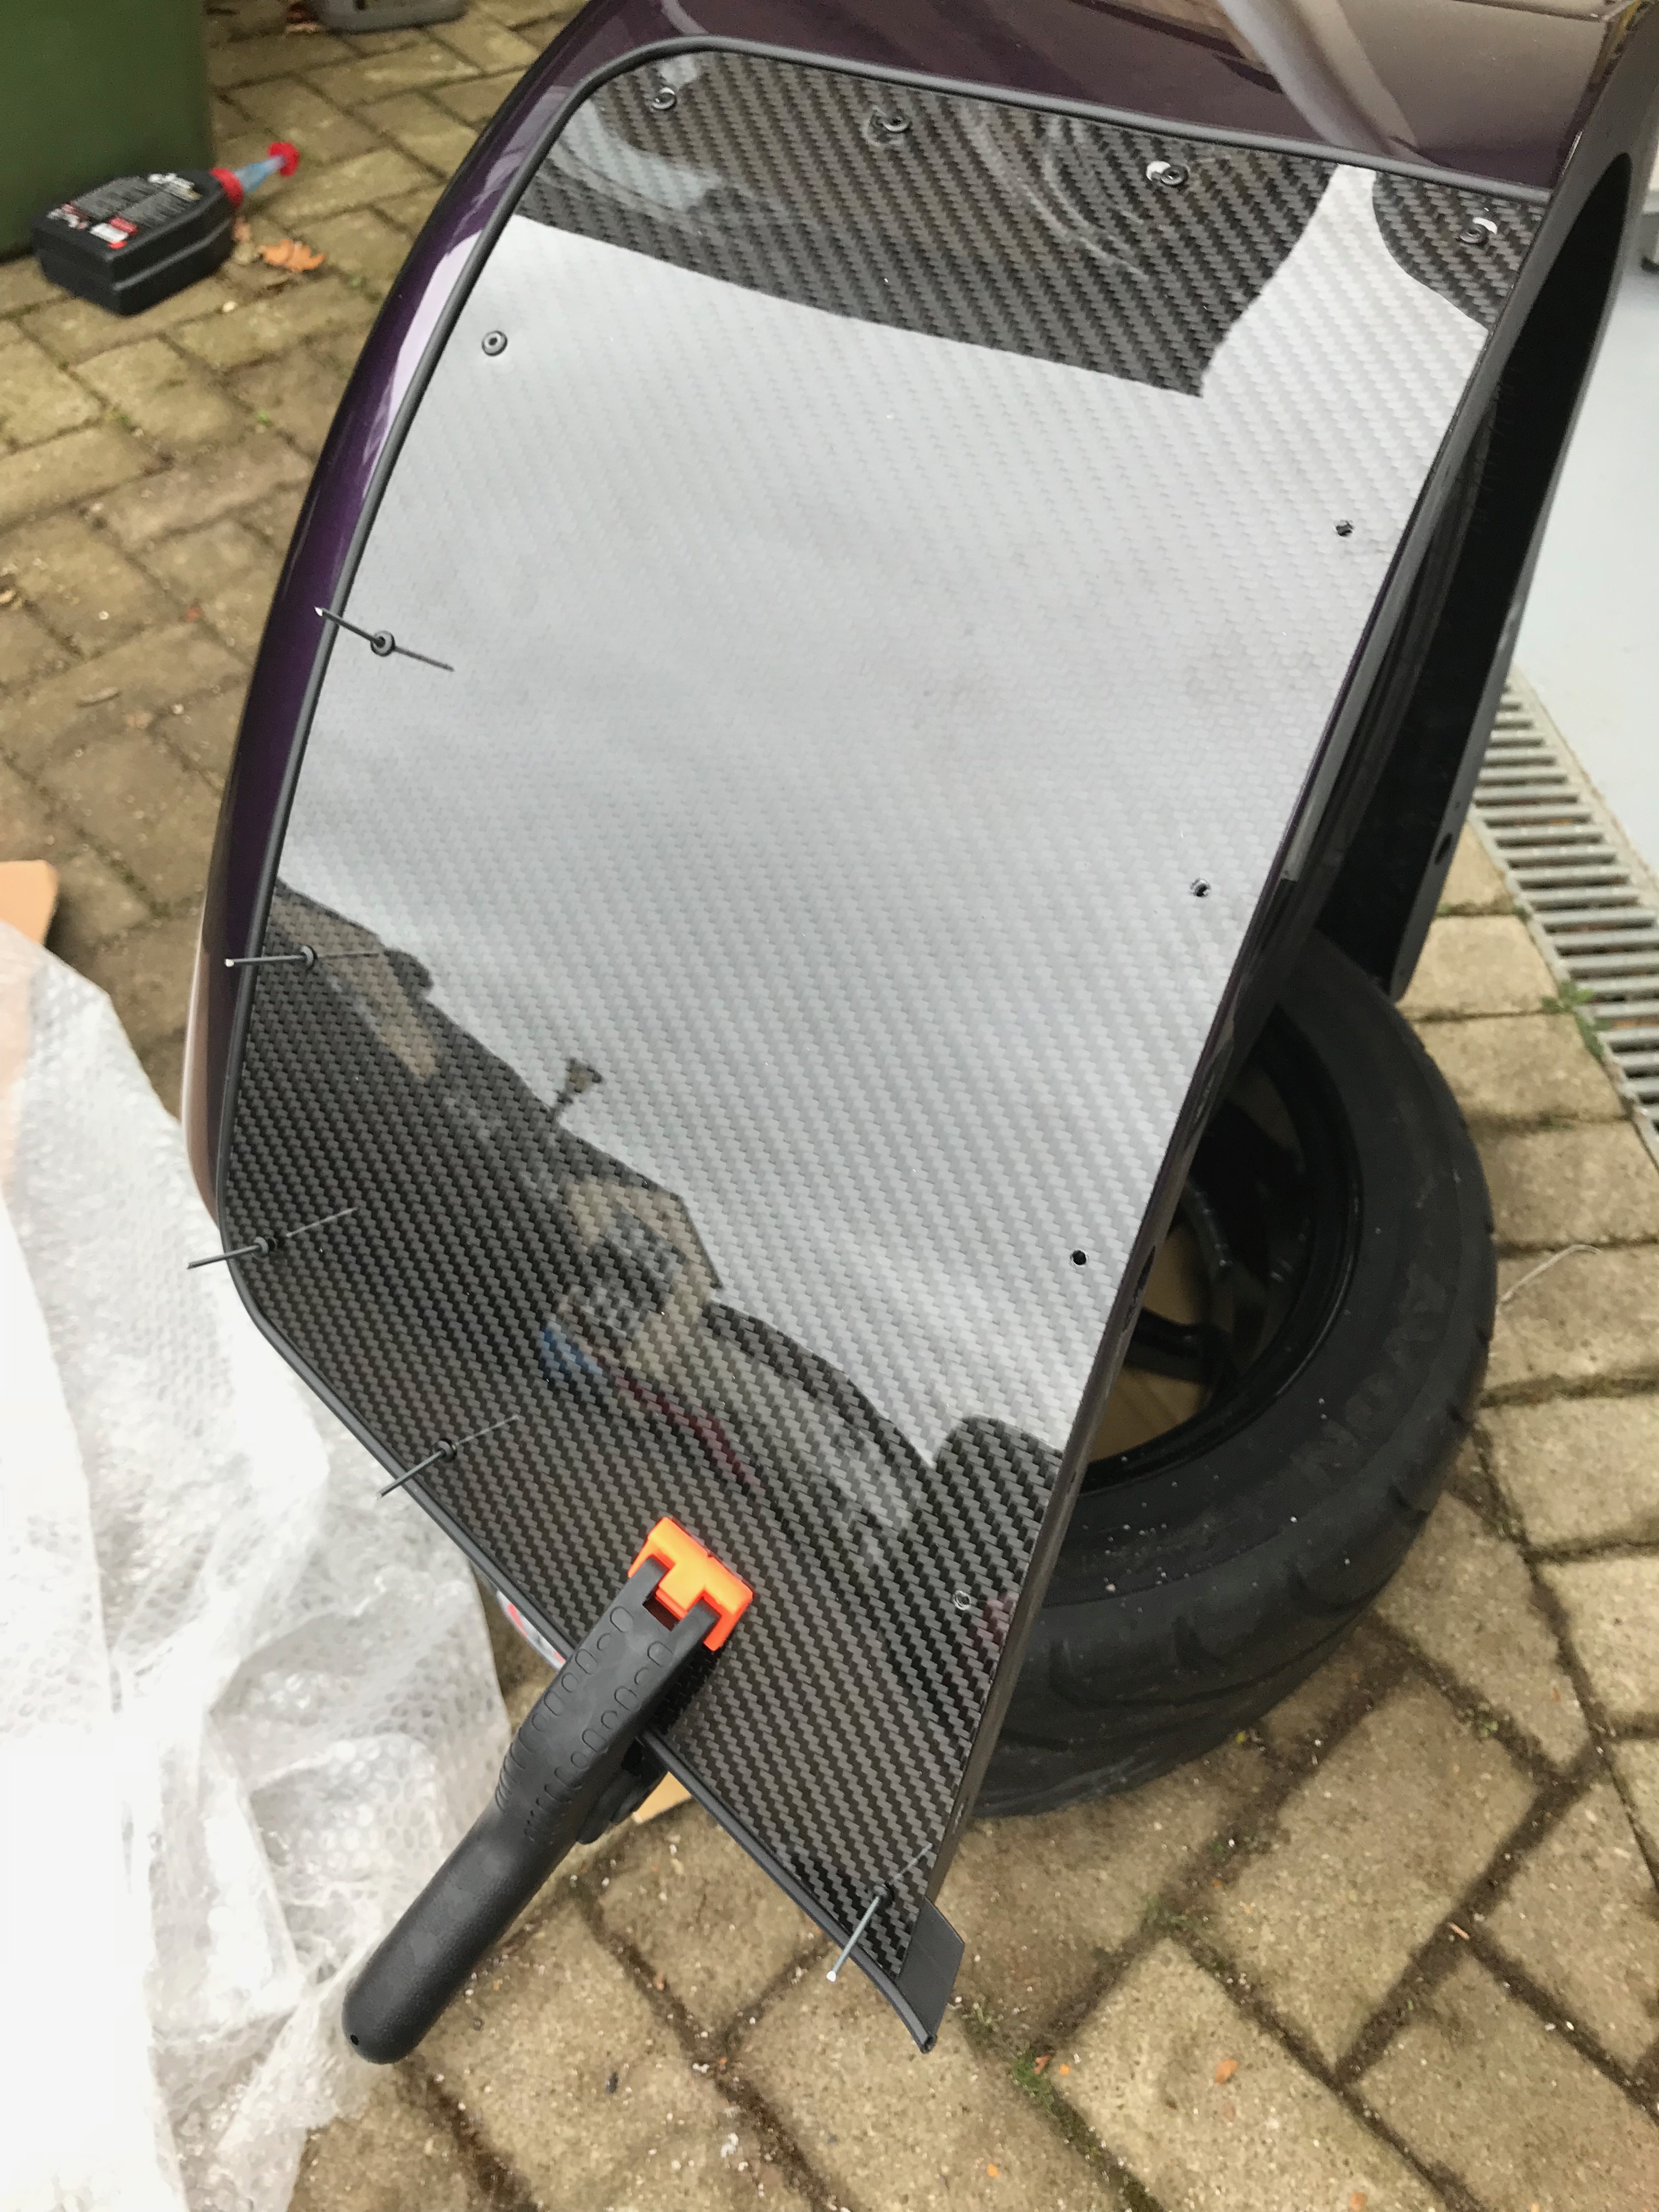
The next problem I had, in the little space that was available to me, was how to hold the rear wings as I worked on them. Cutting the radius arm slot allowed me to place them on cardboard on their side, but the stone guard fitting seemed to need to have them upright. It was also due to rain today (and it did) so I wanted something portable. The solution was staring at me…

Of course I had to be careful not to drill through the wing and into the tyre, but I managed that ok through the day. What I was less successful with was not scratching the wheels. I’d put cardboard down to protect them on the floor but managed to drop one of the wheels onto the stone floor and scratched it – bummer!
Drilling the Wing for Stone Guards
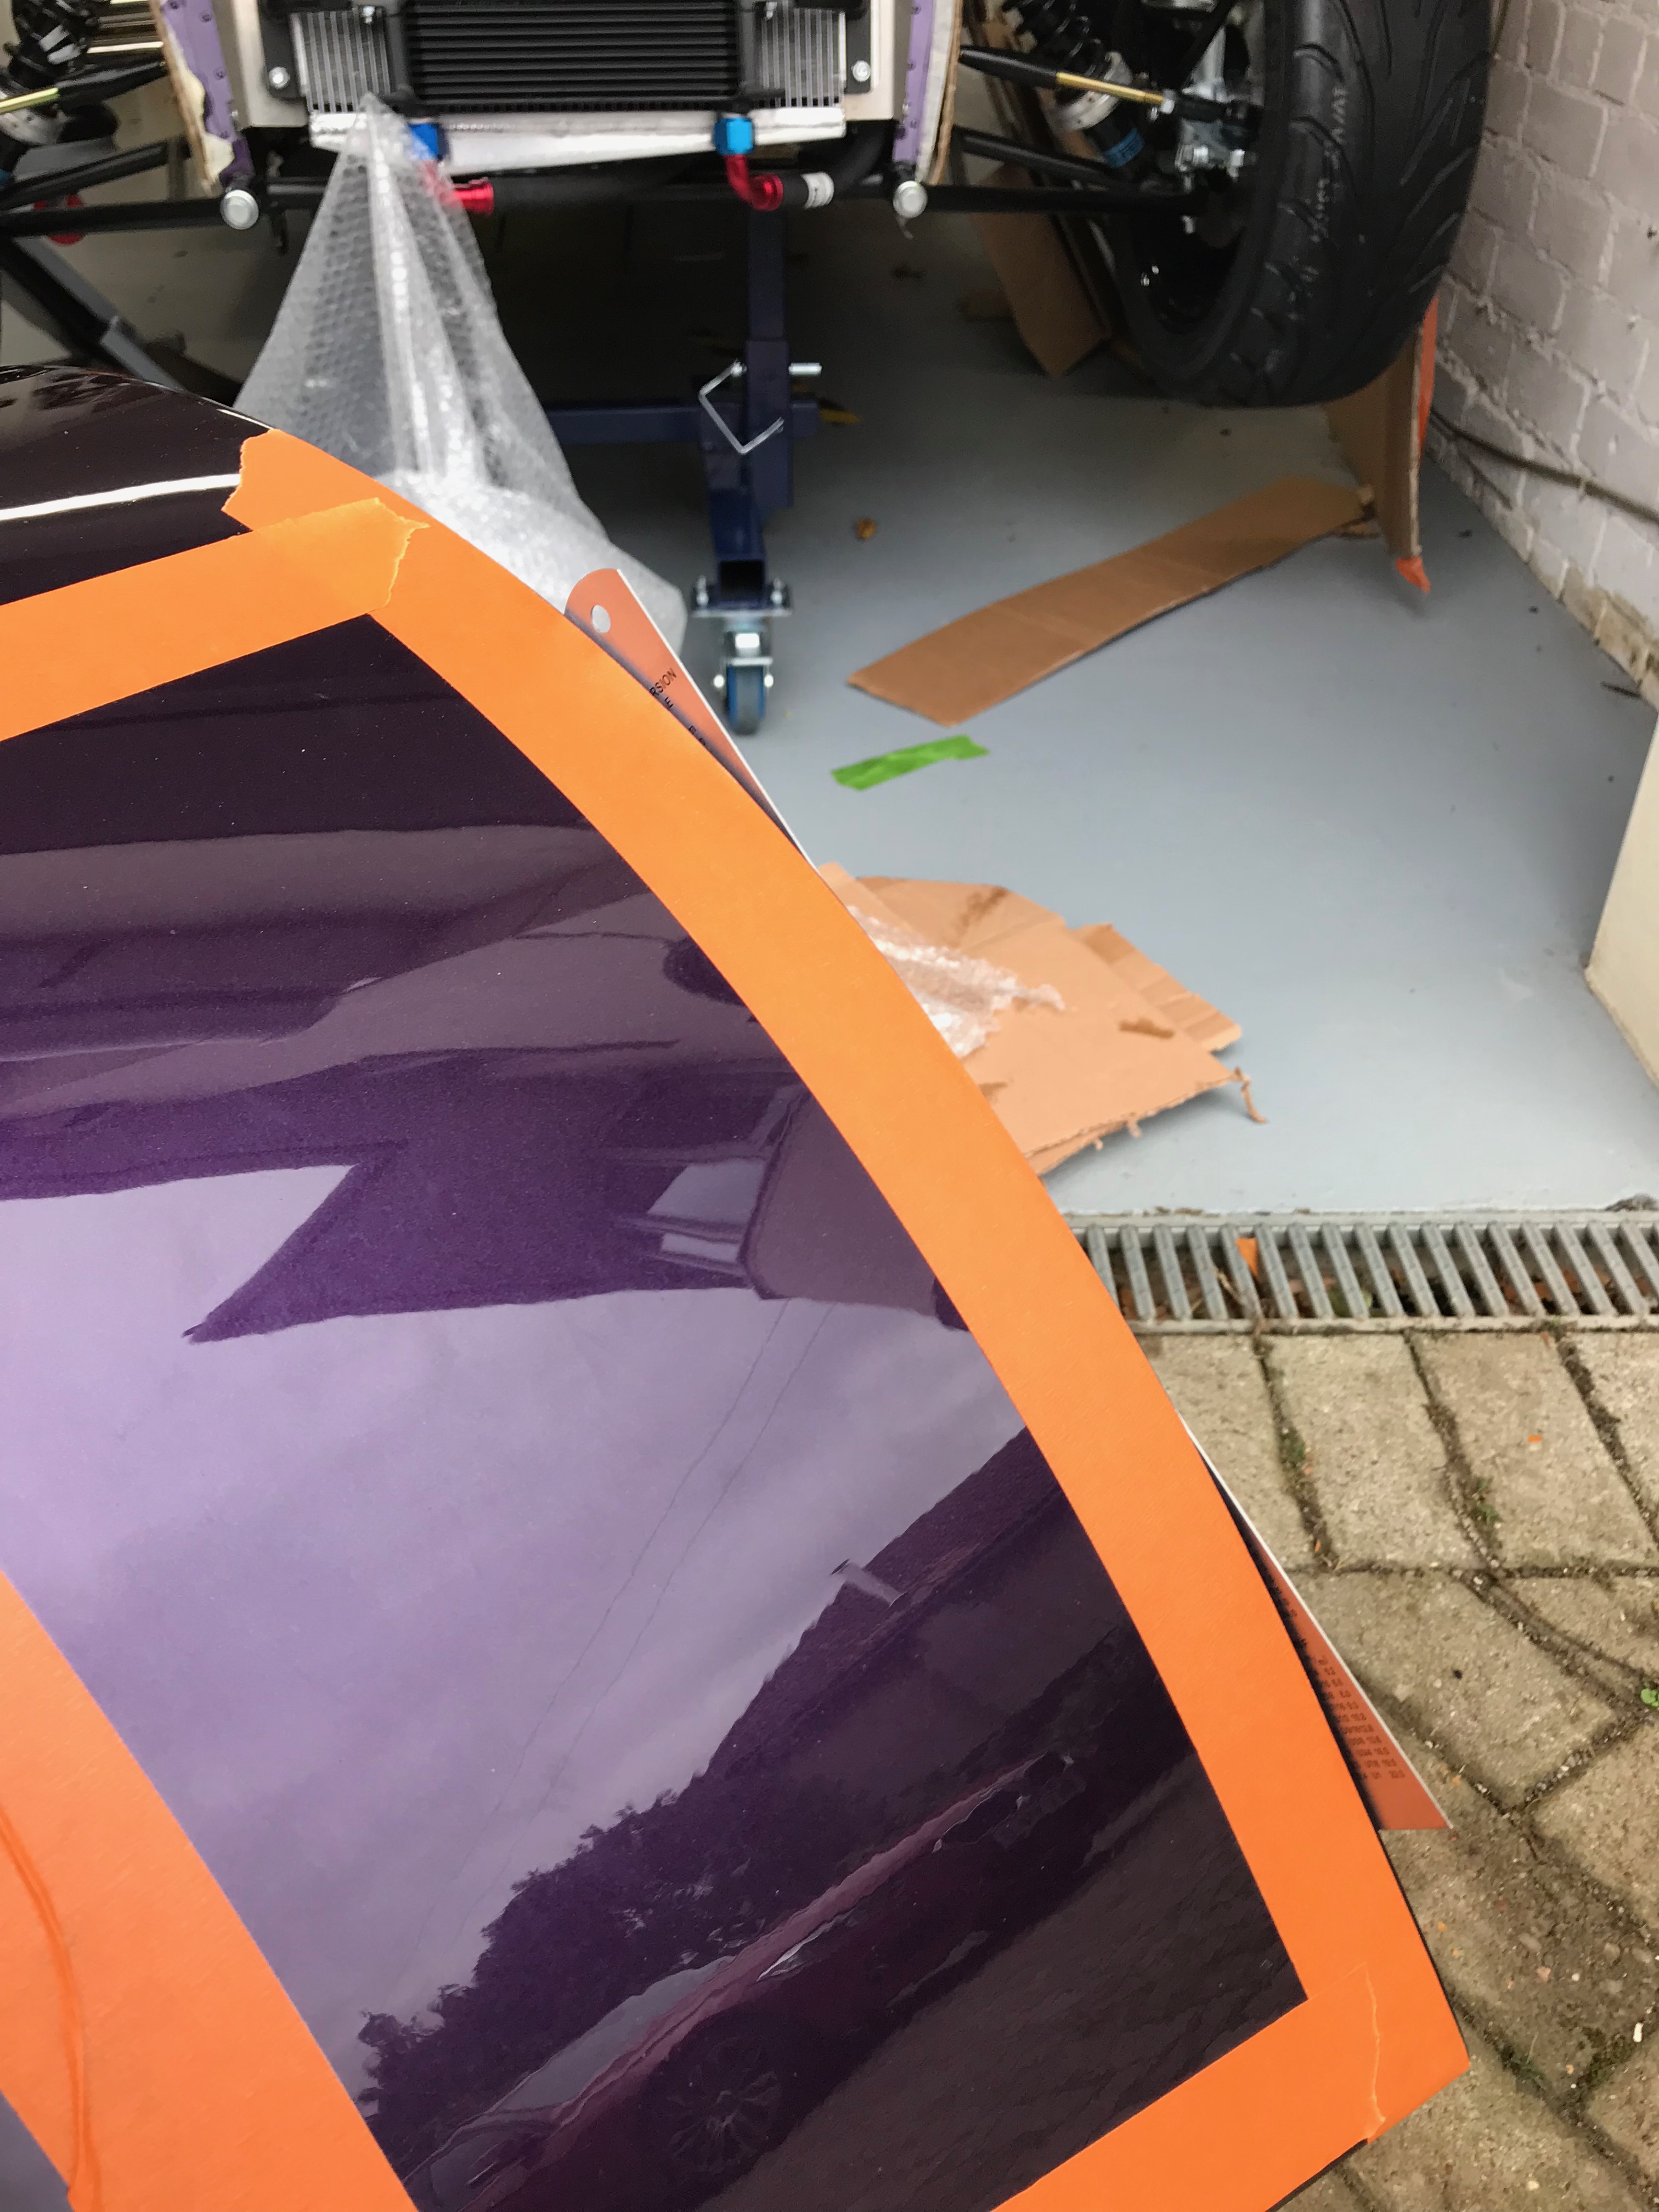
I’d been prevaricating enough now… time to get the drill out. The guards need to sit hard up against the edge of the wing, so I added a straight edge to help me…
I could then clamp the stone guard to the wing…

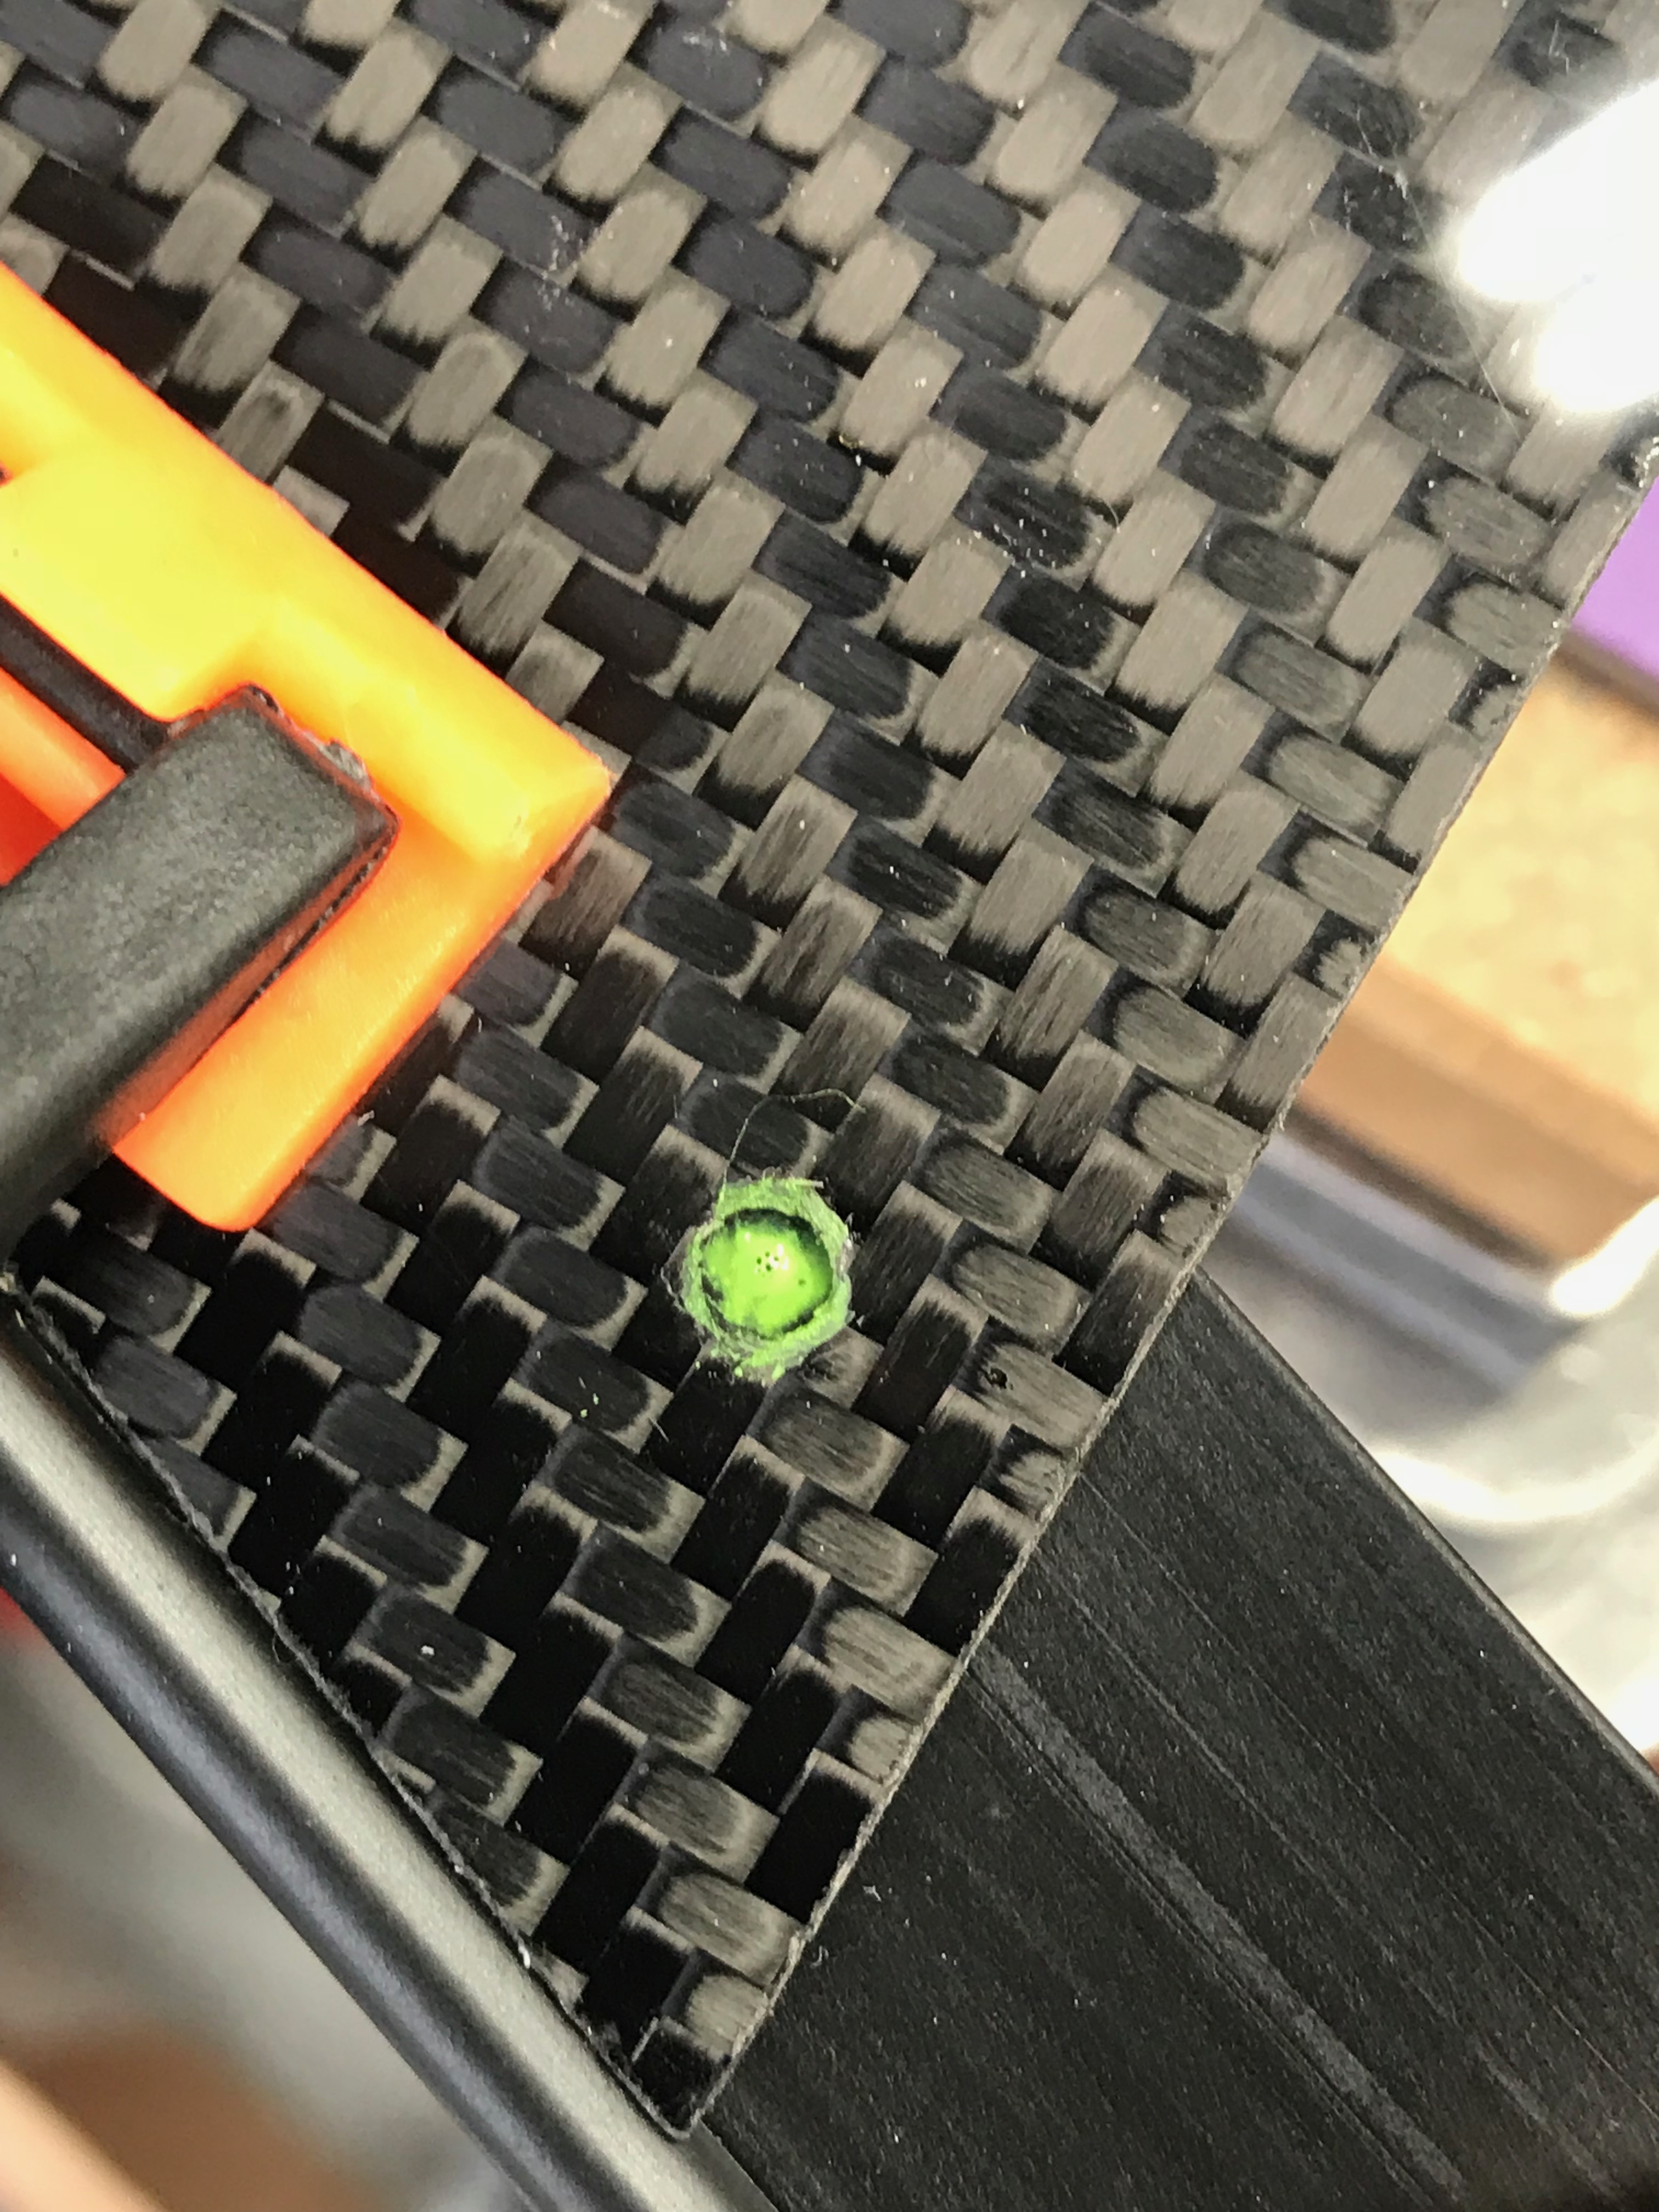
These carbon stone guards are pre-drilled with the holes needed to attach them to the wings. So, once I had the guard where I wanted it, I just needed to use my paint-pen and mark through to the masking tape below. On reflection I may have got the stone guard a little low on the wing. The trim protrudes slightly below the line of the wing as I have it. I’m not unhappy with that as it will protect the lower edge of the wing better than how I think Caterham suggest you do it. My only concern is that it might be an IVA issue. [ Note from the future: turned out not to be an issue at all for my test]
There’s another complication to get right here now too. You have to sandwich some trim piping in between the stone guard and the wing. Both the trim and the wing need to have holes drilled or cut into them in exactly the right place. The trim also needs to have “v”‘s cut into it so it will fit without puckering when sitting between the wing and guard.
I found that if I clamped the trim behind a stone guard…
Then I could also use my paint-pen to mark where the holes needed to be…
I also marked the trim where the v’s needed to go. I used my leather hole punch to cut out the green dots I’d made…
Once I’d done, the trim looked like this…

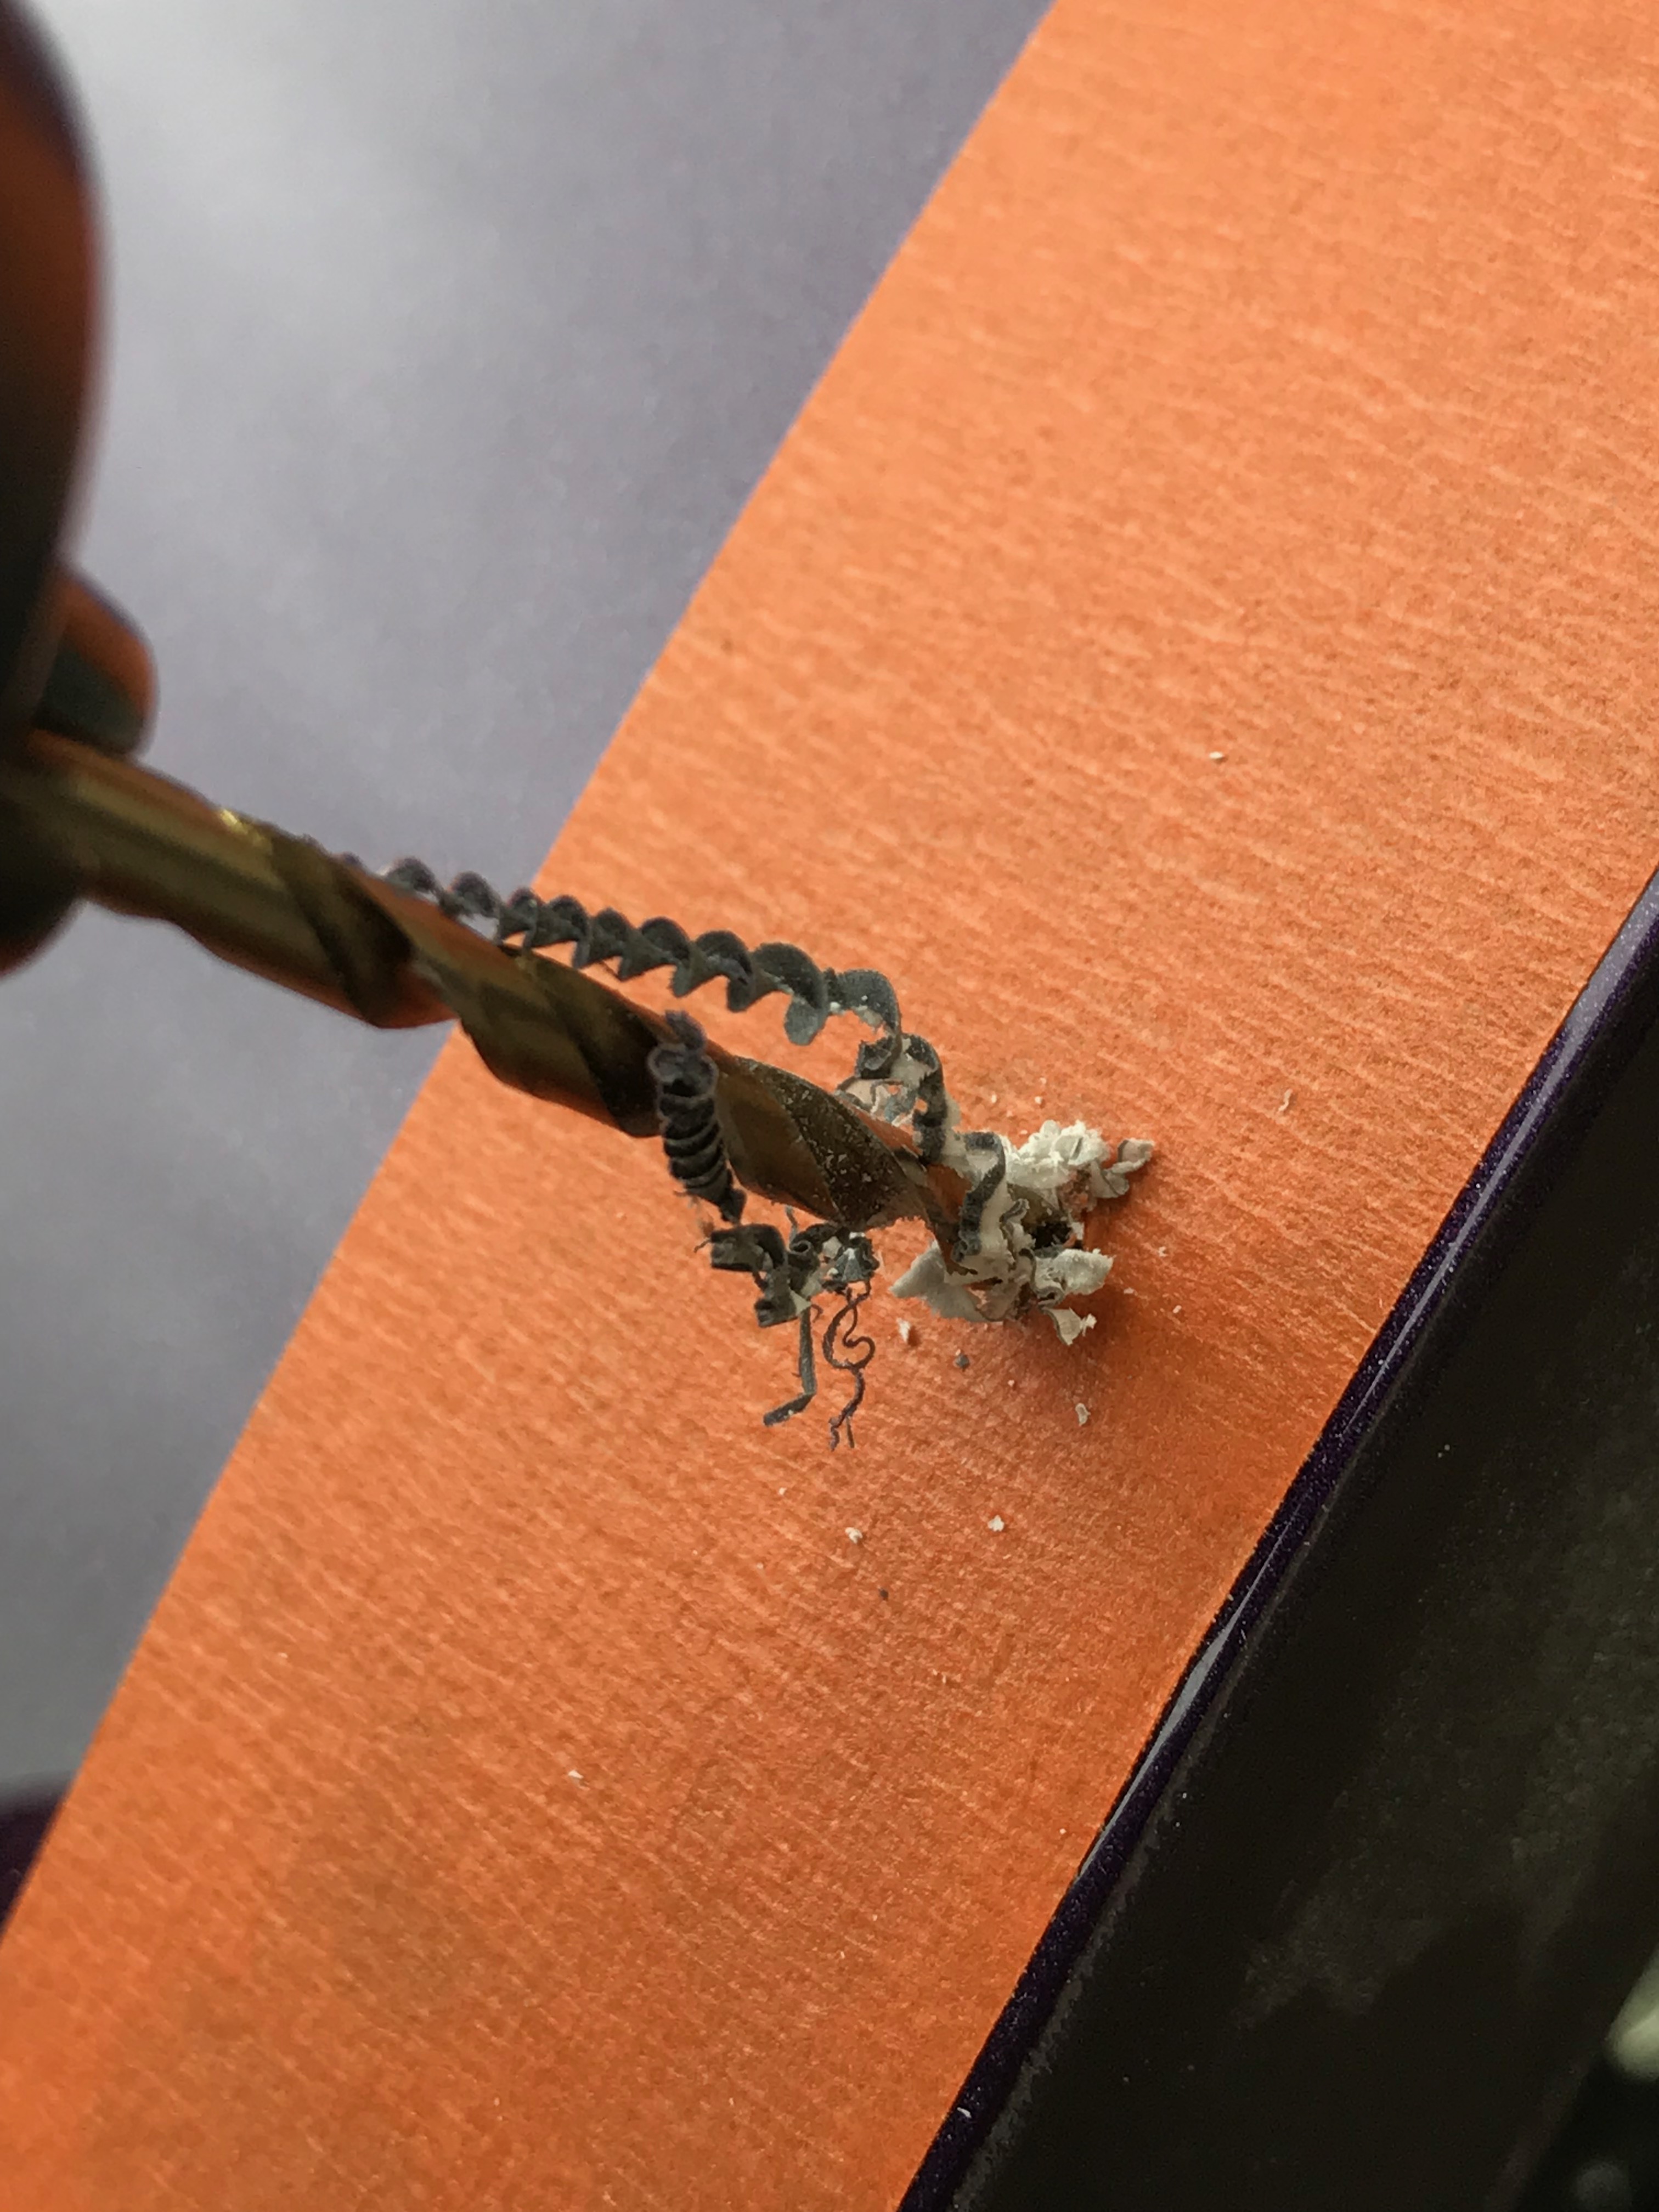
Then I could drill out the wings…

Just need take off the masking tape…
And rivet them in place, not forgetting the trim sandwich…
It was at this point that I was regretting not spending some more time on my initial plan of rivnuts. The rivets were going on with a rivet shearing force that was creating dimples in the stone guards. I’d feared this happening but I’d gone with rivets instead of rivnuts and this was my price.
I’d seen people use rivnuts instead of rivets to attach stone guards. In the end I didn’t feel confident in drilling a bigger hole for the rivnuts than the rivets needed – that was a one way street, I could go from rivets to rivnuts but not the other way around.
I also considered cutting oversized holes in the stone guard trim and fitting nylon or plastic washers so that the rivets didn’t pinch the sandwich into a dimple. However, the washers I’d bought were too thick and the sandwich wasn’t going to work. I should have mocked all this up with some offcuts of everything and then I’d have been more prepared. However, I was a long way into the wing install today and wanted to get it done while the weather was ok – I needed to do the fibre-glass stuff outside.
In the end I carried on with the rivets and will submit to IVA with them like this. I’ll add the “switch to rivnuts for the rear wings” to my future project list.
It’s then a simple-ish case of bolting the wing to the bodywork using a combination of bolts into existing rivnuts and bolts/nuts.
You can see the dimples clearly on the fully installed stone guard and wing.

This job, like so many others, proved again that its quicker to do something a second time. It took me something like 4 hours to adjust and fit the RHS wing. It then took me around 2 hours for the second wing. I think that speedup was the same for all of the jobs. In the end the left hand side of the car got done much quicker than the right!
I was pleased that I managed to get the wings onto the car without trashing either of them. I hadn’t put the stone guards on the wrong way around and I hadn’t slipped with the drill anywhere. I hadn’t drilled holes in the wrong place or on the wrong side of the wing, or put the wings on the wrong way around. From that perspective and the fit and finish I managed on the wings, I’d give myself a 9/10. However, I was not at all happy with the dimples on the stone guards and they will have to come off again at some point – 3/10.
A long but successful day today that I wasn’t really looking forward to. Yet one that has completely transformed the look of the car!

Leave a Comment