
A big gap in progress this time. I had a business trip to Florida and California along with prep for the trip and recovery/catchup when I got back which pretty much knocked out 3 weeks on the car. There’s still lots to do on the car I think, with lots of tidy-up but just a few bits and pieces in this session.
But wait, we’re essentially down to just one box of stuff to fit…

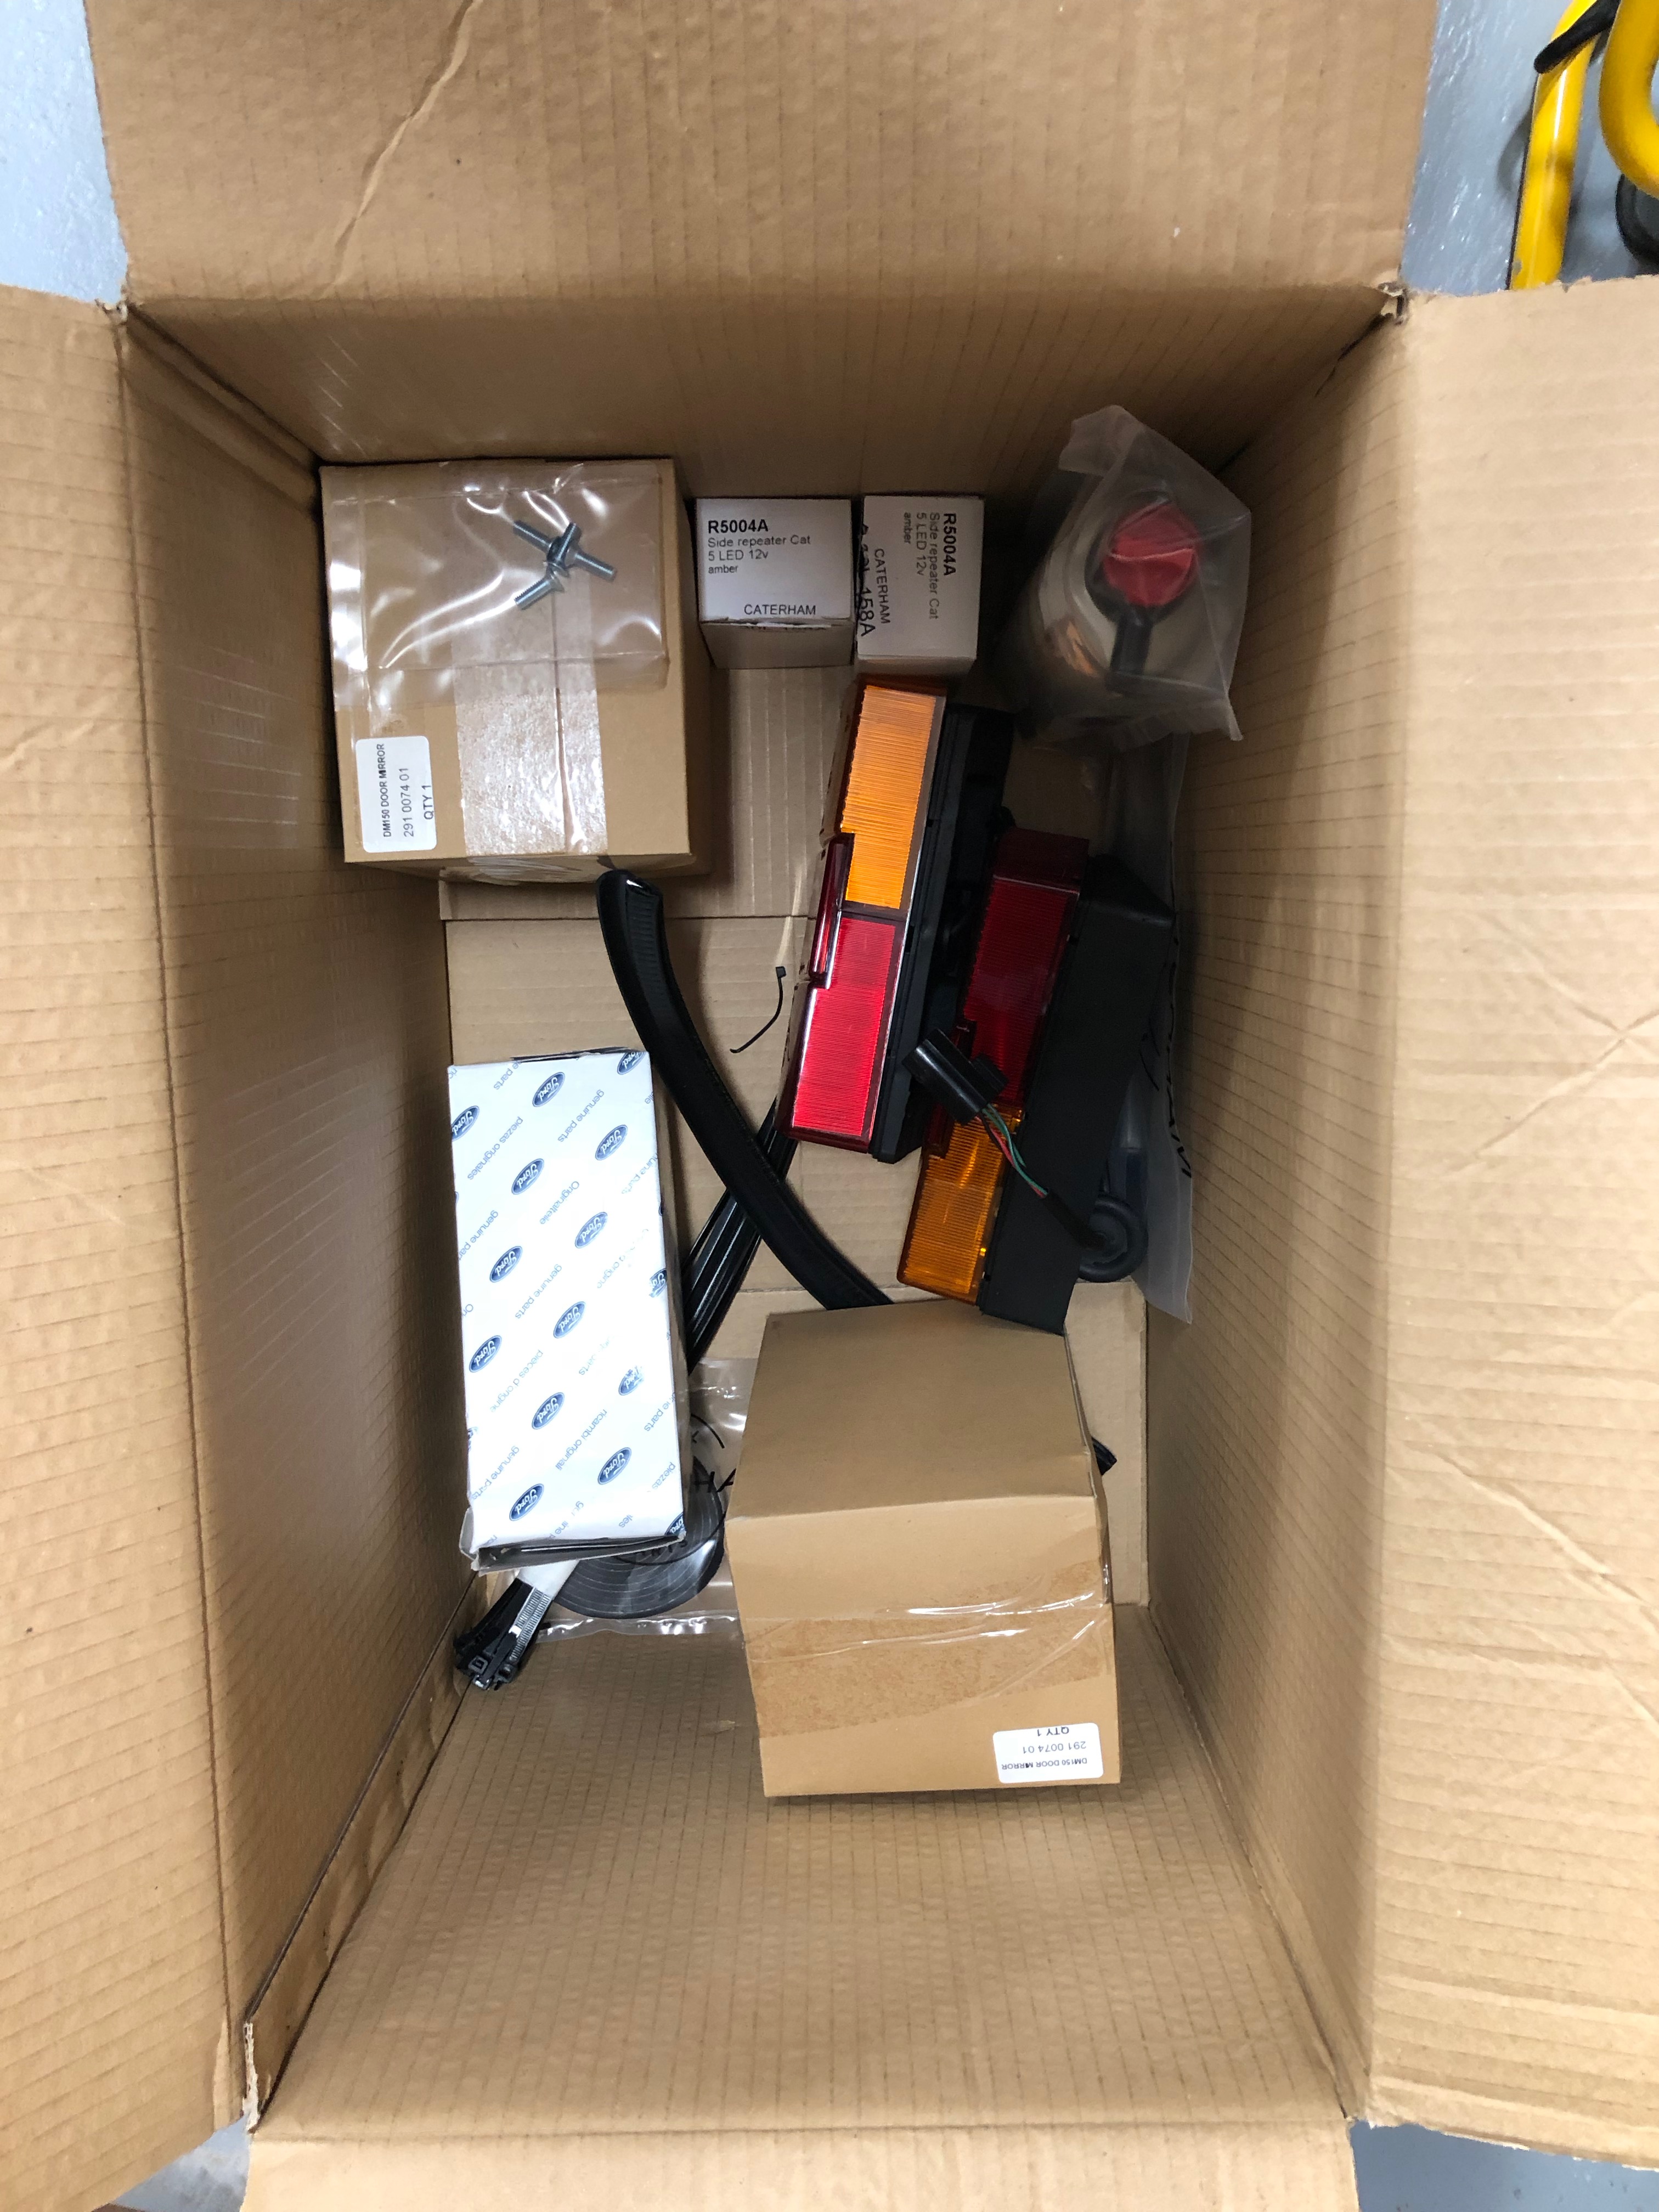
The items in the box are:
- Rear lights (that’s today)
- Wipers
- Wing Mirrors
- Foam trim for bonnet landing areas
- Repeaters for the front wings (not looking forward to the front wings)
- Some IVA trim for when I get to the Big IVA Push
But on with today…
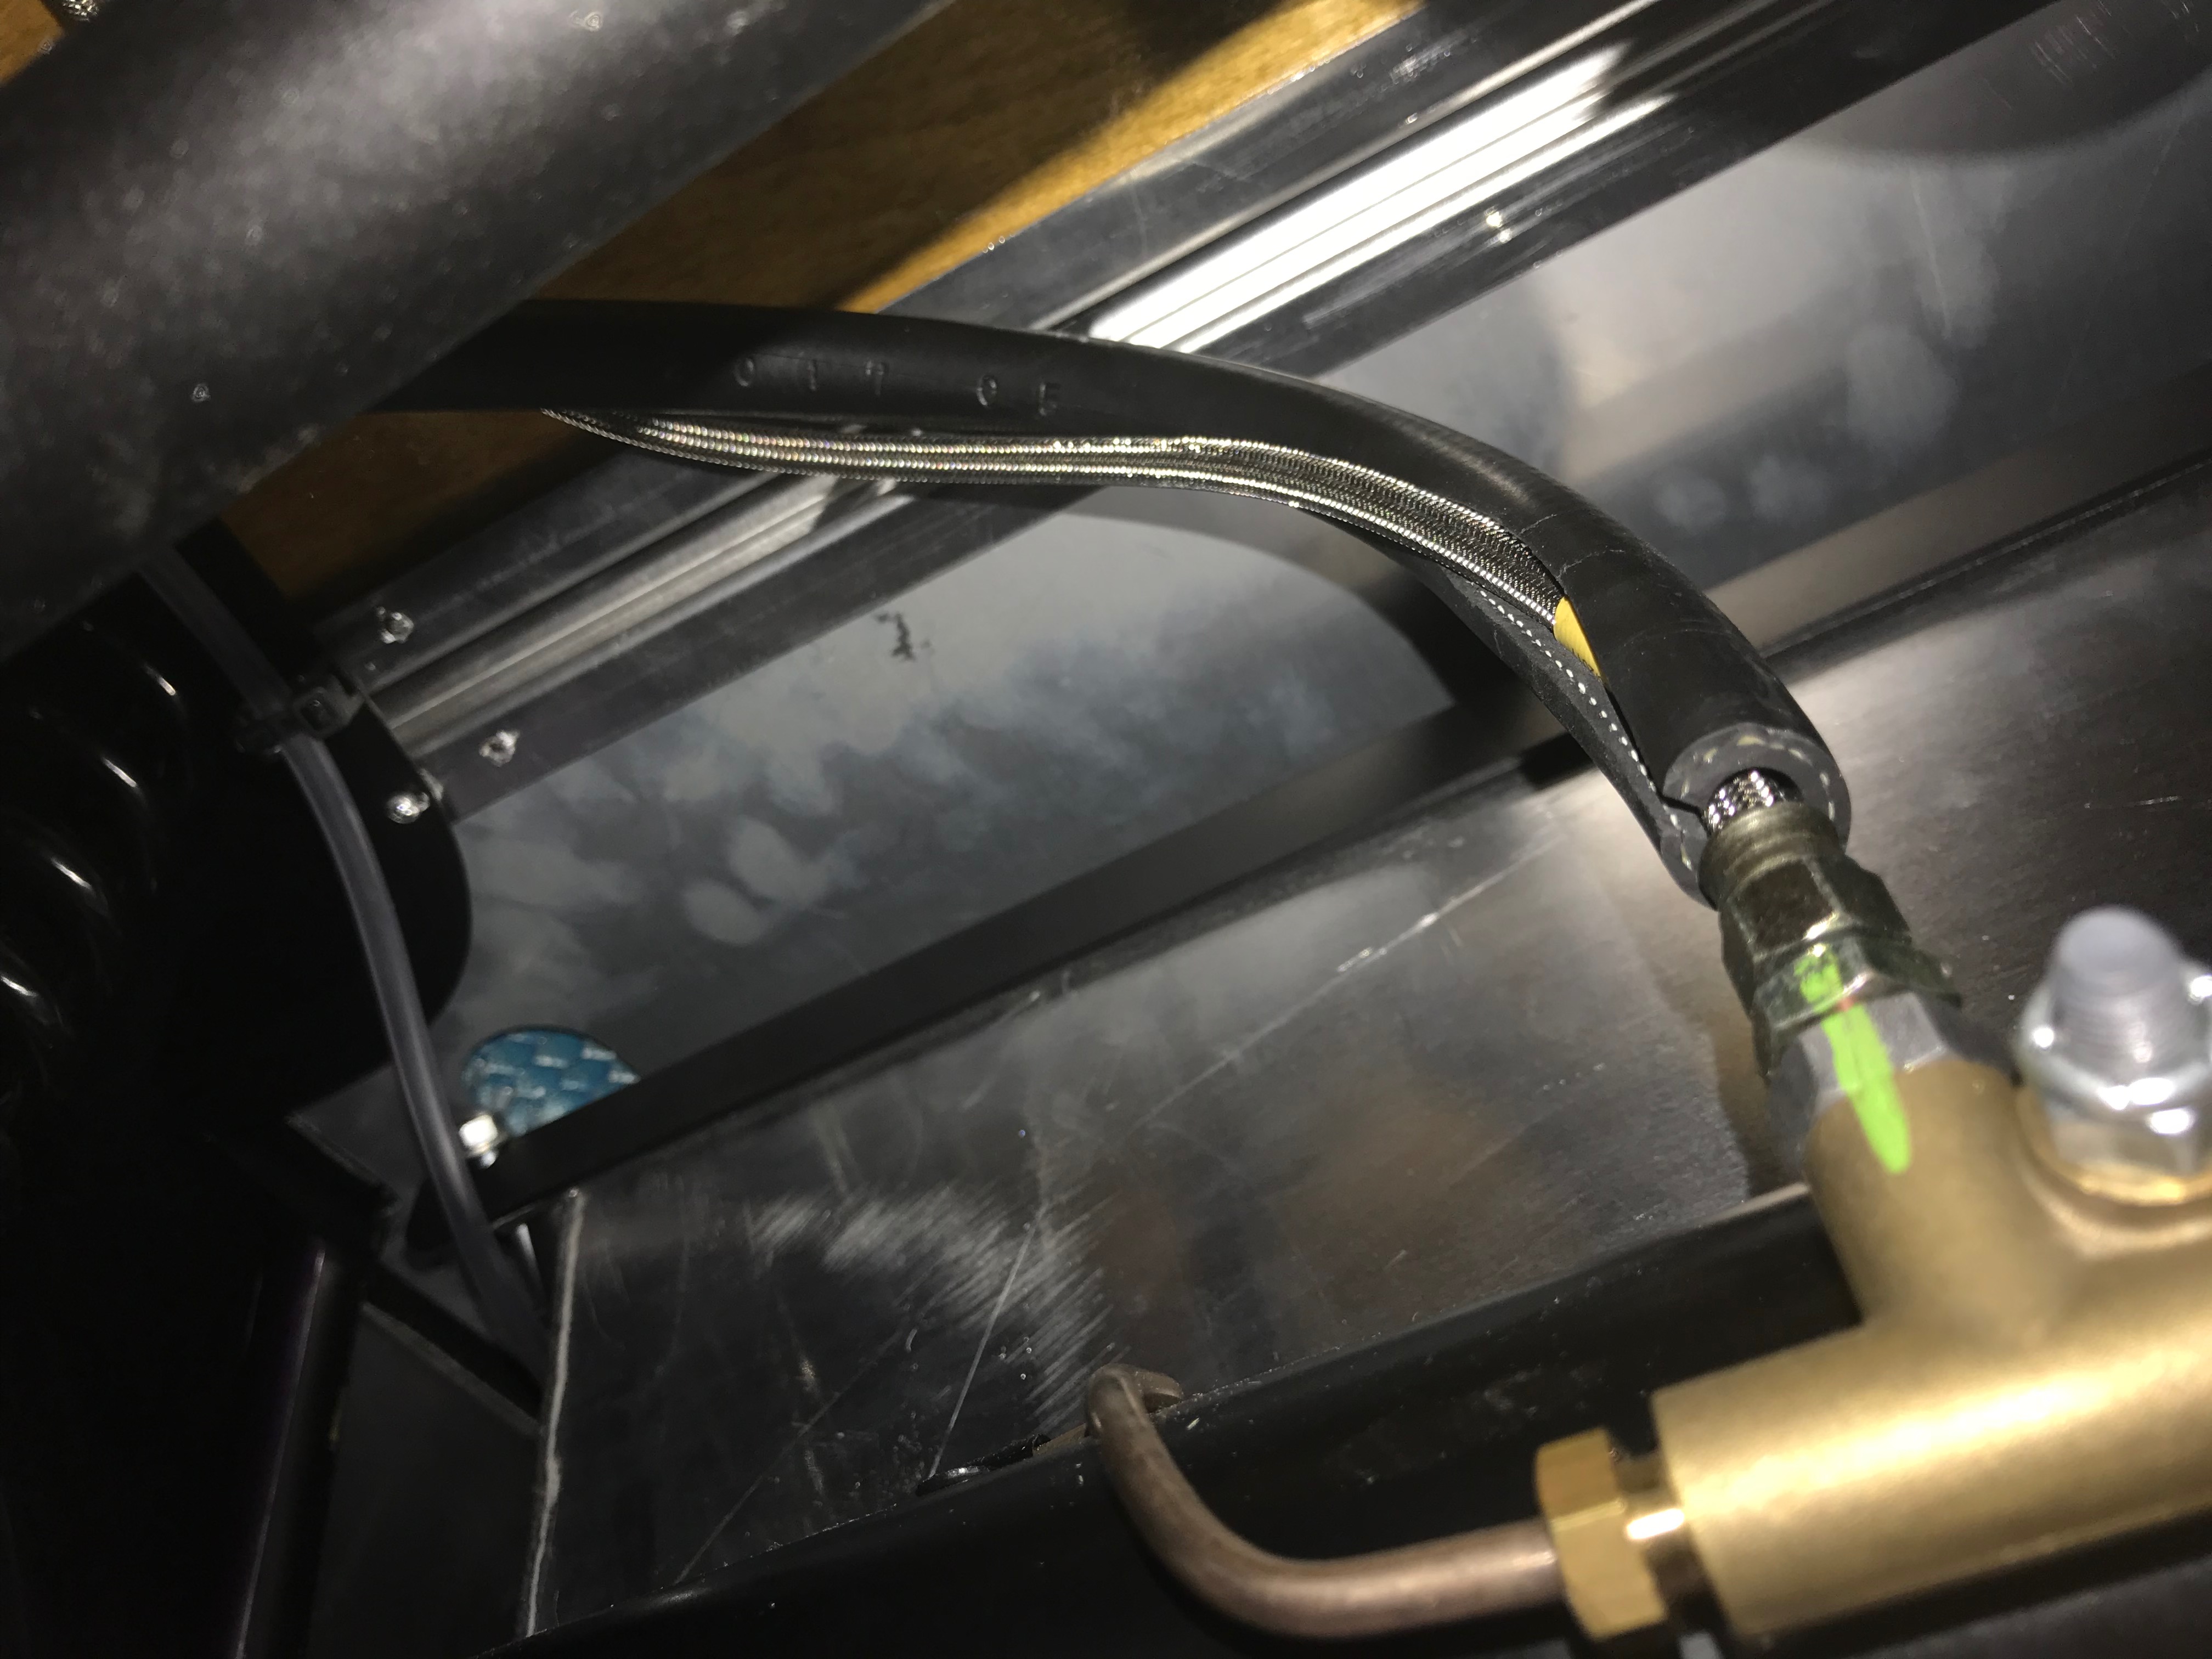
Rear Braided Brake Hose Protection
Many blogs have talked about this already but it’s worth a note here anyway. For and IVA pass you need to put some protection on the rear braided brake hose. There’s enough 5/16th hose left from the water expansion tank install to use some here. The idea is like on the braided clutch hose, cut the 5/16 pipe down it’s length and cable tie it to the braided hose…
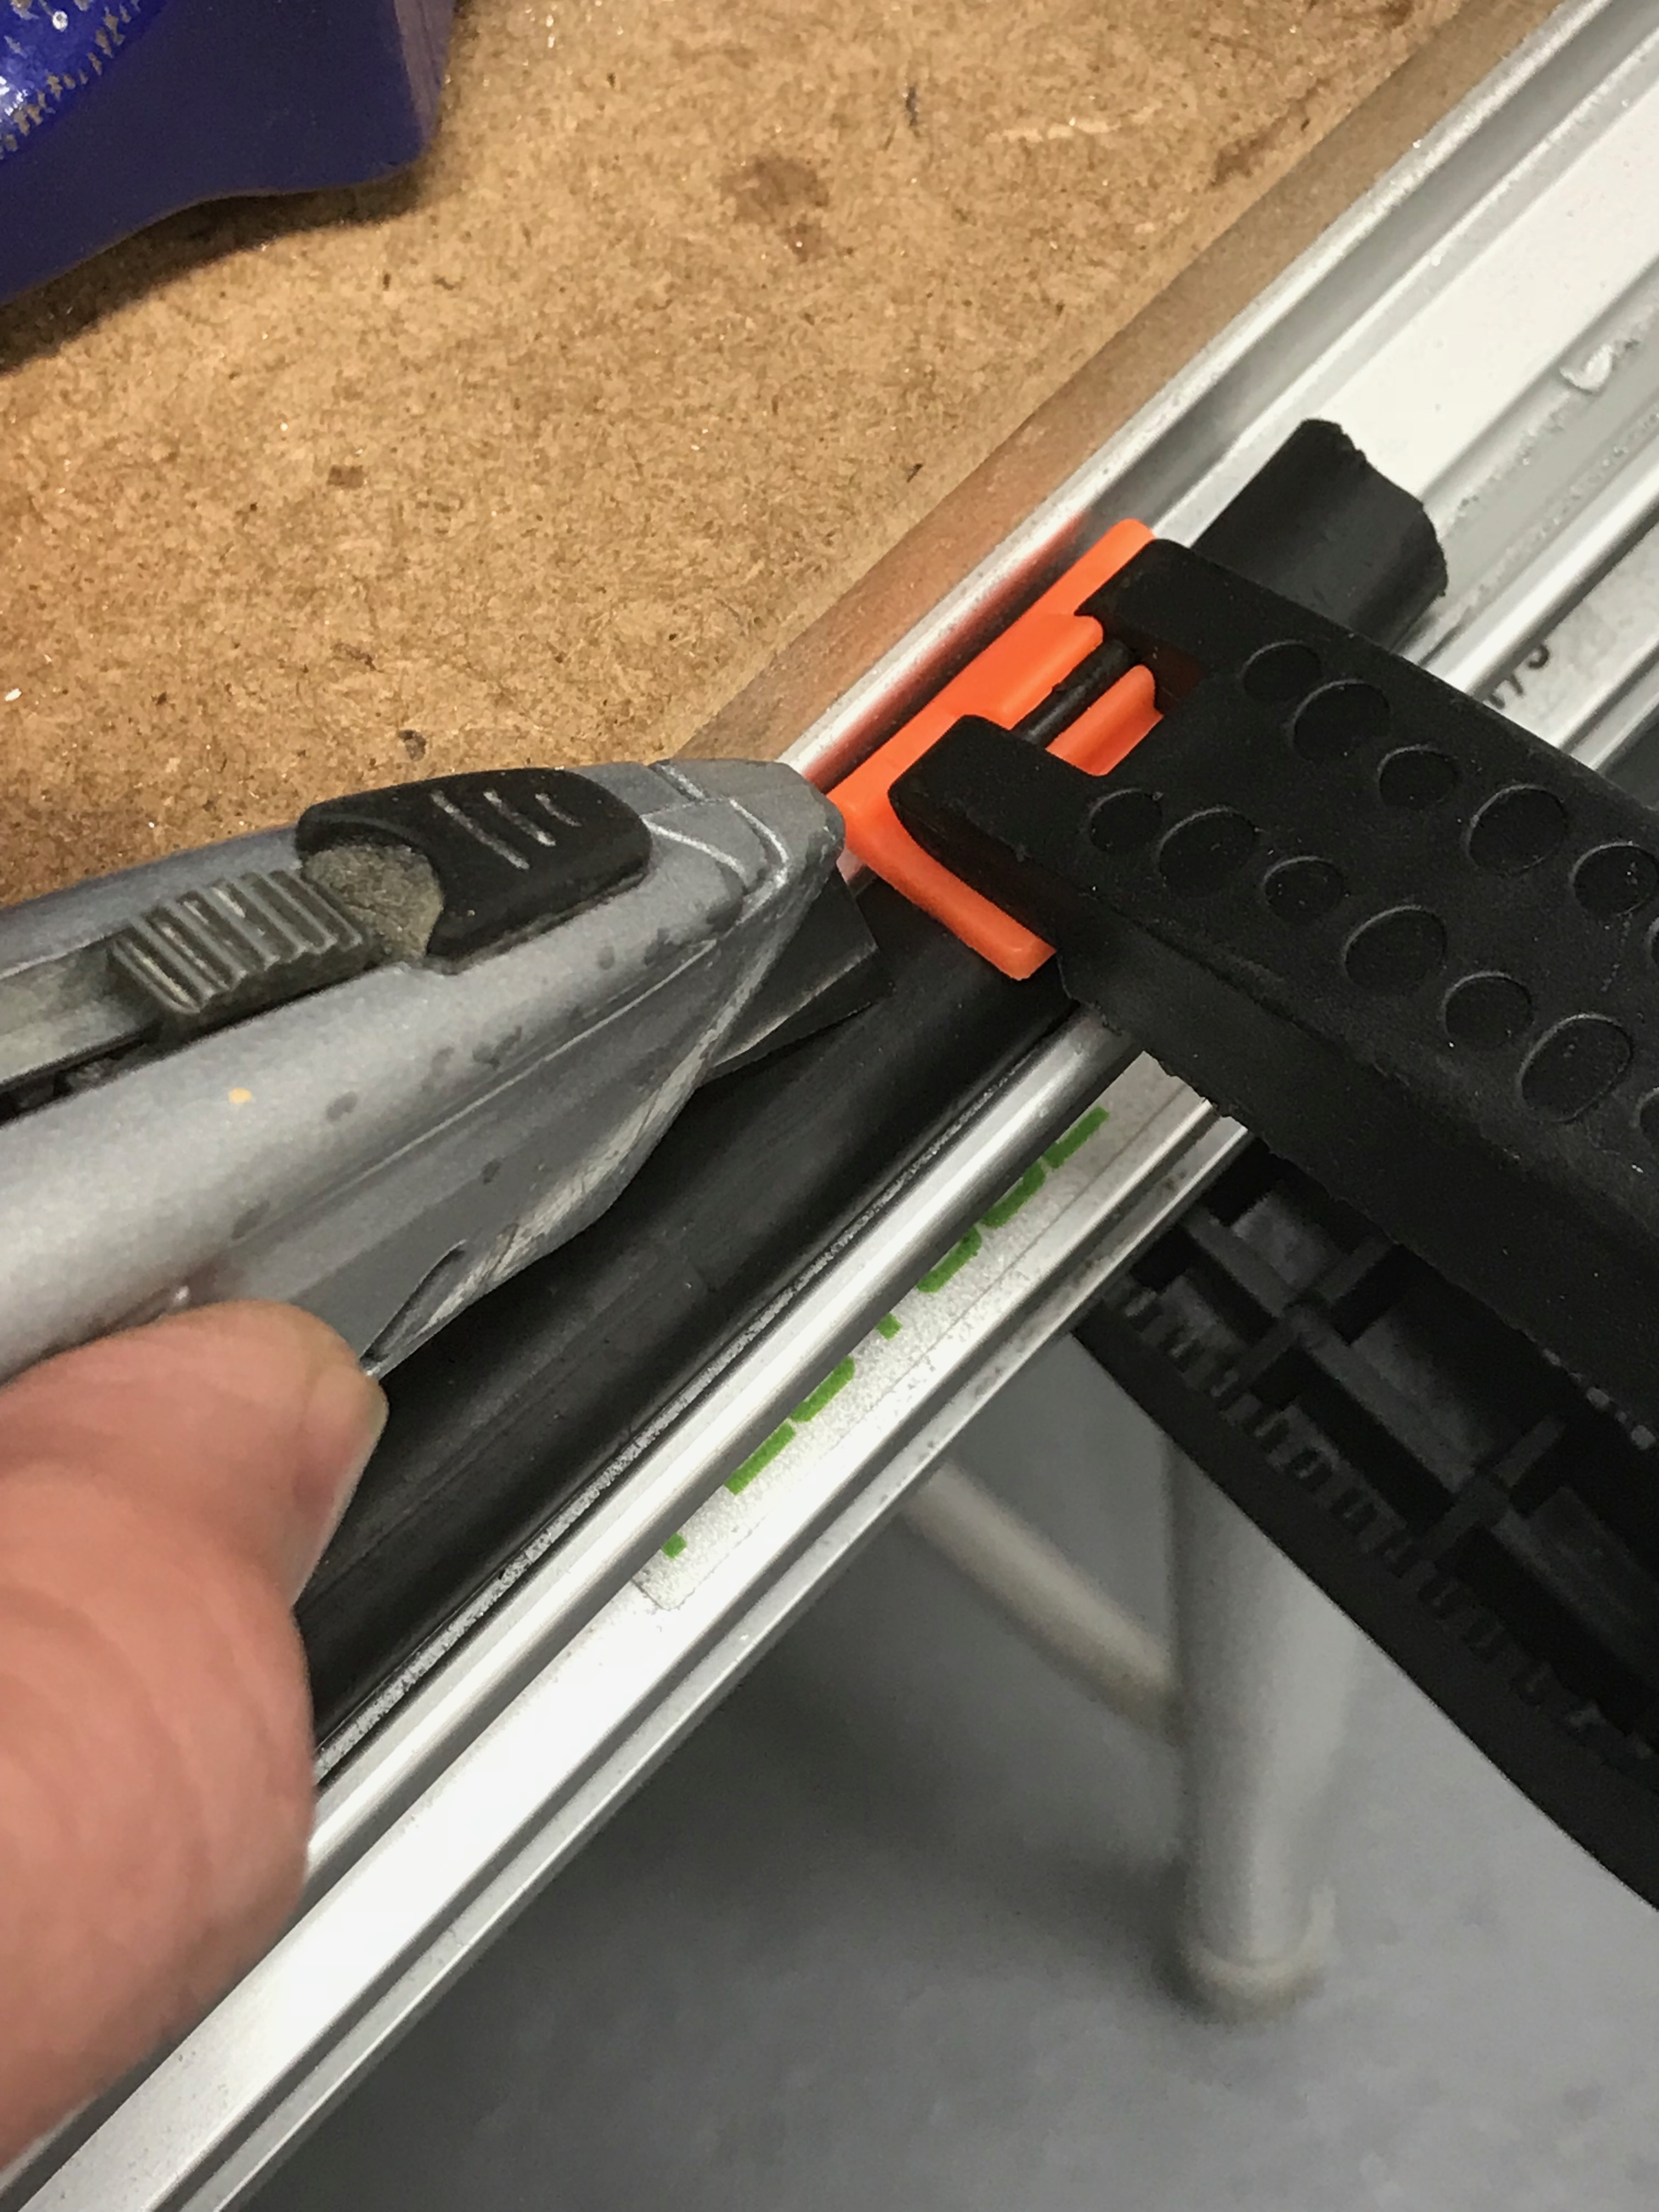
Add this to the braided hose…
Rear Lights
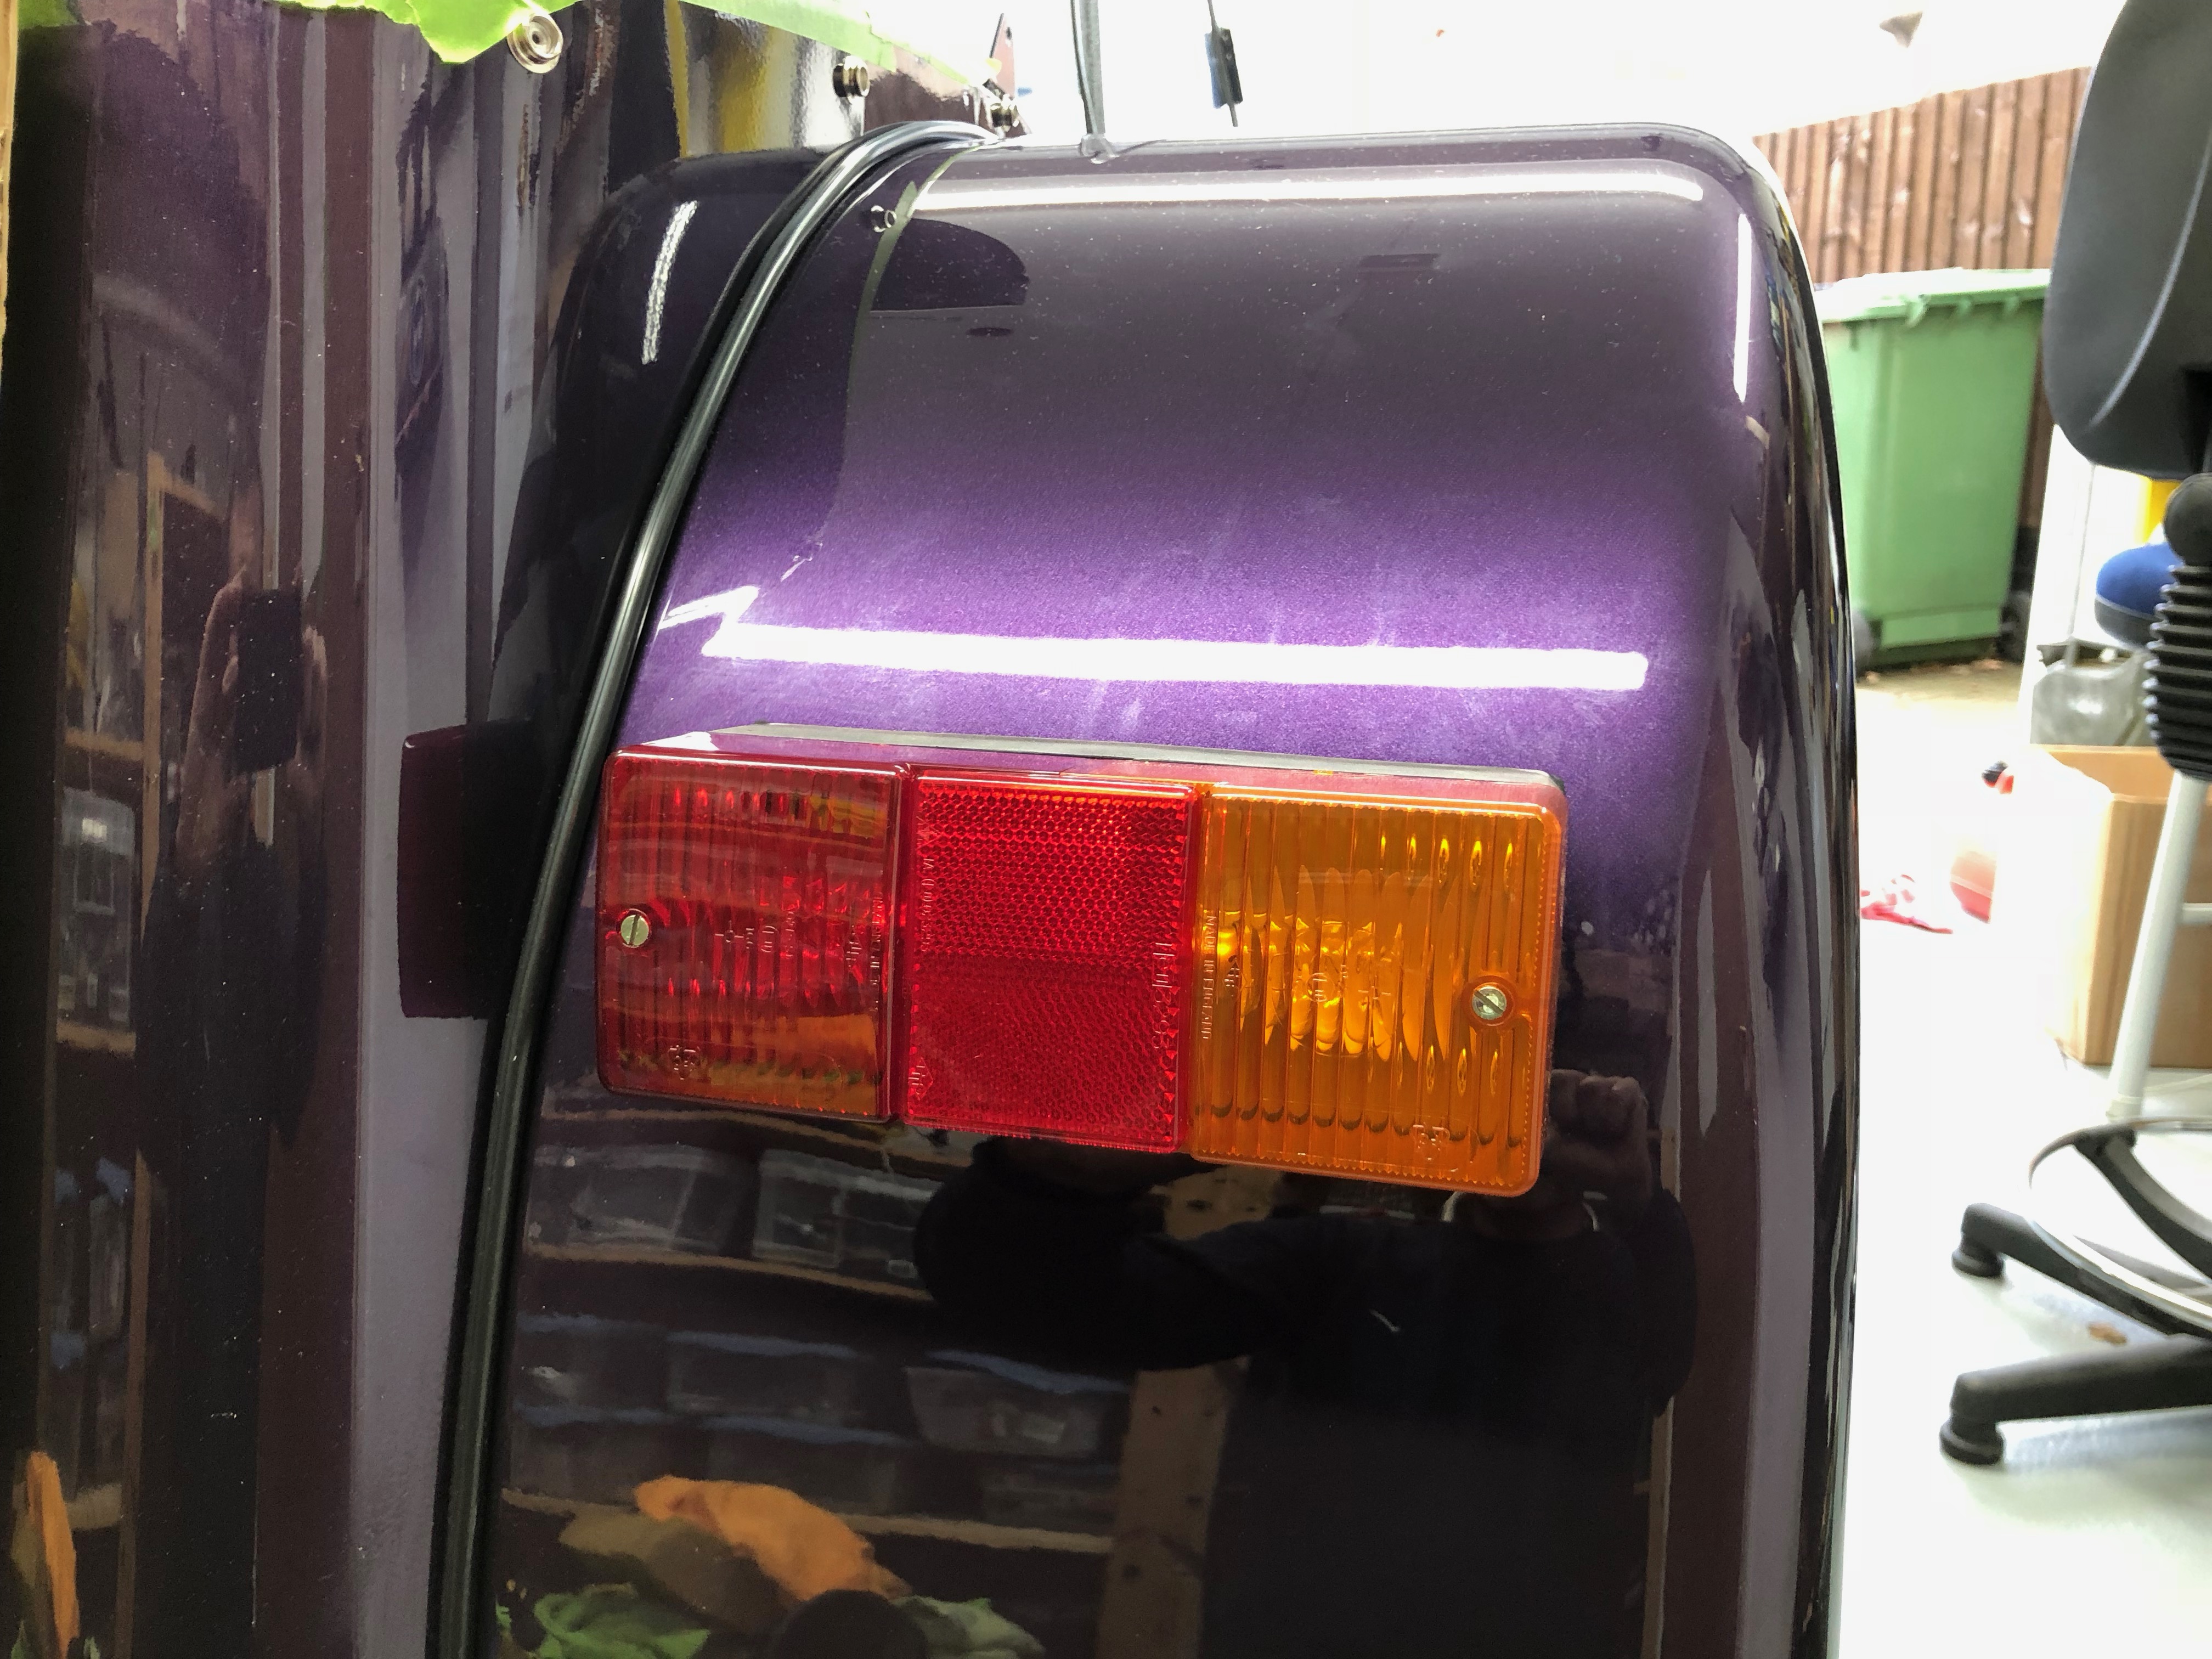
My rear lights turned up as units with the rear wedges attached. They were both set to be the same handedness so swapped one of the blocks around so the brake lights are both inboard and the indicators are on the outside.

There’s one large hole and one small hole pre-drilled in the rear wing. My kit had enough self tapping screws to allow me to put all four screws in each light cluster.
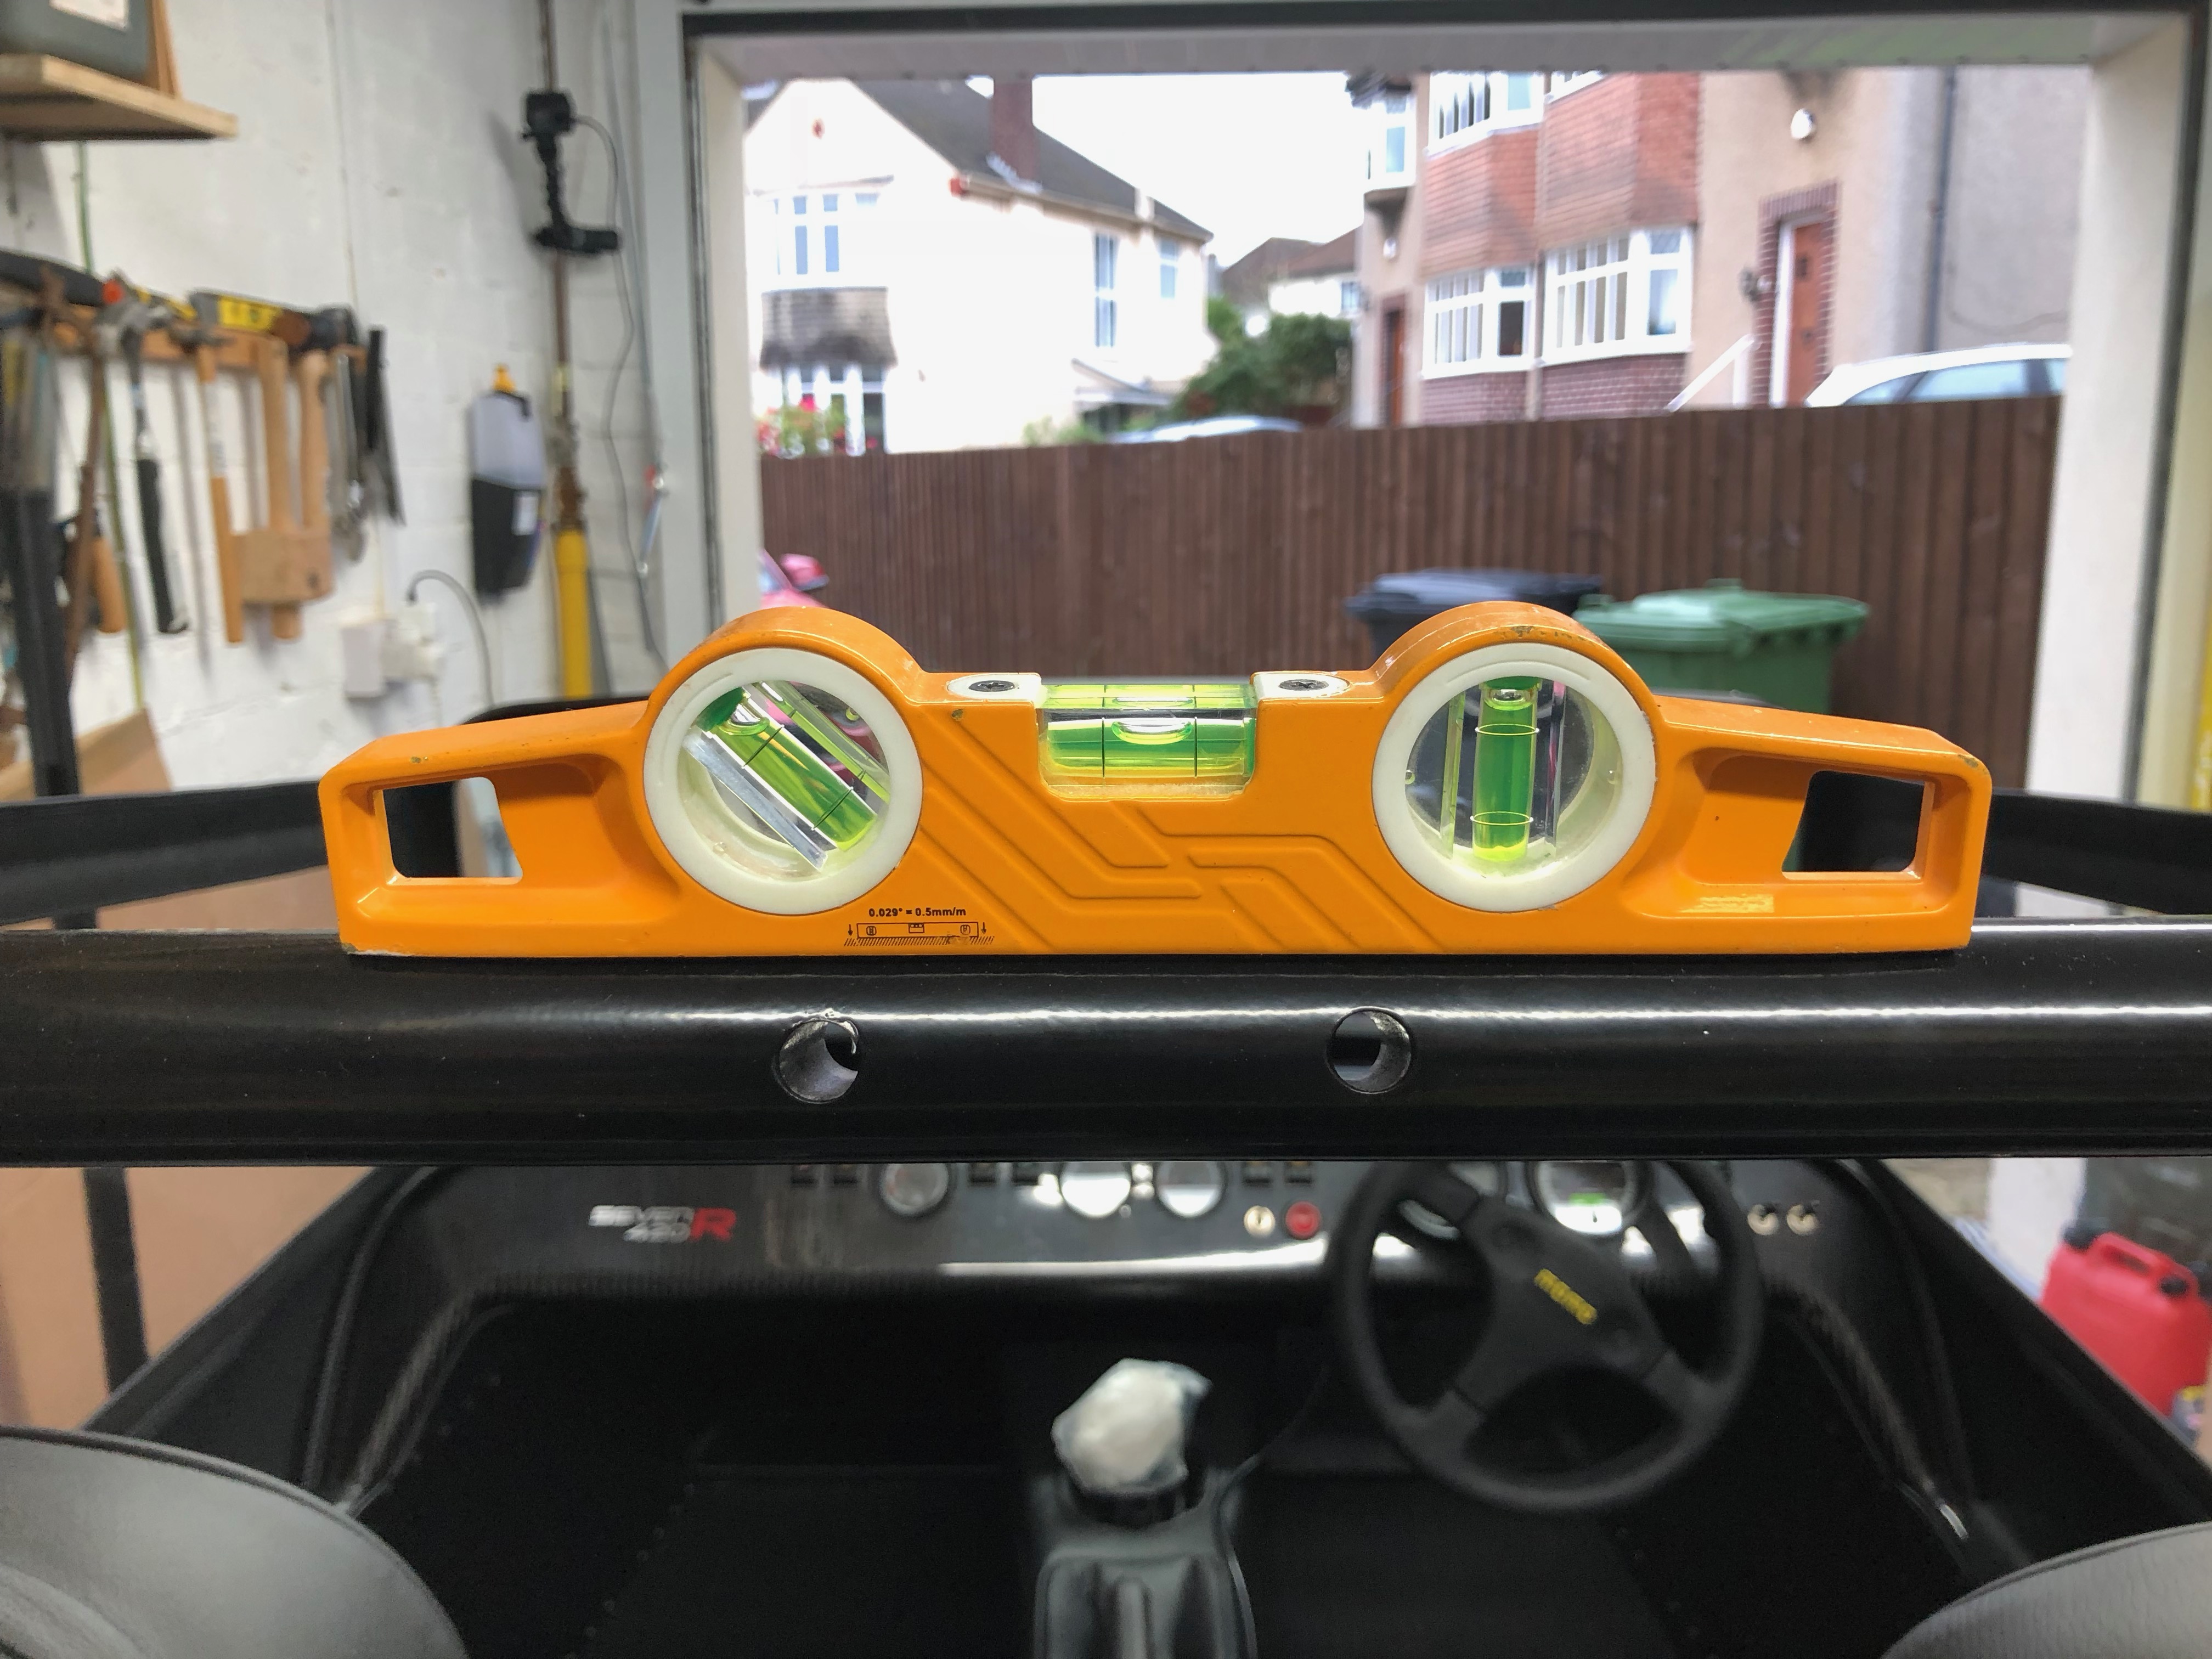
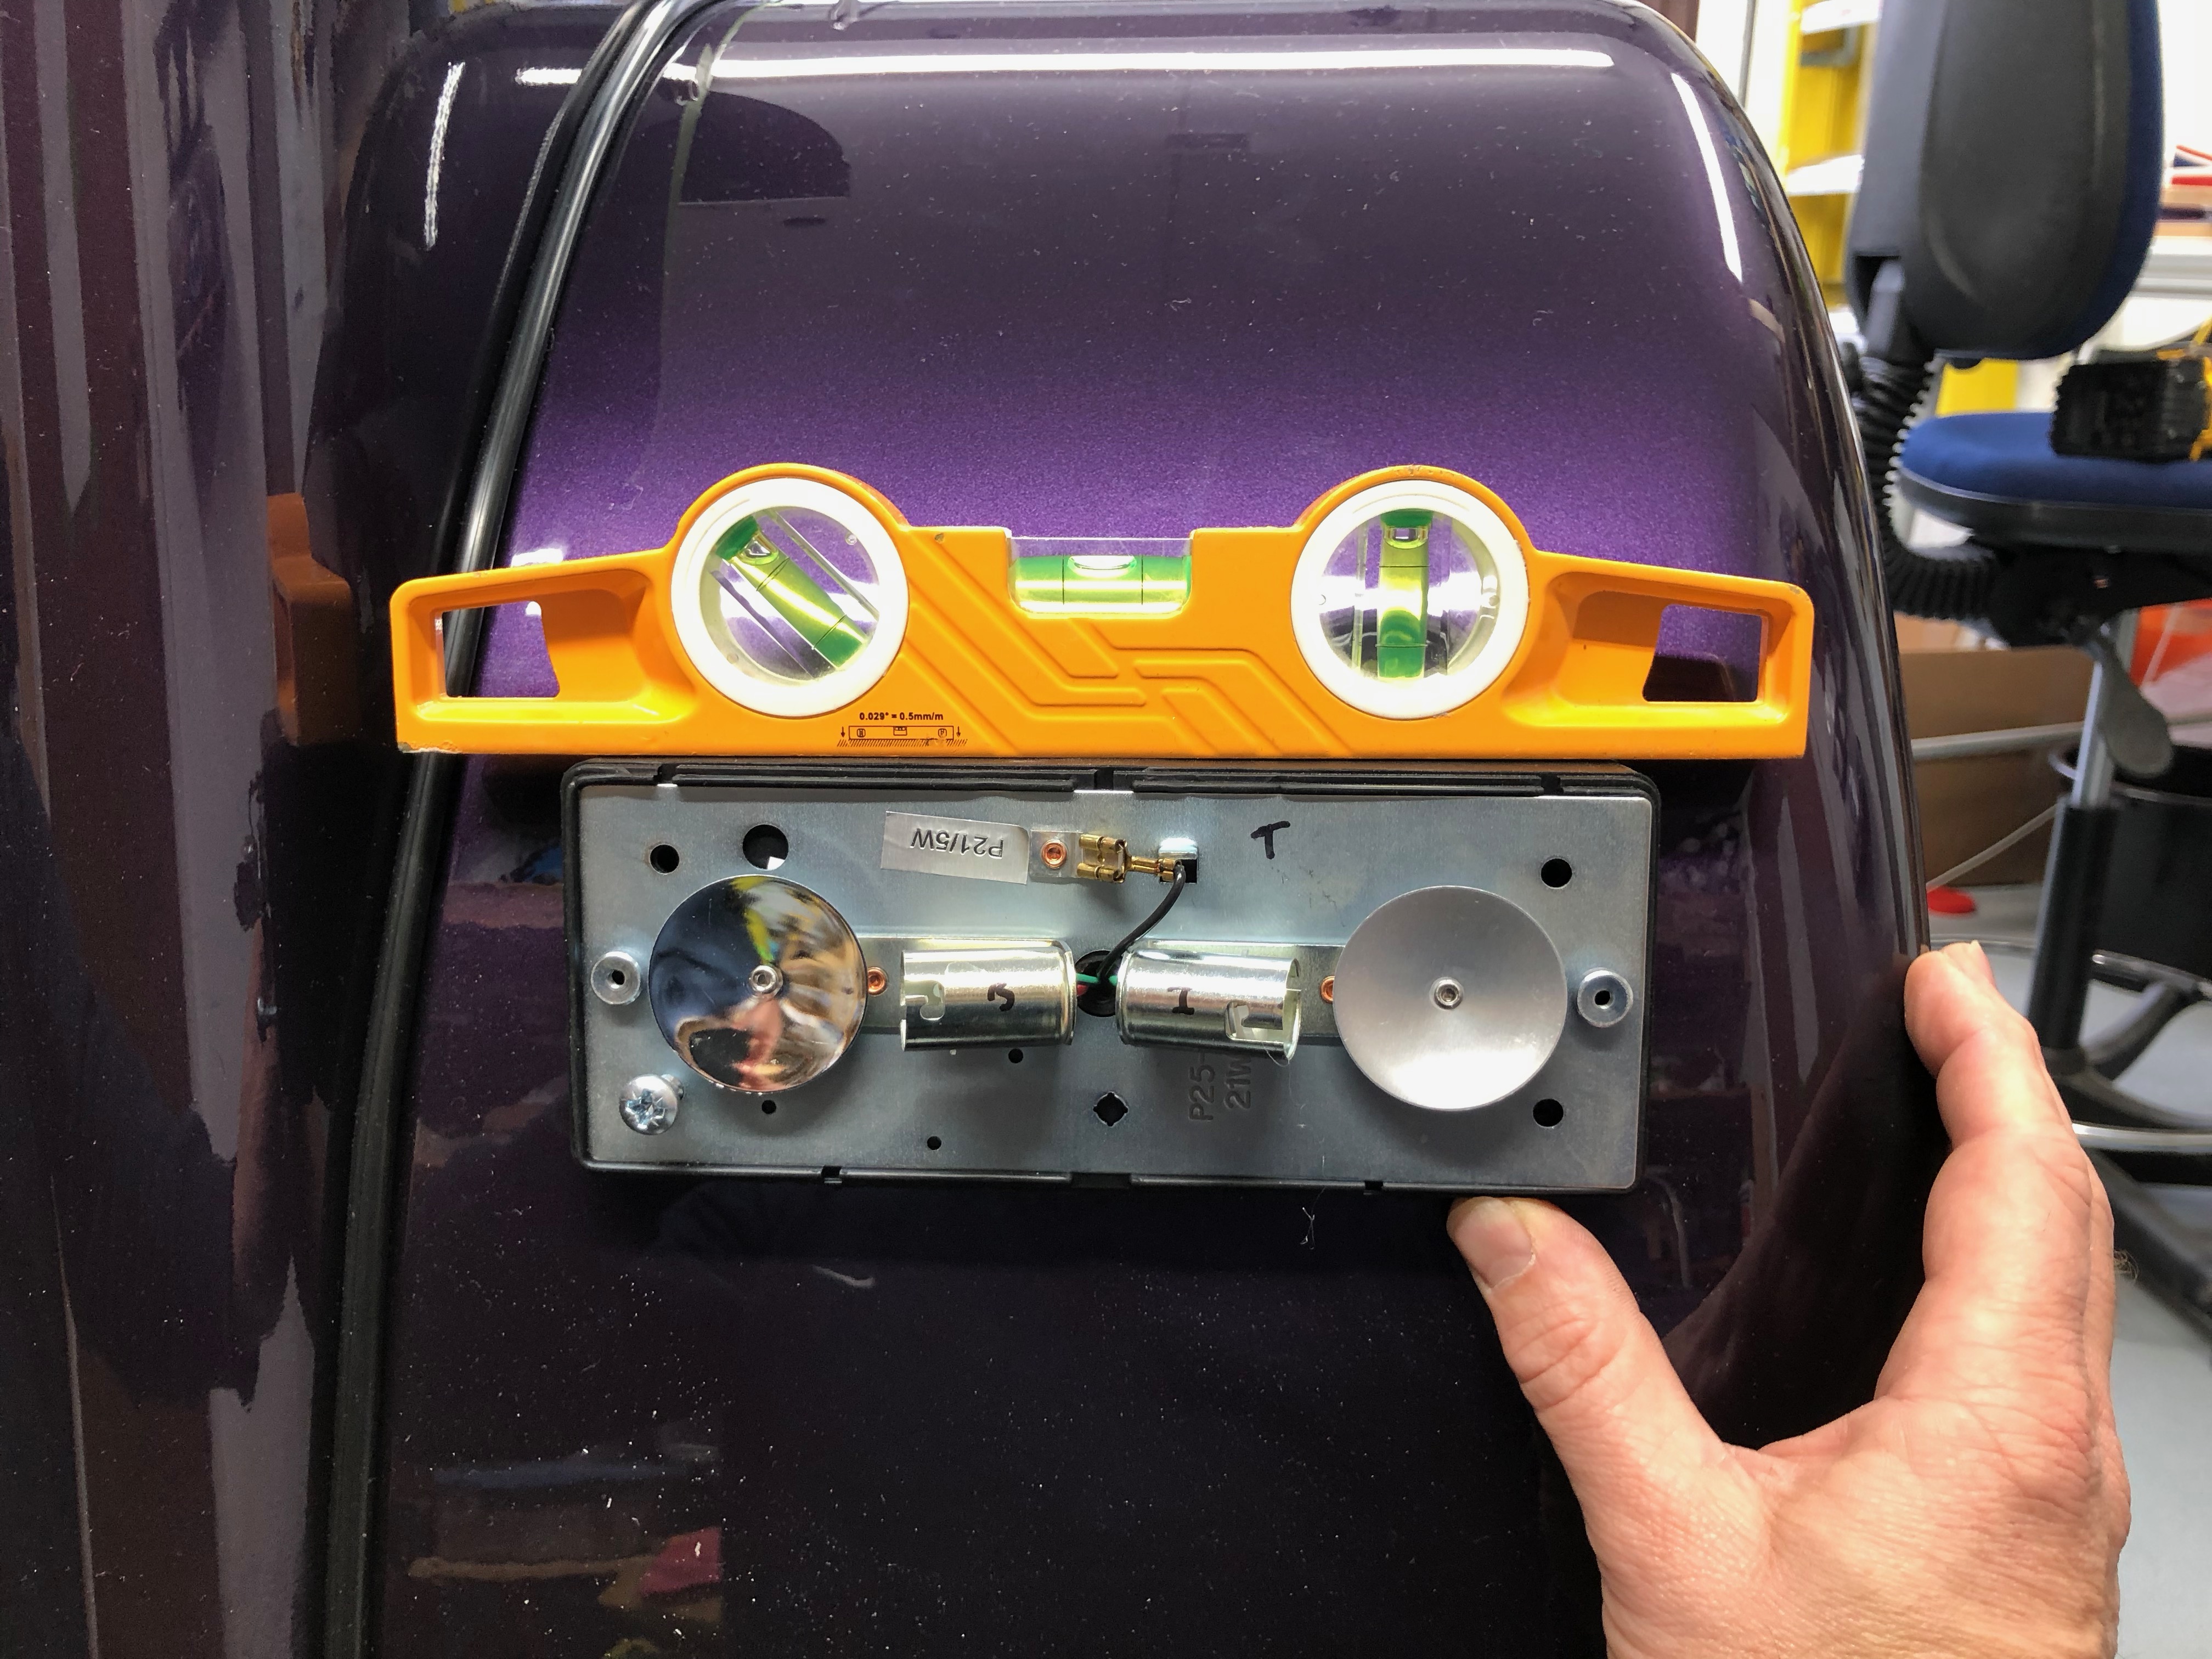
I then made sure the car was level before I went about drilling holes for the rear lights. I check in a few places and it was pretty good, I can account for that slight offset when I add the lights – assuming I can get them that close.
I offered up the lights…
I added masking tape to the wings and drilled through the lights to make a mark on the tape to drill all the way through…
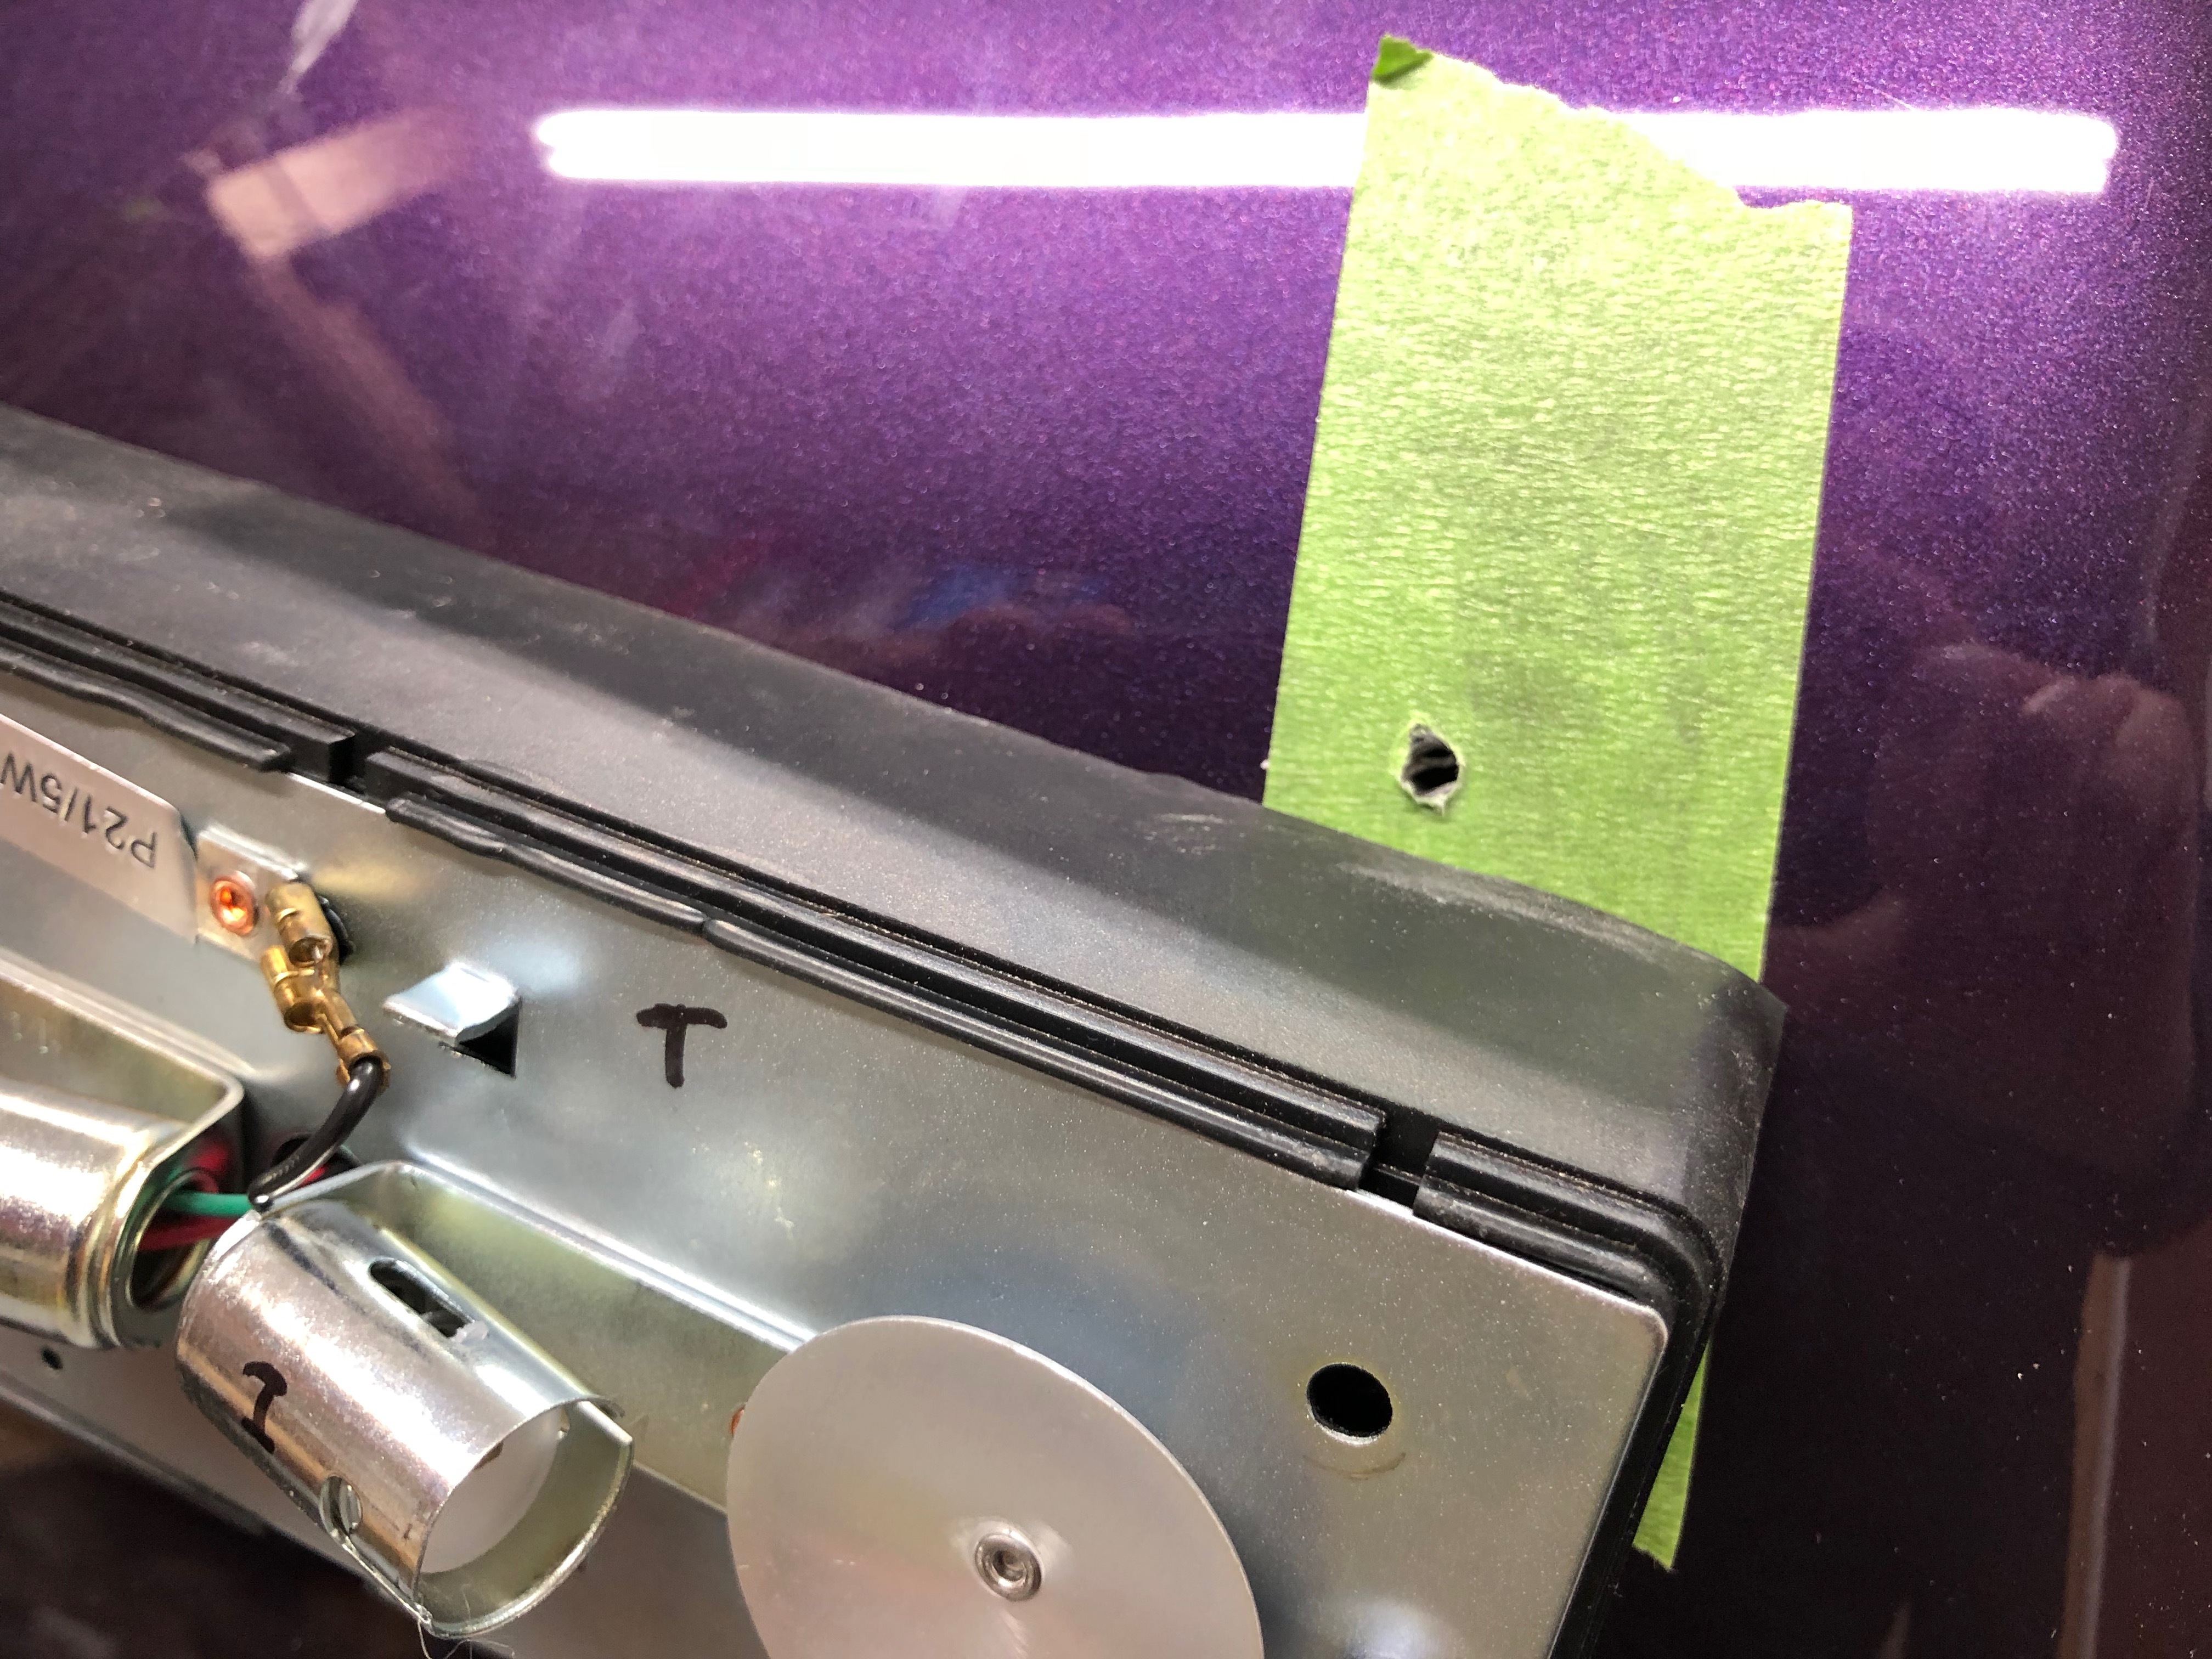
The light panels attach with 2 long and 2 short self tapping screws. The long ones at the top. Both top and bottom screws poke through the wing fibre glass by a few mm. I’ll find something to squirt onto the back of those screws so they’re not sharp in the wheel well. Something like silicone or the adhesive I have for the front wings – I’ll be using Sikaflex 521.

And here’s the finished RHS light cluster.
LHS Front Pod Indicator not Working
I had a little bit more time today to get into something. So after putting the front wings off for as long as possible I had to get going on them now.
Since I had the rear lights running, and wanted to make sure they were working ok, I had to get all three of the indicator lights installed into the loom on both sides. The indicators flash at about twice the regular speed if you don’t have the full 3 light load on them. In my case the three lights are a rear bulb, front pod bulb and the LED wing repeaters.
To test all this out I just pushed the front pod and side repeater wires, along with their ground into the Econo-seal socket connectors for the front lights.


All 3 lights worked ok on the RHS but the LHS pod indicator wasn’t working.
Hmm. Ok. So what’s going on here?
I tried all sorts of things here, including:
- Switched front indicator bulbs around to check if I had a bad LHS bulb – noop
- Used LED repeater and inserted into LHS econo-seal socket to see if socket or wiring to socket was bad – noop, all worked ok
- Buzzed out continuity between the wires coming through the light stem and the bulb contacts in the indicator pod – noop, I had good continuity on both +ve and -ve connections
- Bent bulb contacts in the pod in case they weren’t making contact with the bulb when inserted – noop, didn’t make any difference
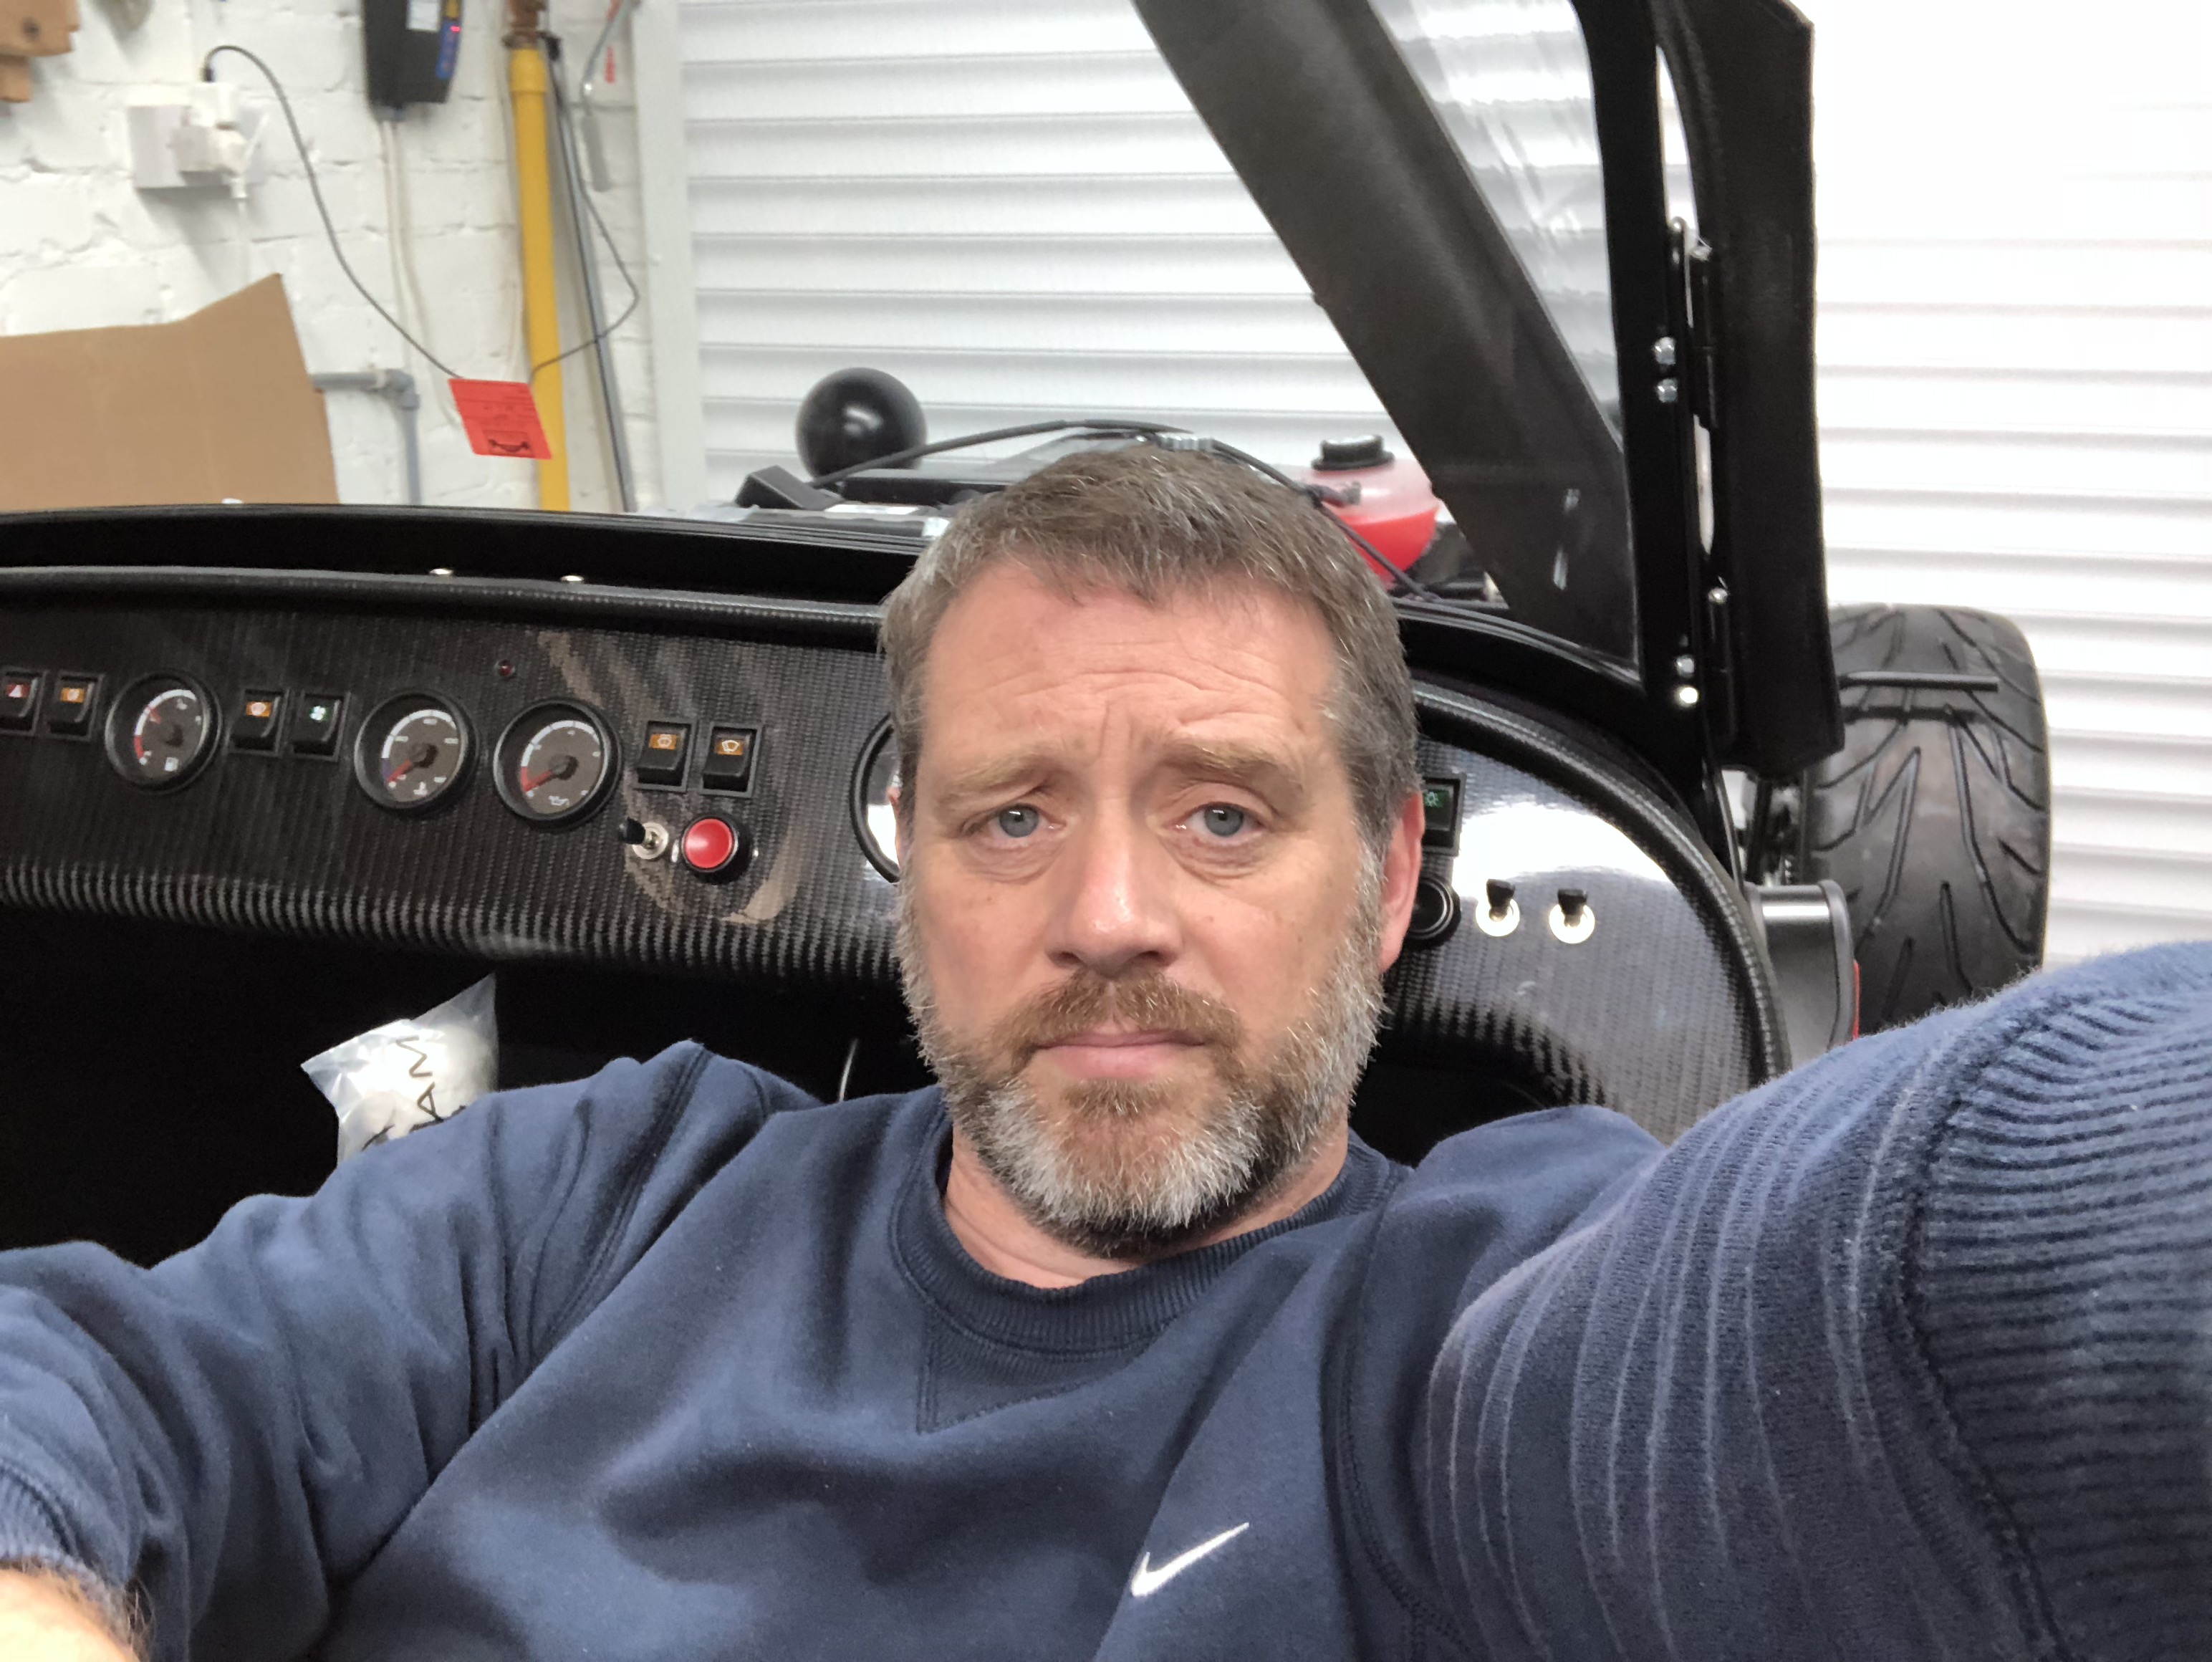
- Early on in the investigation, I even got under the dashboard at one point to see if could see where the indicator wiring went and if the LHS relay had multiple wires on it (see picture of me the wrong way around in the driver’s seat.
I spent about an hour looking into this but couldn’t figure it out. Clearly I needed a break and to come back to this problem fresh another day, it’s gotta be something simple!
That was enough for today, just a couple of hours, but more progress made.

Leave a Comment