
This is the final push… 5 days to work on getting the car finished… surely it won’t take THAT long!
It’s Thanks Giving week this week, which means my US work colleagues will be taking at least this Thursday off work and probably a day or two either side of it too. Normally that’s a cue for us in the UK to get our heads down and get some work done. However, this year I decided to take some PTO (Paid Time Off) while it’s quiet and get the car finished.
So, I have Wednesday to Sunday (5 days) able to be dedicated to the car. Yay!
The big job still to be done is to bond the front wings onto their wing stays. I also have a lot of engine bay tidy up to do and lots of IVA items that I’ve been putting off until they’re absolutely needed – don’t want to add IVA items only to find I have to take them off to re-do something else.
On to today then…
Front Wings
The first job today is to get the cycle wings ready to go onto the wing stays. That meant opening up the holes that are pre-drilled in the wings for the side repeaters.
The wings are pre-drilled with 3 x 5mm holes – arranged in a line. Though note that the repeaters have their mounting posts off centre and the centre hole is not in the middle of the mounting posts.
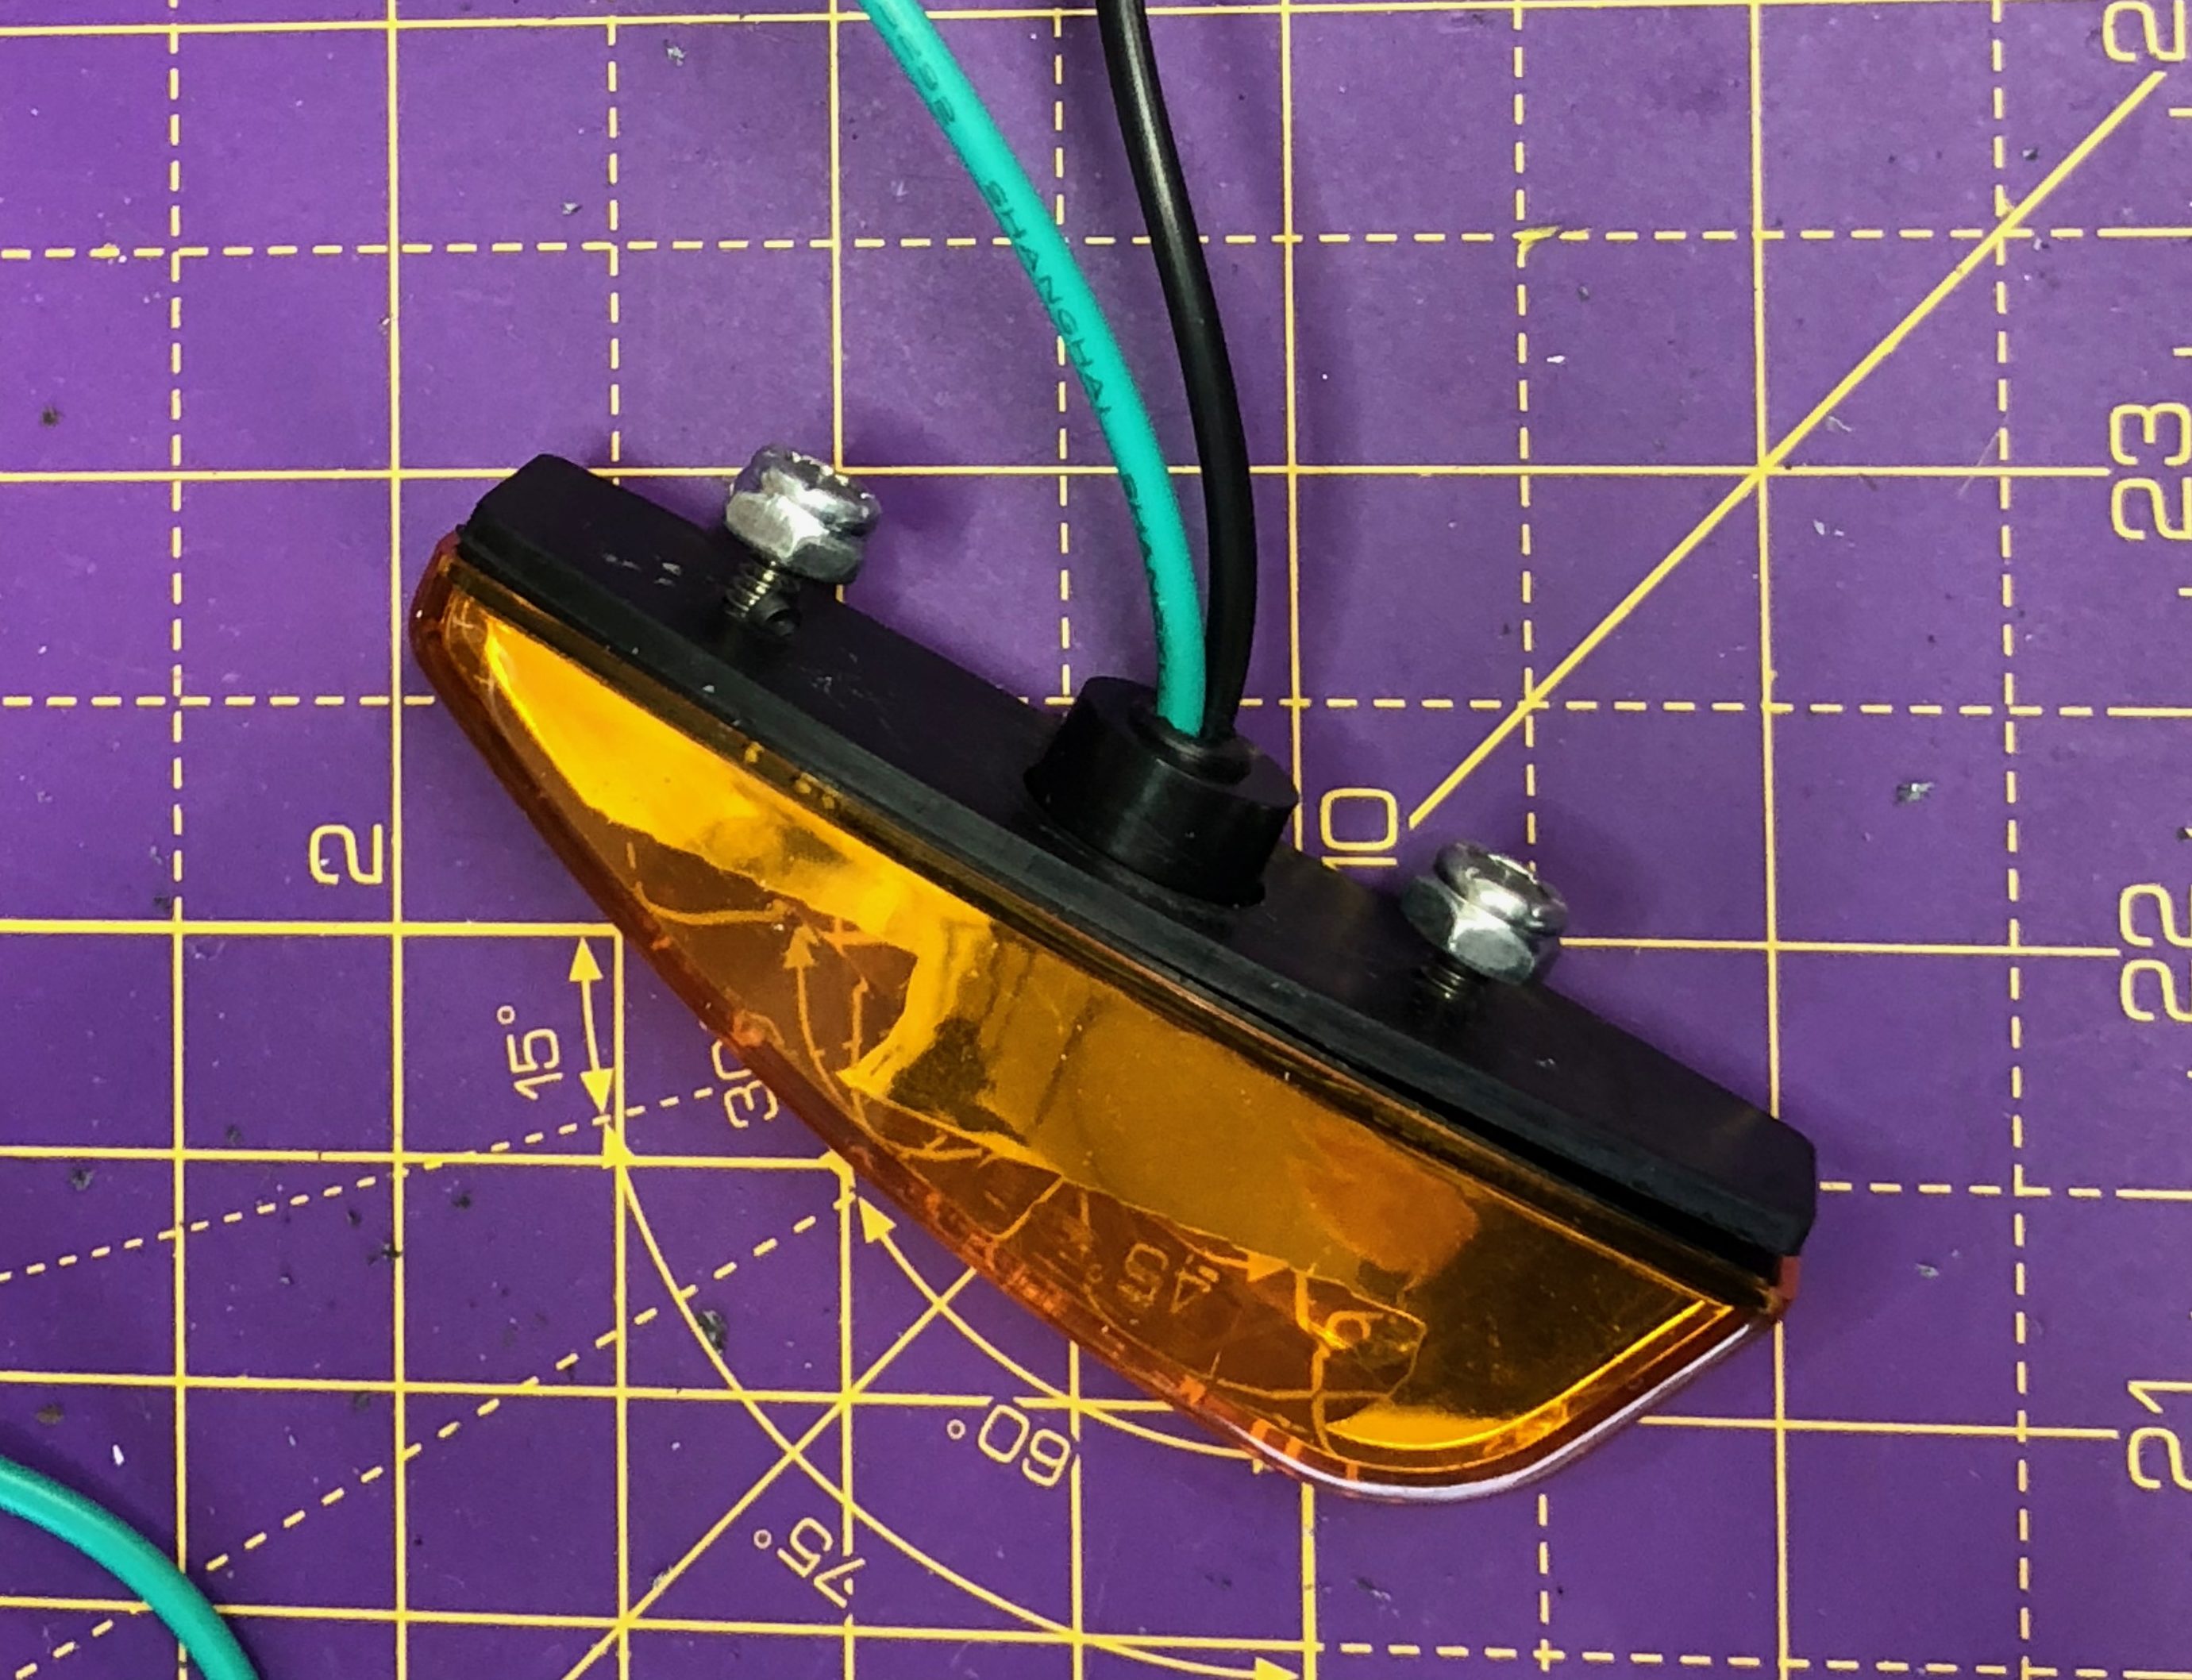
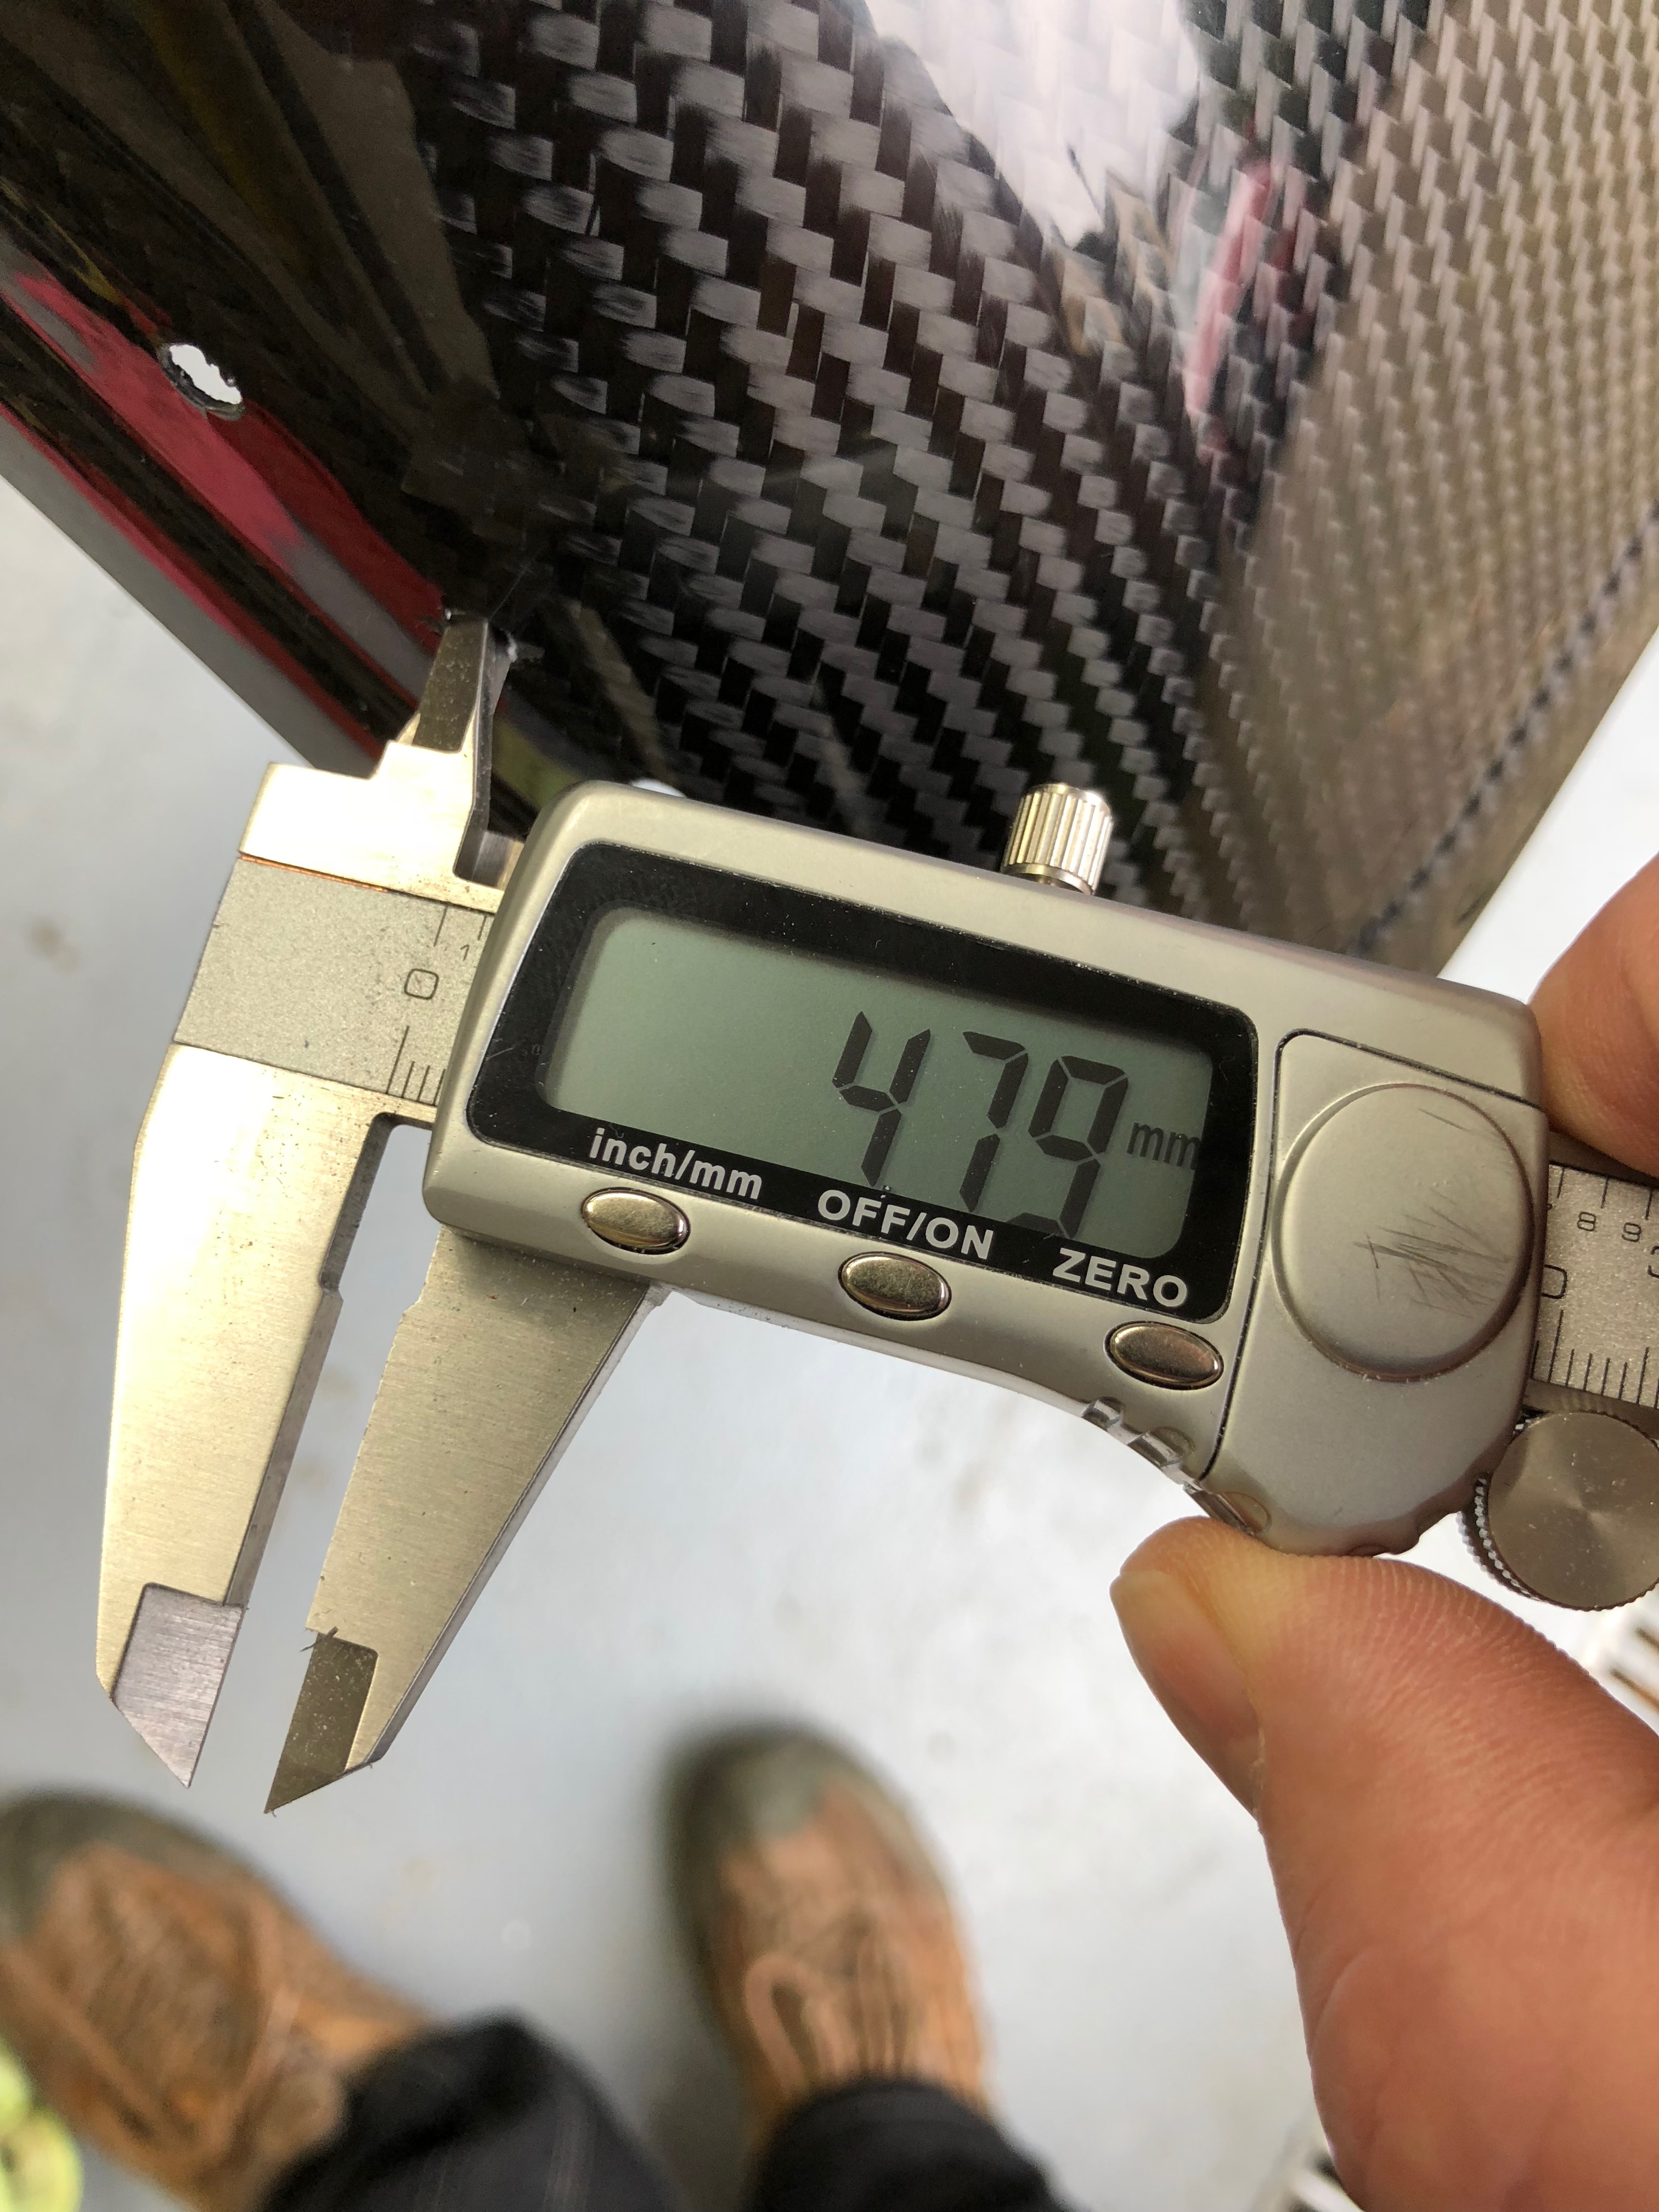
That middle hole needs opening up. The cable-protrusion out of the back of the repeater is just under 13mm…
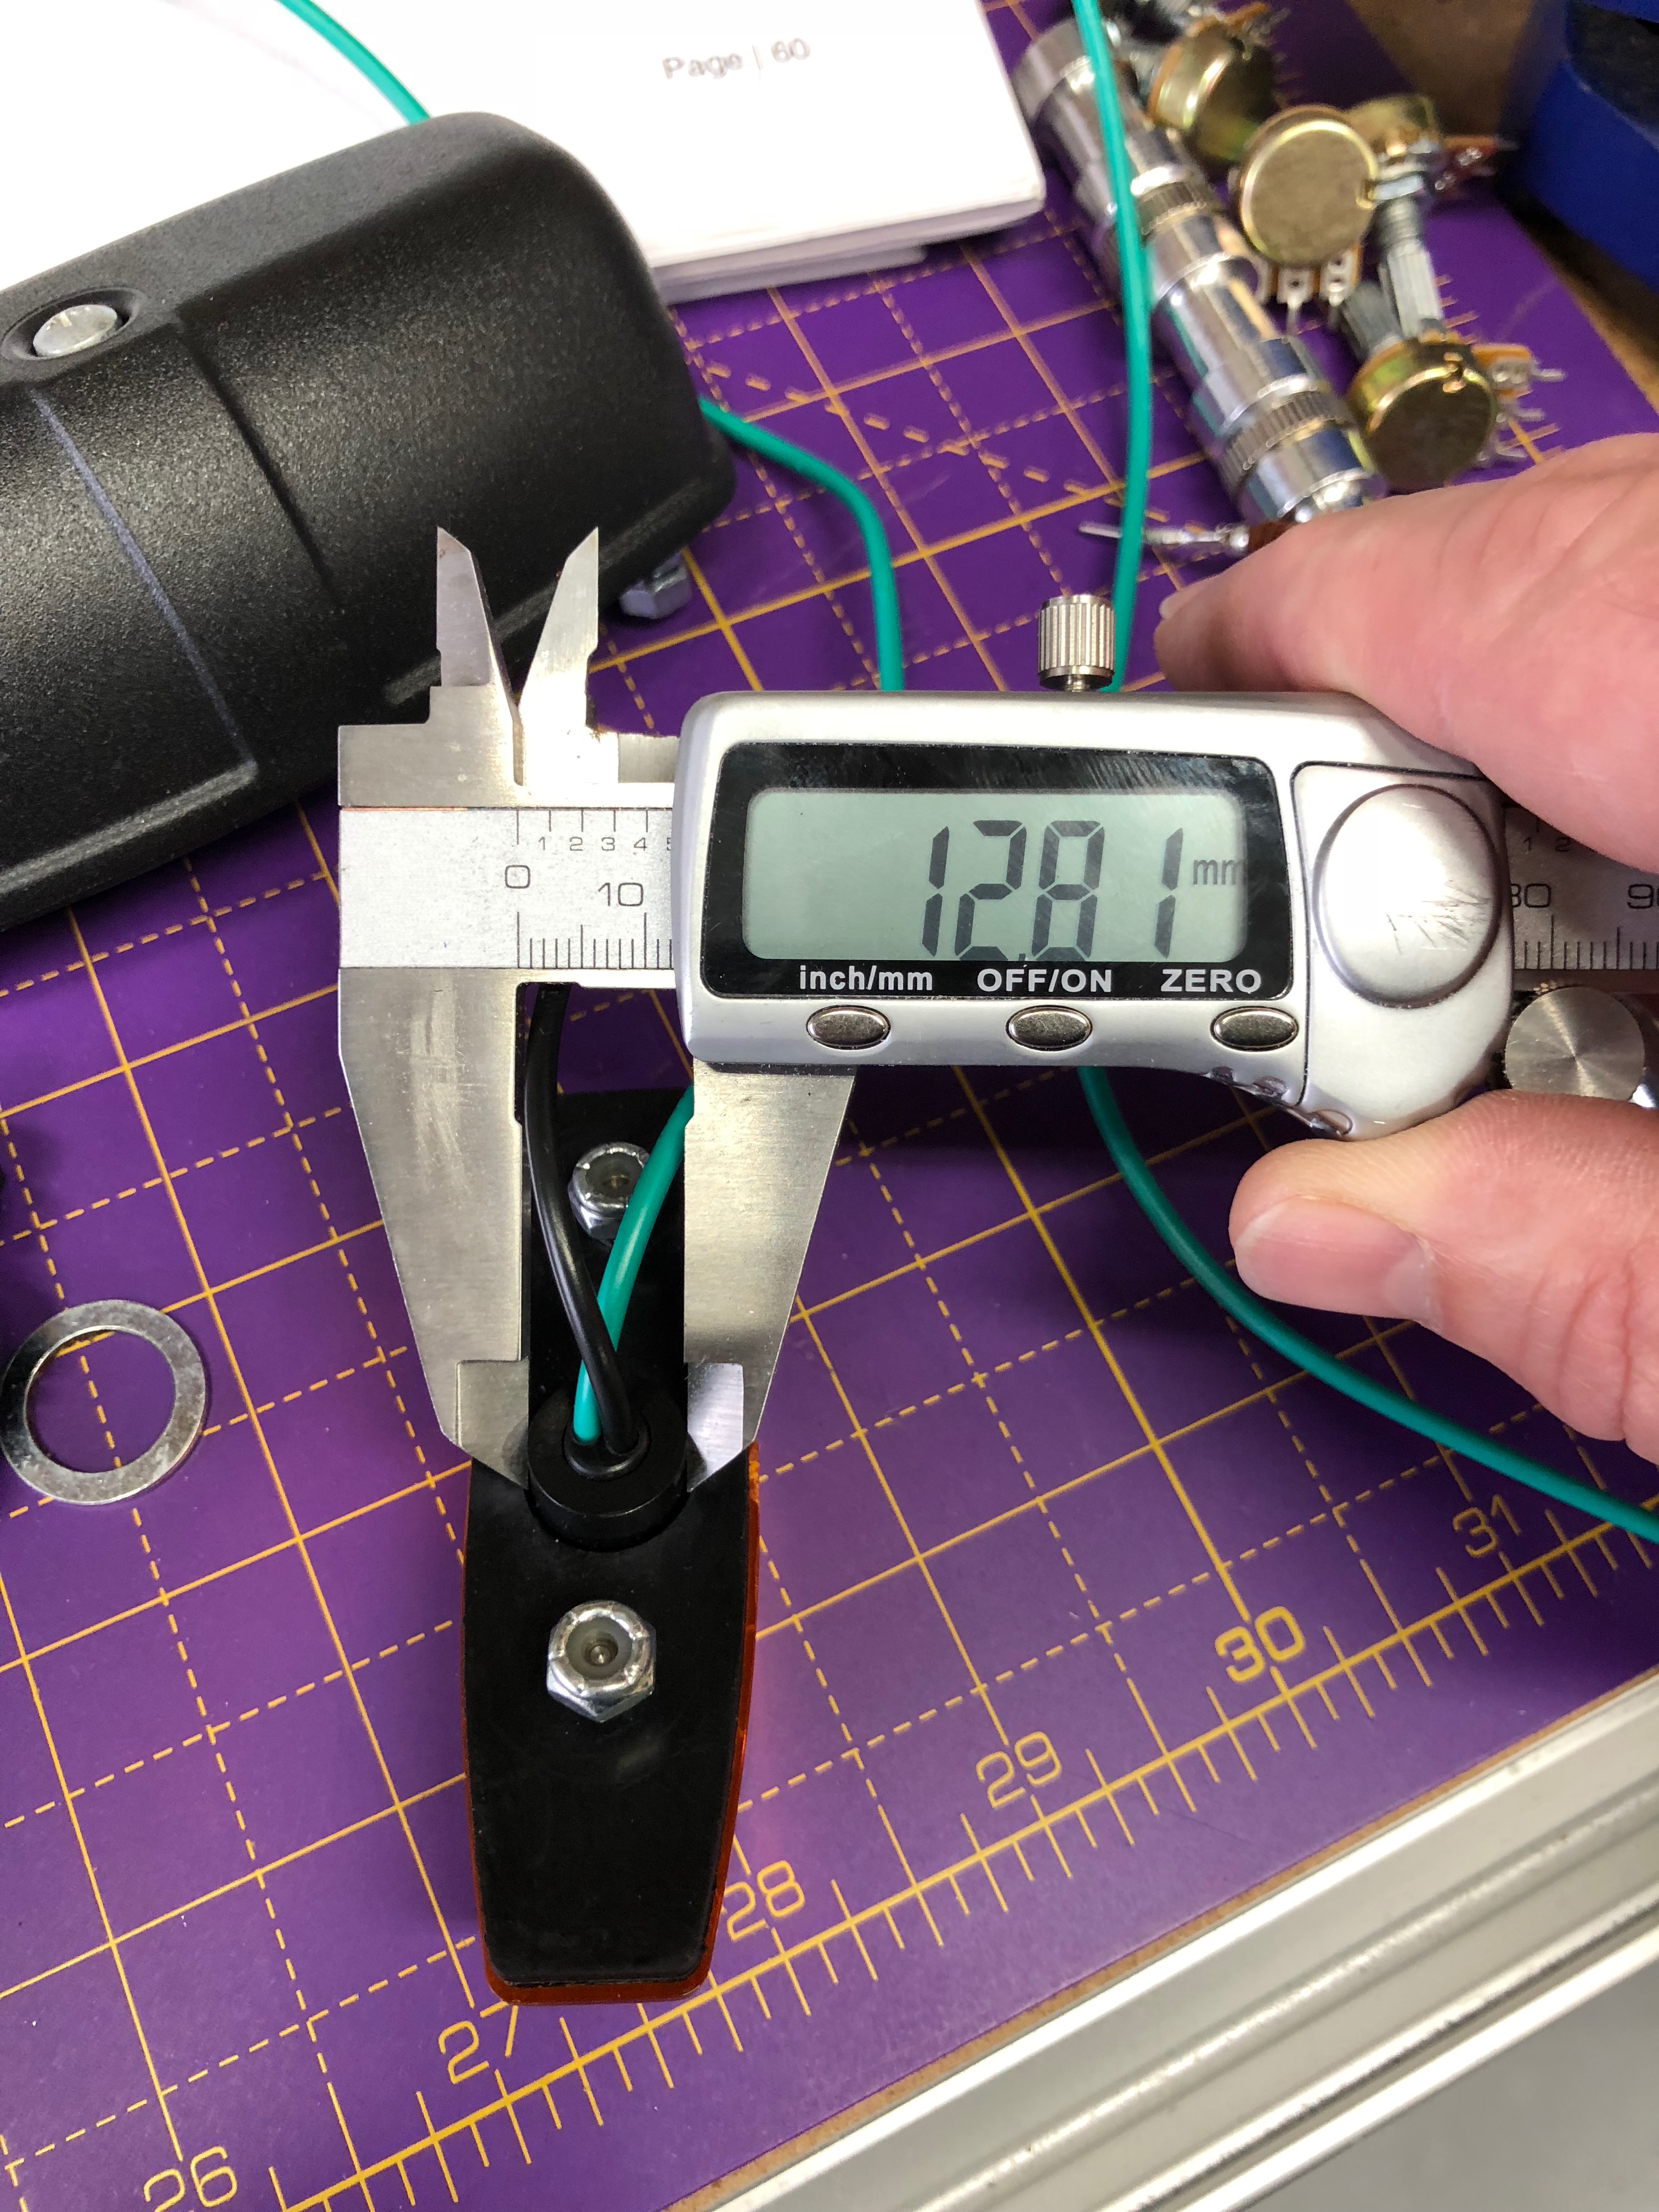
I decided to go with an oversized 16mm hole here, so I had a bit of wiggle room to make sure the repeaters were where I wanted them…
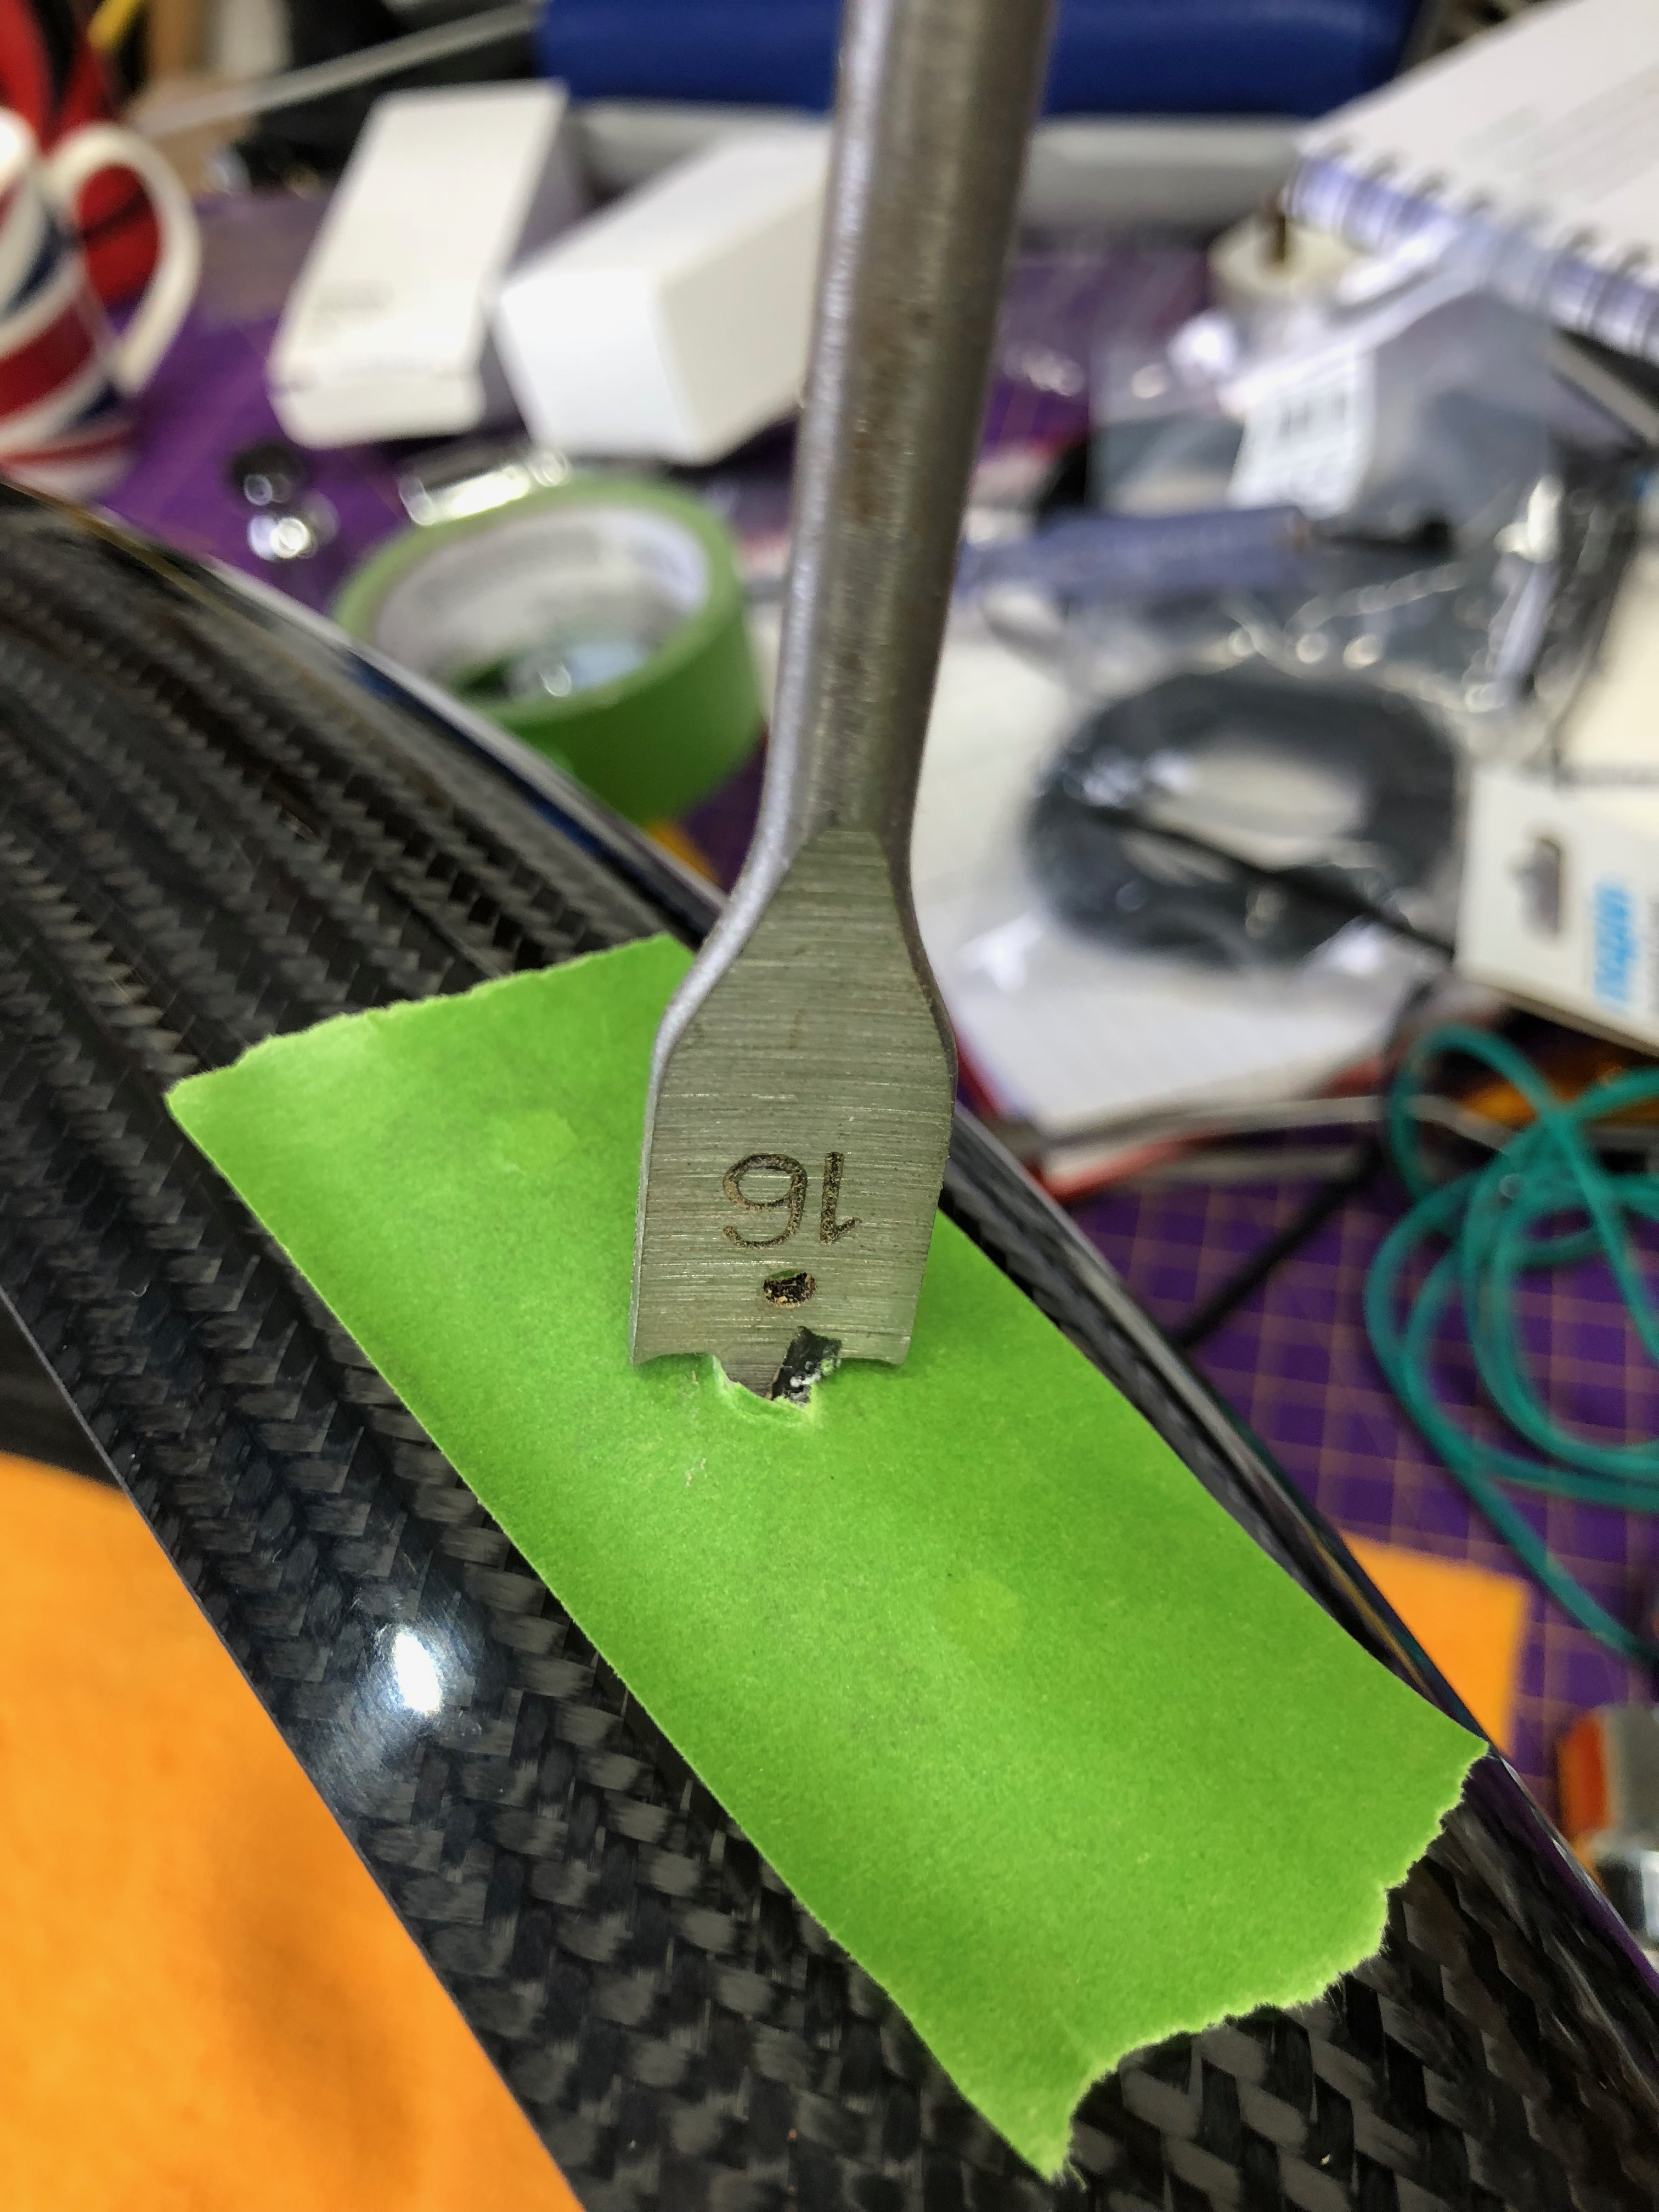
My spade bit was nice and sharp, and so created a relatively clean hole…

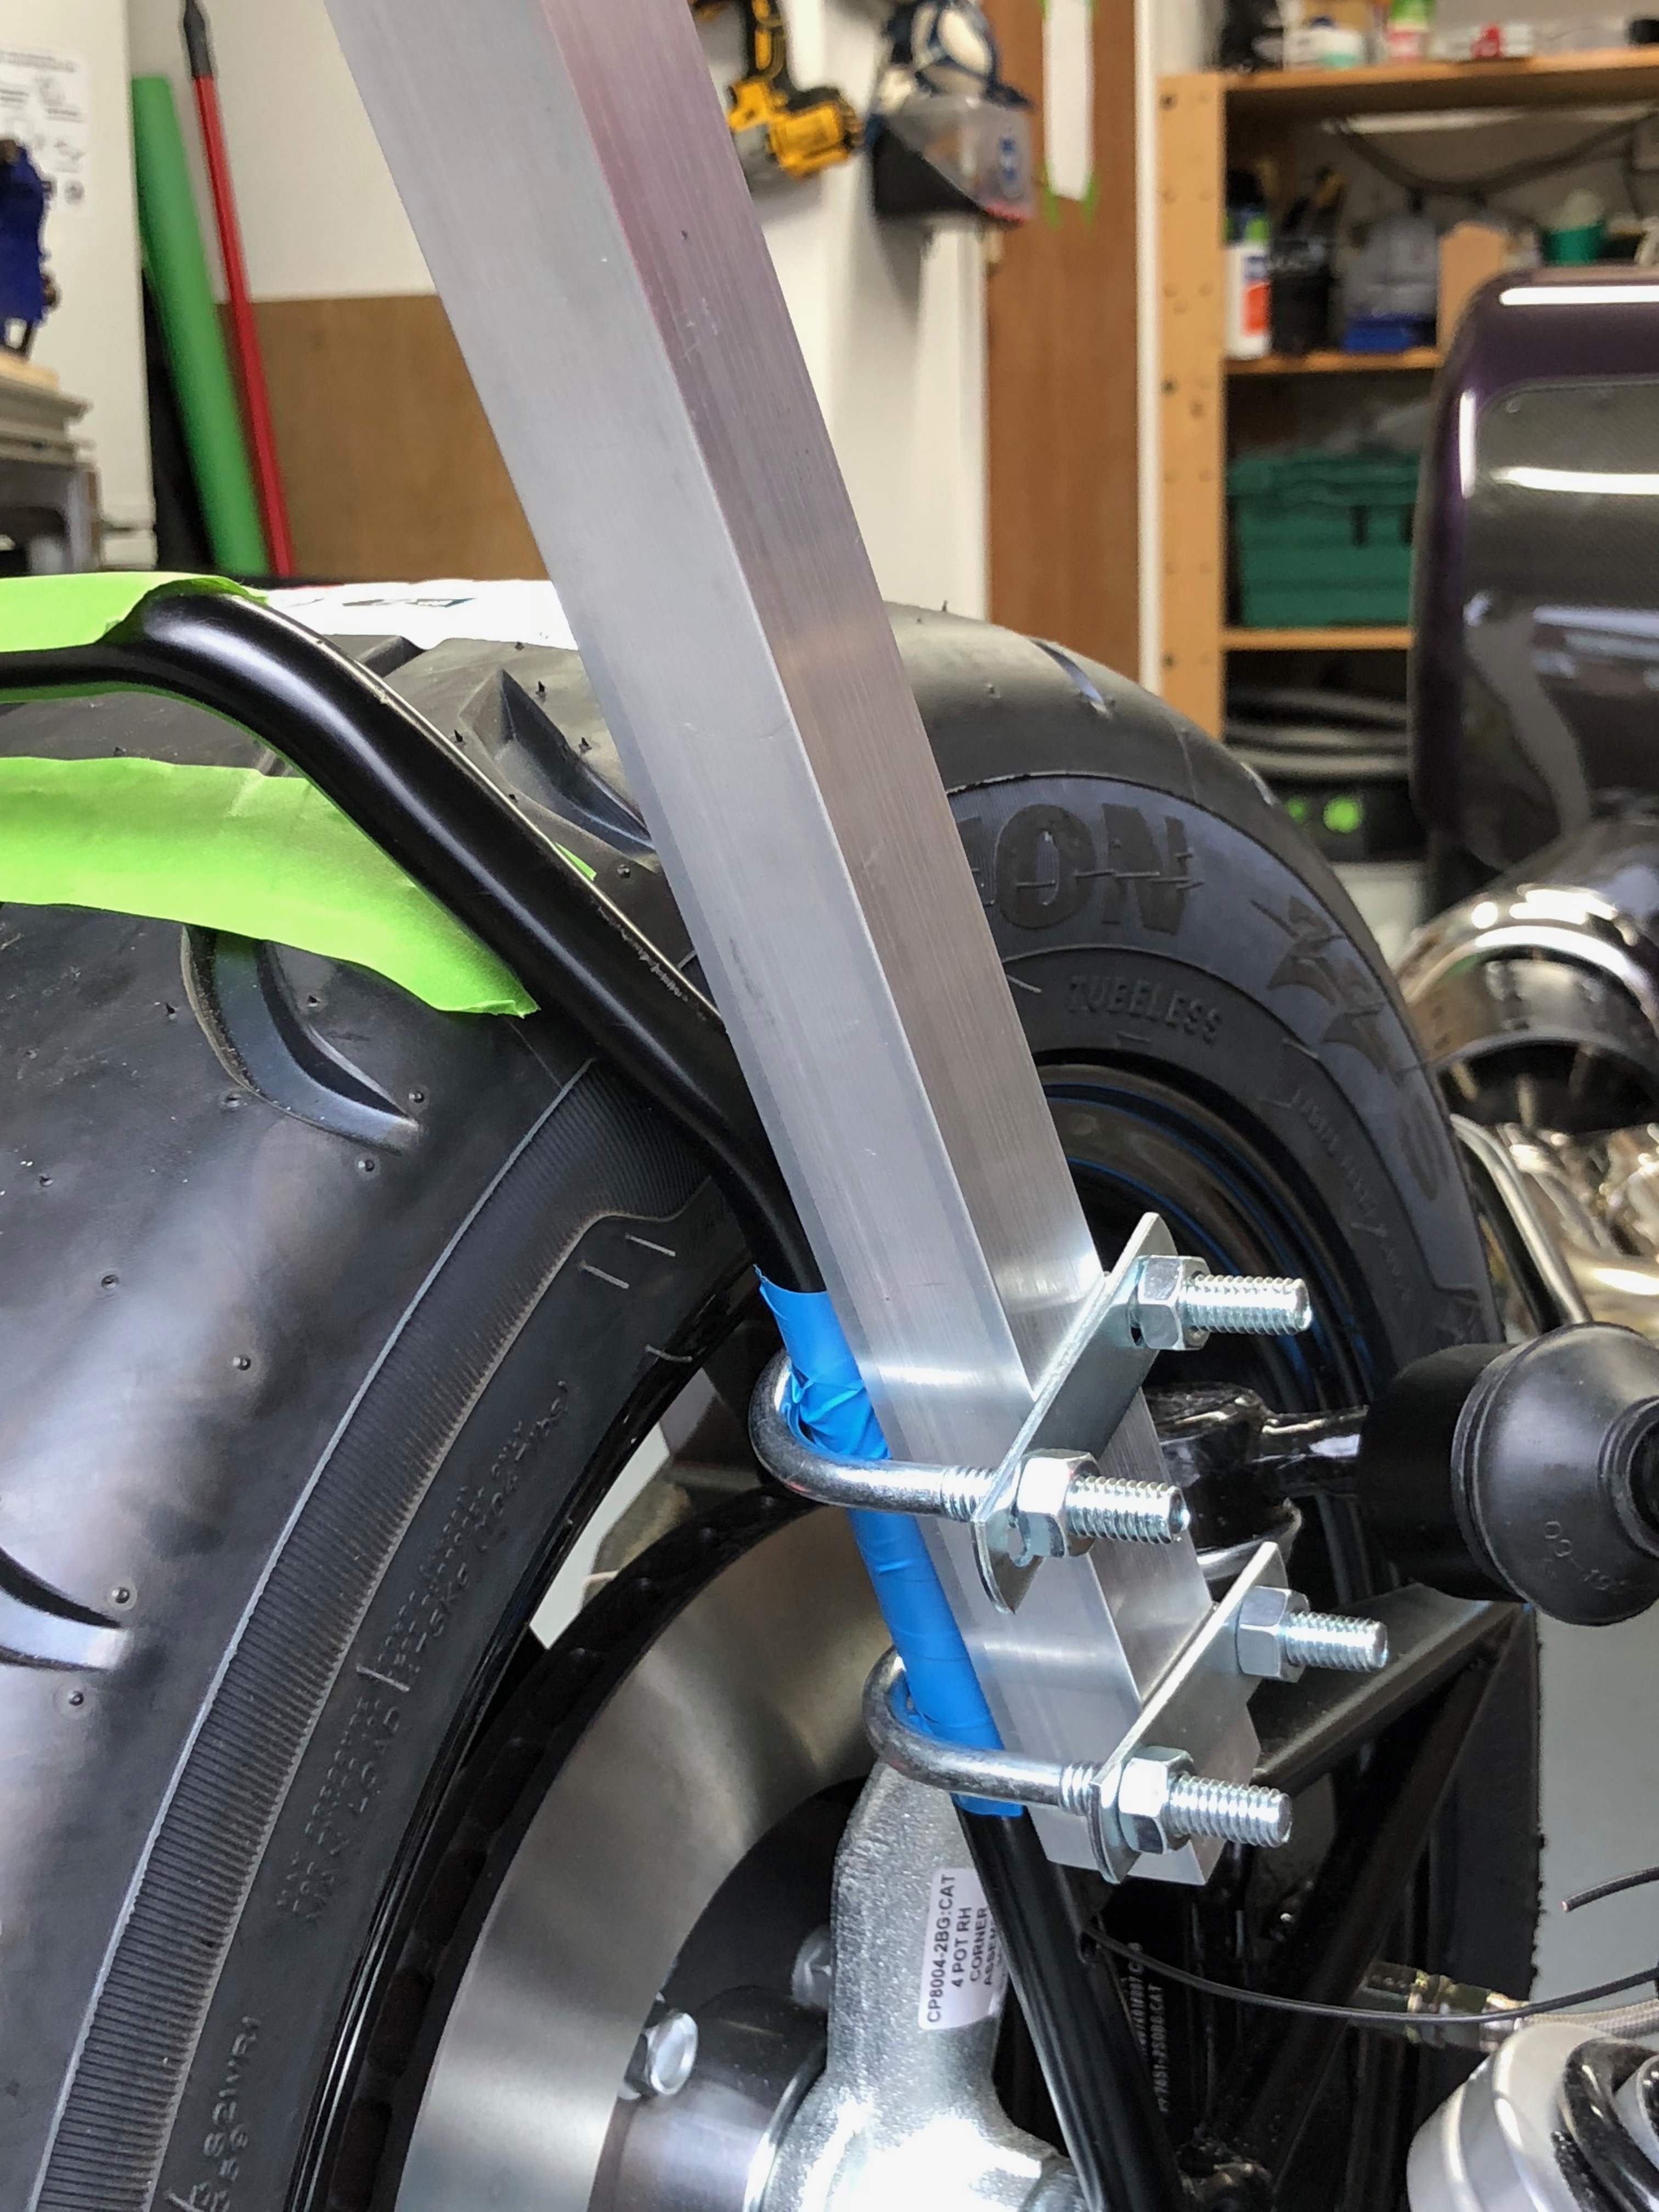
The wing now sits on the wing stays as below…
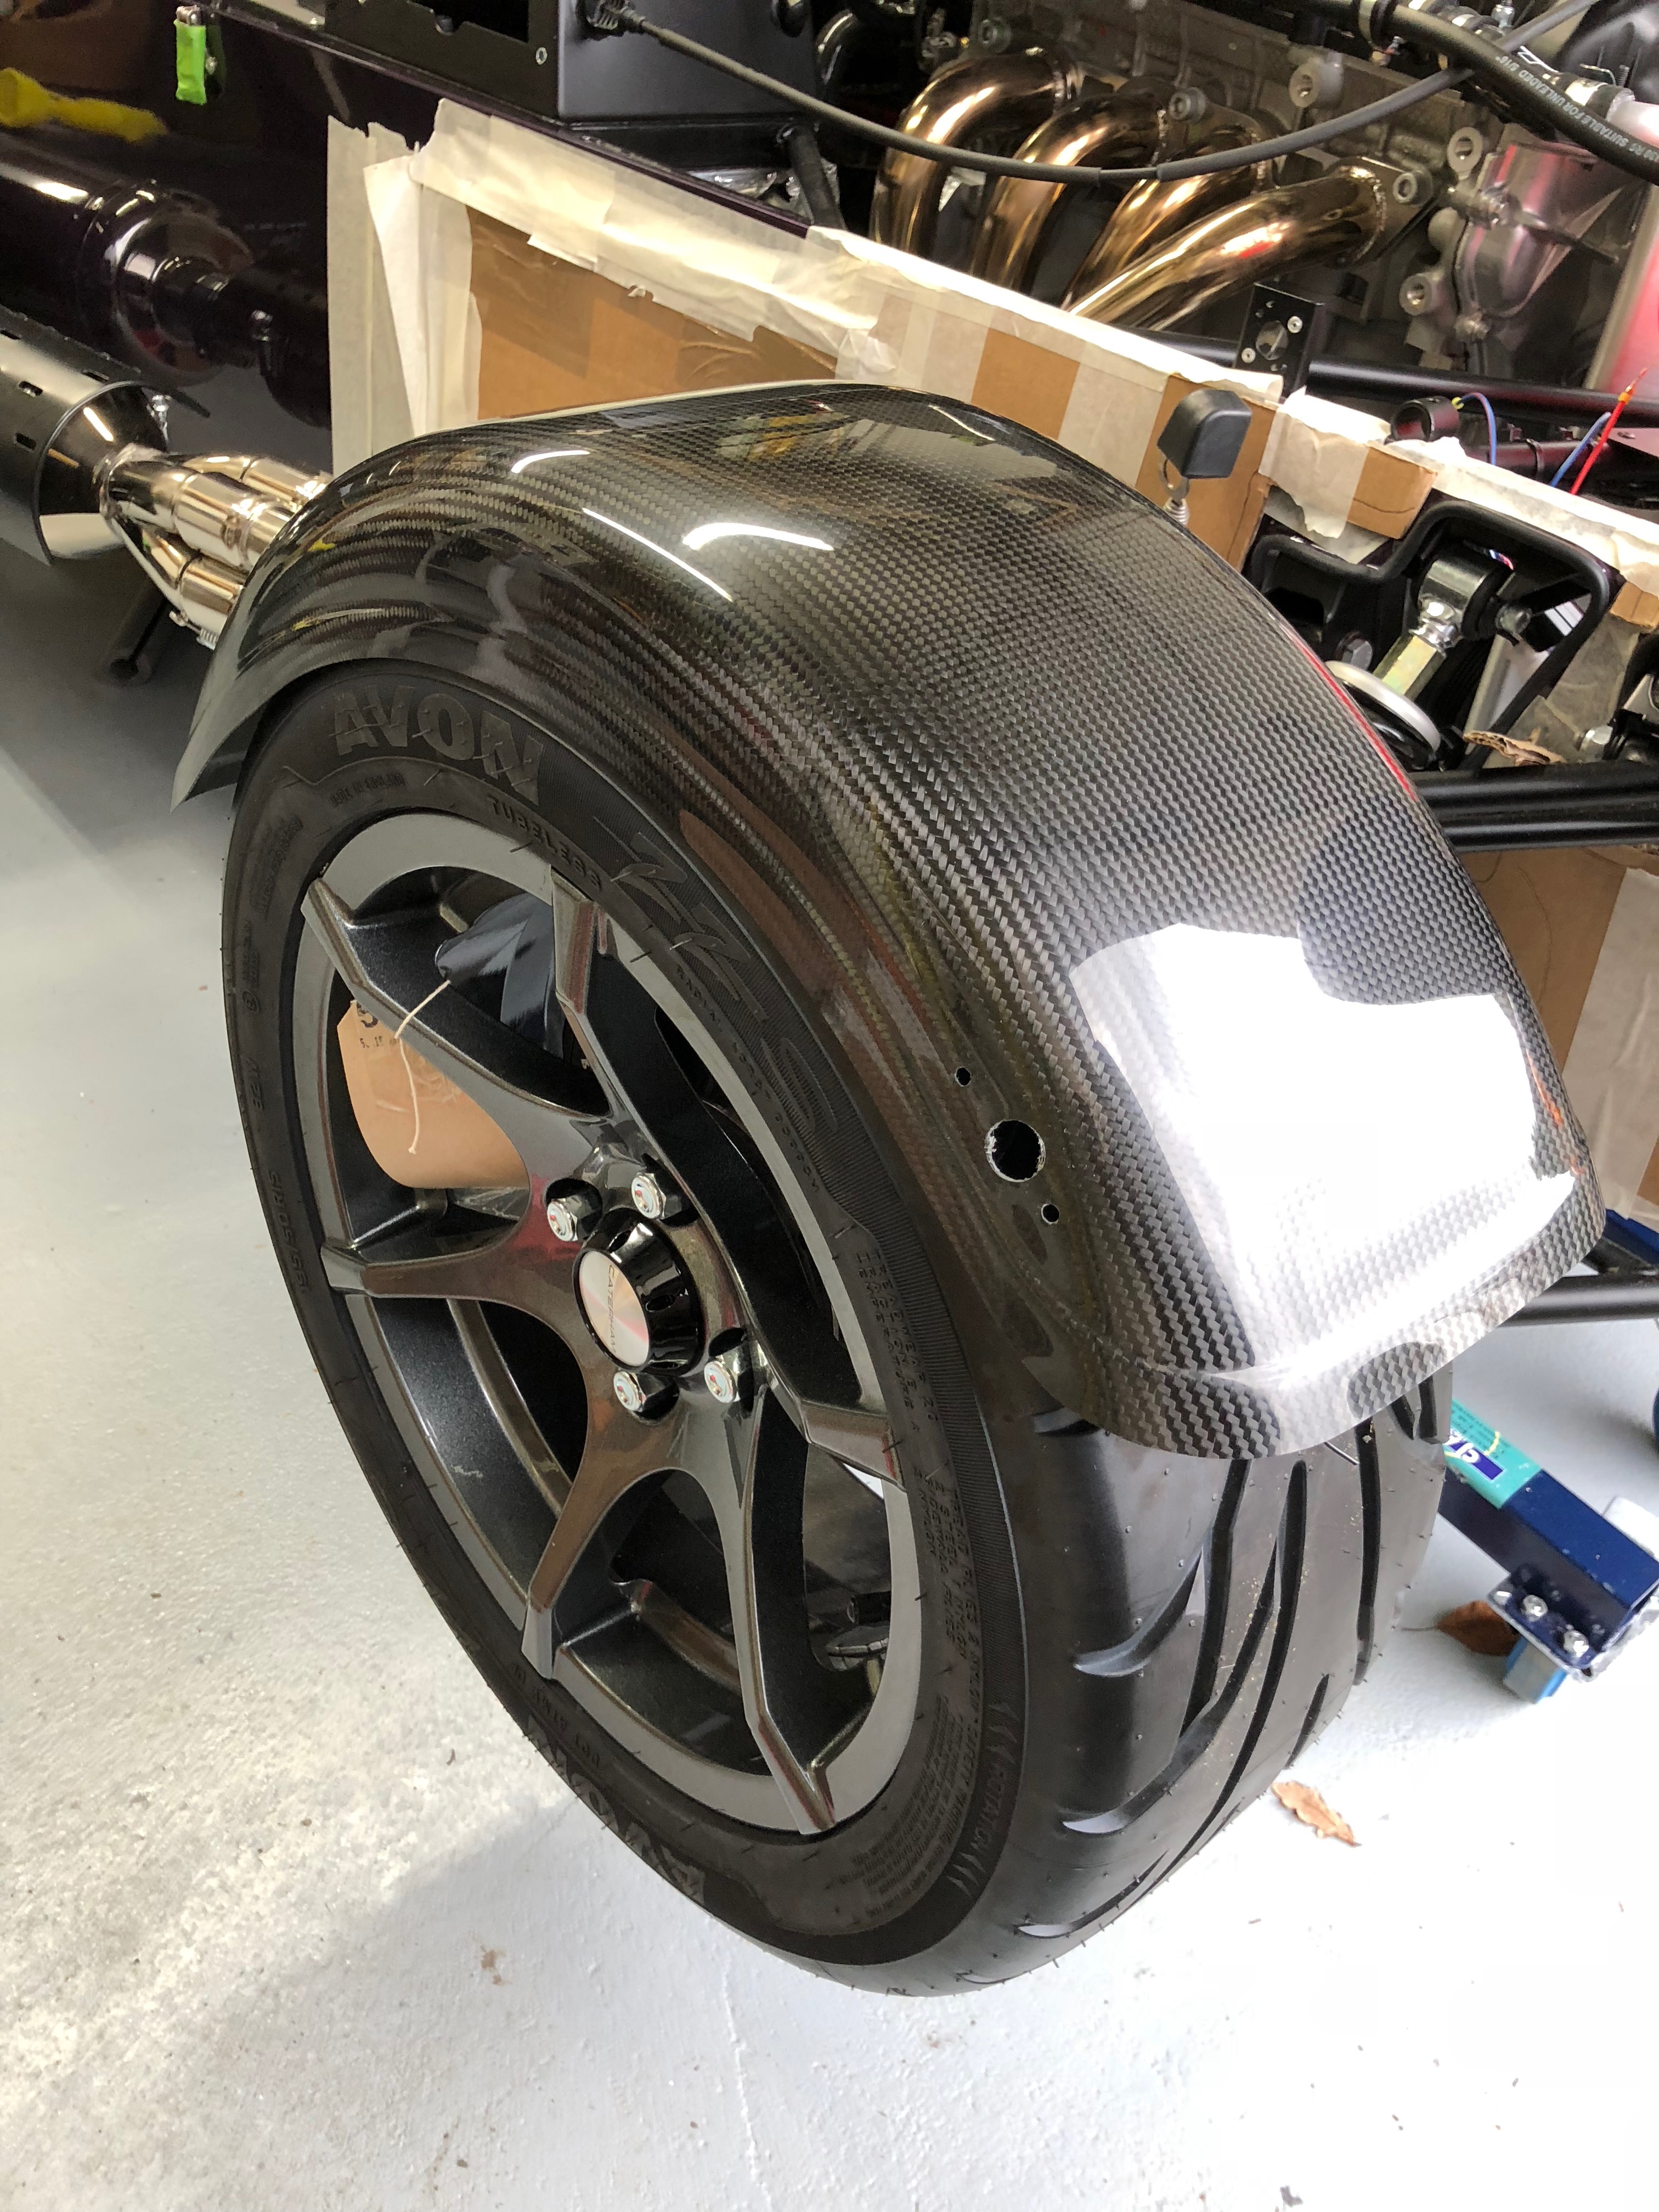
And now starts another rabbit hole to dive down… as you can see in the picture above, the outside edge of the wing is sitting very close to the tyre. That picture is taken with the wing directly on top of the wing stays and no modification to the stays – you’re supposed to bend them into an appropriate position.
At this point some bloggers go through the motions of taking off the wing stays and using a vice (or similar) to bend the wing stays to the right position. I’d already had the wing stays off once this week so decided to try something different.
I just happened to have some 1″ Aluminium bar lying around for a future Caterham mod (more on that in the Spring) and some U-bolts. So, I constructed a lever through which to bend the wing stays…

I could certainly bend the wing stays with this approach but I still couldn’t get the wing stay either central to the tyre or far enough away from the wheel for my liking. I suspect both the Carbon Wings and the 15″ wheels/tyres are what’s causing the problem. I’ve not seen anyone post blogs or seen anything in real-life with that combination. I’m sure someone’s done it, but I had nothing to reference for my installation.
I did the best I could to get the wing stays into an optimum position but it wasn’t working. My options seemed to be to cut some slots in the carbon wings to allow the wings to move outwards while not fouling on the wing stays. Or, I could space the wings off the wing stays and that would have the twin benefit of pulling the wing upwards away from the tyre but also allowing the wing to move outwards too.
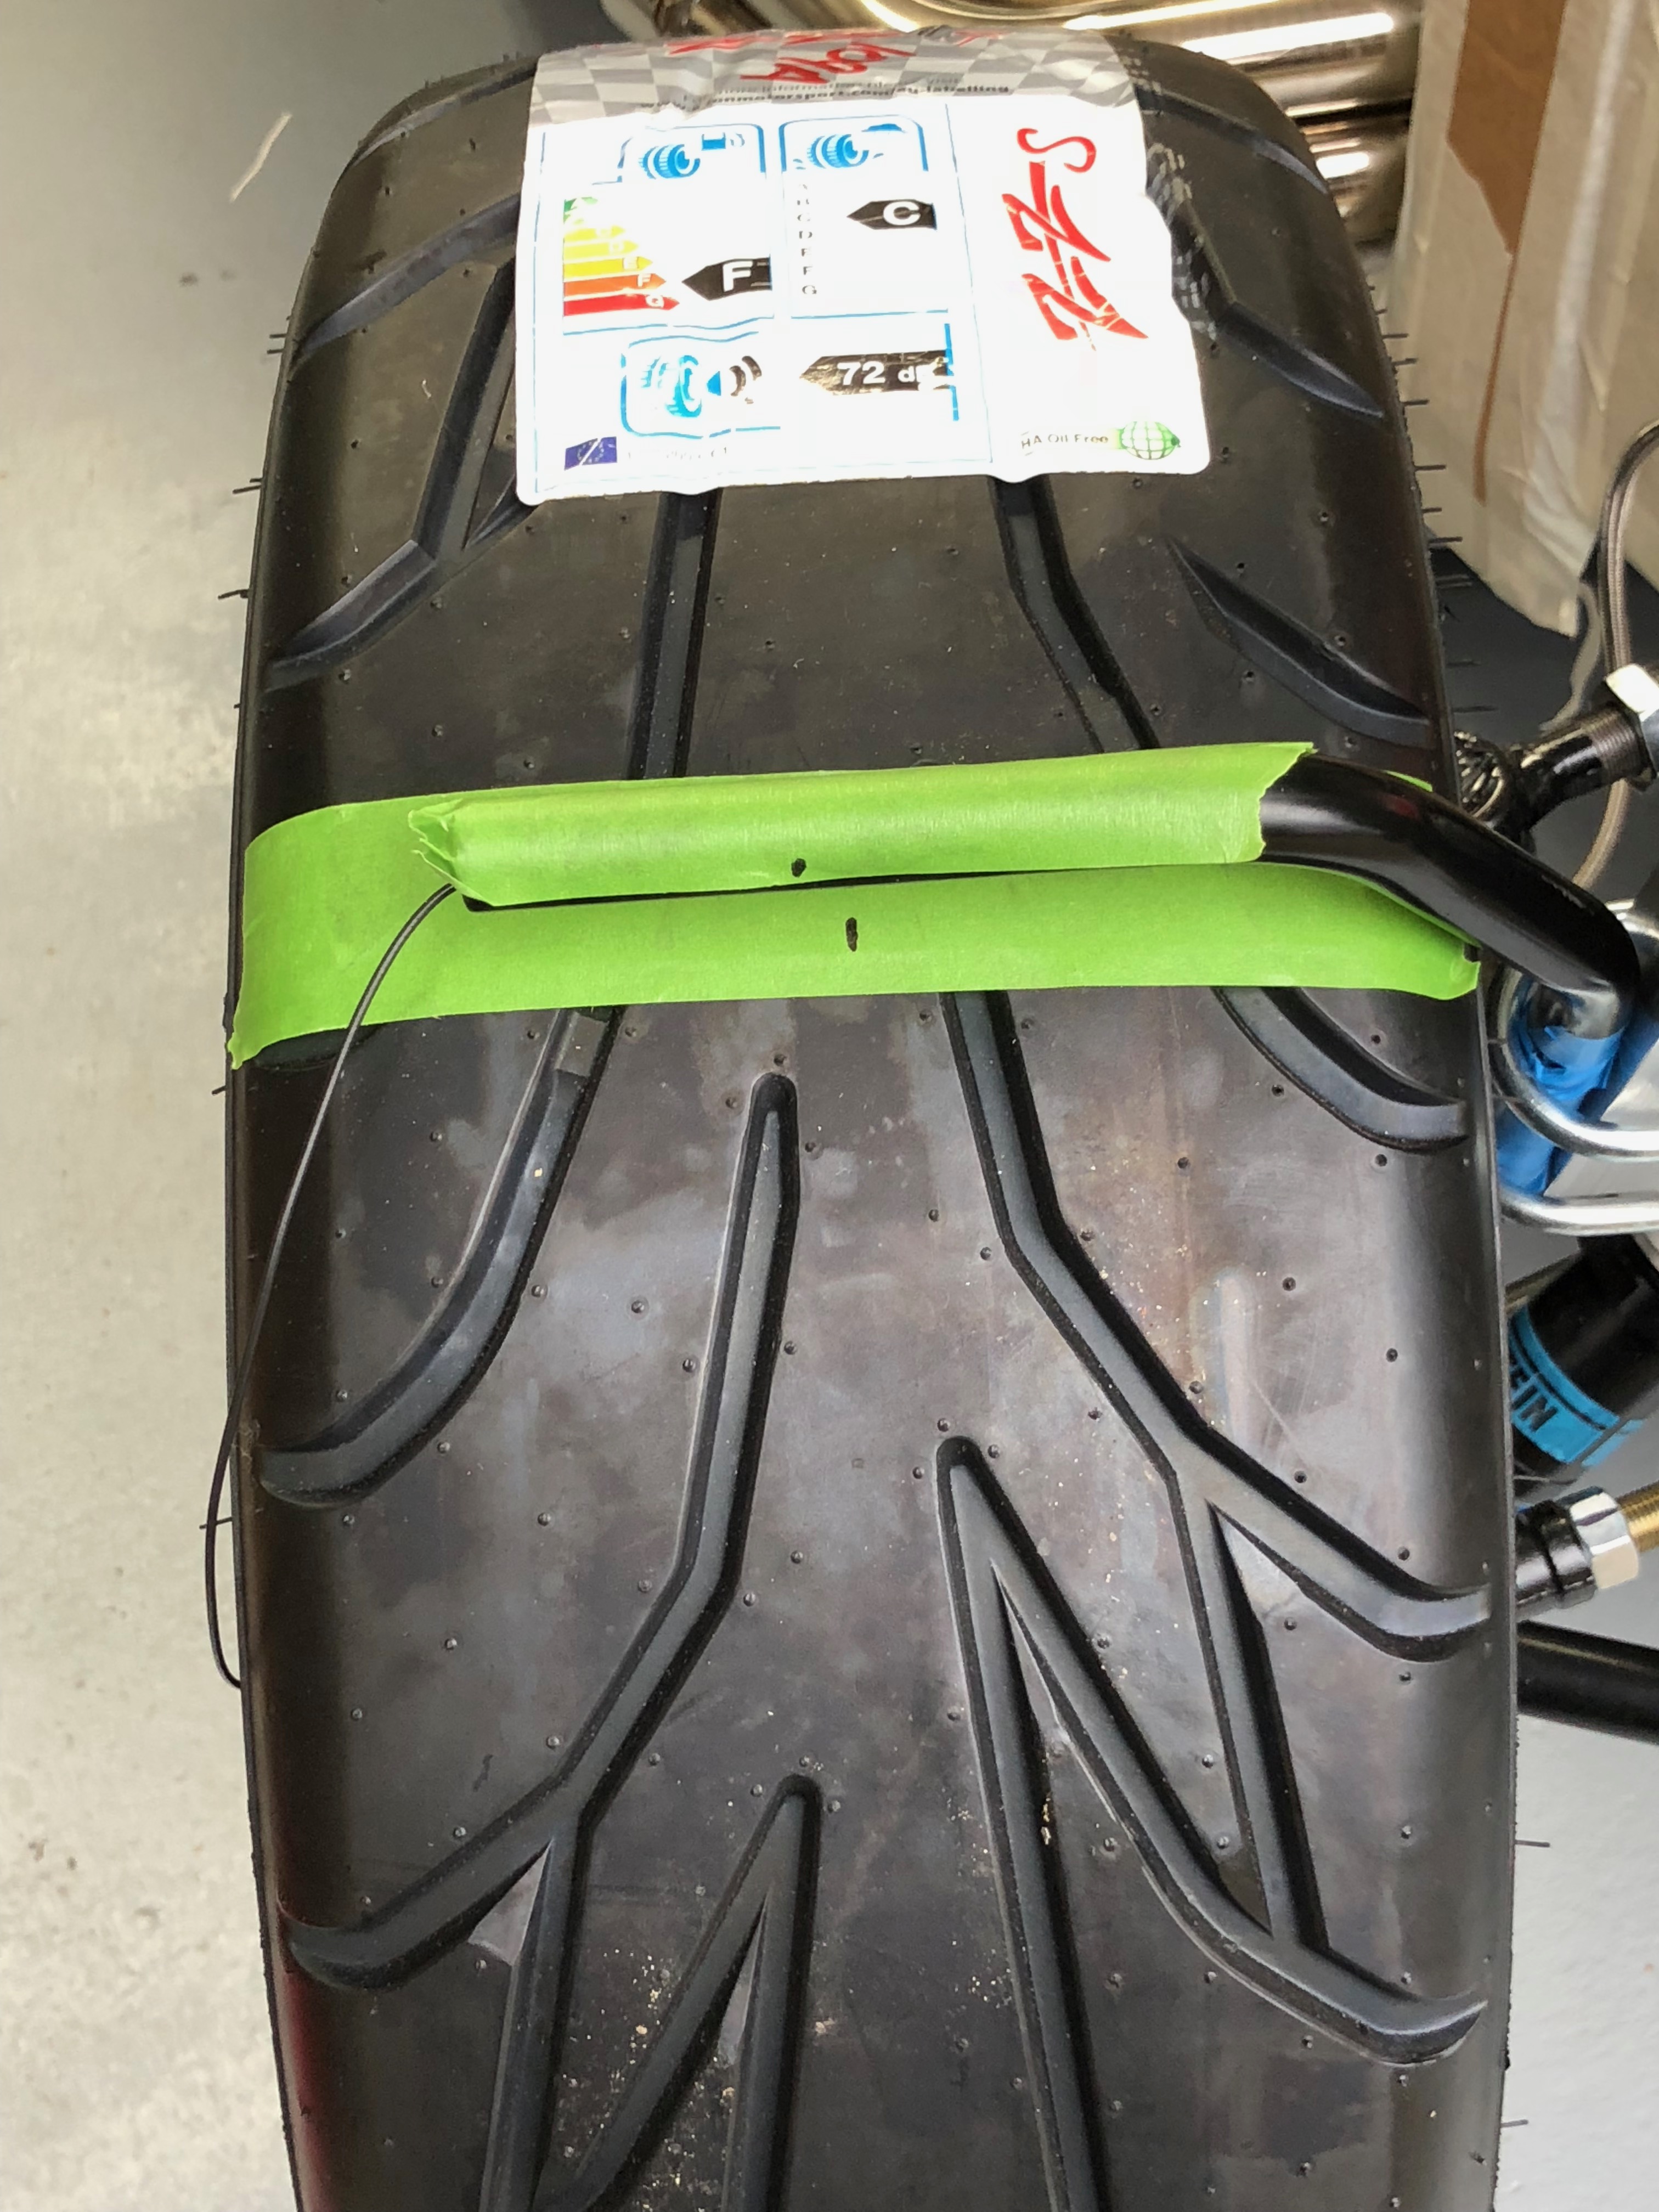
I don’t have a picture to help here but the carbon wings were touching the wing stays where the wing stay bends away from the vertical – above the blue electrical tape on the wing stay in the picture above. A slot in the wing where it touched this bend in the stay might give me the room I needed.
However, these wings are not cheap, and I baulked at the thought of cutting them up and not achieving what I wanted.
You can see in the image below how much I’d managed to move the wing stay with my lever, those lines were originally coincident…
So, I did what any self-respecting engineer would do at this point – I chickened out and sent an email to Derek. I decided to get on with something else while Derek got back to me.
Refit Gearbox Mounting Bolts
One of the things that had been nagging at my OCD gland was that in some of the IVA reports I’d seen from others going through the process, they had failed because the inspector couldn’t see the bolt poking out of the end of a nyloc nut when that combination is used. It had been nagging at me that I had installed the gearbox to chassis bolts so the bolts poked up through the nuts and it wasn’t quite so easy to see the end of the bolt. I’m sure an inspector could see the bolt if they spent the time, but… I didn’t want to be in a position where I was a borderline pass and the inspector was looking for a reason to fail me. OCD… I know.
So, I took 15 minutes and switched the bolts and nuts around like so…
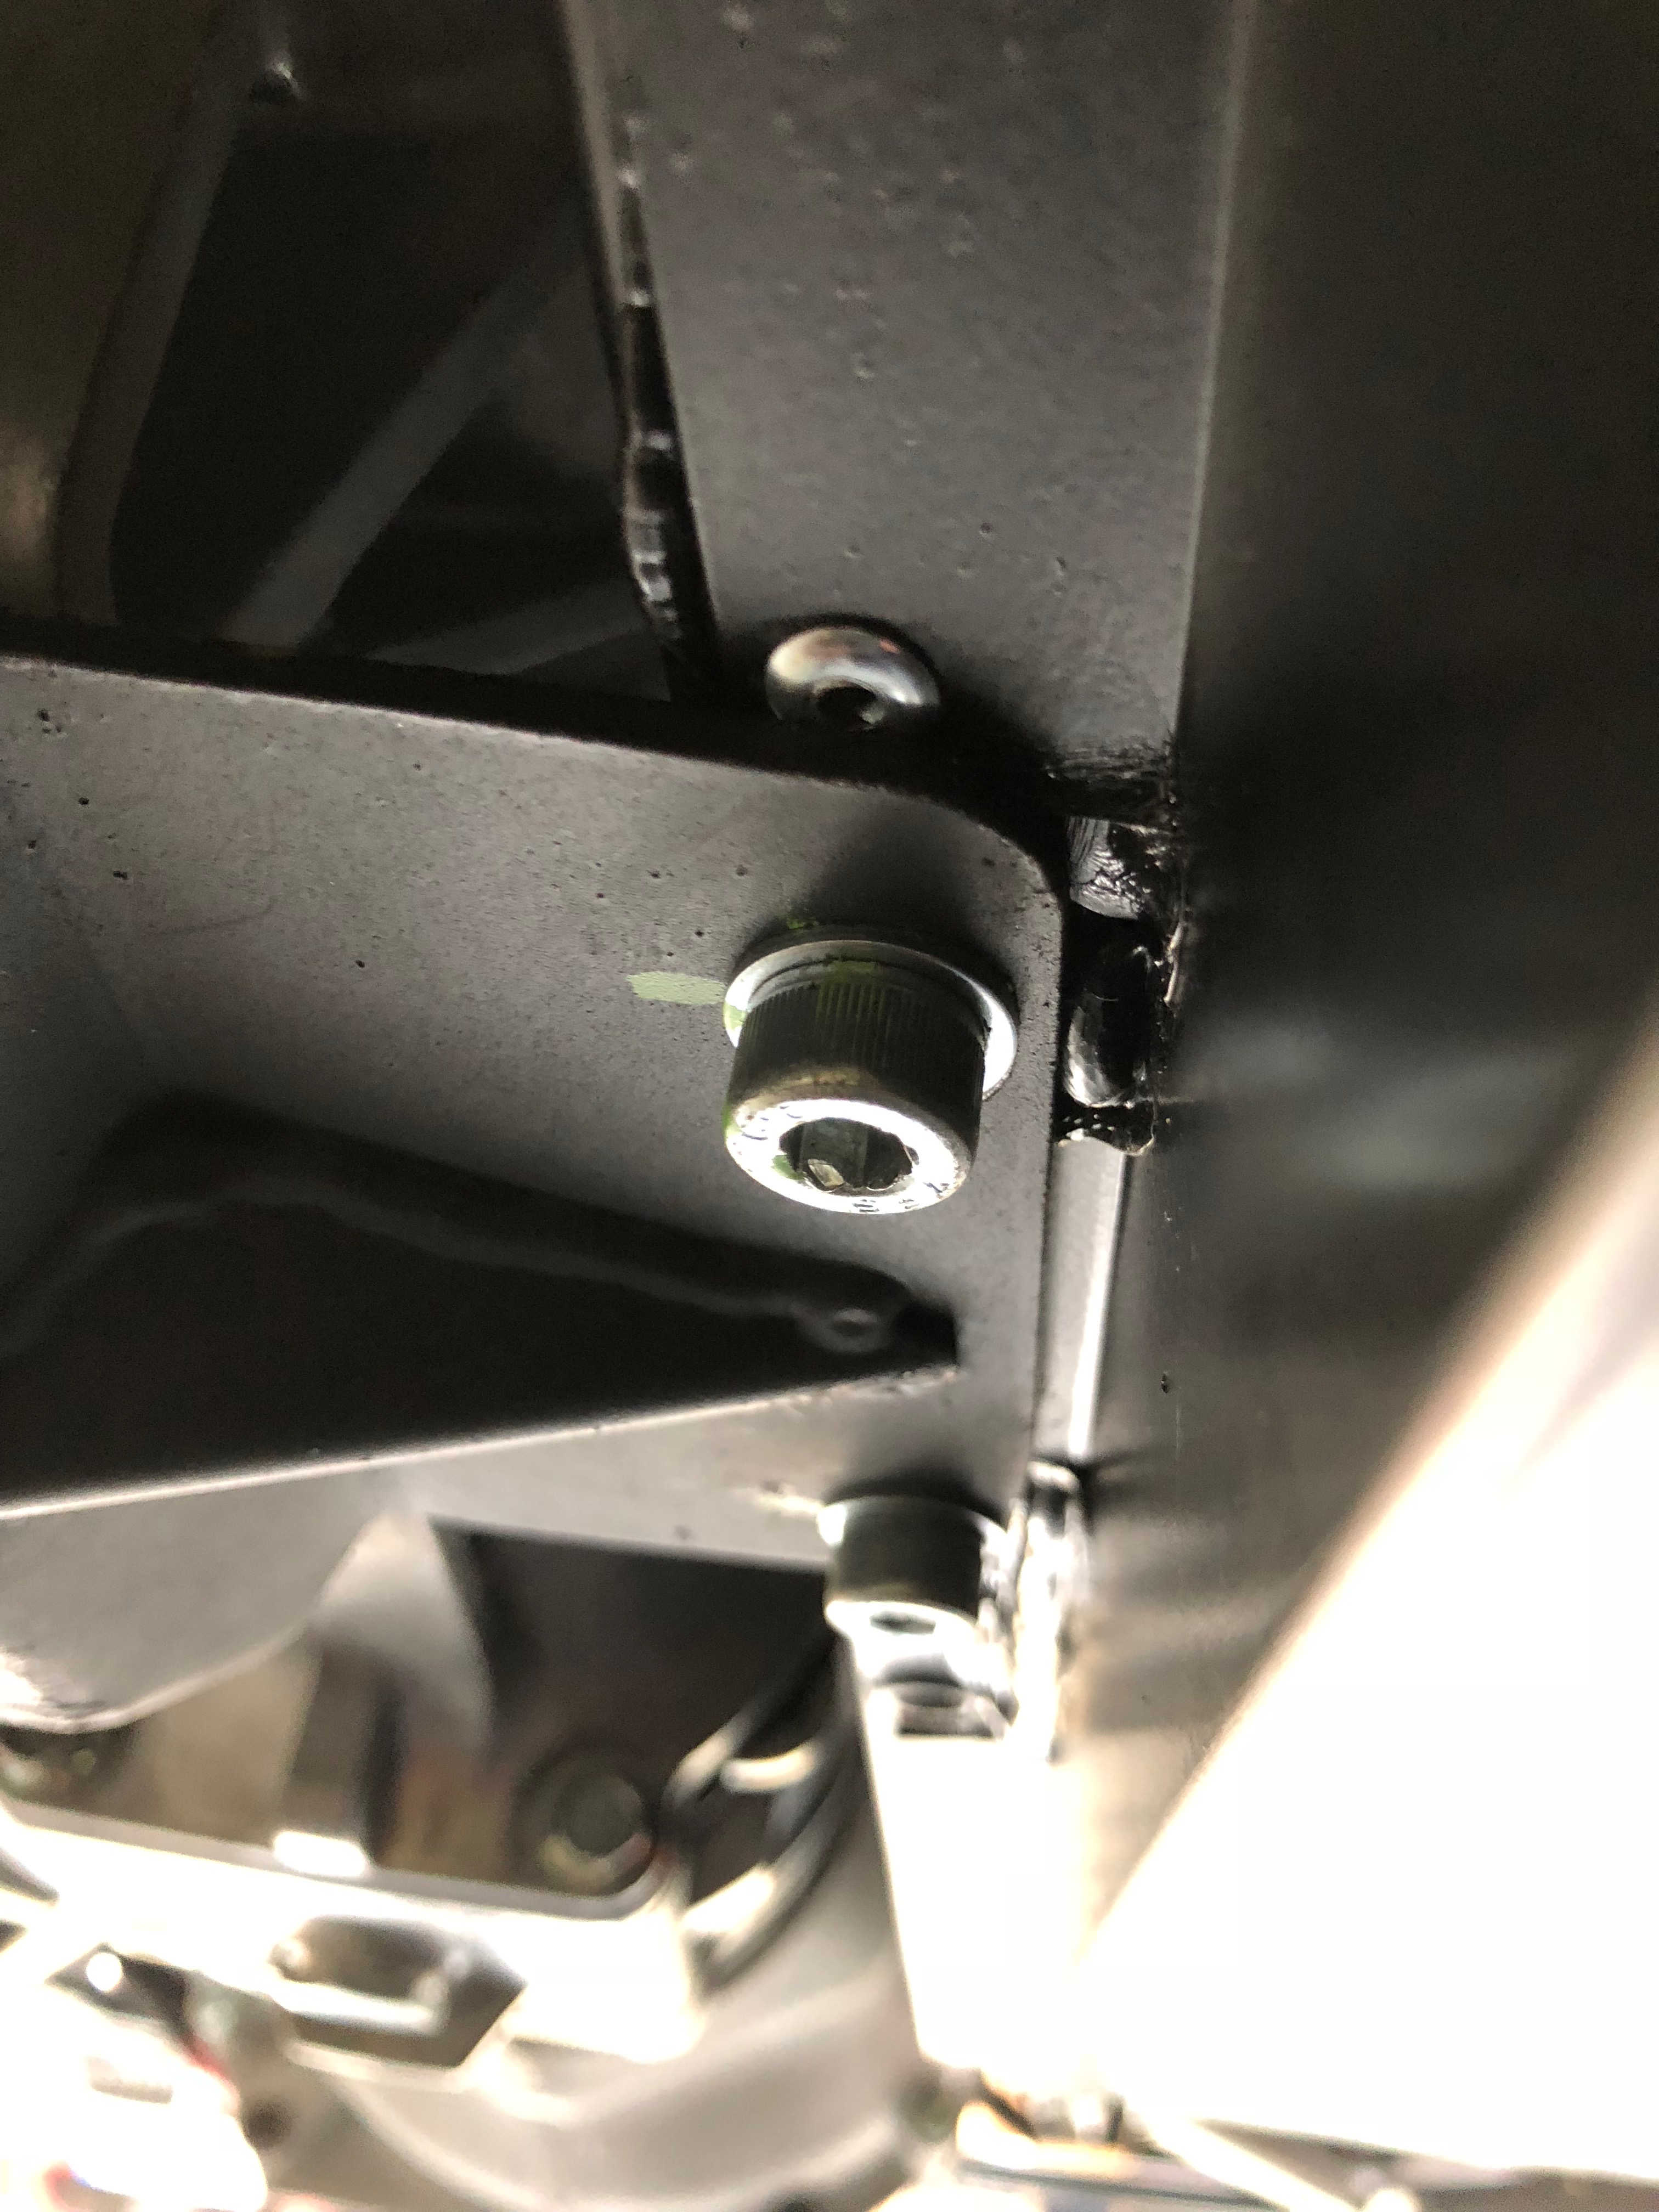

I then torqued and paint-pen’ed the bolts.
Side Note: IMHO I liked the idea of leaving the obvious paint-pen marks on all the nuts/bolts. It’s there to show the inspector that I’d paid a lot of attention to detail. They are going to be looking for competence and so:
Confidence in the builder is probably as important as confidence in the build.
… profound!
Number Plate Light
Onto to something simple again now. The wiring to the number plate is left folded by the number plate bracket when the kit arrives…
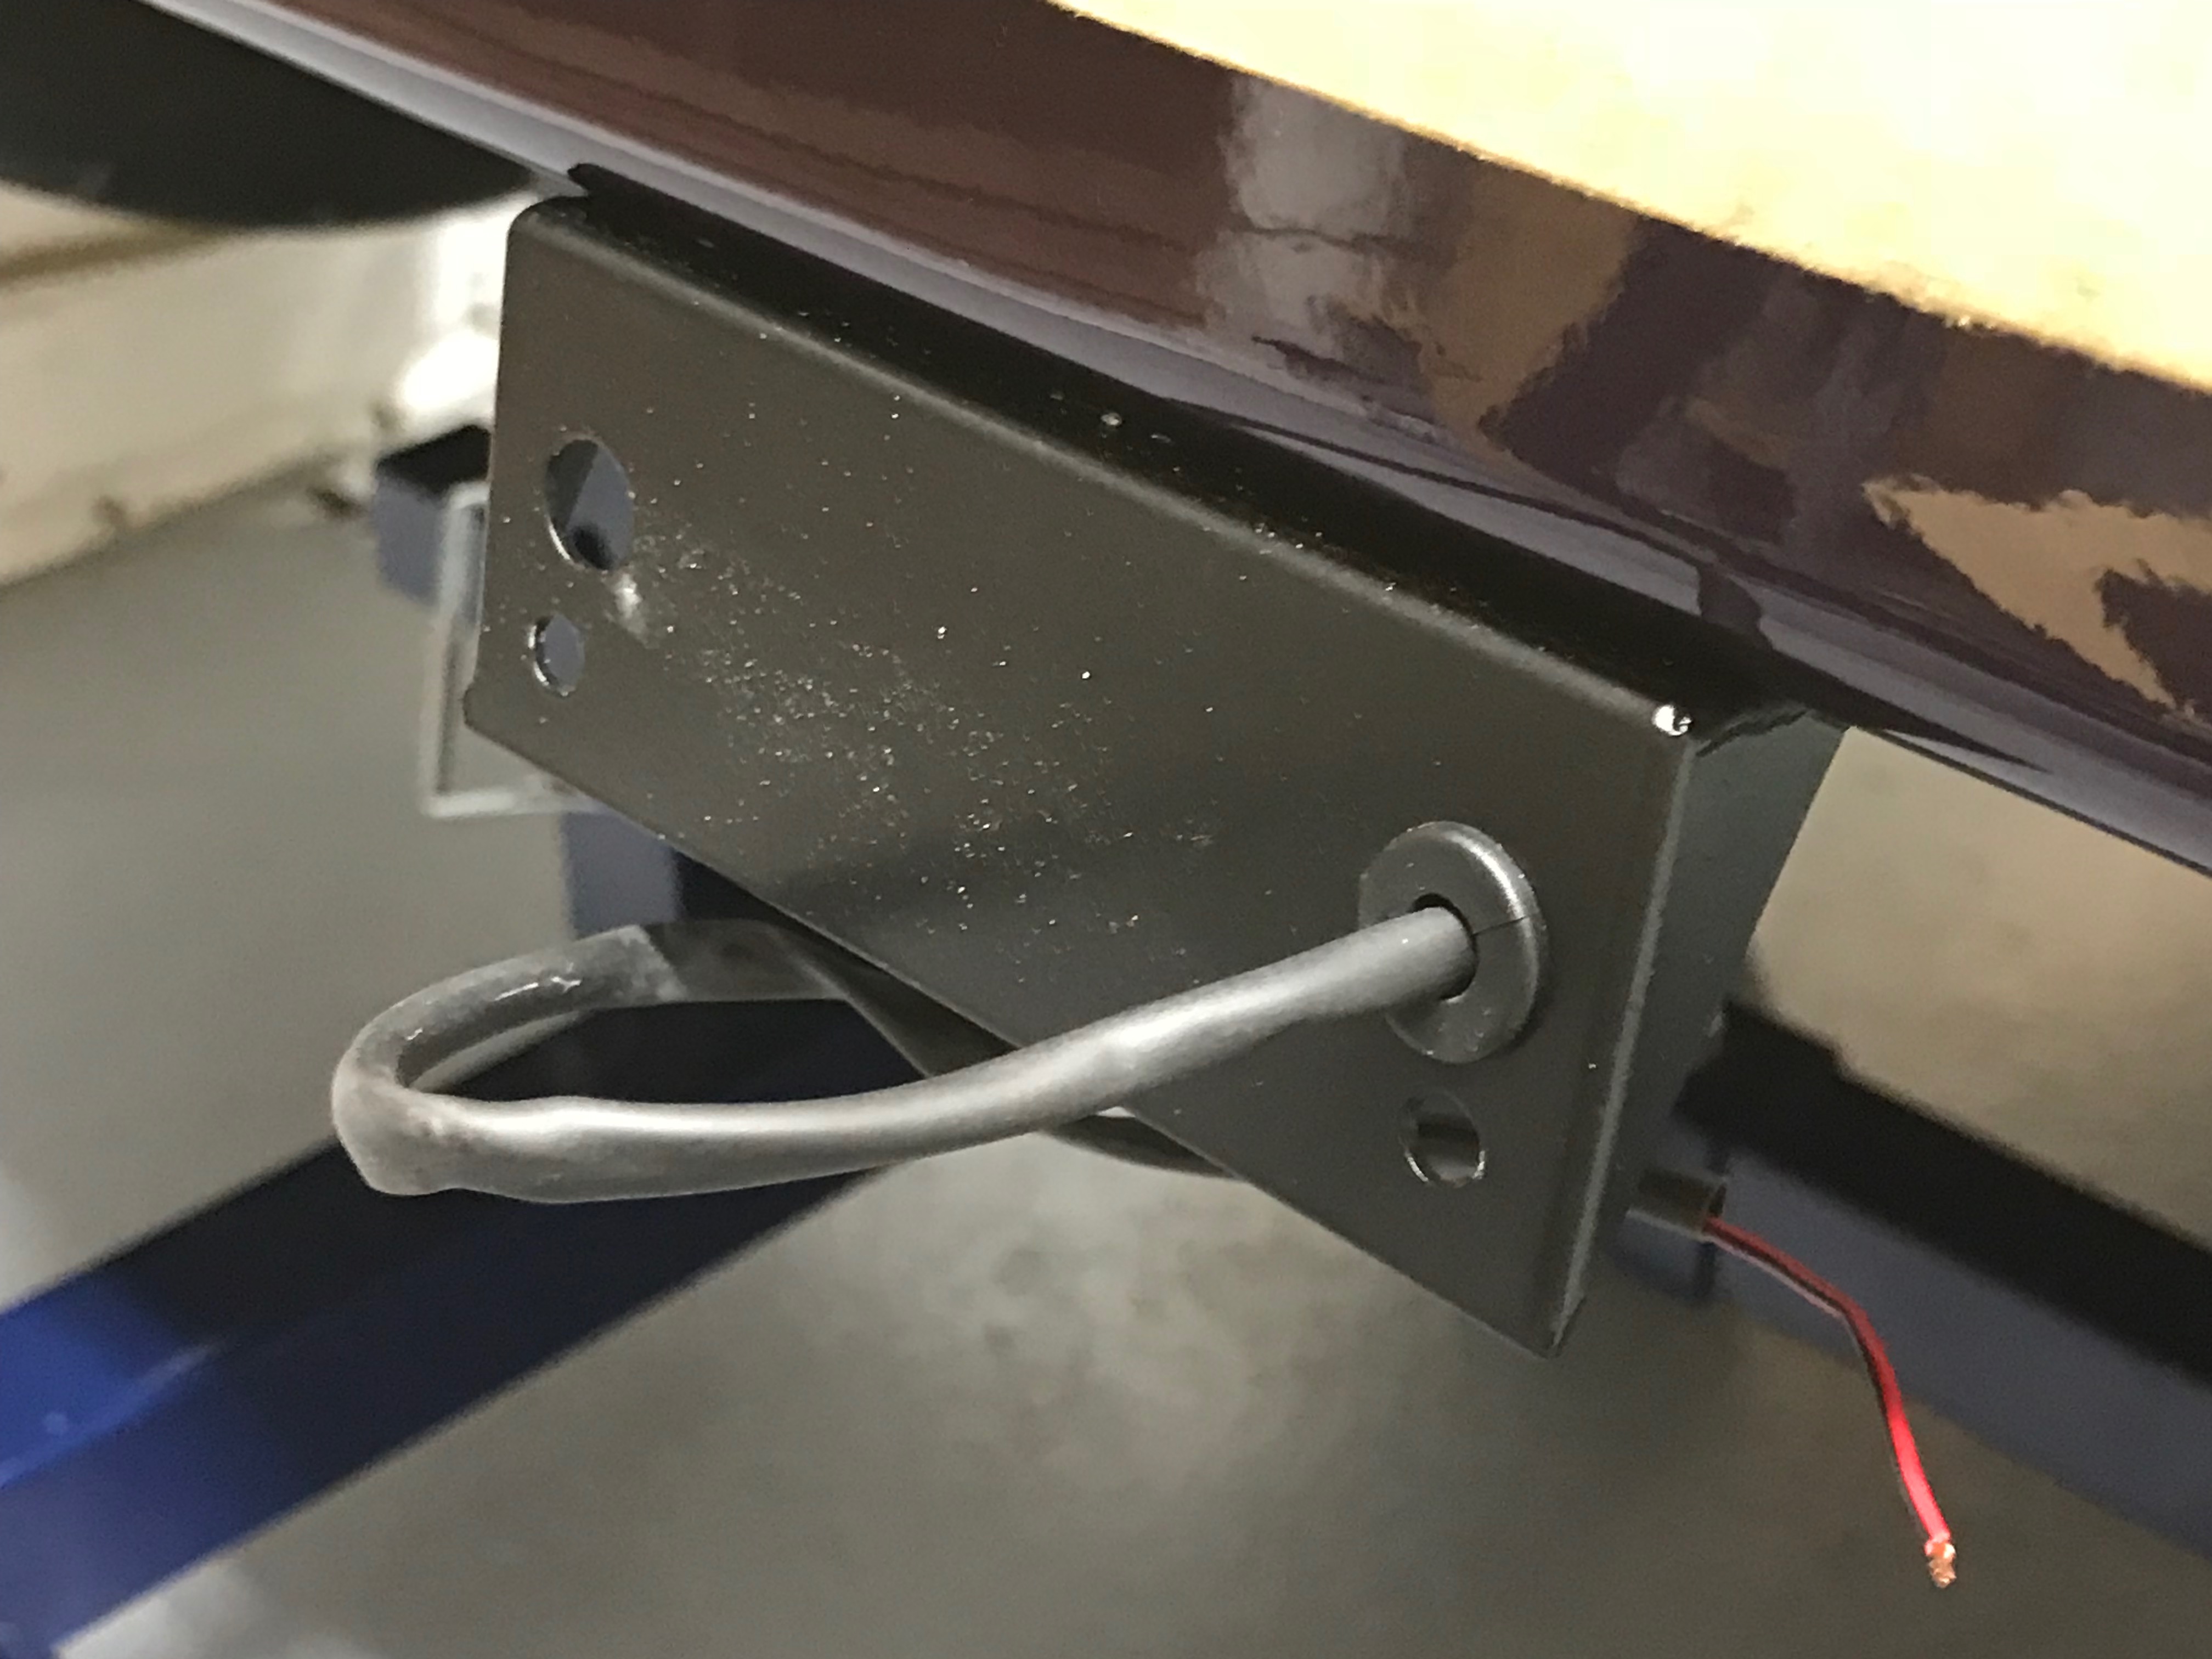
It’s a single red signal wire. The earth for the number plate light is provided by the bracket to the chassis directly. Both the signal wire and the heat shrink are too long and needed to be trimmed.
I then crimped the bullet connector to the trimmed cable…
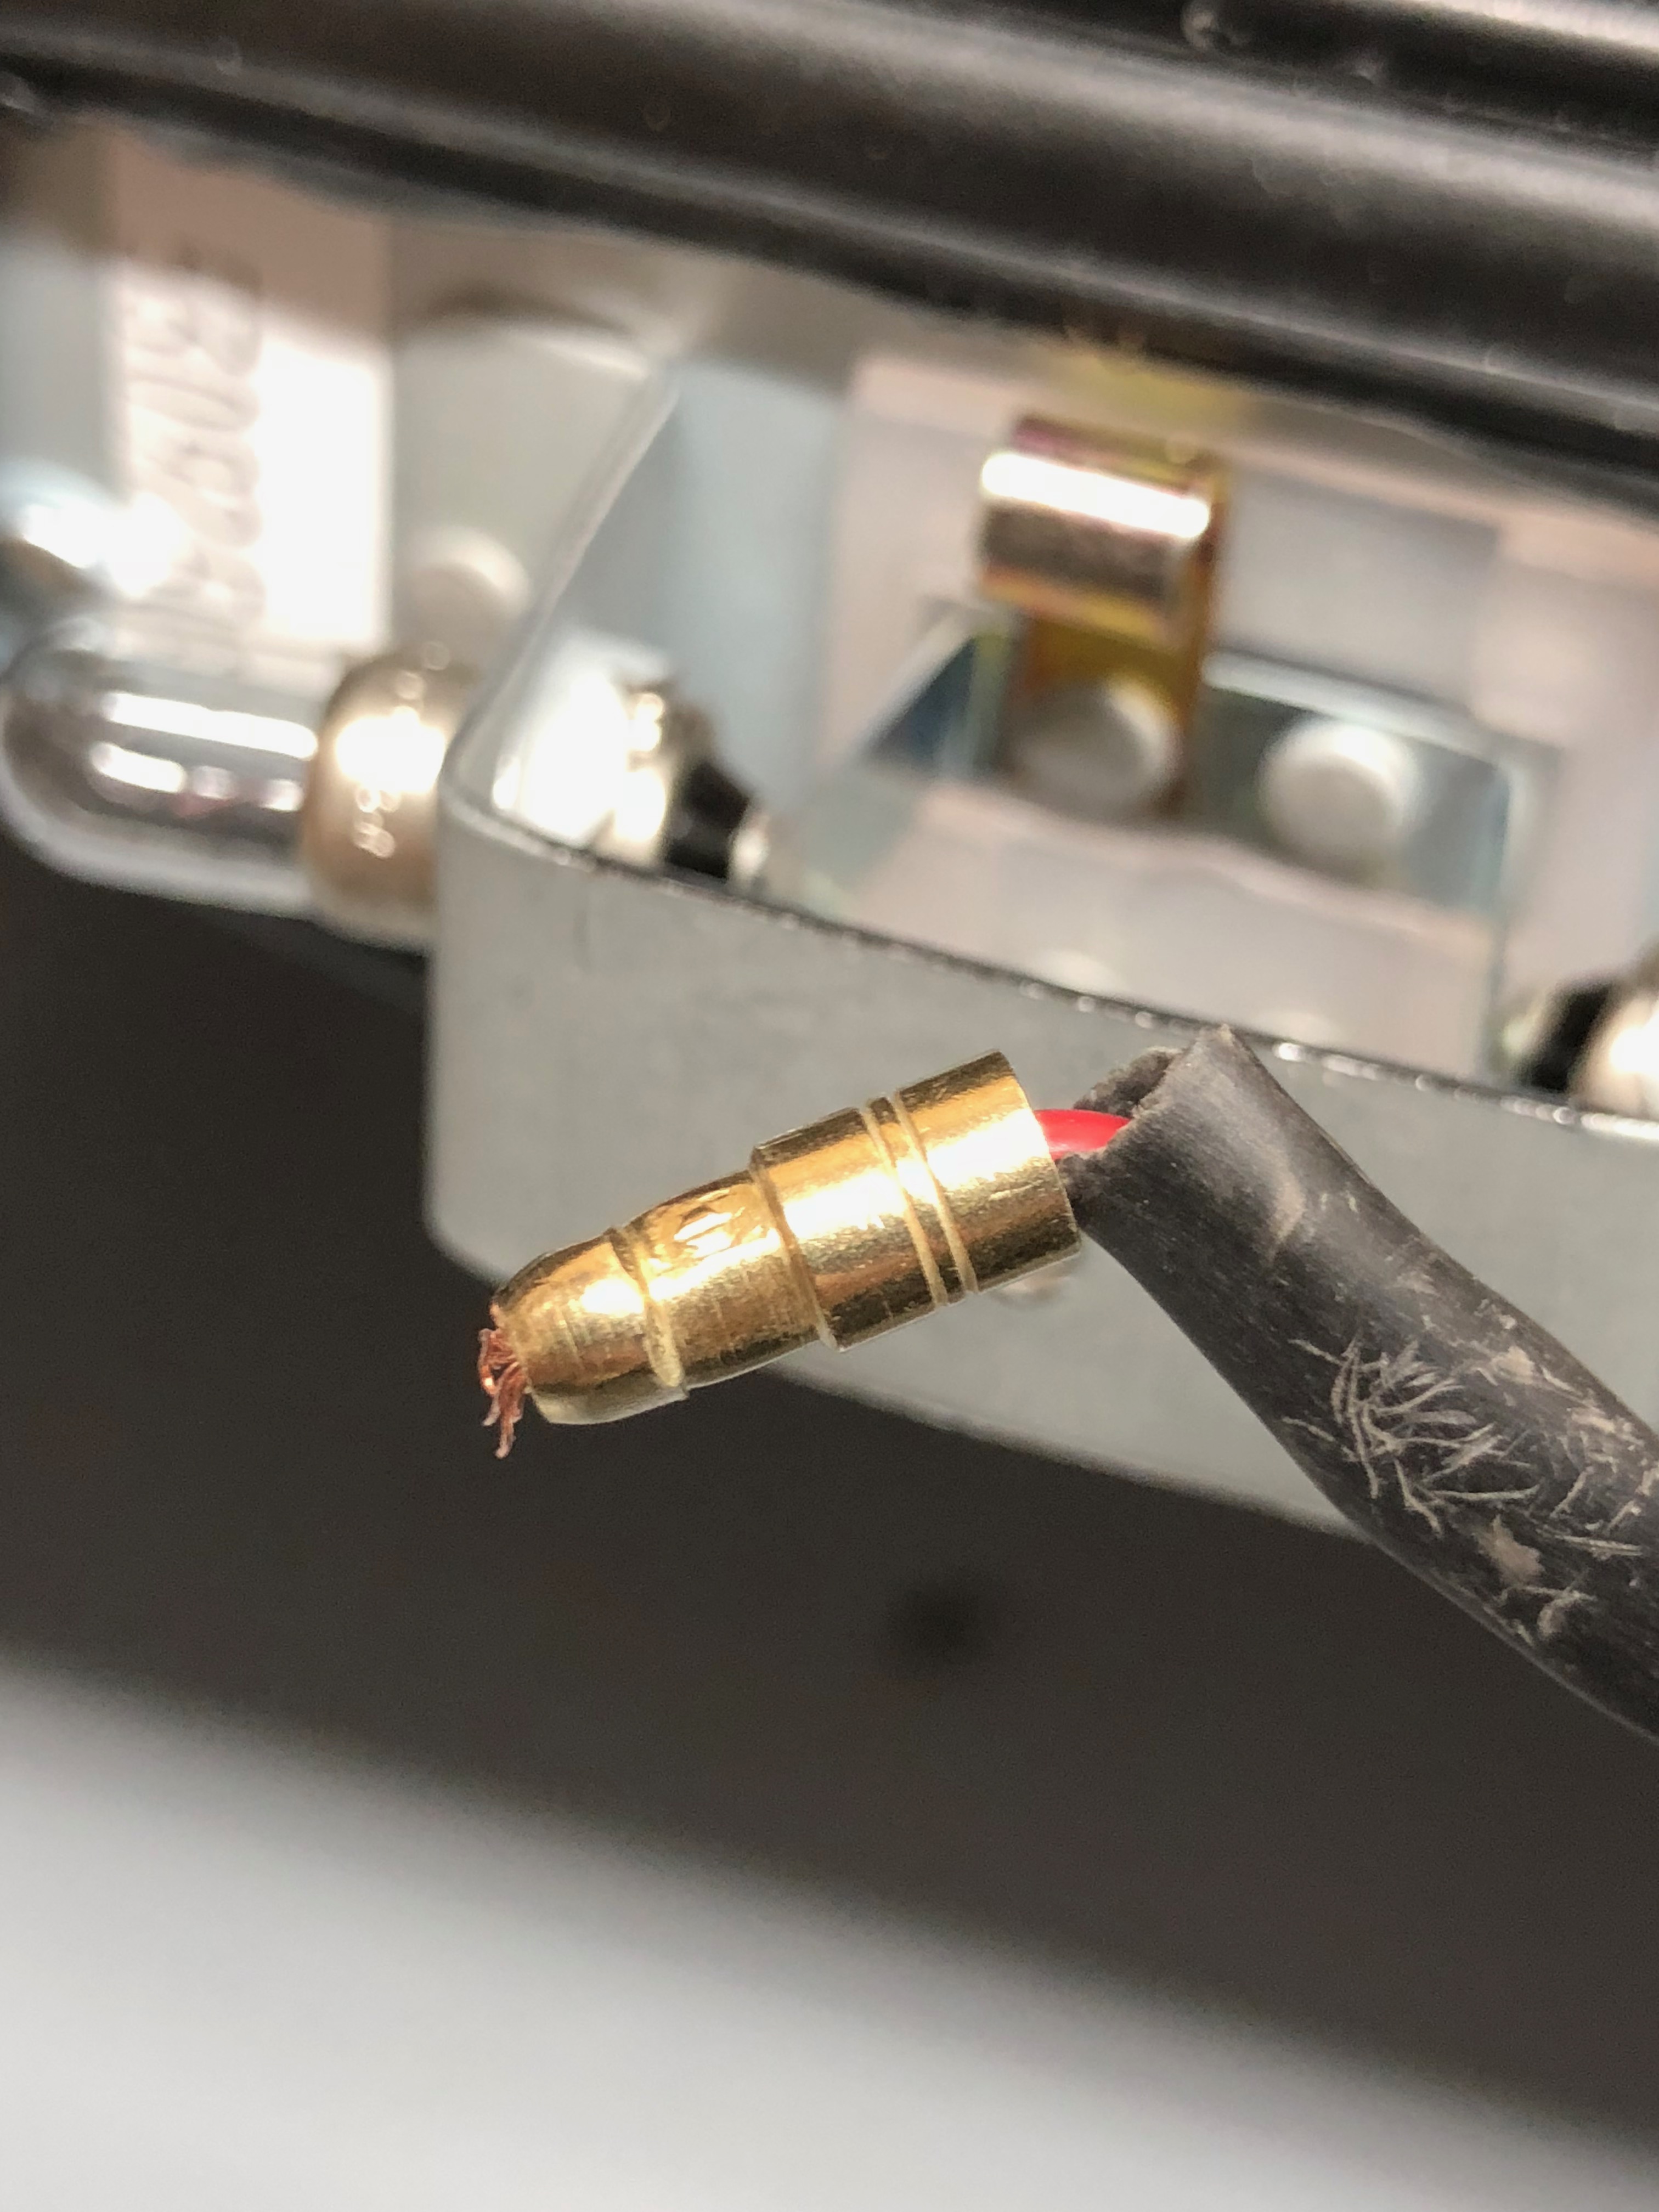
… but made sure the wire was long enough to route under the bulbs so that the cable and the heat shrink didn’t interfere with what would be a hot bulb. I’m not sure that logic made much difference in the end, but it made me happy!…

I made sure I removed some powder-coat from the bracket where the screws earthed the circuit to the chassis – sorry, I don’t have a picture of that.
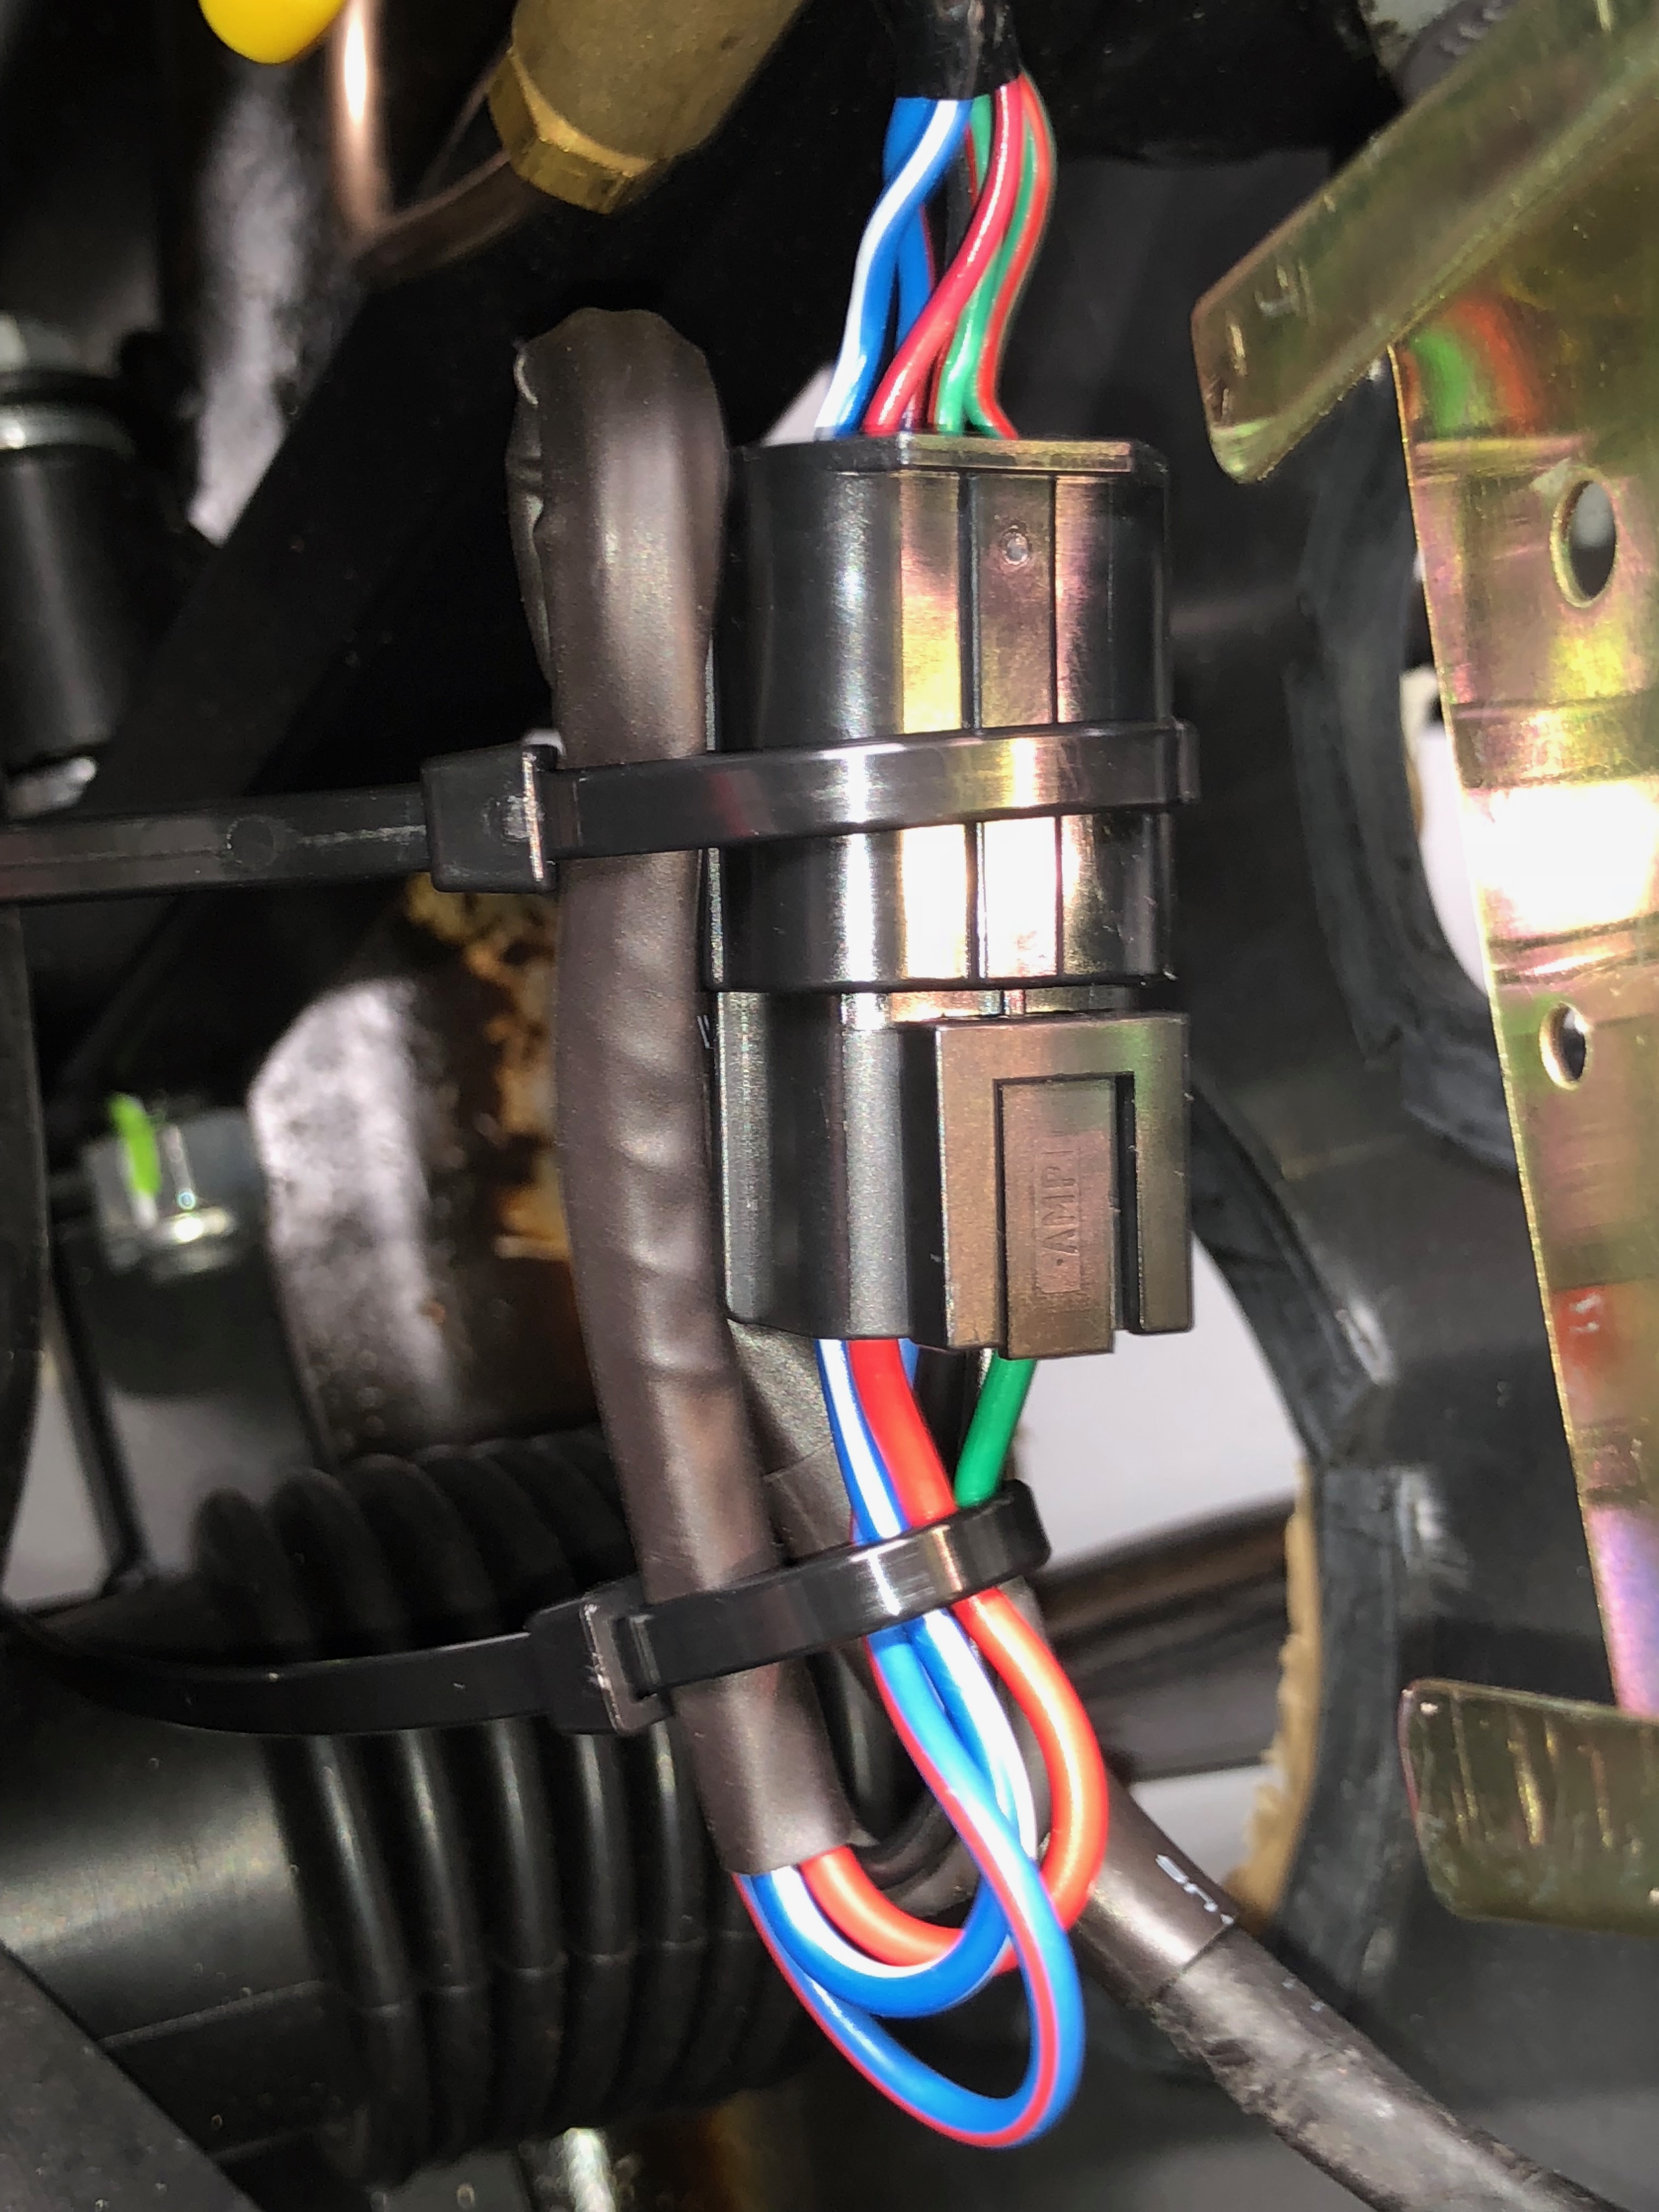
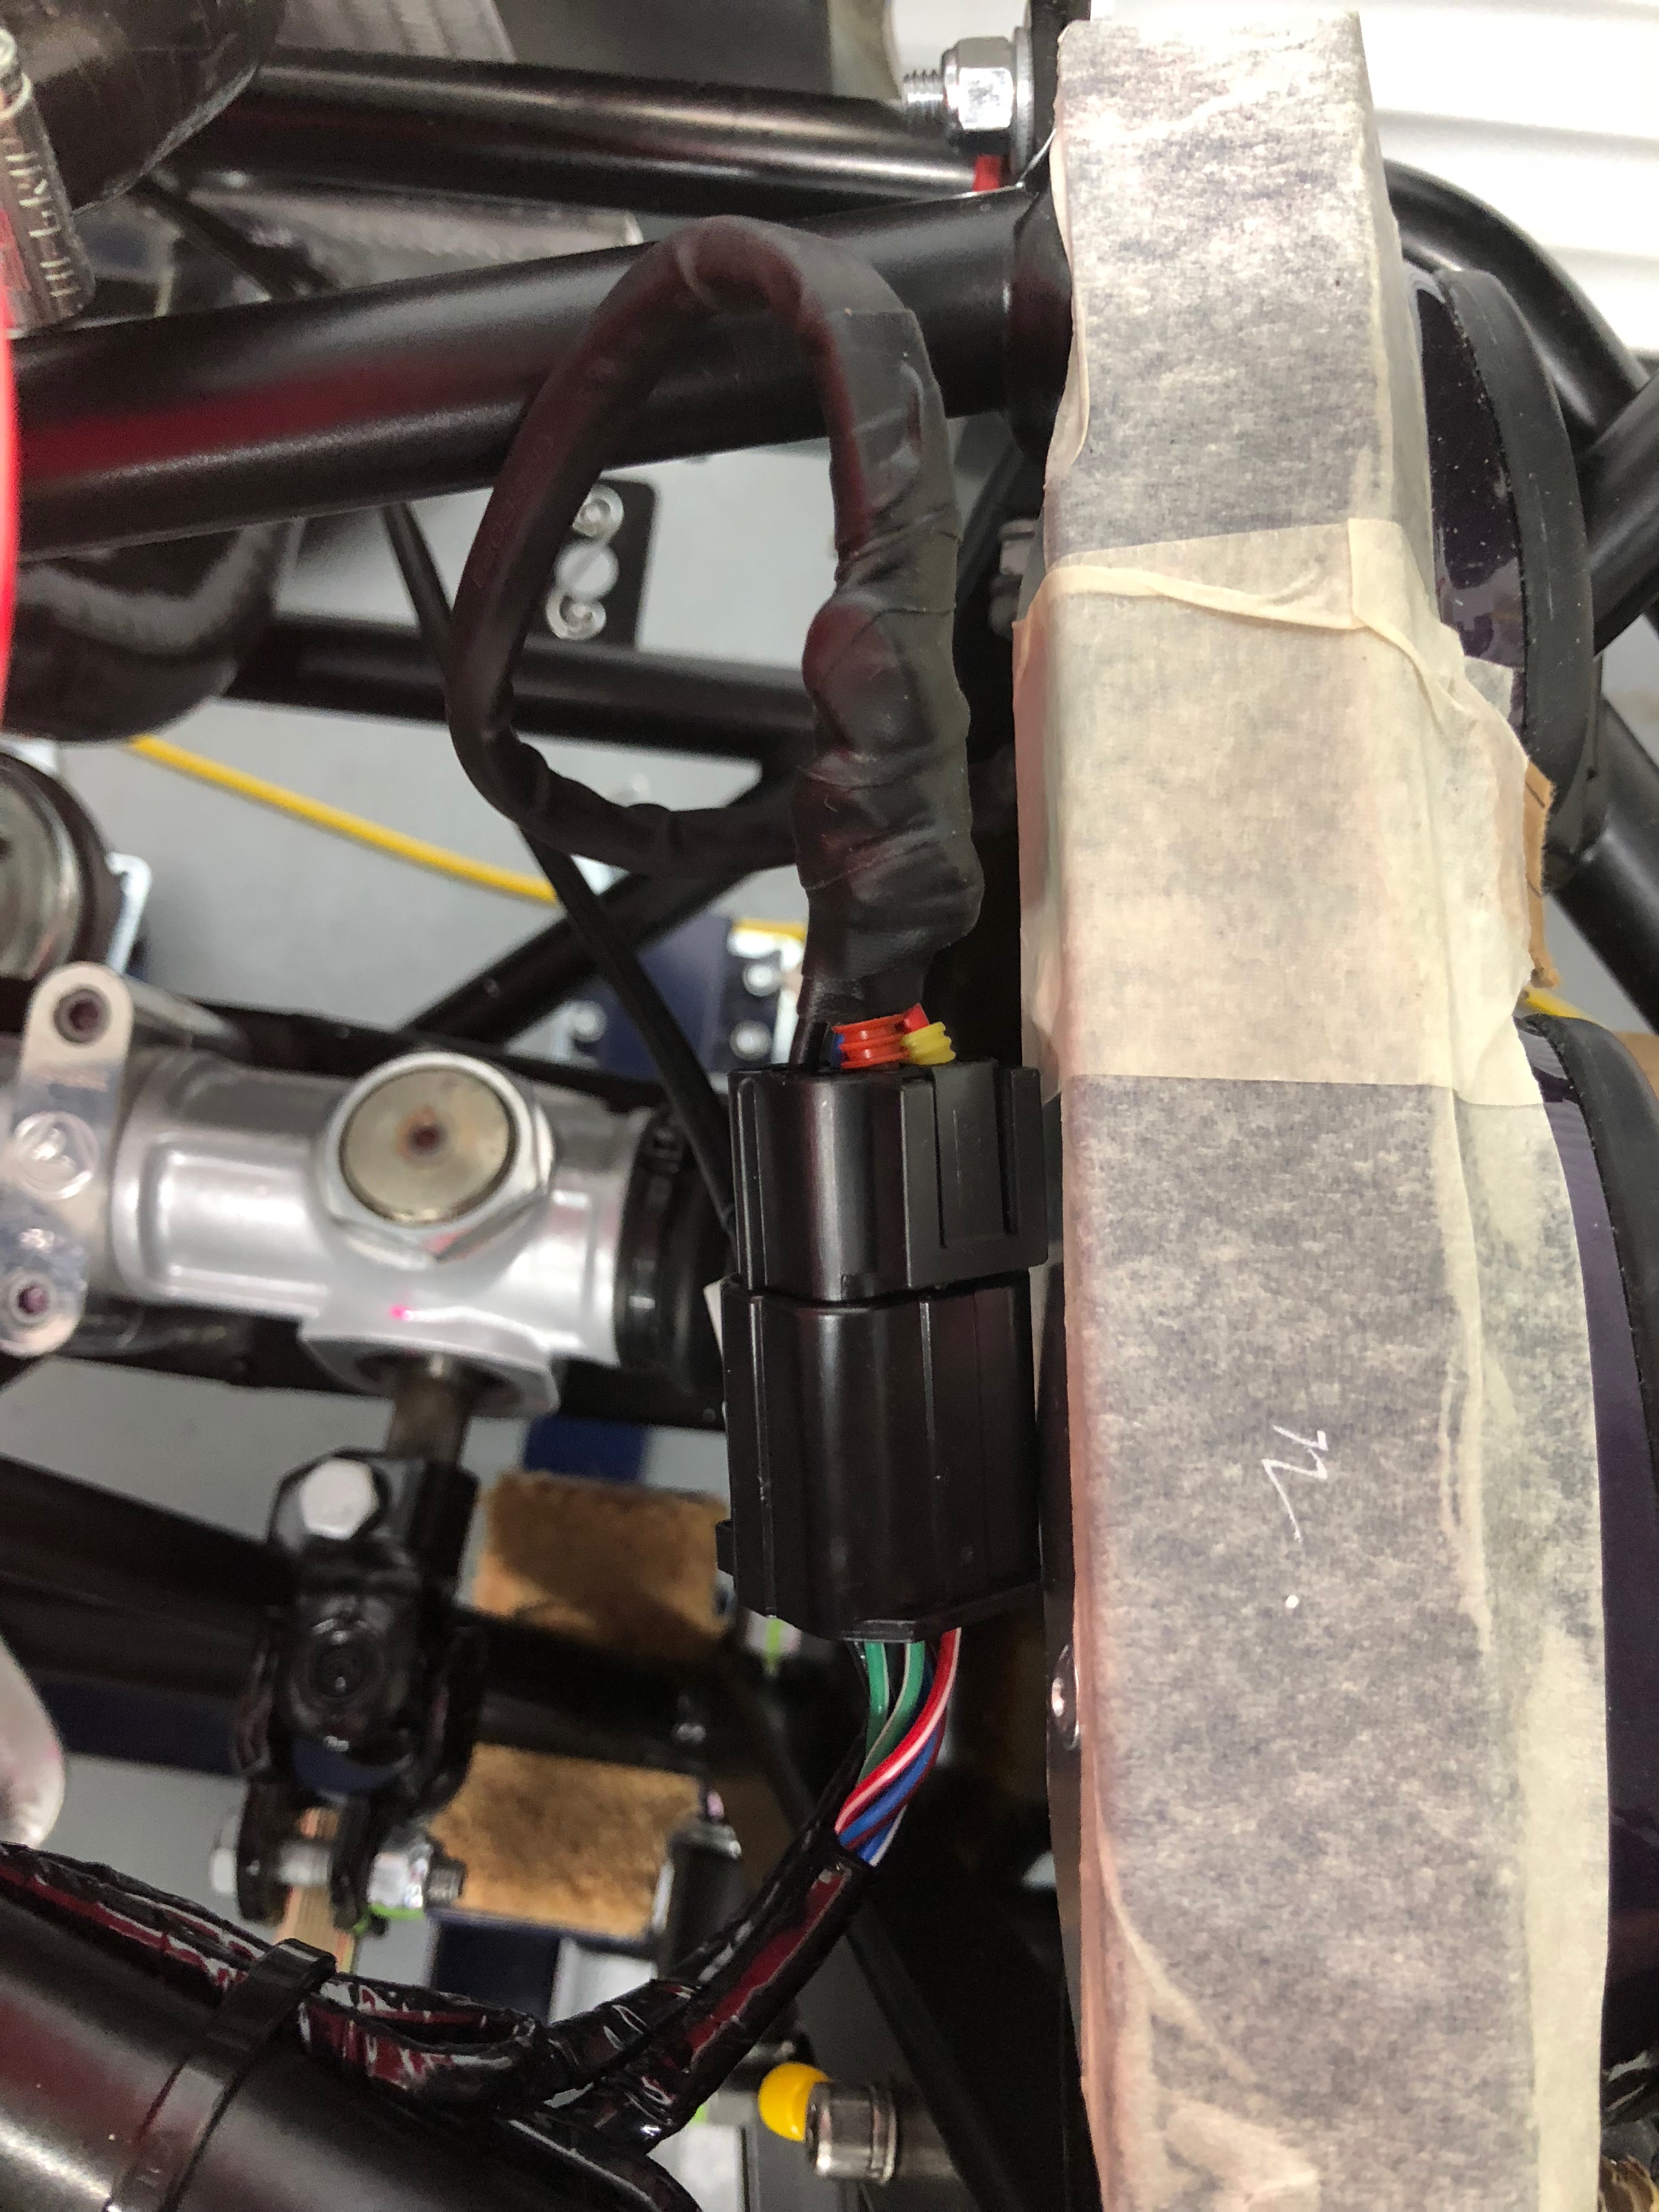
Wiring the Econoseal Plugs for the Front Lights and Indicators
The wiring for the front lights and indicators runs through a pair of econoseal plugs/sockets. The sockets are pre-fitted to the loom of the car when it ships from Caterham. The plugs are taped to the LHS of the chassis (in my case) in a plastic bag. It took a bit of fiddling with the various bits of the plug but it was fairly obvious in the end how they went.
I found that I could eject the pins from the plug if I wanted by using the usual method of pushing a small, thin flat blade screwdriver down into the back of the plug. The metal retaining tab in on the connector just needs to be depressed to the connector pulls back out of the plug. I found I also needed to “reset” this tab by bending the tab back out again so it would “catch” in the plug again when re-insterted.
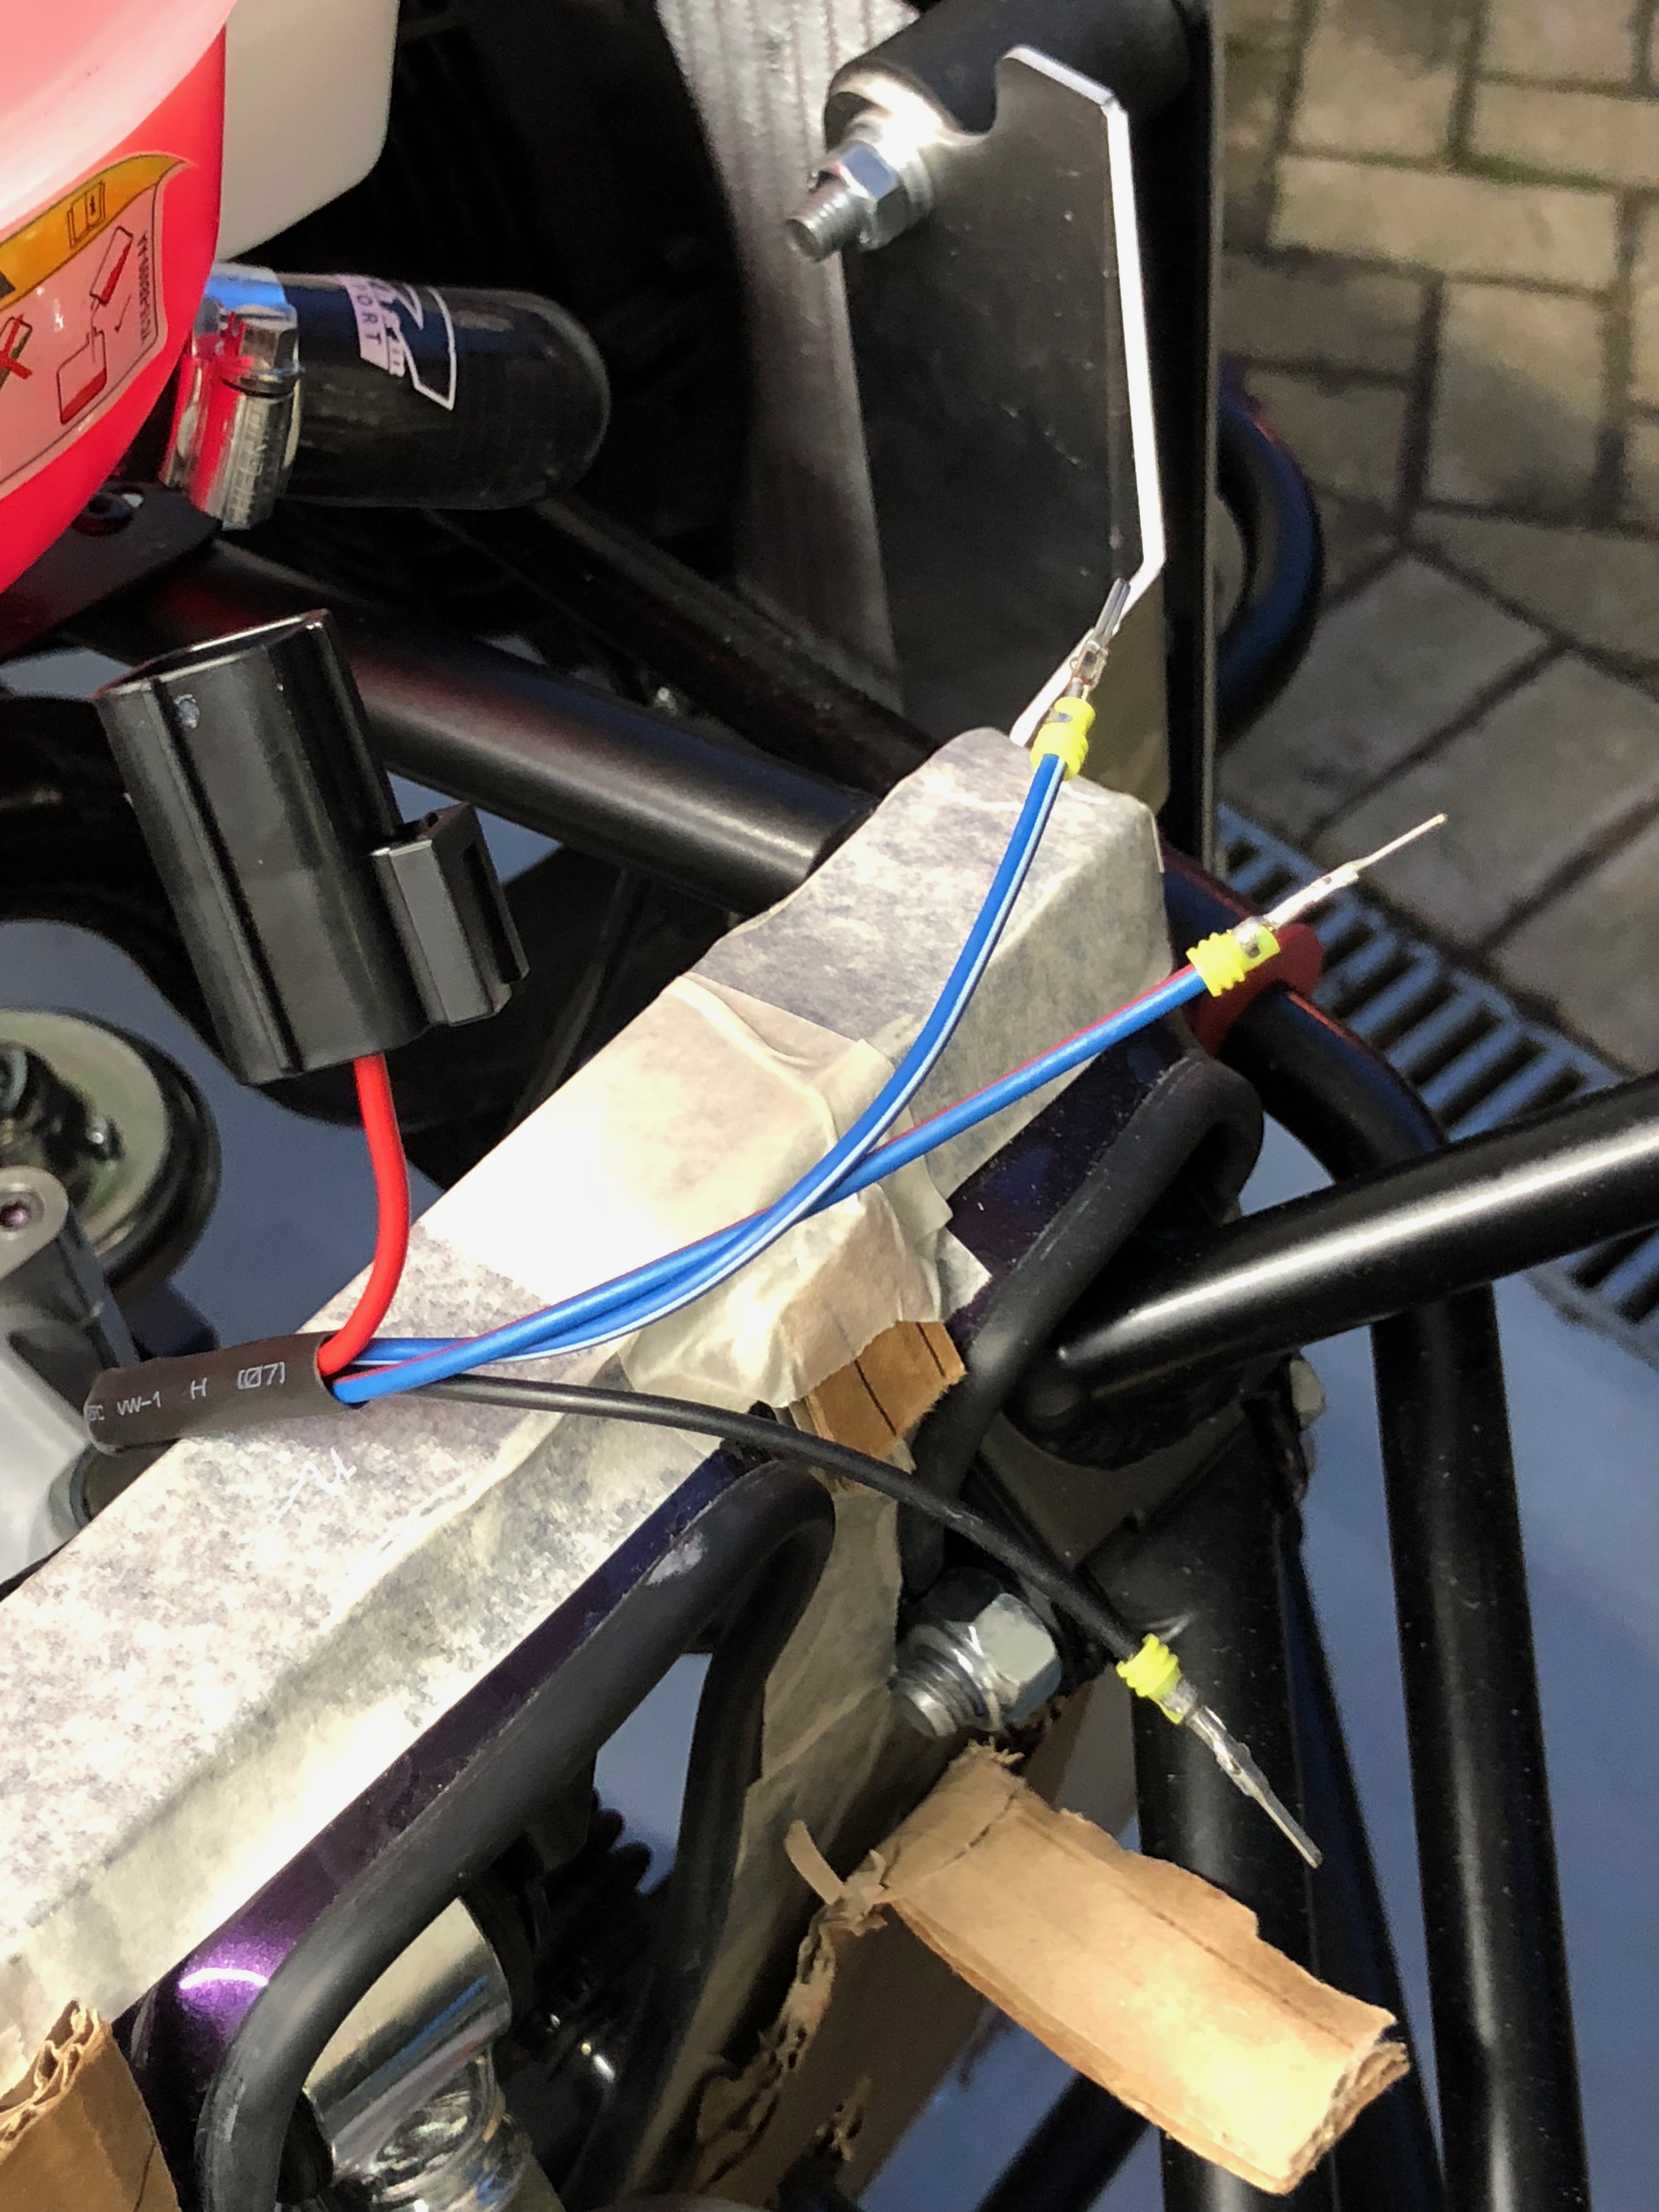
With the wires all interested into both the LHS and RHS plugs and sockets, and the wing repeaters tacked in, I could get the lights and indicators to work…
With the wiring of the econoseal plugs/sockets mostly completed I could tack them in place with cable ties. The repeater wiring still needed to be added but I was going to route them separately from the other front wiring – the repeater wires are going to be routed across the rear arm of the top wishbone.
I didn’t seem to have got a great number of jobs finished today but I’d put in a solid 7 hours of effort today. I’m still hoping I’ll get it all done in the remaining 4 days I have.

Leave a Comment