
The Purplemeanie has returned from its PBC and so its time to get all the remaining small jobs done before its IVA test next week. This post will be a catch-all for all those tasks, sorry, it’s probably a long one.
Friday December 1st – Return from PBC (6 days to IVA test)
I don’t have any pictures of the car returning, but good to their word, Williams delivered the car just after lunch time. This time they used a covered trailer rather than the flatbed from the other day.
One picture I do have is of the PPF application added while at Williams. Somehow I’d got it in my head that it was going to be less obvious than it is. On reflection, it couldn’t be and I think they did a good install.
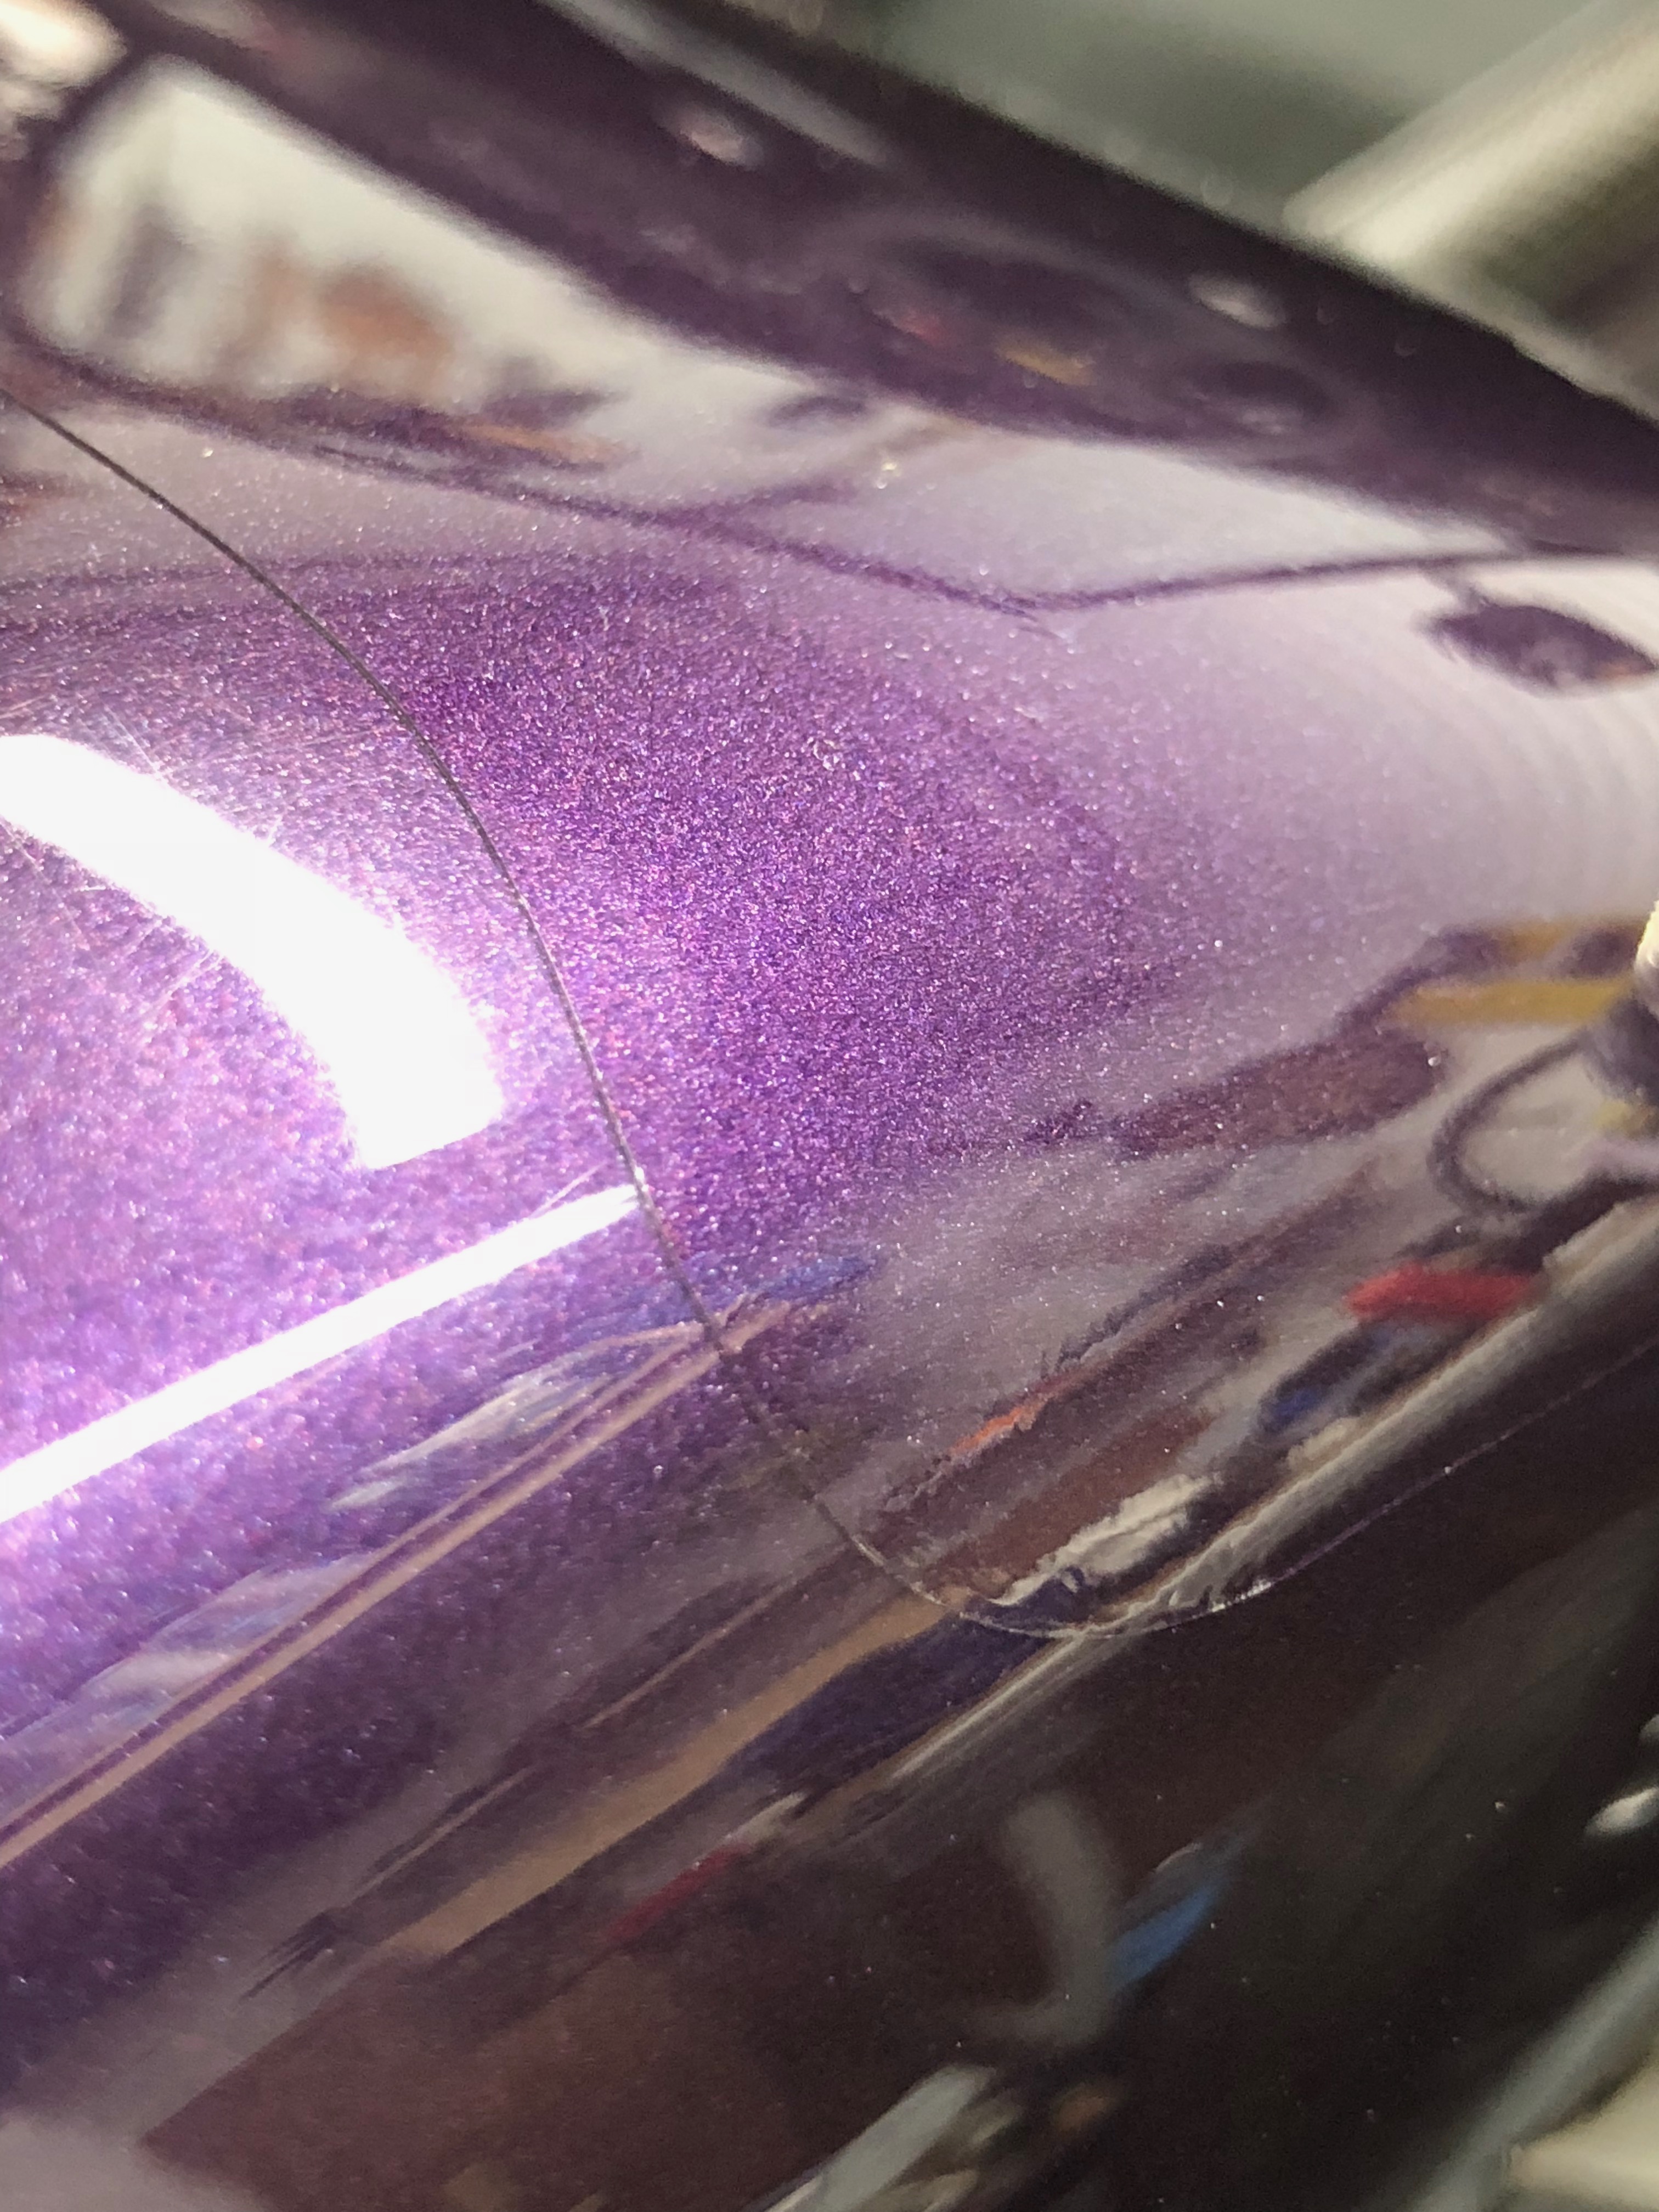
If I’d have gone for a full “wrap” then those lines wouldn’t exist, but I was more interested in protecting the critical areas than making it look pristine. My PPF application included the following:
- Front nose cone upper and lower
- Bodywork side panels – also protecting against 4-point buckle “slap” when people “throw” the buckles off
- Rear Wing L-shape – protects more of the wing against gravel rash from the front wheels
- Bonnet sections where the door mirrors land
- Below fuel filler cap
- Front of front wings
I think all of that came to around £550. Expensive, but I think worth it.
Saturday December 2nd – Bleeding Brakes Again (5 days to IVA test)
Tom at Williams had confirmed that my brakes were a bit soft, so it was time to have another go at getting them bled again.
He had said that he uses a pressurised brake bleeding system. I therefore followed his lead and ordered a Sealey VS820 Brake & Clutch Bleeding System after returning from the PBC on Wednesday and which duly arrived the following day. You’ve gotta love Amazon!
The idea with these systems is not to go through the cycle of pump-pedal, open-nipple, close-nipple, pump-pedal, open-nipple, close-nipple, etc etc. but to just pump fluid straight through the system with the bleed nipples open and pressure in the tank…. you just replace all the fluid, and air, with clean fluid.
This Sealey system was simple to use and took me about an hour to flush enough fluid through the brake lines to completely replace all the fluid, and some. It took a few minutes to figure out how to use the system, so I suspect the next time I need to use it I could bleed the whole system in a few minutes. I also went and bought a 5 litre bottle of Dot4… I wanted lots of clean air-free fluid to work with, rather than what was left in the bottle supplied by Caterham.
Of course there could still have been air pockets in the system after this bleed session and I’ve heard some people say they have problems with the rear of the car. I guess that can happen if there are cavities in the system that create a sump, but I didn’t seem to suffer from any problems like that in my experience.
Here’s what the system looked like…
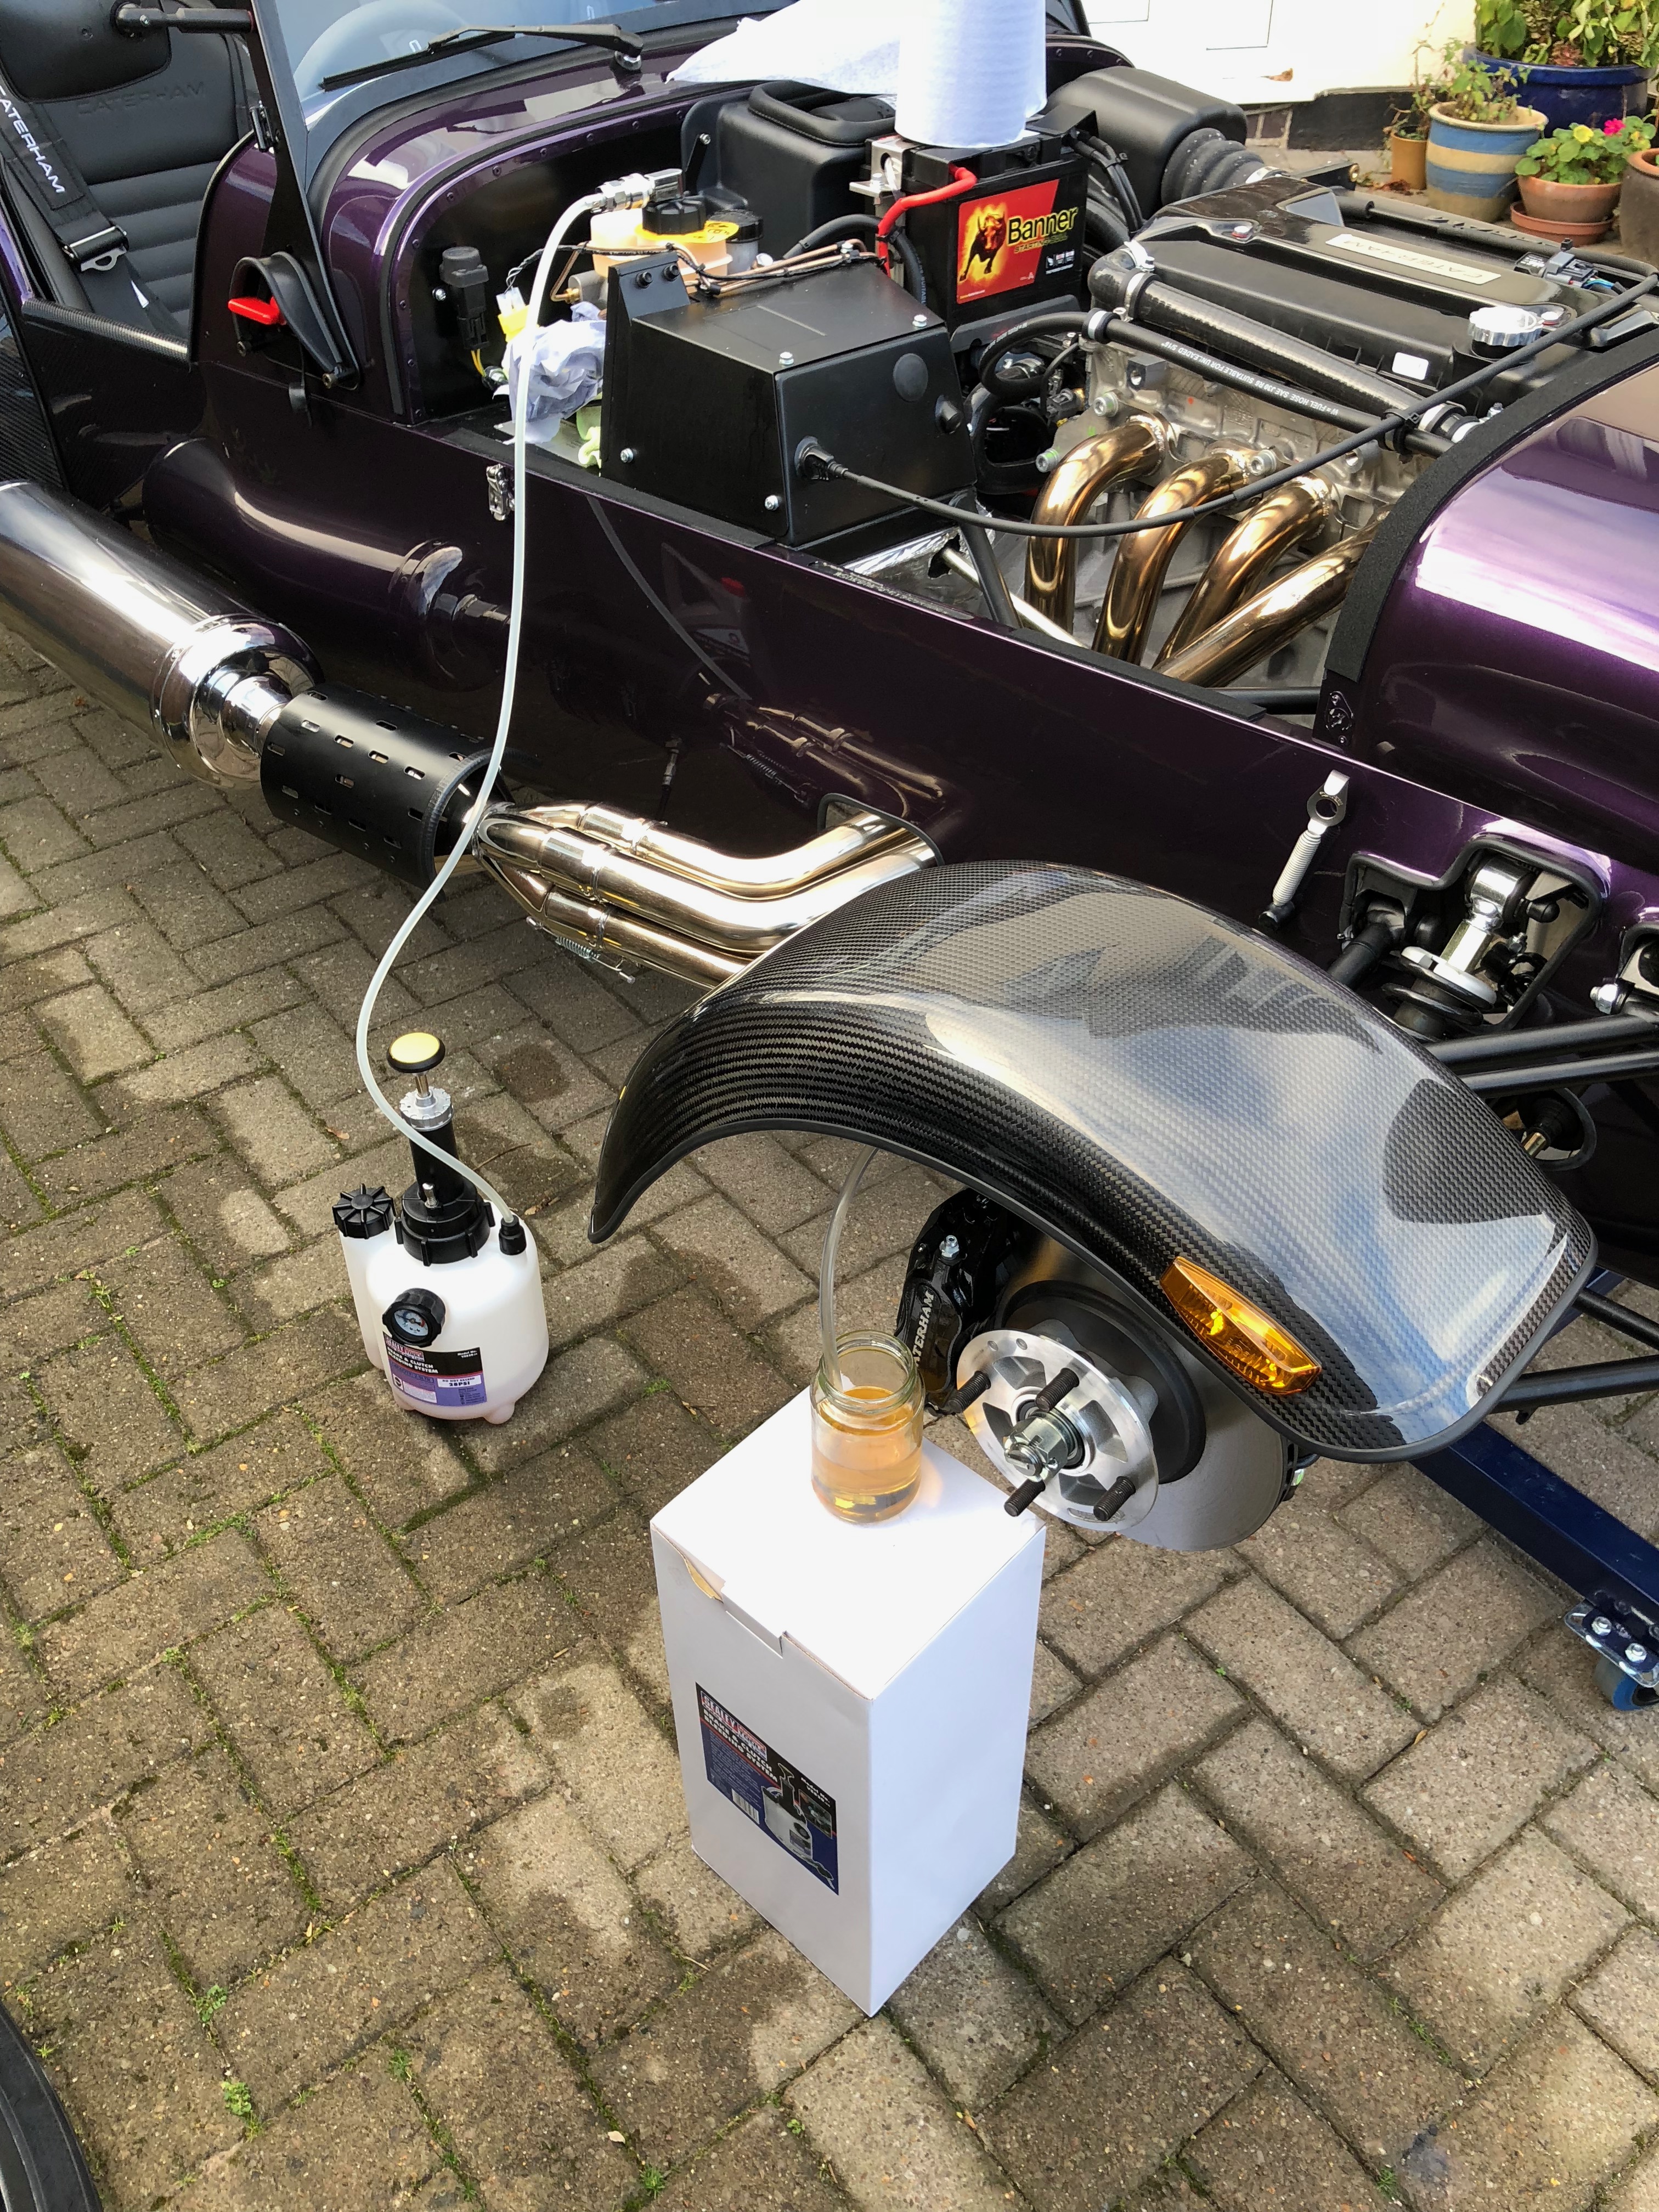
With this bleed system I was able to get a pretty firm pedal. It wasn’t rock solid but it felt better than a new 420 that I’d taken for a test drive at Williams in March. There was also no sense of the pedal needing to be pumped to get any increased firmness – a sign that there’s air still in the system.
I was happy with the pedal now so we’ll have to see if it passes the brake efficiency scrutinising at the IVA test.
Front Flexible Brake Hoses – IVA Treatment
Whilst at Williams I had discussed the fixings/couplings that attach the front flexible brake hoses to their callipers. Tom agreed that it might not be essential to cover them for IVA but that it wouldn’t hurt. So that was the next task: cover the unions and fixings to conceal any sharp edges that might promote an IVA fail.
Again, I think some of the job with all this IVA protection is to give the IVA inspector confidence that the build has been done well. They can’t inspect everything so they’re looking for the obvious things and IMHO can, to some extent, assume that if the obvious stuff is done well then the less obvious stuff is done well too… and so they don’t poke around so much. That’s very much IMHO… your mileage may vary!
Here’s what I did with these fixings: a length of 5/16 hose, rounded off at one end, slit down it’s length and attached to the fixing with self-amalgamating tape plus cable ties. Hopefully that will do the job.
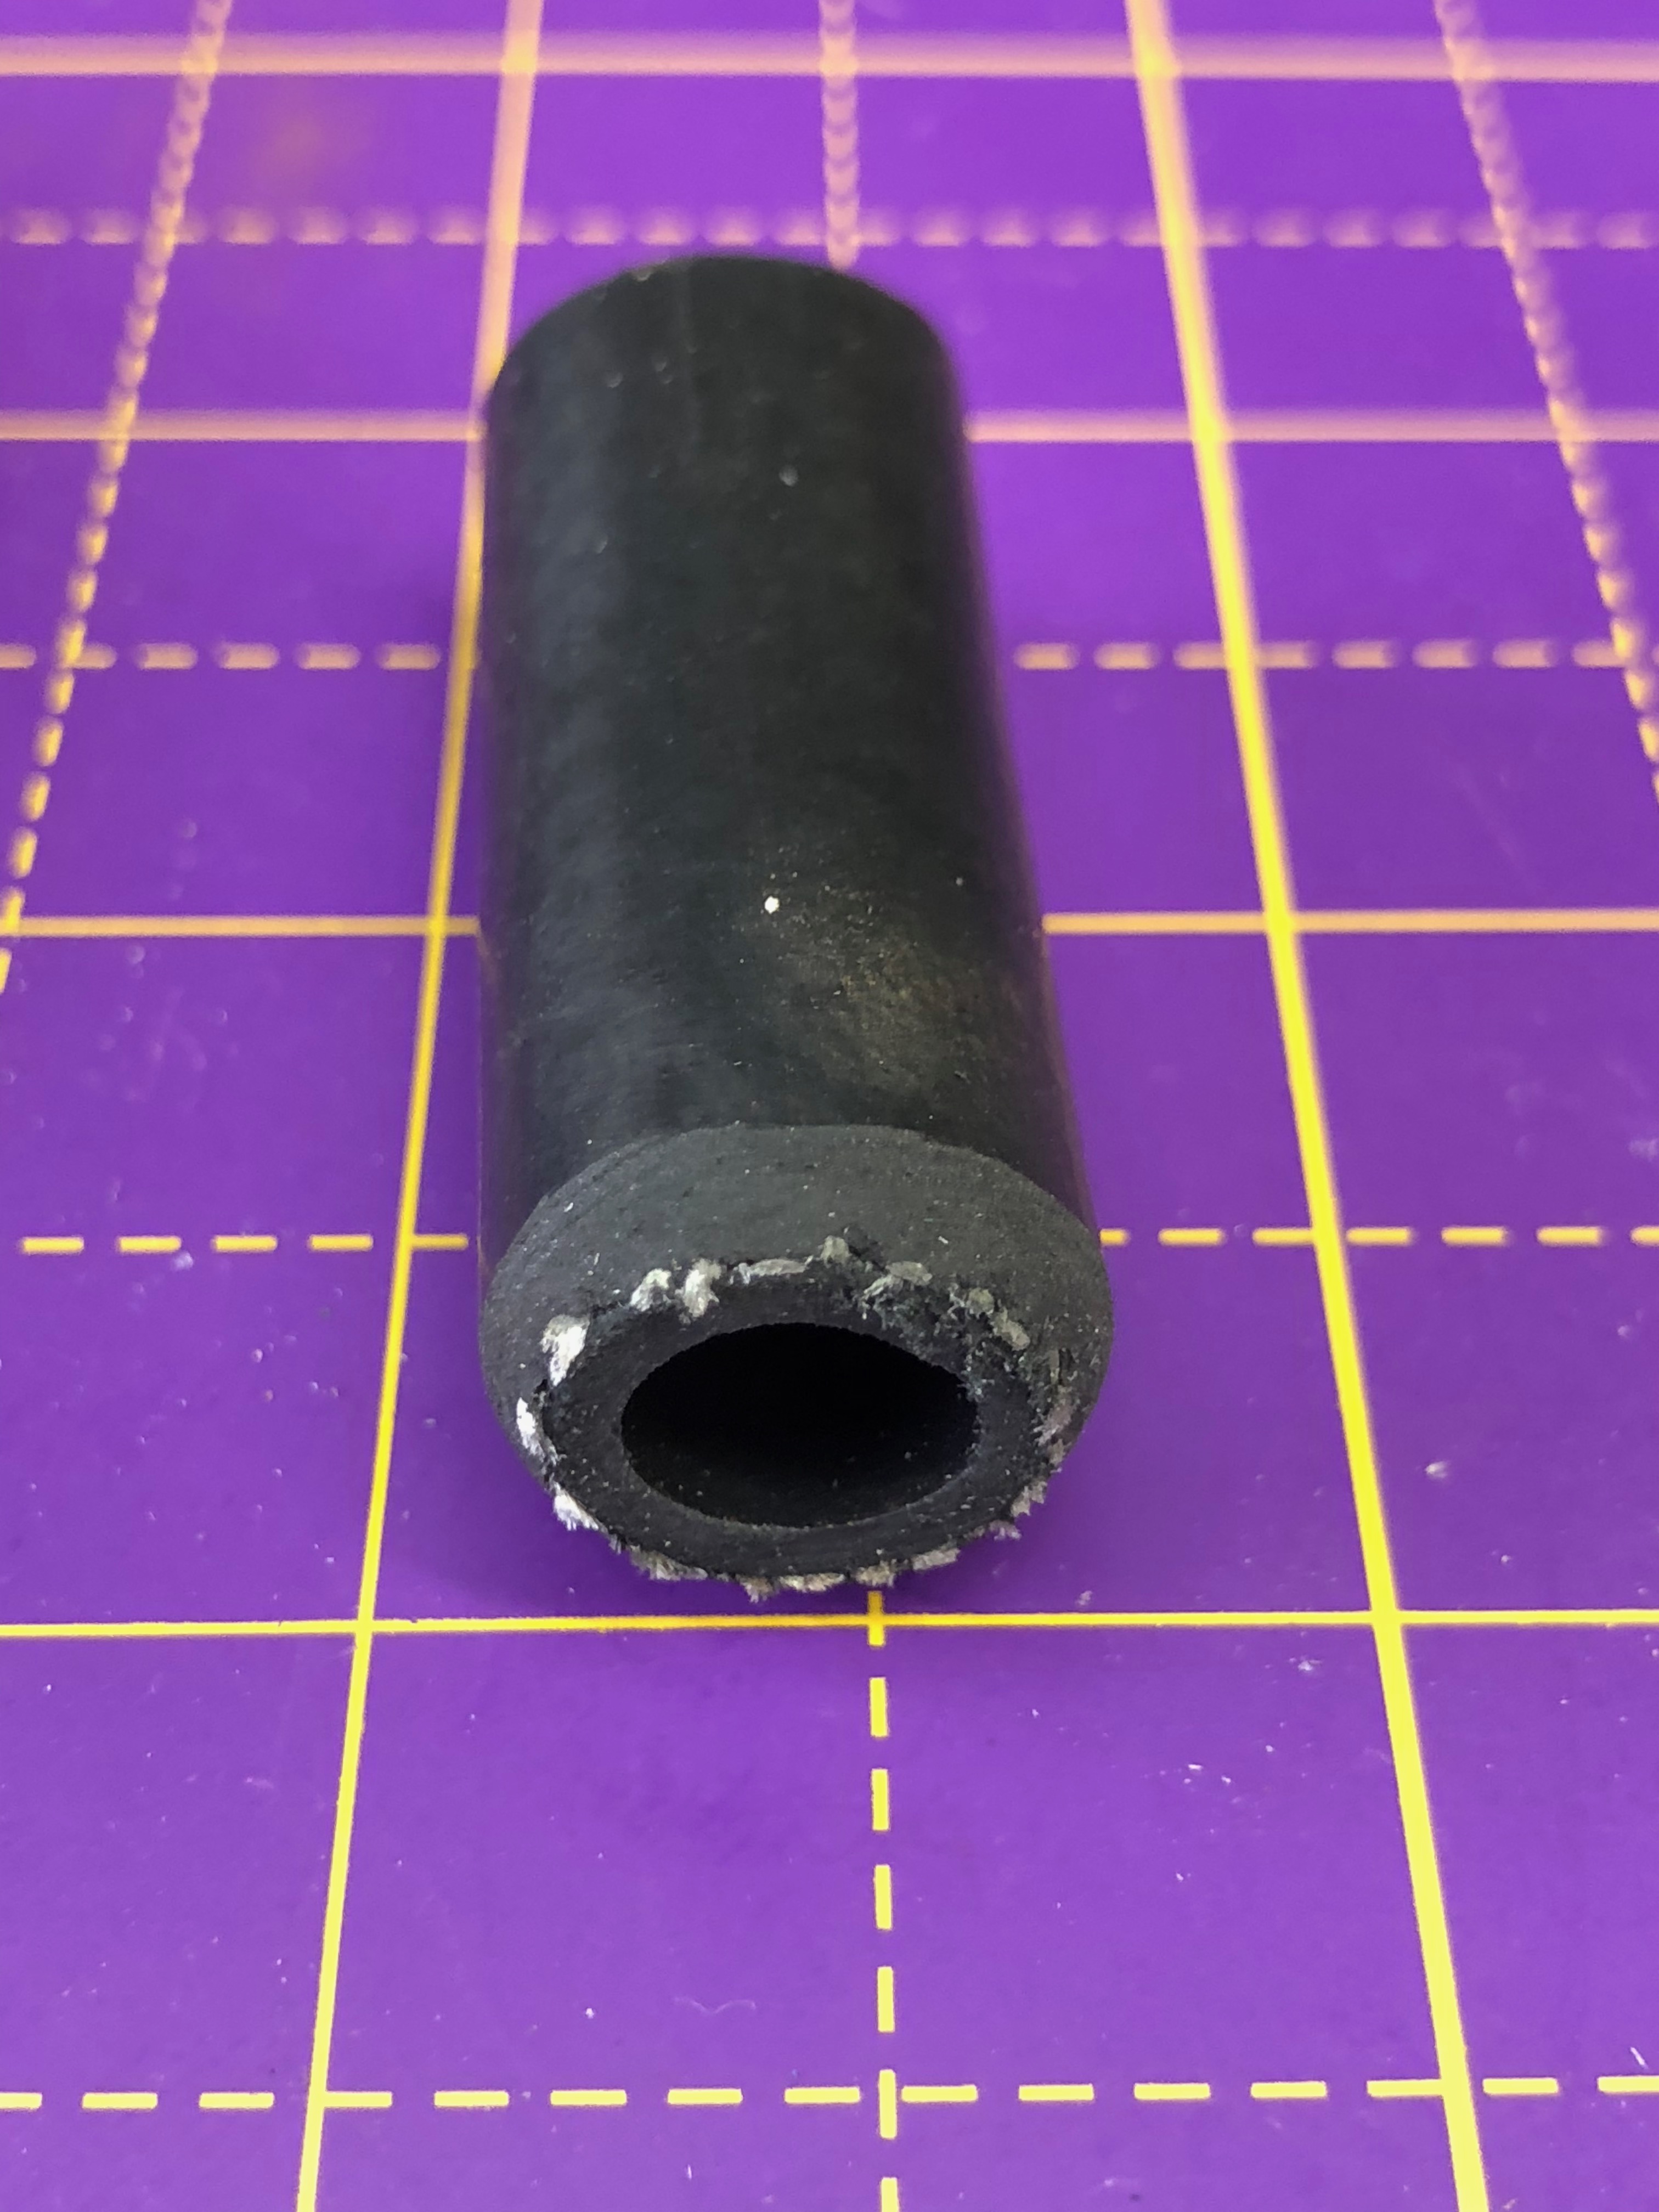
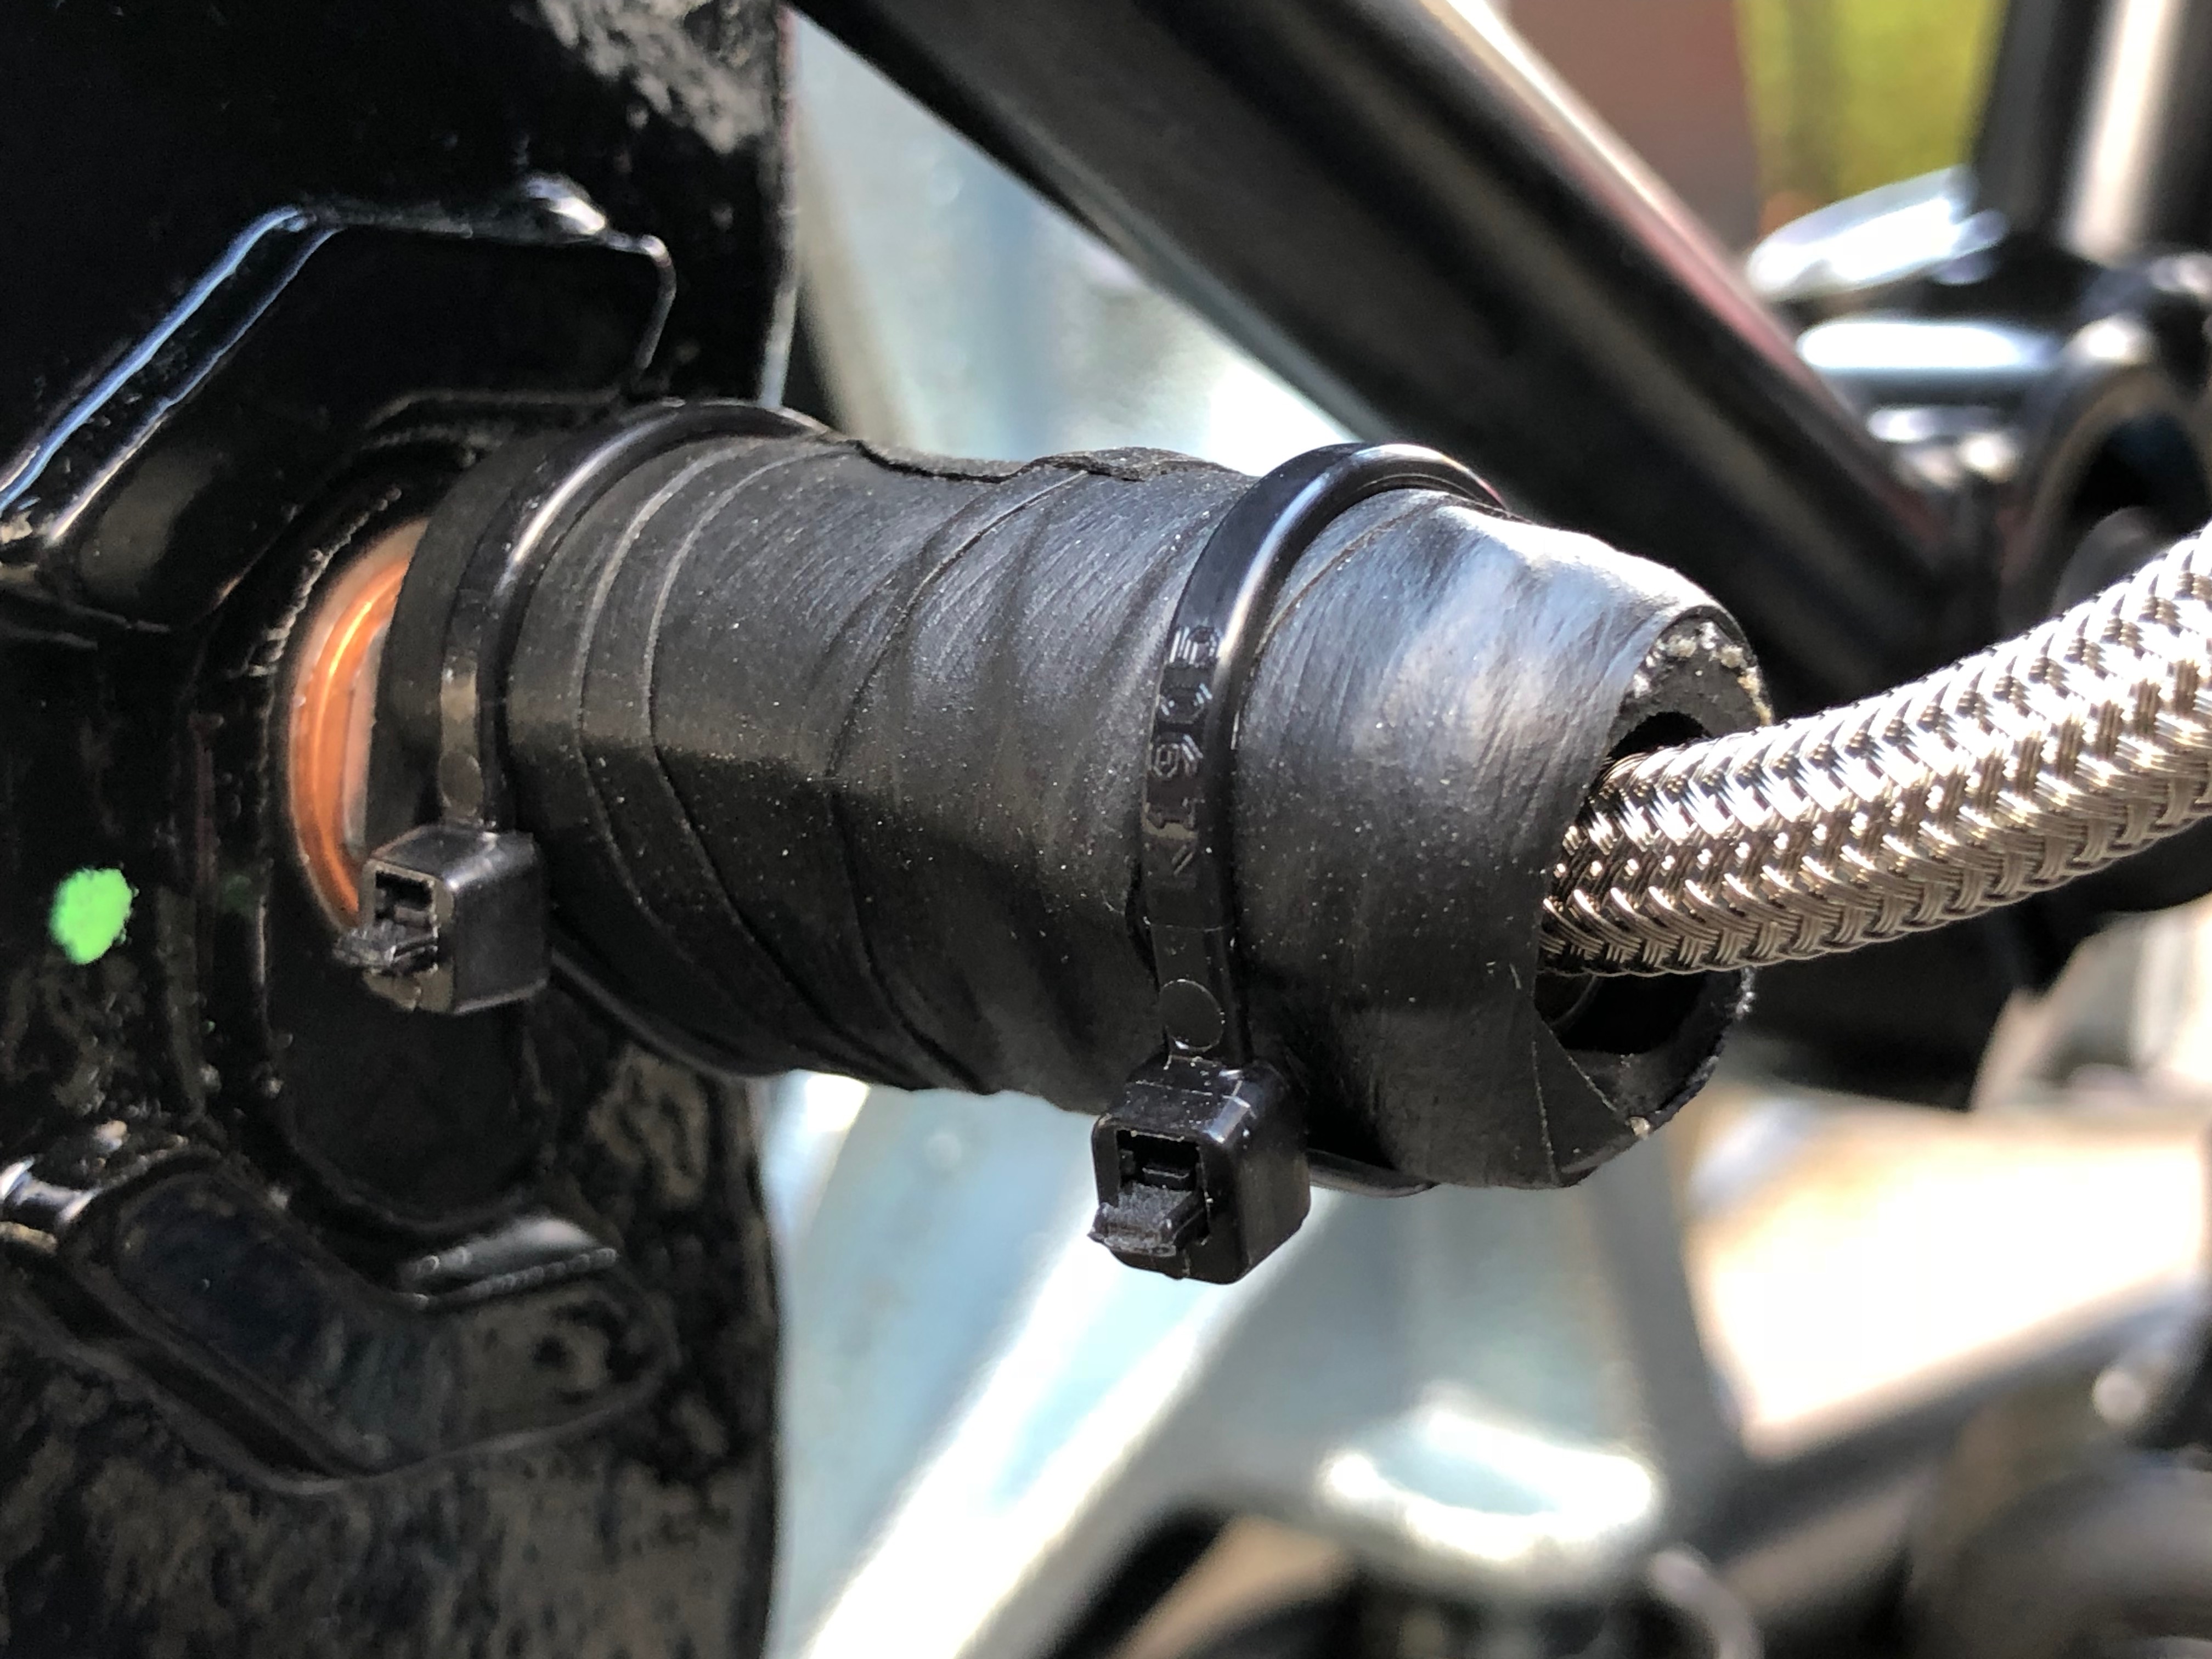
I think the tape and cable-ties were a bit of a belt-and-braces approach, but it seemed to make sense at the time.
The Bonnet Badge
Another simple task today, now that the PPF was on, was to add the bonnet badge. Awesome!
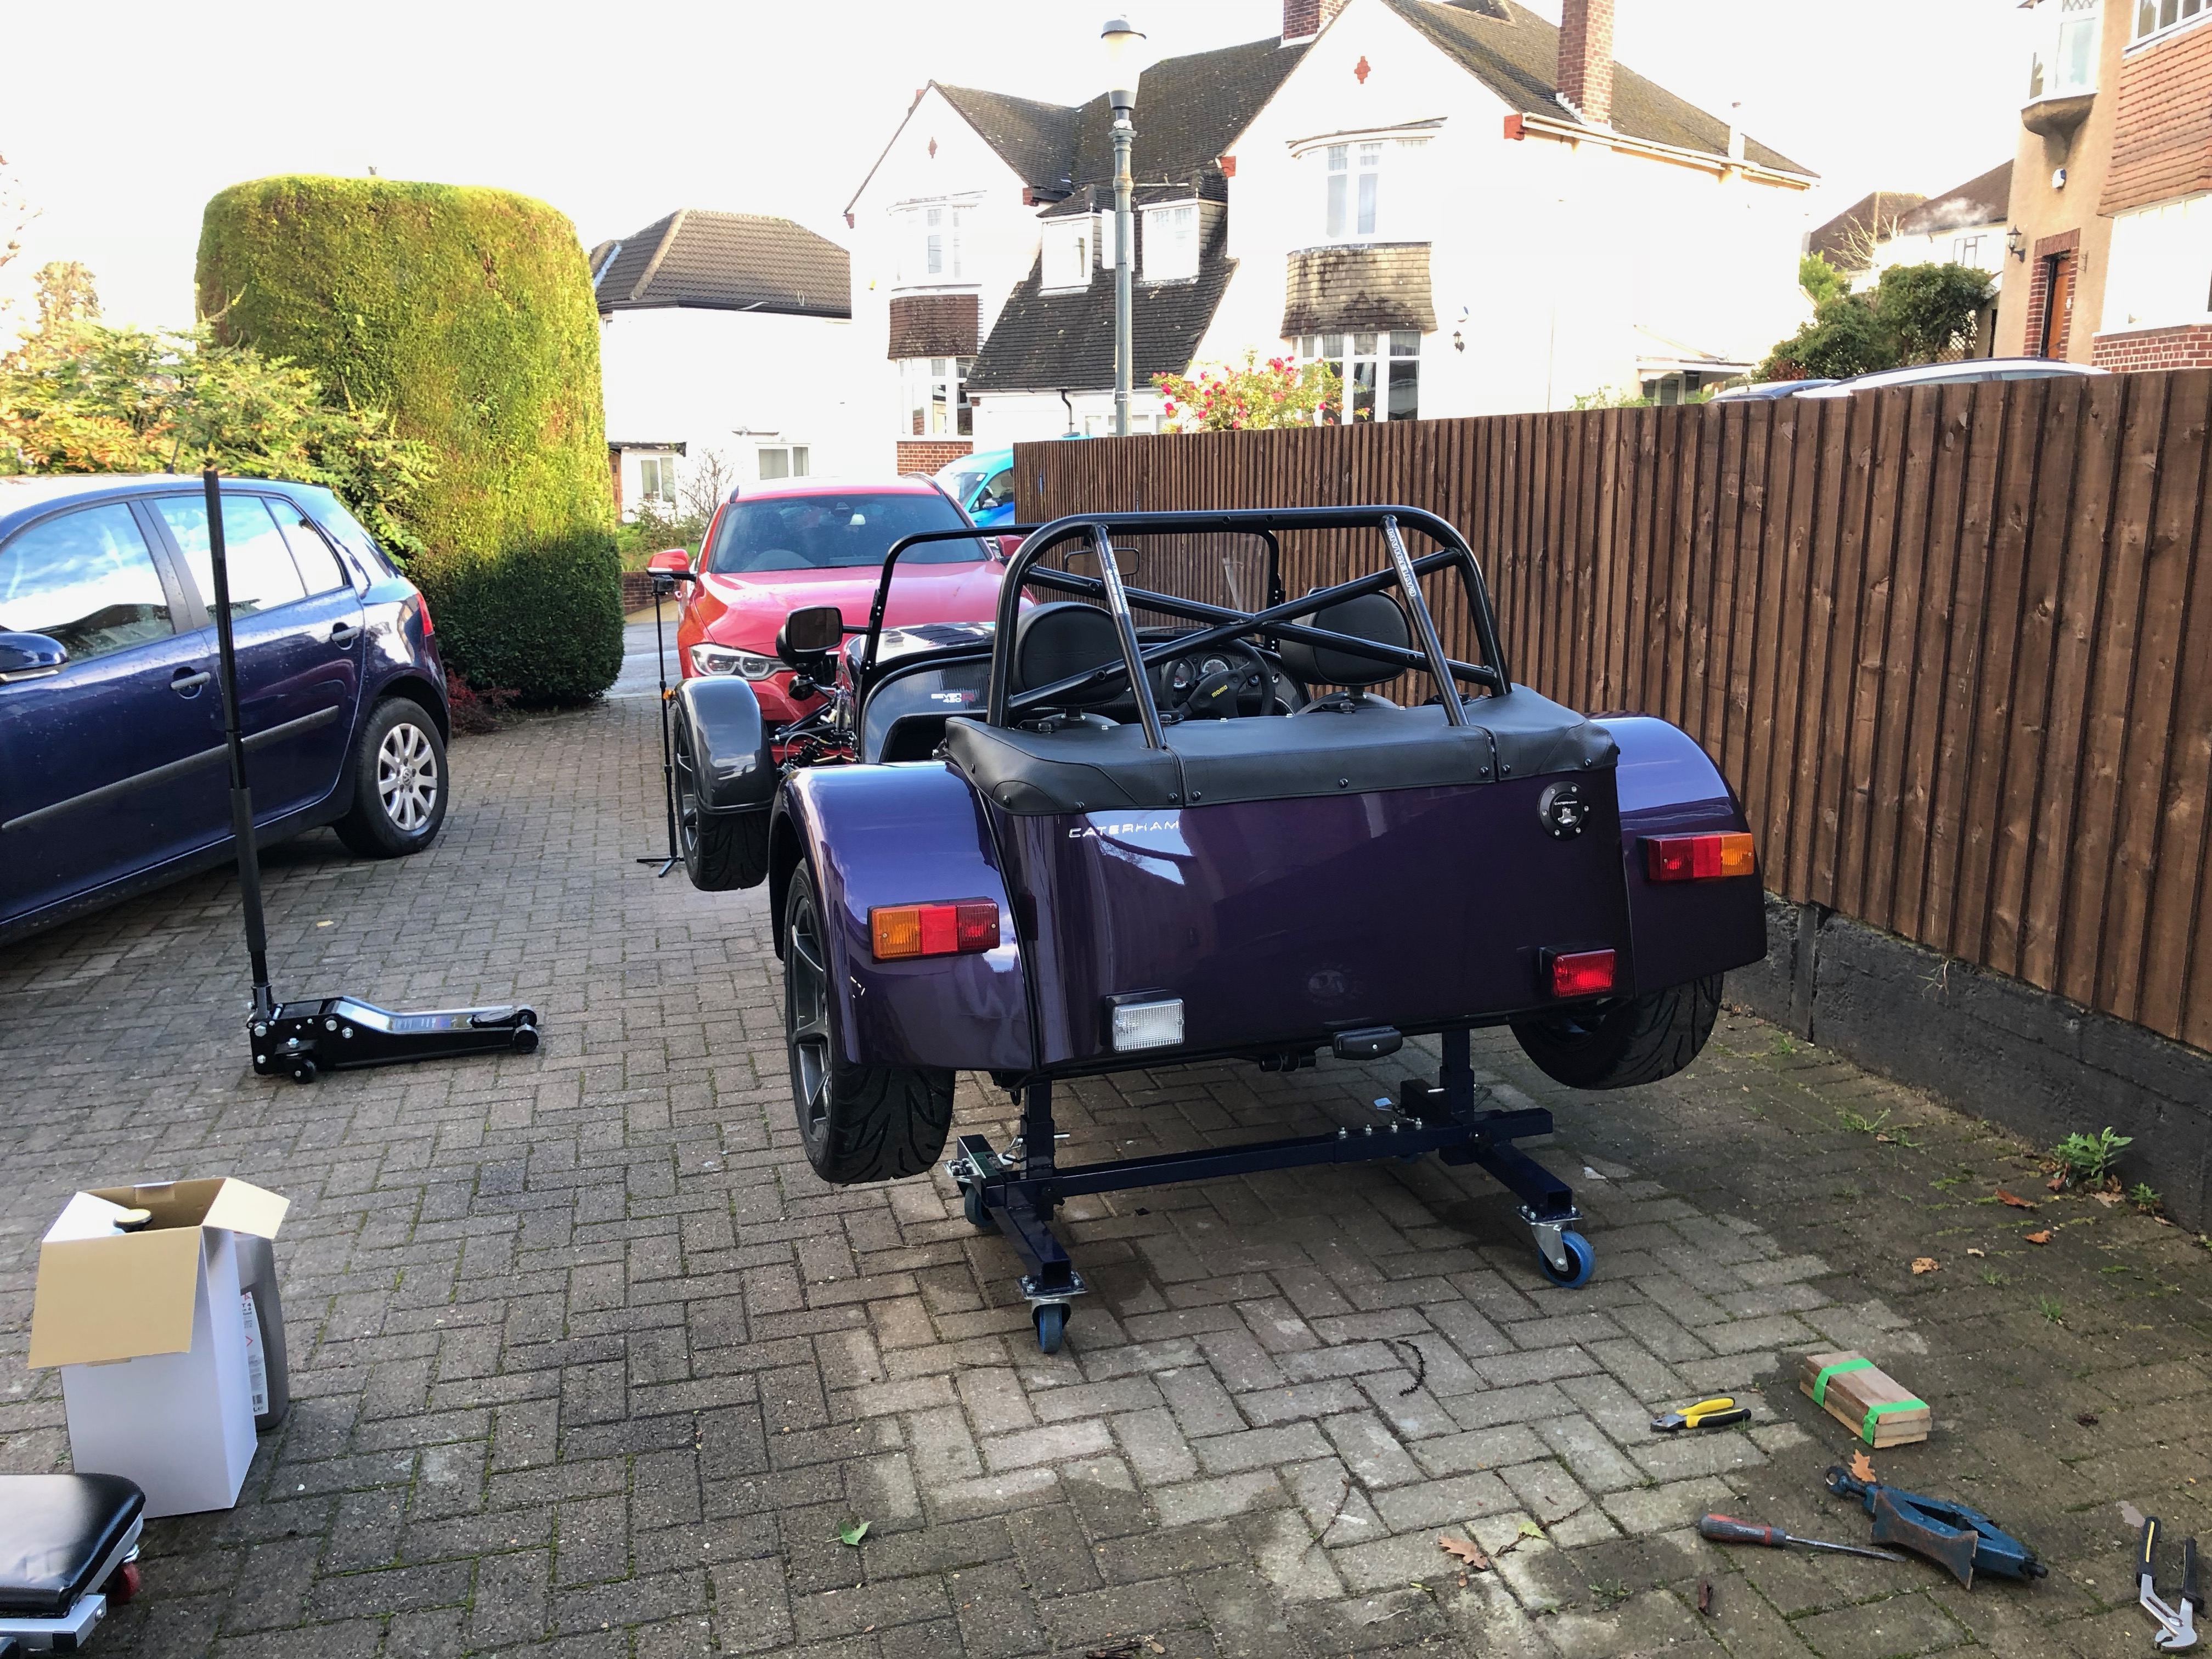
A Mangled A-Frame Conundrum
What I had omitted to mention at the top of this post was that I managed to mangle the rear A-frame at the start of Saturday morning!
Bugger!
Since going to Williams, and as part of the suspension setup, the ride height had been lowered. It therefore transpired that I couldn’t now get my trolley jack under the back of the car to lift it up.
Somehow I convinced myself that it would be a good idea to partially lift the back of the car on the A-frame. I would then put my trolley jack under the chassis and lift it onto the axel stands like I had done normally.
However, jacking a Seven on the A-frame turns out to be a really bad idea – no surprises there. The A-frame is not meant to take any significant vertical load…
… and so it bent.
Oh crap!
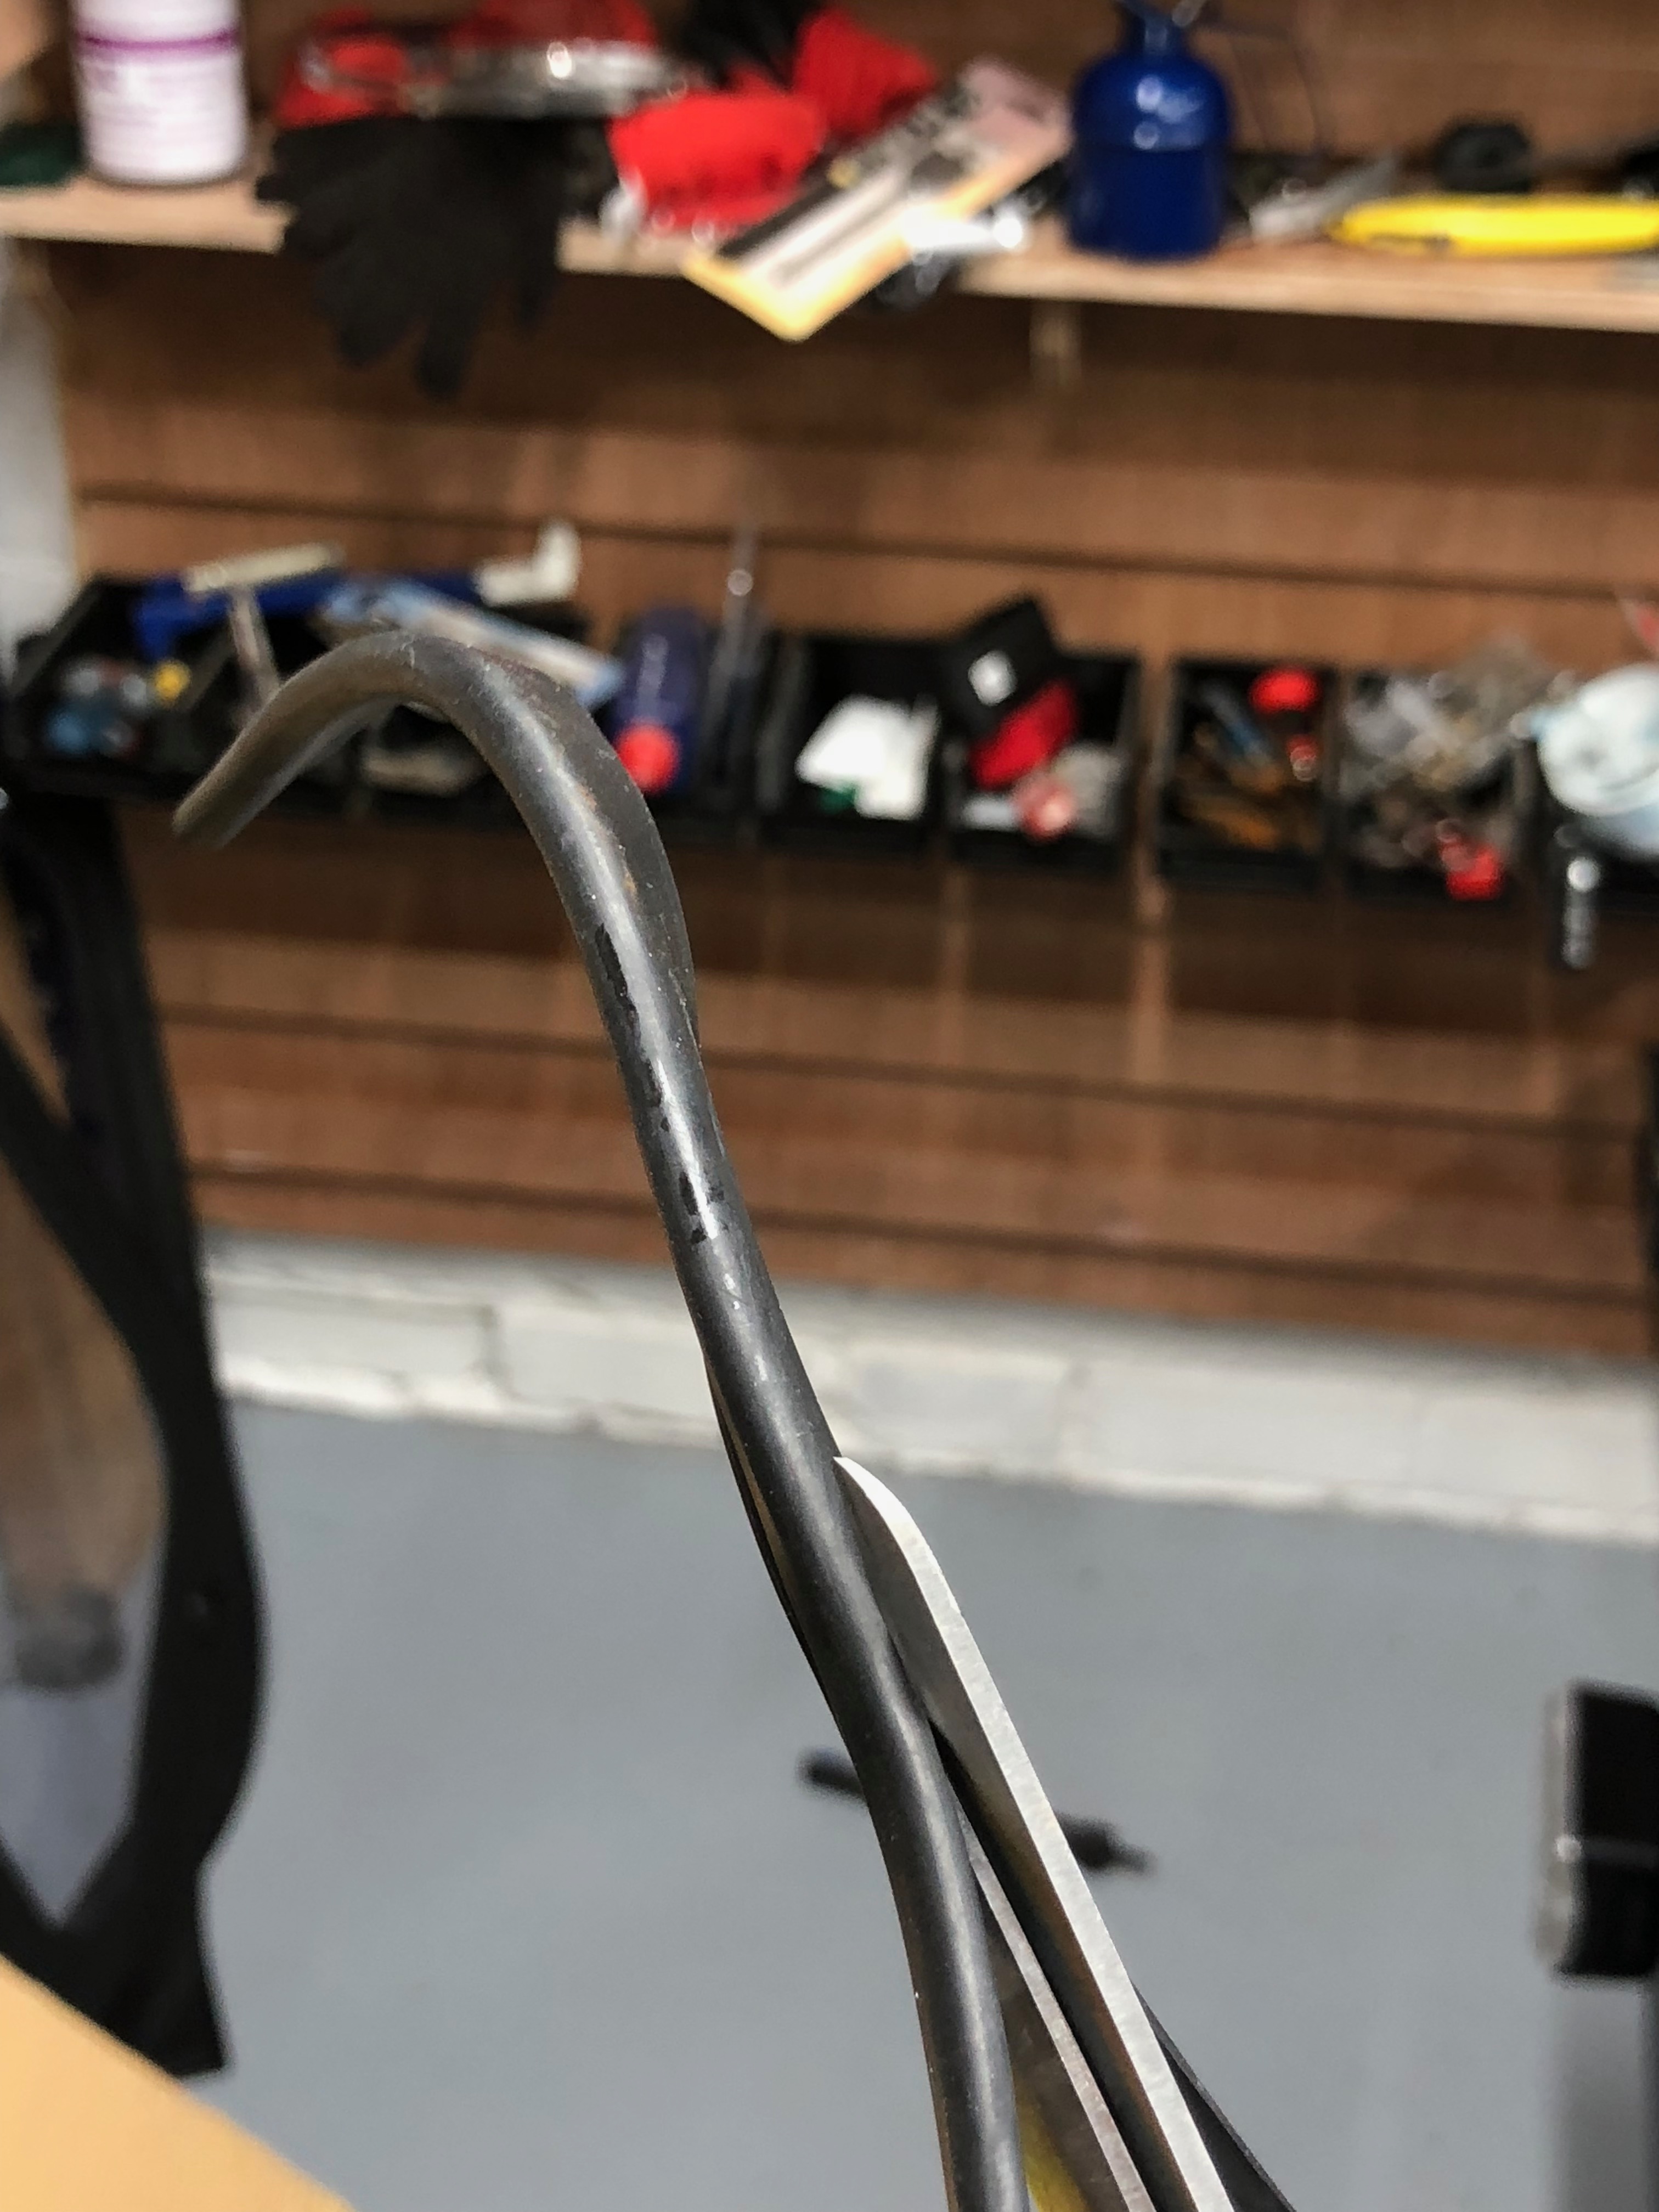
Not a particularly bad bend – I’m not that thuggish. But unfortunately, as well as a bend, I’d put a kink in the RHS tube. I was sure I could get the bend out, but removing the kink was going to be another matter. I went through all sorts of options in my head to think through how I was going to remedy this kink but I doubted I could get it right first time.
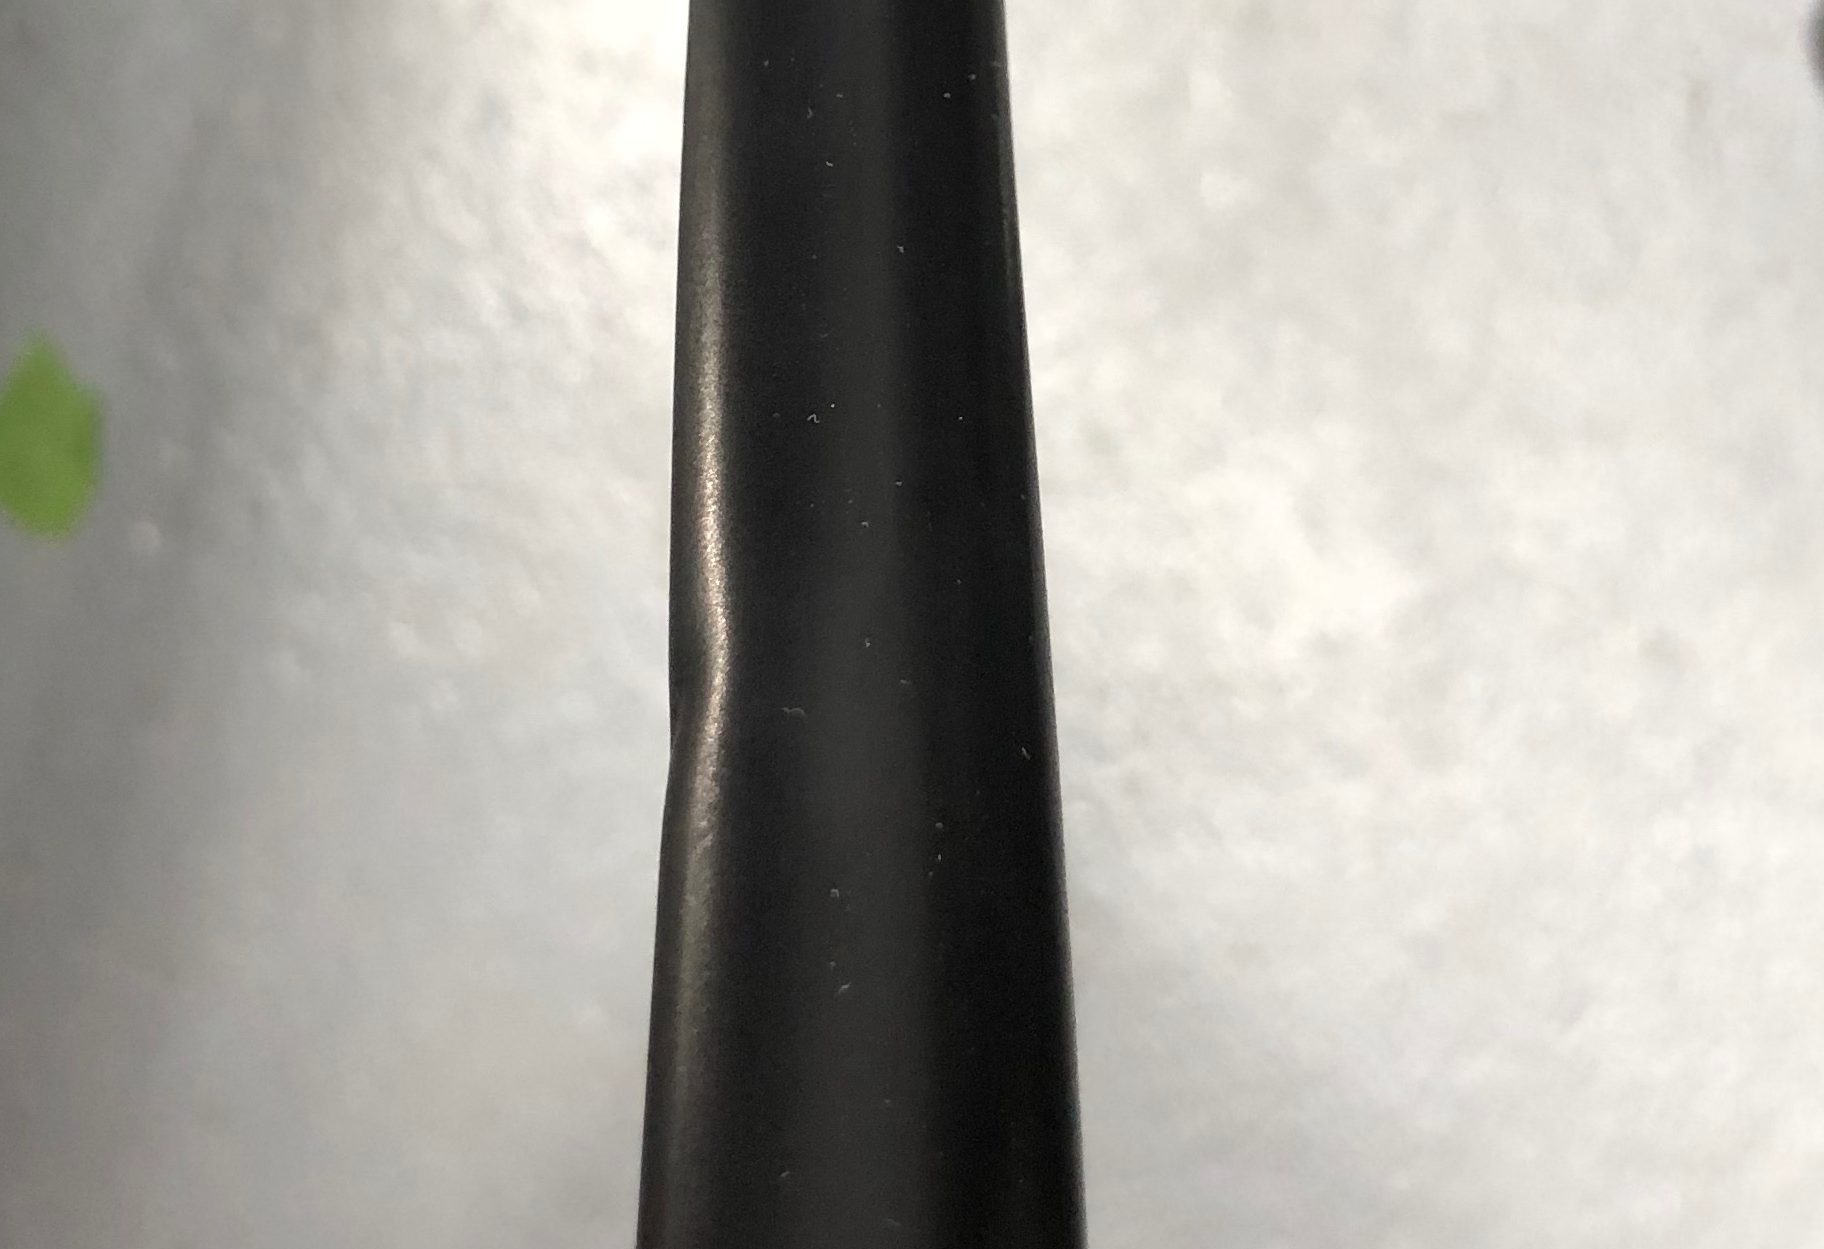
Now, don’t get me wrong… This is a small kink. Almost imperceptible – except that as it sat under the nice new car, with all it’s clean and straight chassis beams… it jarred. You could also feel the kink as you ran your hand down the tube.
If this had happened after the car had passed its IVA test, then I wouldn’t have worried about it. It wasn’t sructural and there would be no effect on the suspension setup. It’s like one of those people who routinely clean behind the fridge and when someone asks “why do you do that, nobody else can see it” the reply comes “because I know its there”. It was nagging at me like that… If I left it and the IVA inspector noticed, and I failed the test, then I would kick myself.
I decided to ponder the problem. It was Saturday afternoon by this point and Caterham parts department was closed – I know, I tried to call them. The website was showing stock of the right A-frame, so this was an option if I decided to solve the problem on Monday with a credit card.
I took the car back into the garage, still on its axel stands, and left it while I pondered.
Sunday December 3rd (4 days to IVA test)
Having thought things through for a day I had decided to take the A-frame off and at least try and straighten it. Perhaps the small kink wouldn’t get noticed at the IVA test, but a bow in the A-frame probably would.
I tried a few combinations of vice, grips and clamps but eventually resorted the fully calibrated “body and plank” method.
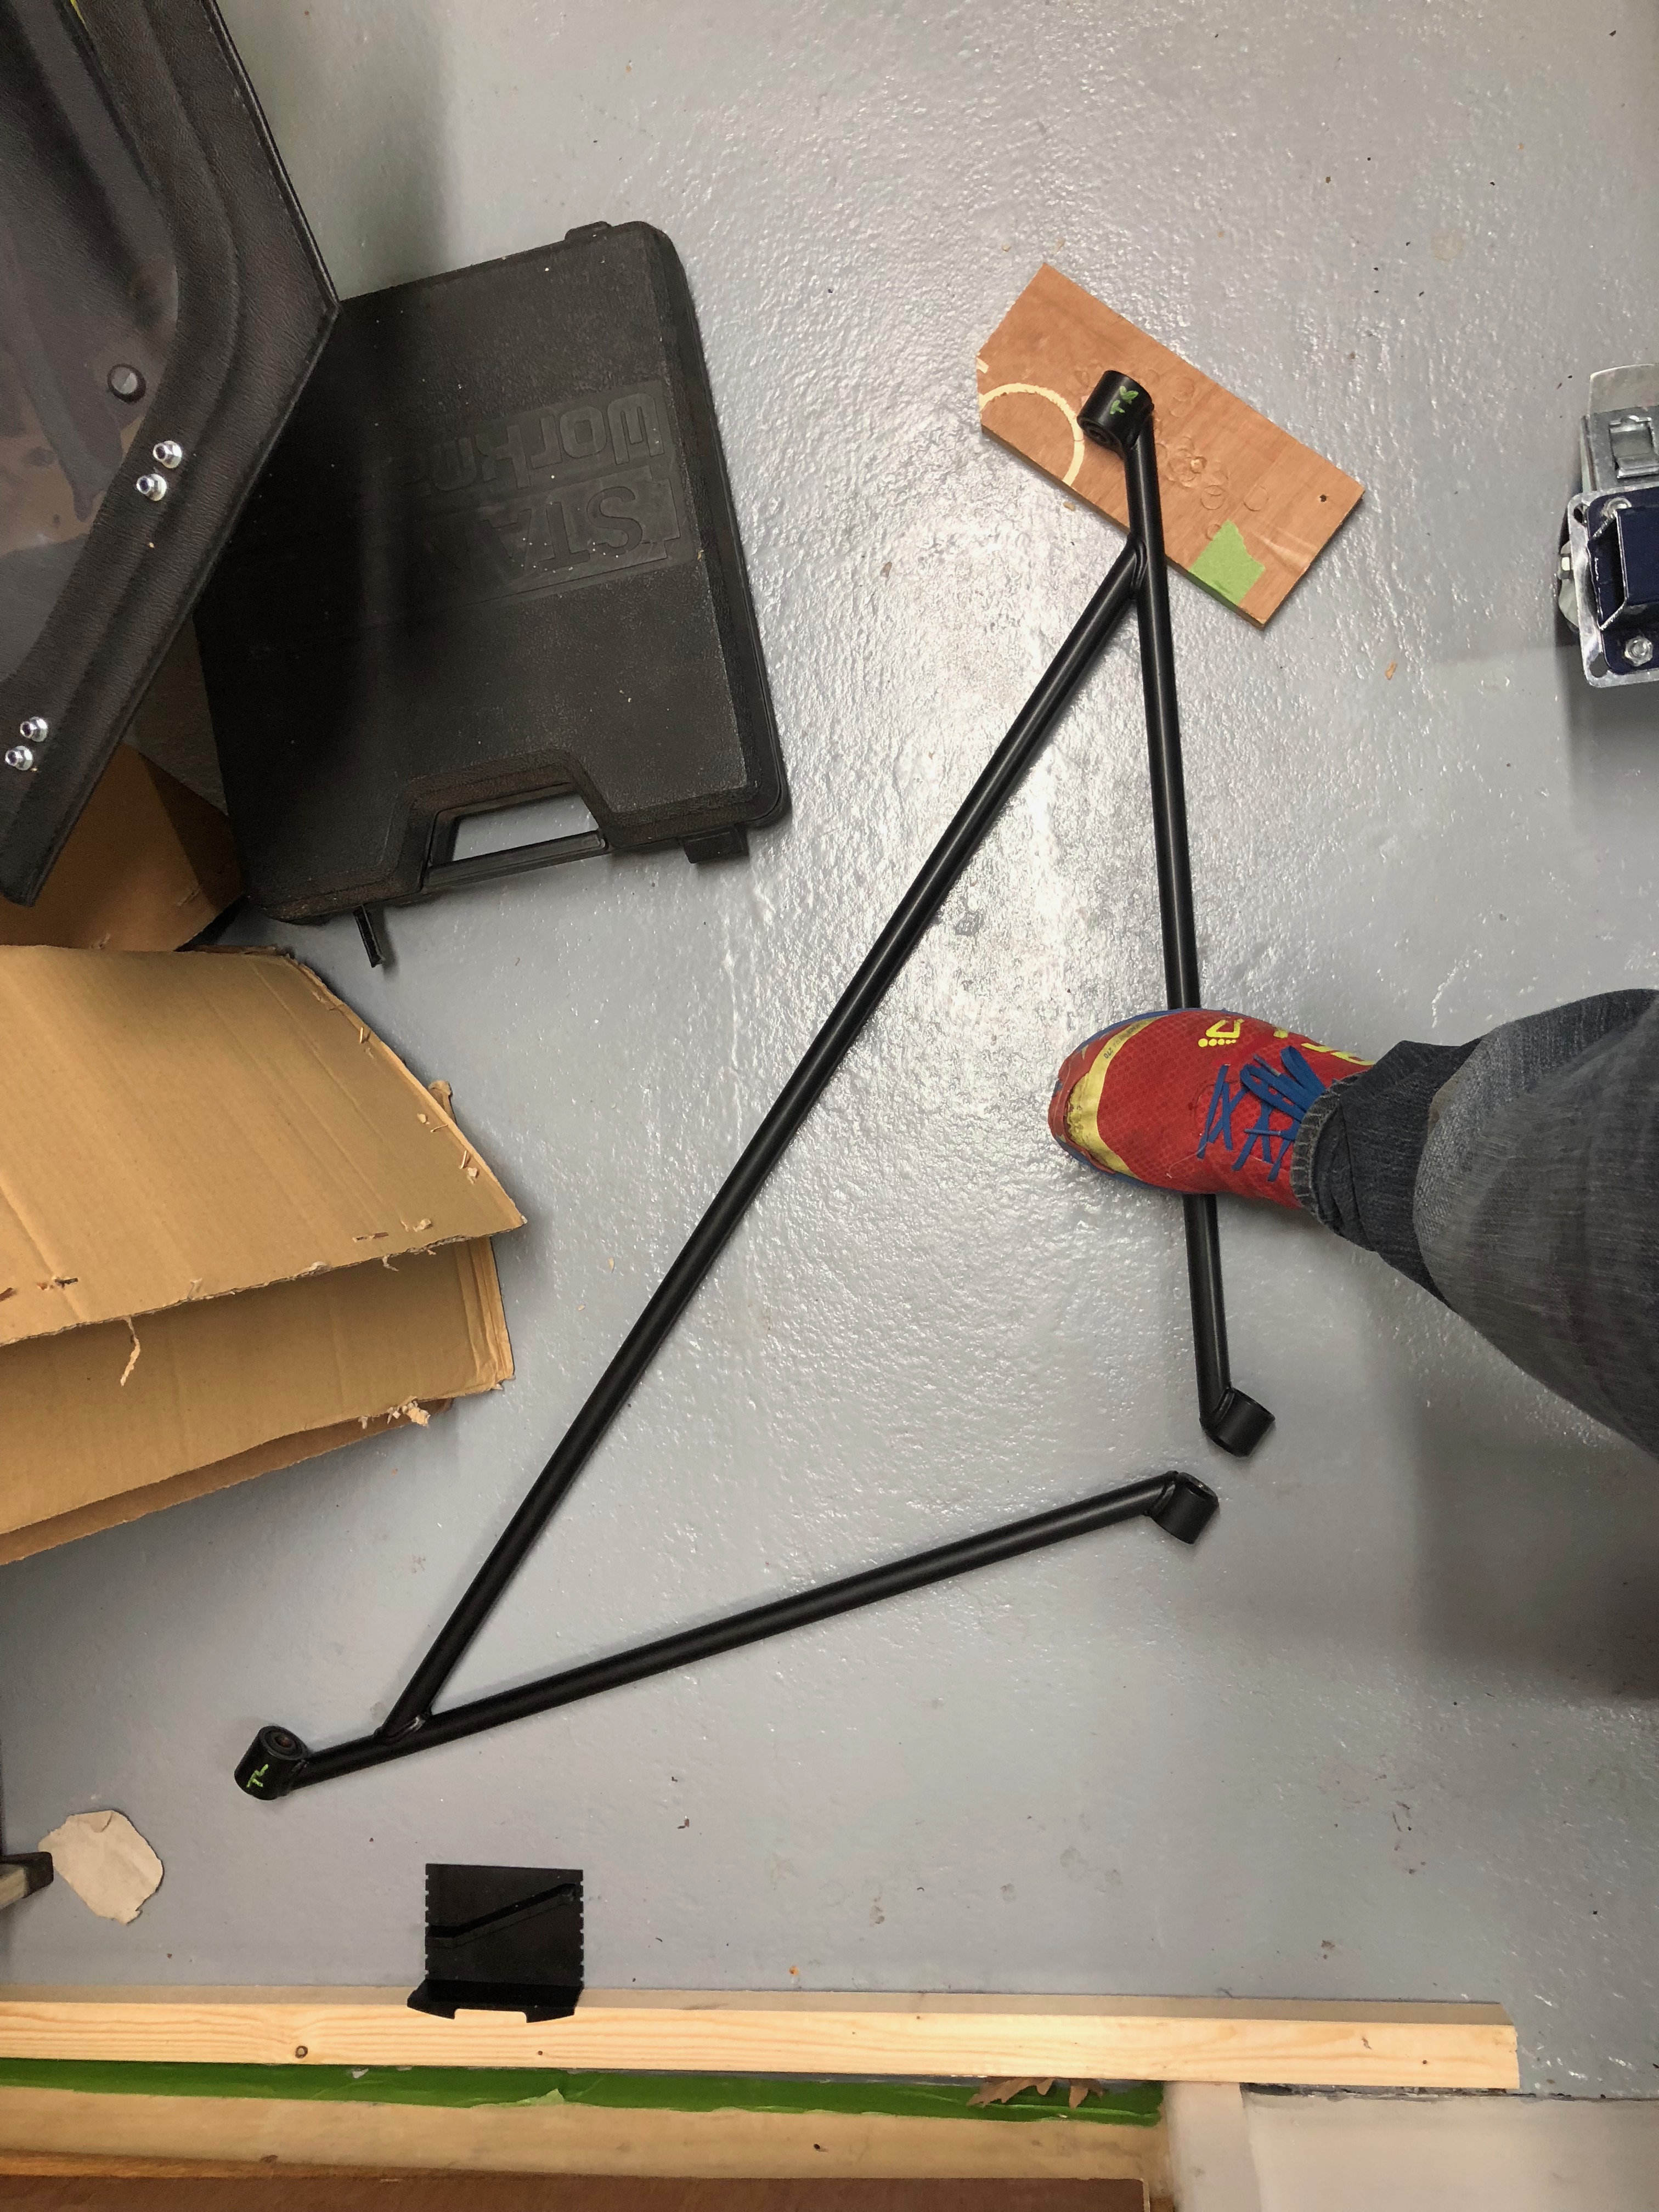
In the end I found that I could best modulate the bending force I was applying, and where I was applying it, by lifting the A-frame onto a low plank of plywood and “jumping” on it. I didn’t really jump on it, but I could feel the amount of “give” in the tube and got all of the bend out of the bar with my weight.
The kink remained.
Monday December 4th – A-Frame Ordered (3 days to IVA test)
First thing Monday and I decided I would go for a parallel approach on the A-Frame. I had the “unbent but kinked” A-Frame but would also order a replacement in the hope that it would arrive on Tuesday to give me another option.
A quick phone call to Caterham when they opened and they confirmed they could get an A-Frame shipped today and hopefully it would arrive tomorrow – credit card engaged and order placed. The A-Frames seemed to be relatively cheap at around £70 ($95) – not a costly mistake but still frustrating at this stage in the game. Little did I know, but there was further self-inflicted frustration to come.
Tuesday December 5th – A-Frame and Labels (2 days to IVA test)
True to their word, Caterham got me the replacement A-Frame via a next day delivery.
[Note from the future: while we’re talking about the ordering of an A-Frame – Caterham were a little too efficient. A second A-Frame arrived a week later. When I called to return it, they thought that the shipping team had shipped the first one without waiting for the invoice to percolate through their system and so when it did, a second one was sent out.]
It was a quick 30 minute job to install the new A-Frame and attach the handbrake cable on both sides with my P-clip arrangement.
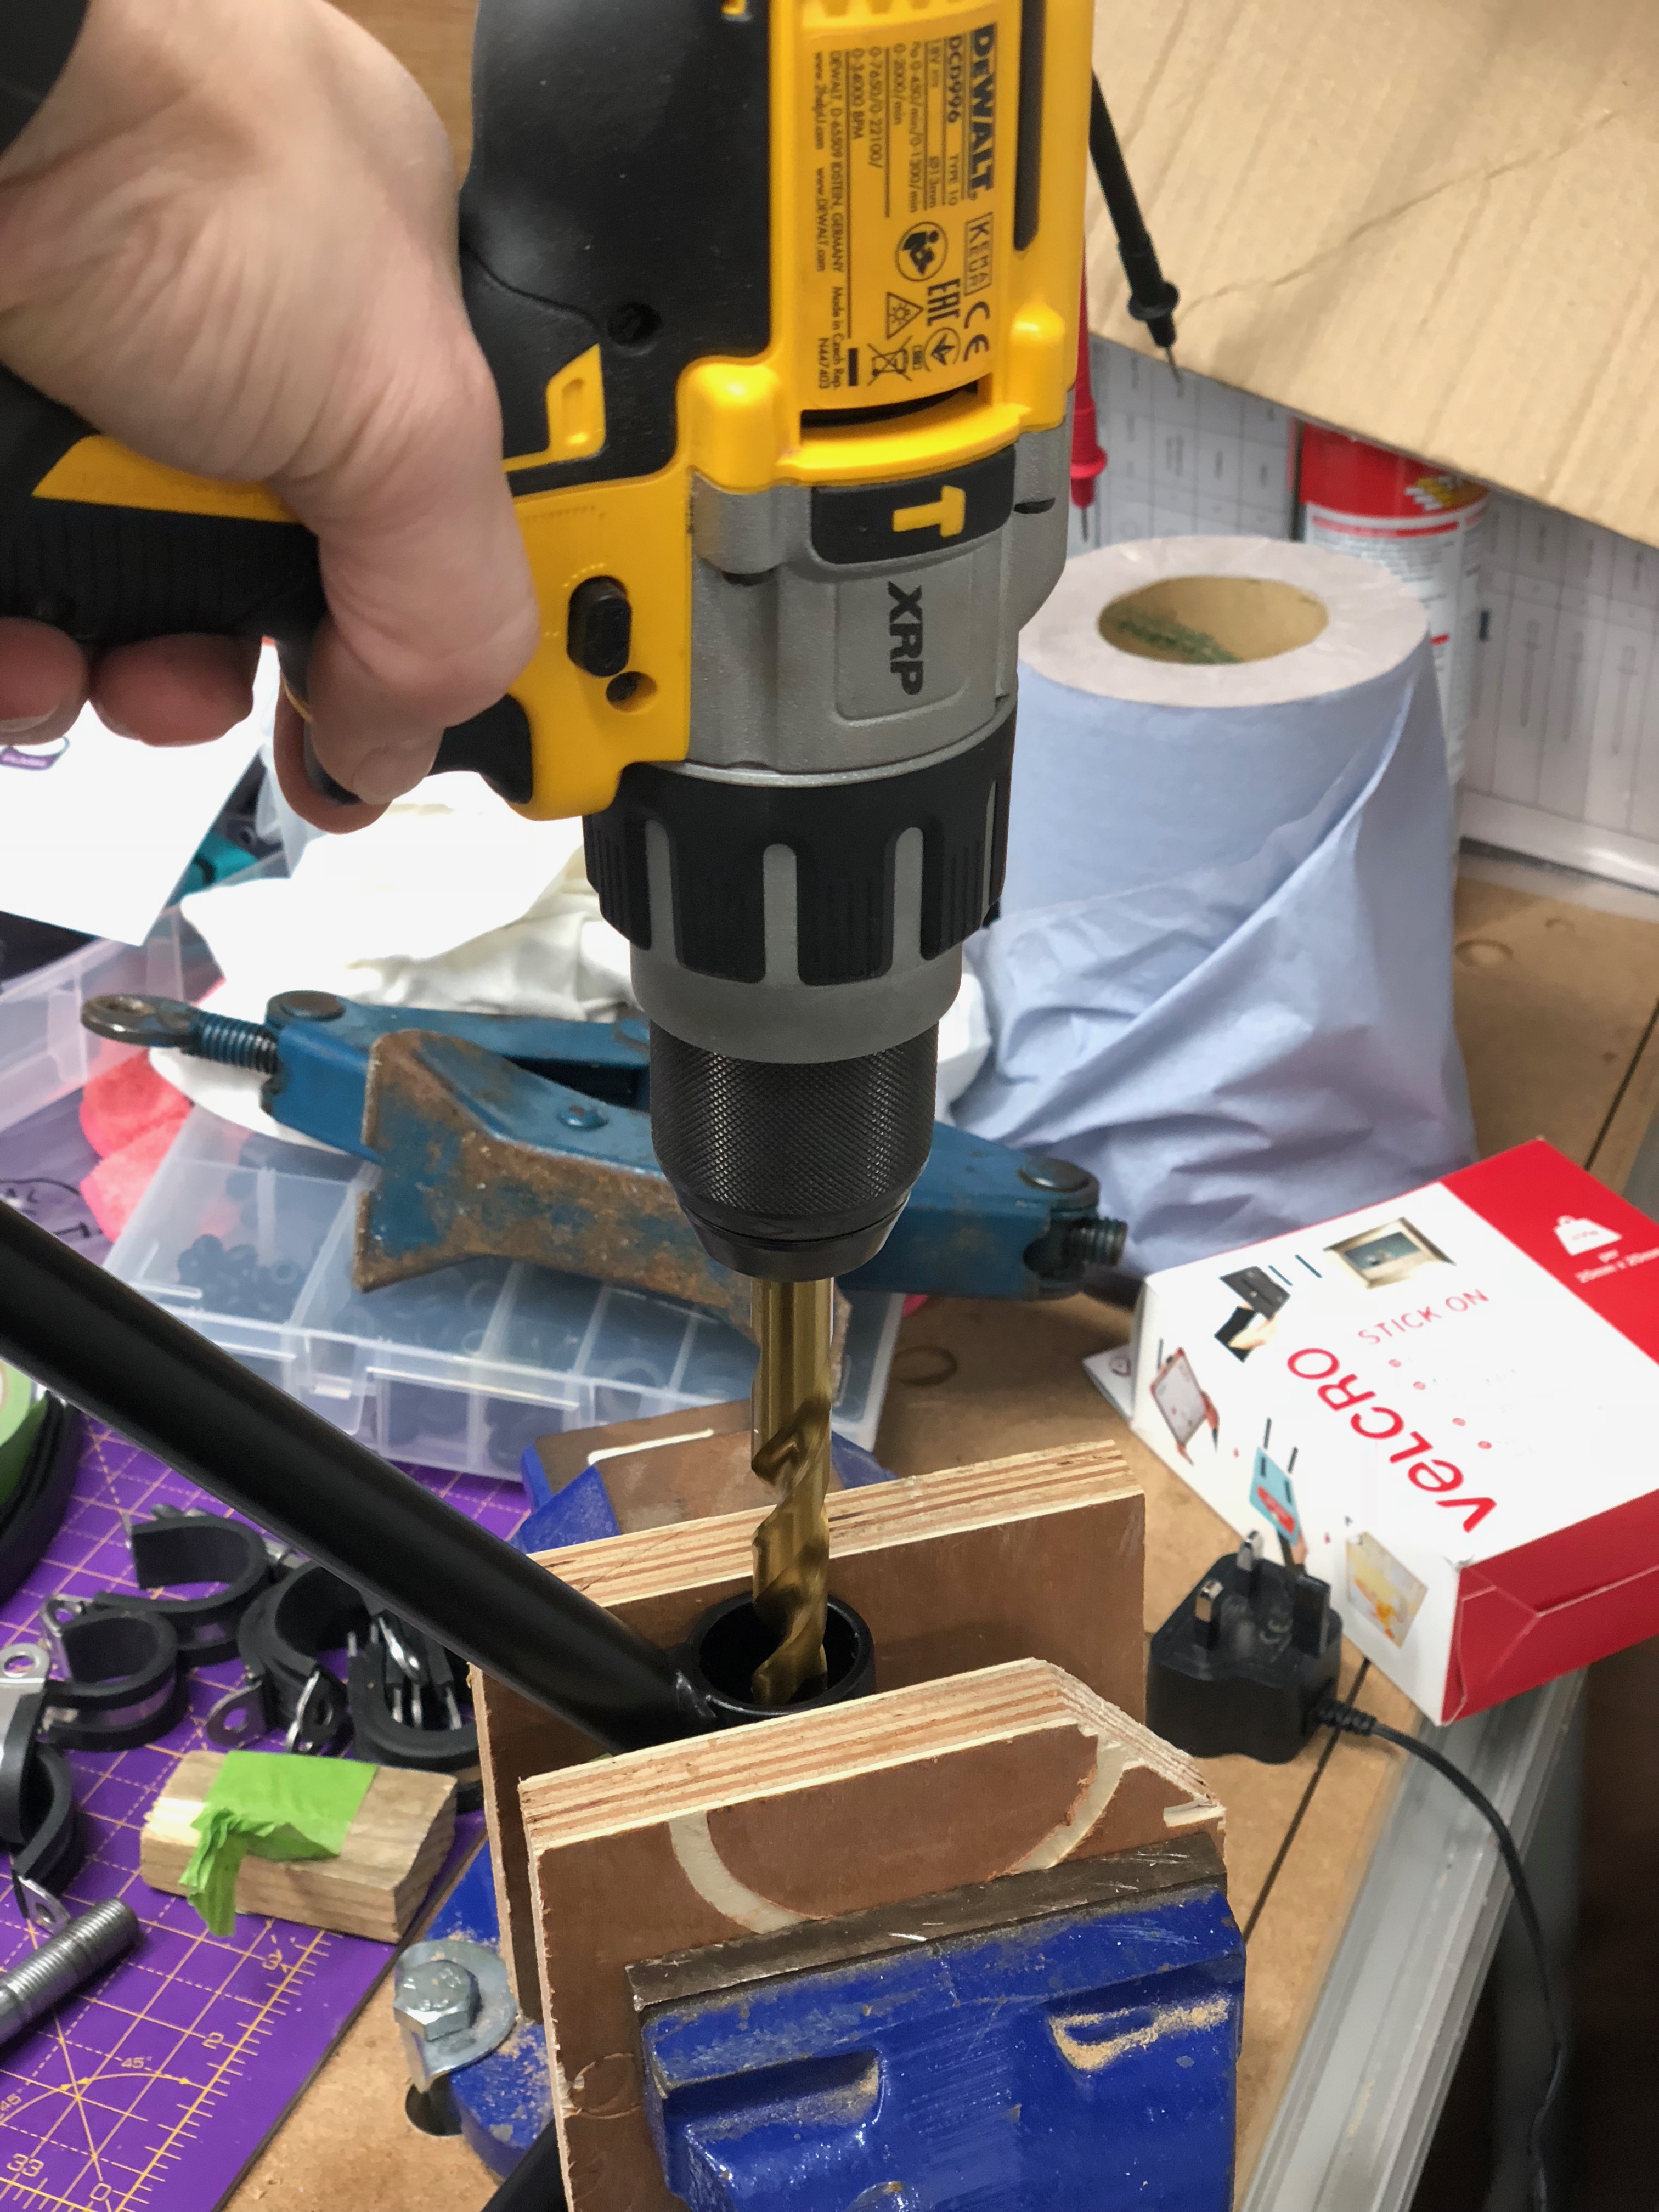
To bolt the A-Frame in, I decided that this time I would drill out the rear A-Frame bolt holes.
When I fitted the first A-Frame a few weeks ago, I had carefully Dremelled out the bolt holes but not quite gone far enough. Inevitably, this meant I had a devil of a job to get the bolt through both sides of the A-Frame and took some of the thread off the bolt in the process.
This time around I took out my callipers and measured the bolt. I then went up to the next 0.5mm drill bit size and drilled out both sides of the back of the A-Frame – not the front mounting points.
Dashboard Labels
One job I’d not got round to was the labelling of the dashboard switches. It’s an IVA requirement to have the switches labelled and as usual I was going over the top. I had spent a day or so playing with some printed options. The idea was to laser-print, cut-out and stick-on sticky-backed vinyl sheets with dashboard graphics as below…
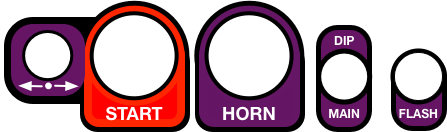
Unfortunately, I ran out of time and had to go with plan-B.
Plan-B was to use a simple label printer, which worked out fine and I can either go with my graphics at a later date or, like many people, pull them off and forget about them altogether.
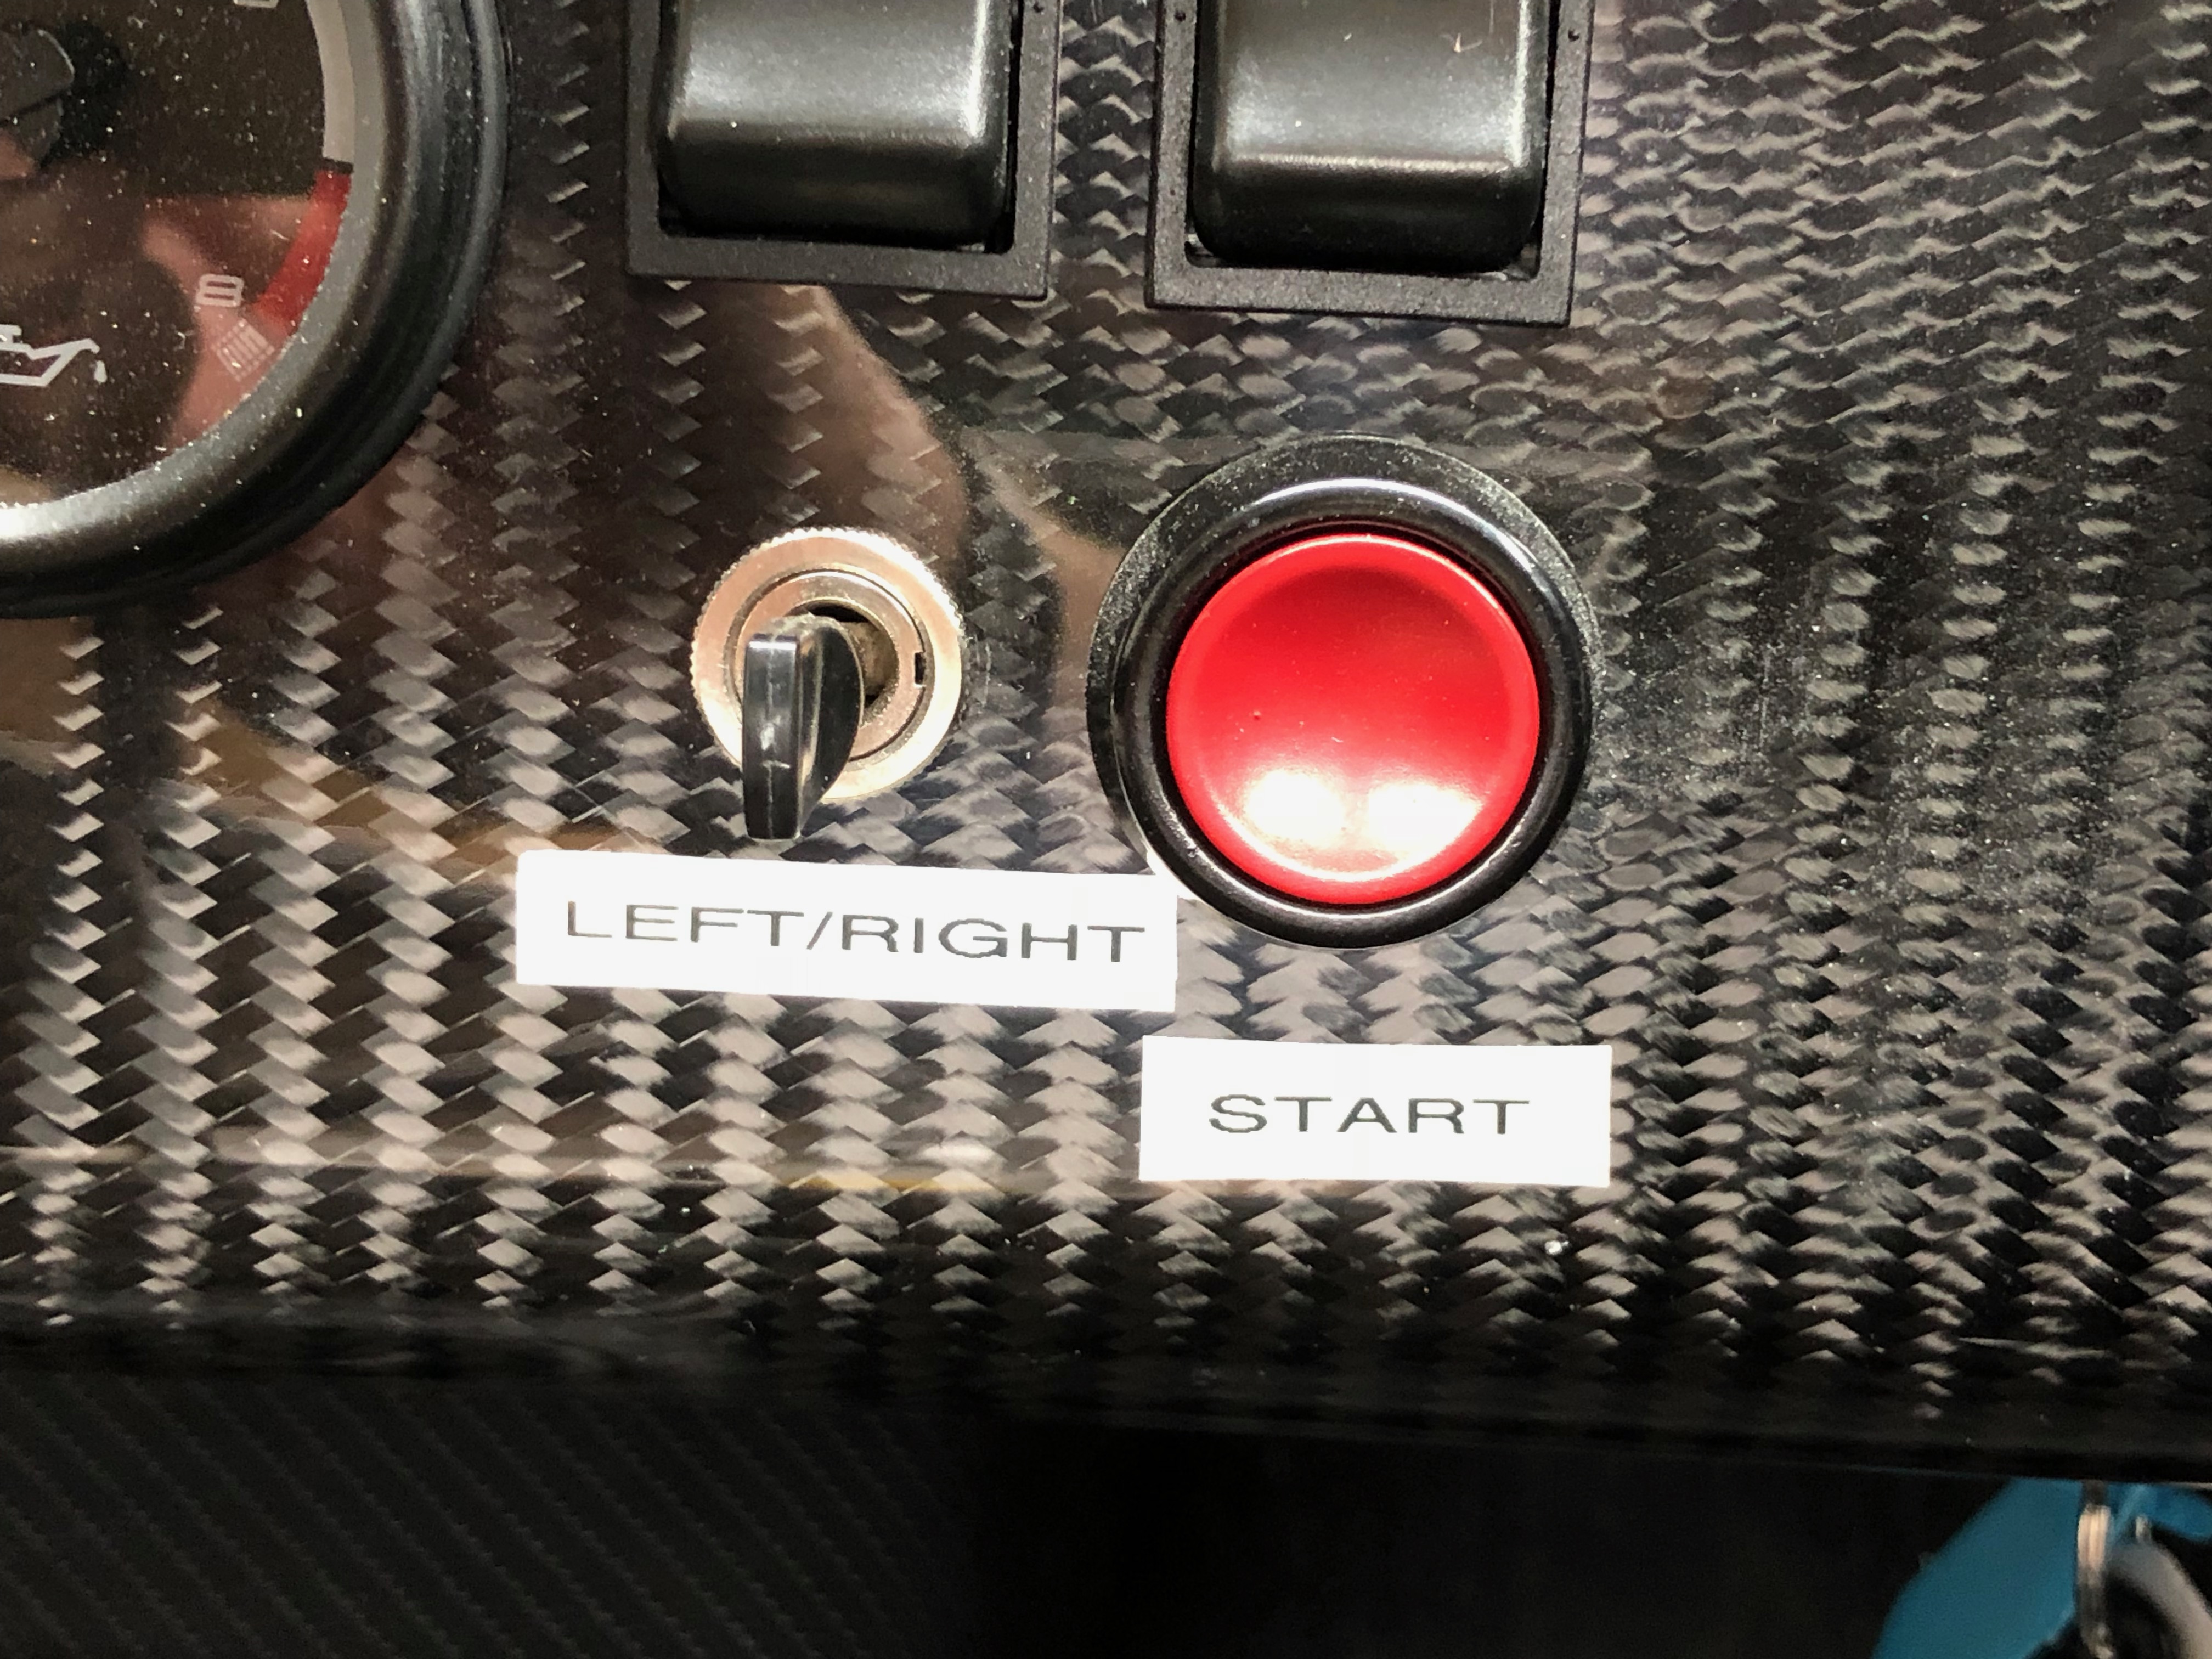

I only needed to label the switches that didn’t have any logos on, so the green light switch in the picture immediately above was sufficiently labelled already.
Wednesday December 6th – Road Trip, Rear Fog and Reverse Light IVA Treatment (1 day to IVA test)
The big day is tomorrow.
I had some time I could spare in the morning today so decided to take a trip…
Whoohoo!
The IVA test centre had called on the Monday to remind me that I needed to present the car with a full tank of fuel. The car gets weighed in the test and it needs to be fully wet. They were concerned that I hadn’t been told this when I made the appointment – Nice… considerate!
The weather was chilly but dry, so I decided to go to the local filling station about half a mile away for my first real ride in the car!
I had been threatening to take the car to the filling station for a few days. So… car out of garage, gear up for the weather and take the car out for my first short drive.
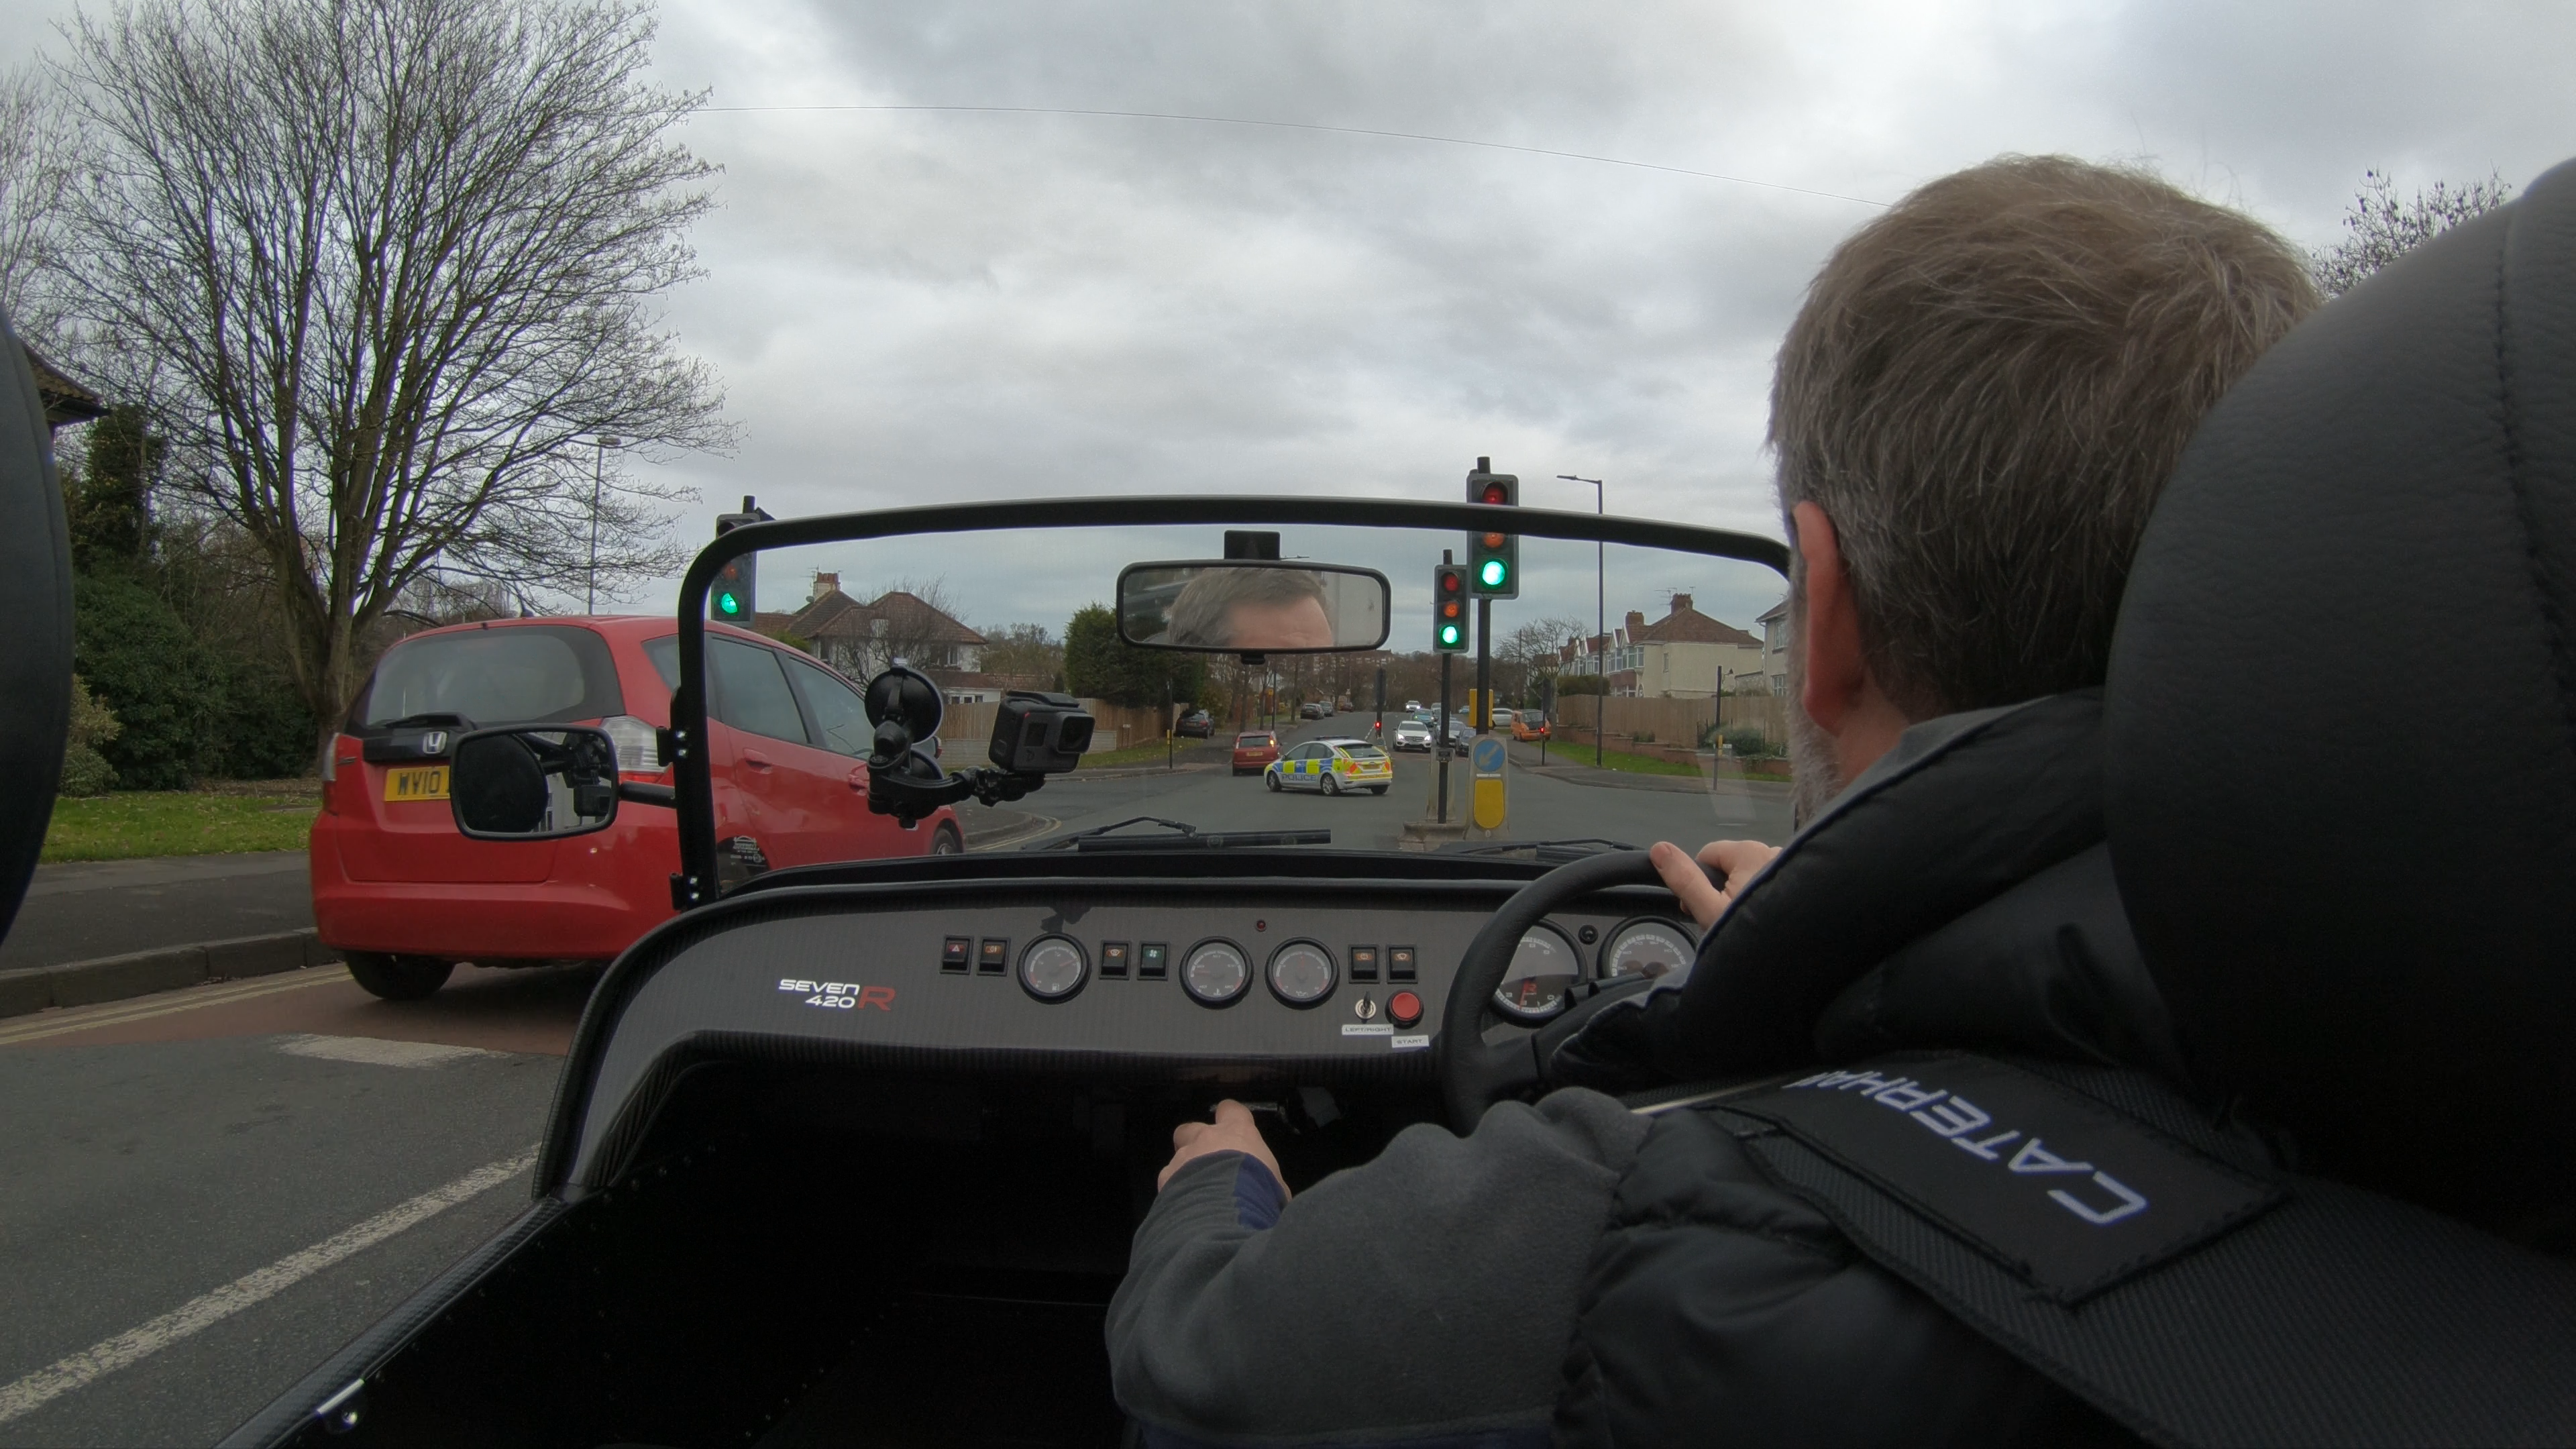
Of course I had no plates on the car and I had no appointment I could fall back on as part of the IVA test. So, if I got pulled over I was going to have to talk my way out of it. Here’s a time-lapse of the trip there.
…. and a video of the return trip, with some commentary…
No dramas on the trip, other than a police car pulling out in front of me on the way there, which meant I had to hold back to keep out of his rear-view!
Job done!
An Evening of Strife
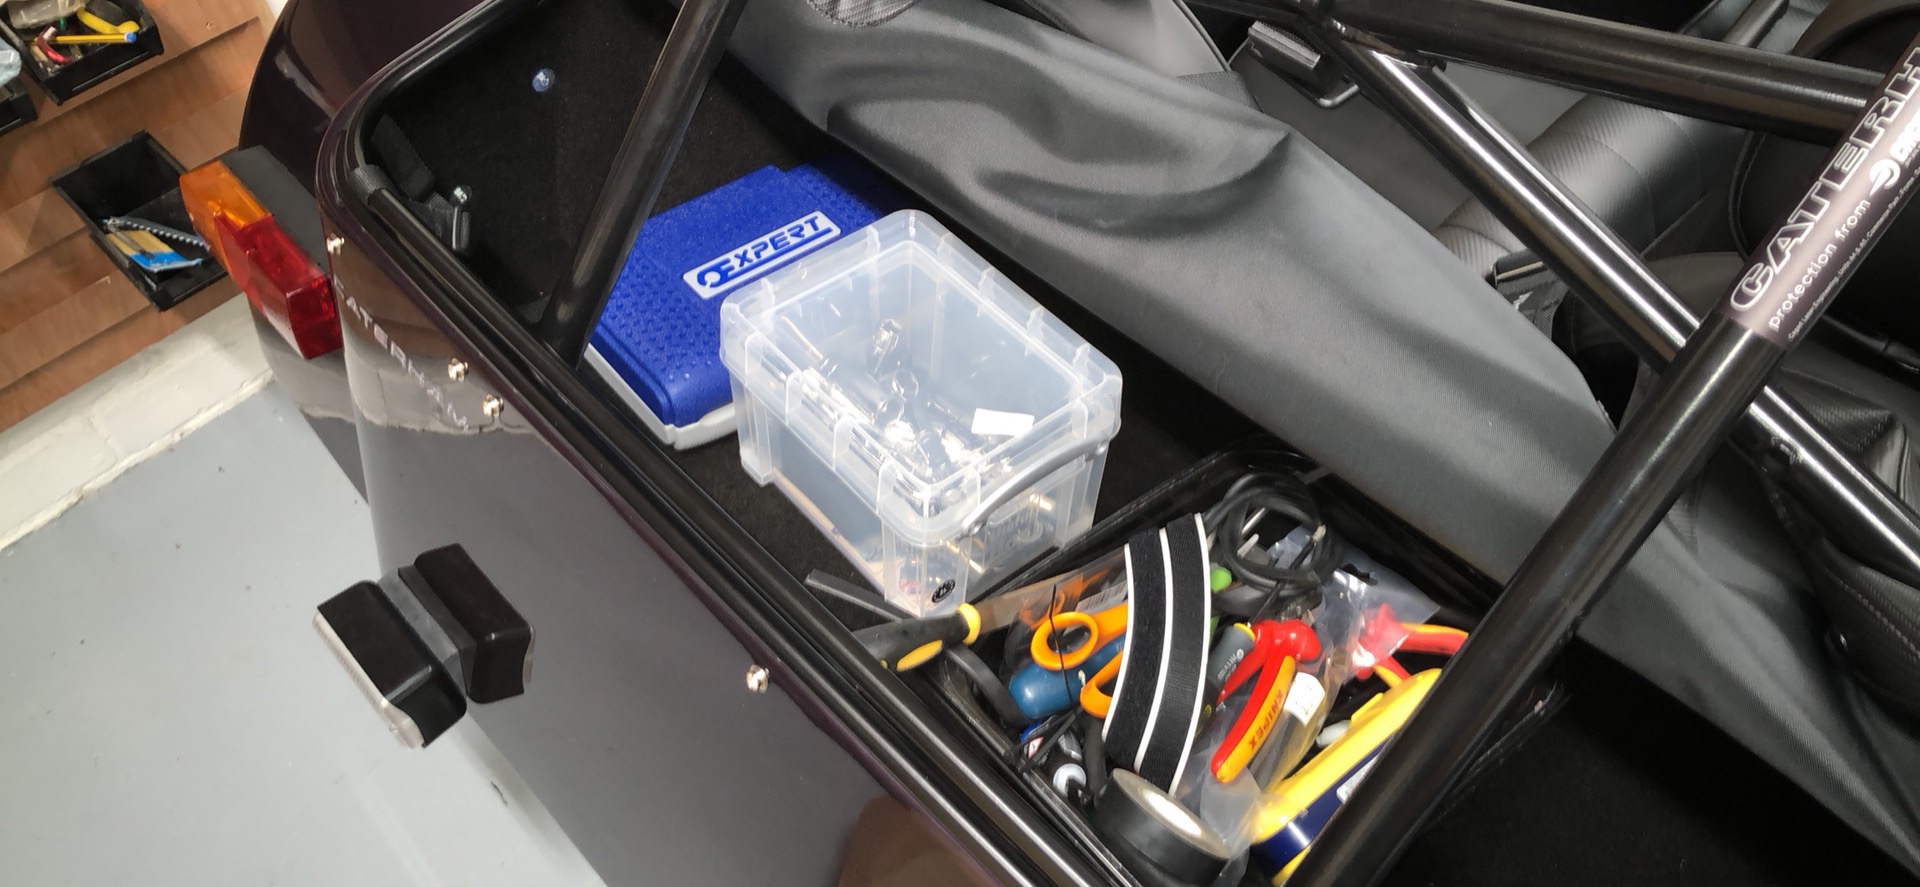
After the first outing for fuel, tonight was about getting all the stuff together that I thought I’d need to take to the test tomorrow. In the end I took this list of stuff plus some other stuff that I’ve almost certainly forgotten about:
- Set of metric spanners 6-19mm + 32mm, doubled up on 10,13,17 and 19mm
- Set of imperial spanners
- Grips, Pliers and Side-cutters
- Hammers
- Various tapes, including masking tape, electrical tape and self-amalgamating tape
- 1/4″ + 3/8″ Socket Sets
- Various screwdrivers of different types and sizes
- Velcro in case the fuse box needed better fixing
- Scissors
- Stanley Knife (sort of a heavy duty craft knife for you non-UK people)
- Lots of spare nut-caps
- Any remaining IVA trim (of various types)
- Remaining 5/16″ hose
- IVA bonnet fixing caps – I was carrying them in my kit rather than on the bonnet, where they might fall off (they don’t sit very tightly on the fixings)
It looked something like this…
I also fired up the car and tested all the lights and switches – that’s an important statement for later!
[Note from the future (spoiler alert): I should also have taken at least an adjustable spanner and a set of spare fuses]
Anyway, back to a real job for this evening…
I was kicking my heels a bit after the prep for tomorrow, so decided I’d have a go at the IVA trim around the rear Fog Light and Reversing Light. I’d seen recent blog posts saying that IVA trim around these lights is no longer required to reduce/soften the radius on the housings – probably because the housings have changed, but I don’t know that. However, I had some time to kill and like I’ve said before… better safe than sorry… BIG MISTAKE!
I then proceeded to take off the red fog light lens from the housing…
…which promptly fell apart in my hands!!!!
Oh Crap!
Ok. Deep breath!
So… this was a BIG problem.
There was no way the car was going to pass the IVA test in 12 hours time if I couldn’t get the rear fog light operational again. It looked like someone had overtightened the lens into the housing and the sides of the lens had shattered. That wasn’t me, I hadn’t touched this assembly until this point.
But…
…what was even worse was that the two bolt-stems/tubes that actually held the lens into the housing had sheered. There was no way they were going to be usable to attempt to attach what was left of the lens back into the housing.
Crap!
I went through a few options in my mind. Were any of the local garages or auto-factors open (Noop it was about 8PM by this point). Anyone I know able to help? (Couldn’t think of anyone). Could I scavange something off one of our other two cars? (Didn’t sound promising, but possibly an option). Could I 3D print something? (Not enough time and the quality of the result wasn’t going to work… even if I could figure out how to turn clear translucent filament into red translucent filament – nah!).
The only option I could think of was to clear-epoxy the stems/tubes back into the lens, hope it would all line up again, and be transparent, if I took my time. The lens seemed to be ABS, which would take the epoxy fine, and I had a good clean break on the interface of the parts to work with. If I screwed this up then I had a problem – but it seemed to be my only option.
So, out with the rapid-set epoxy…
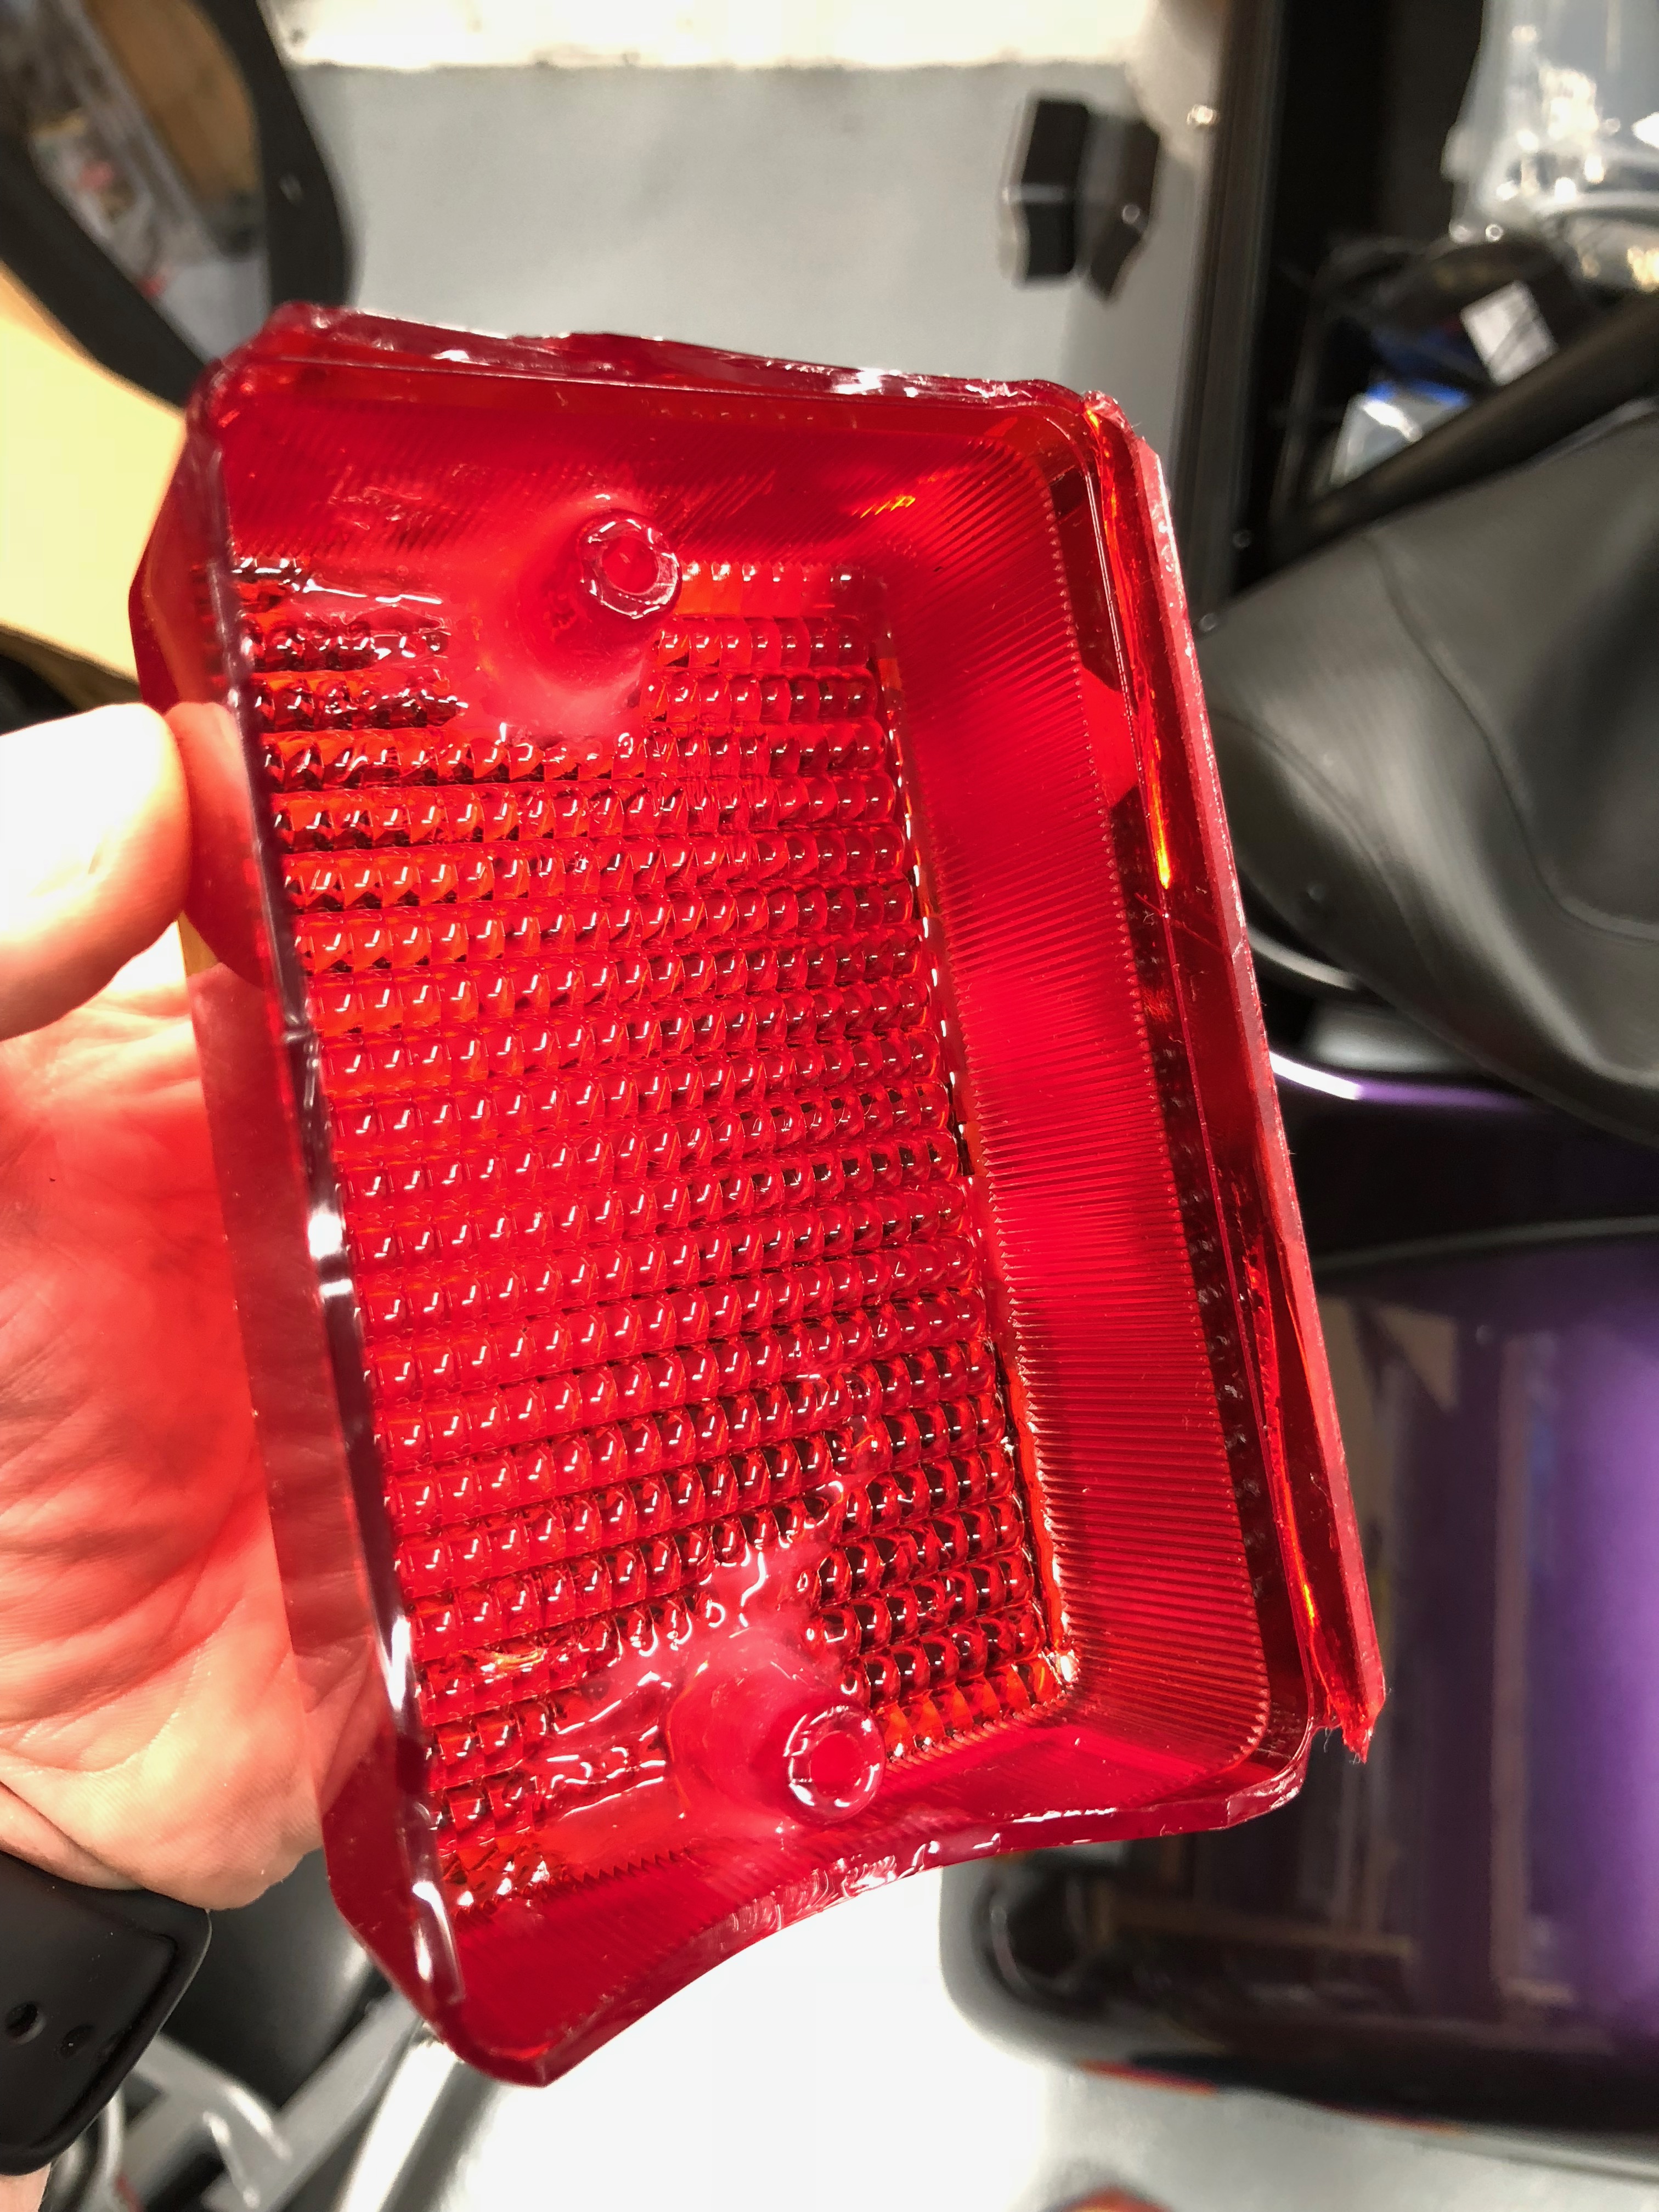
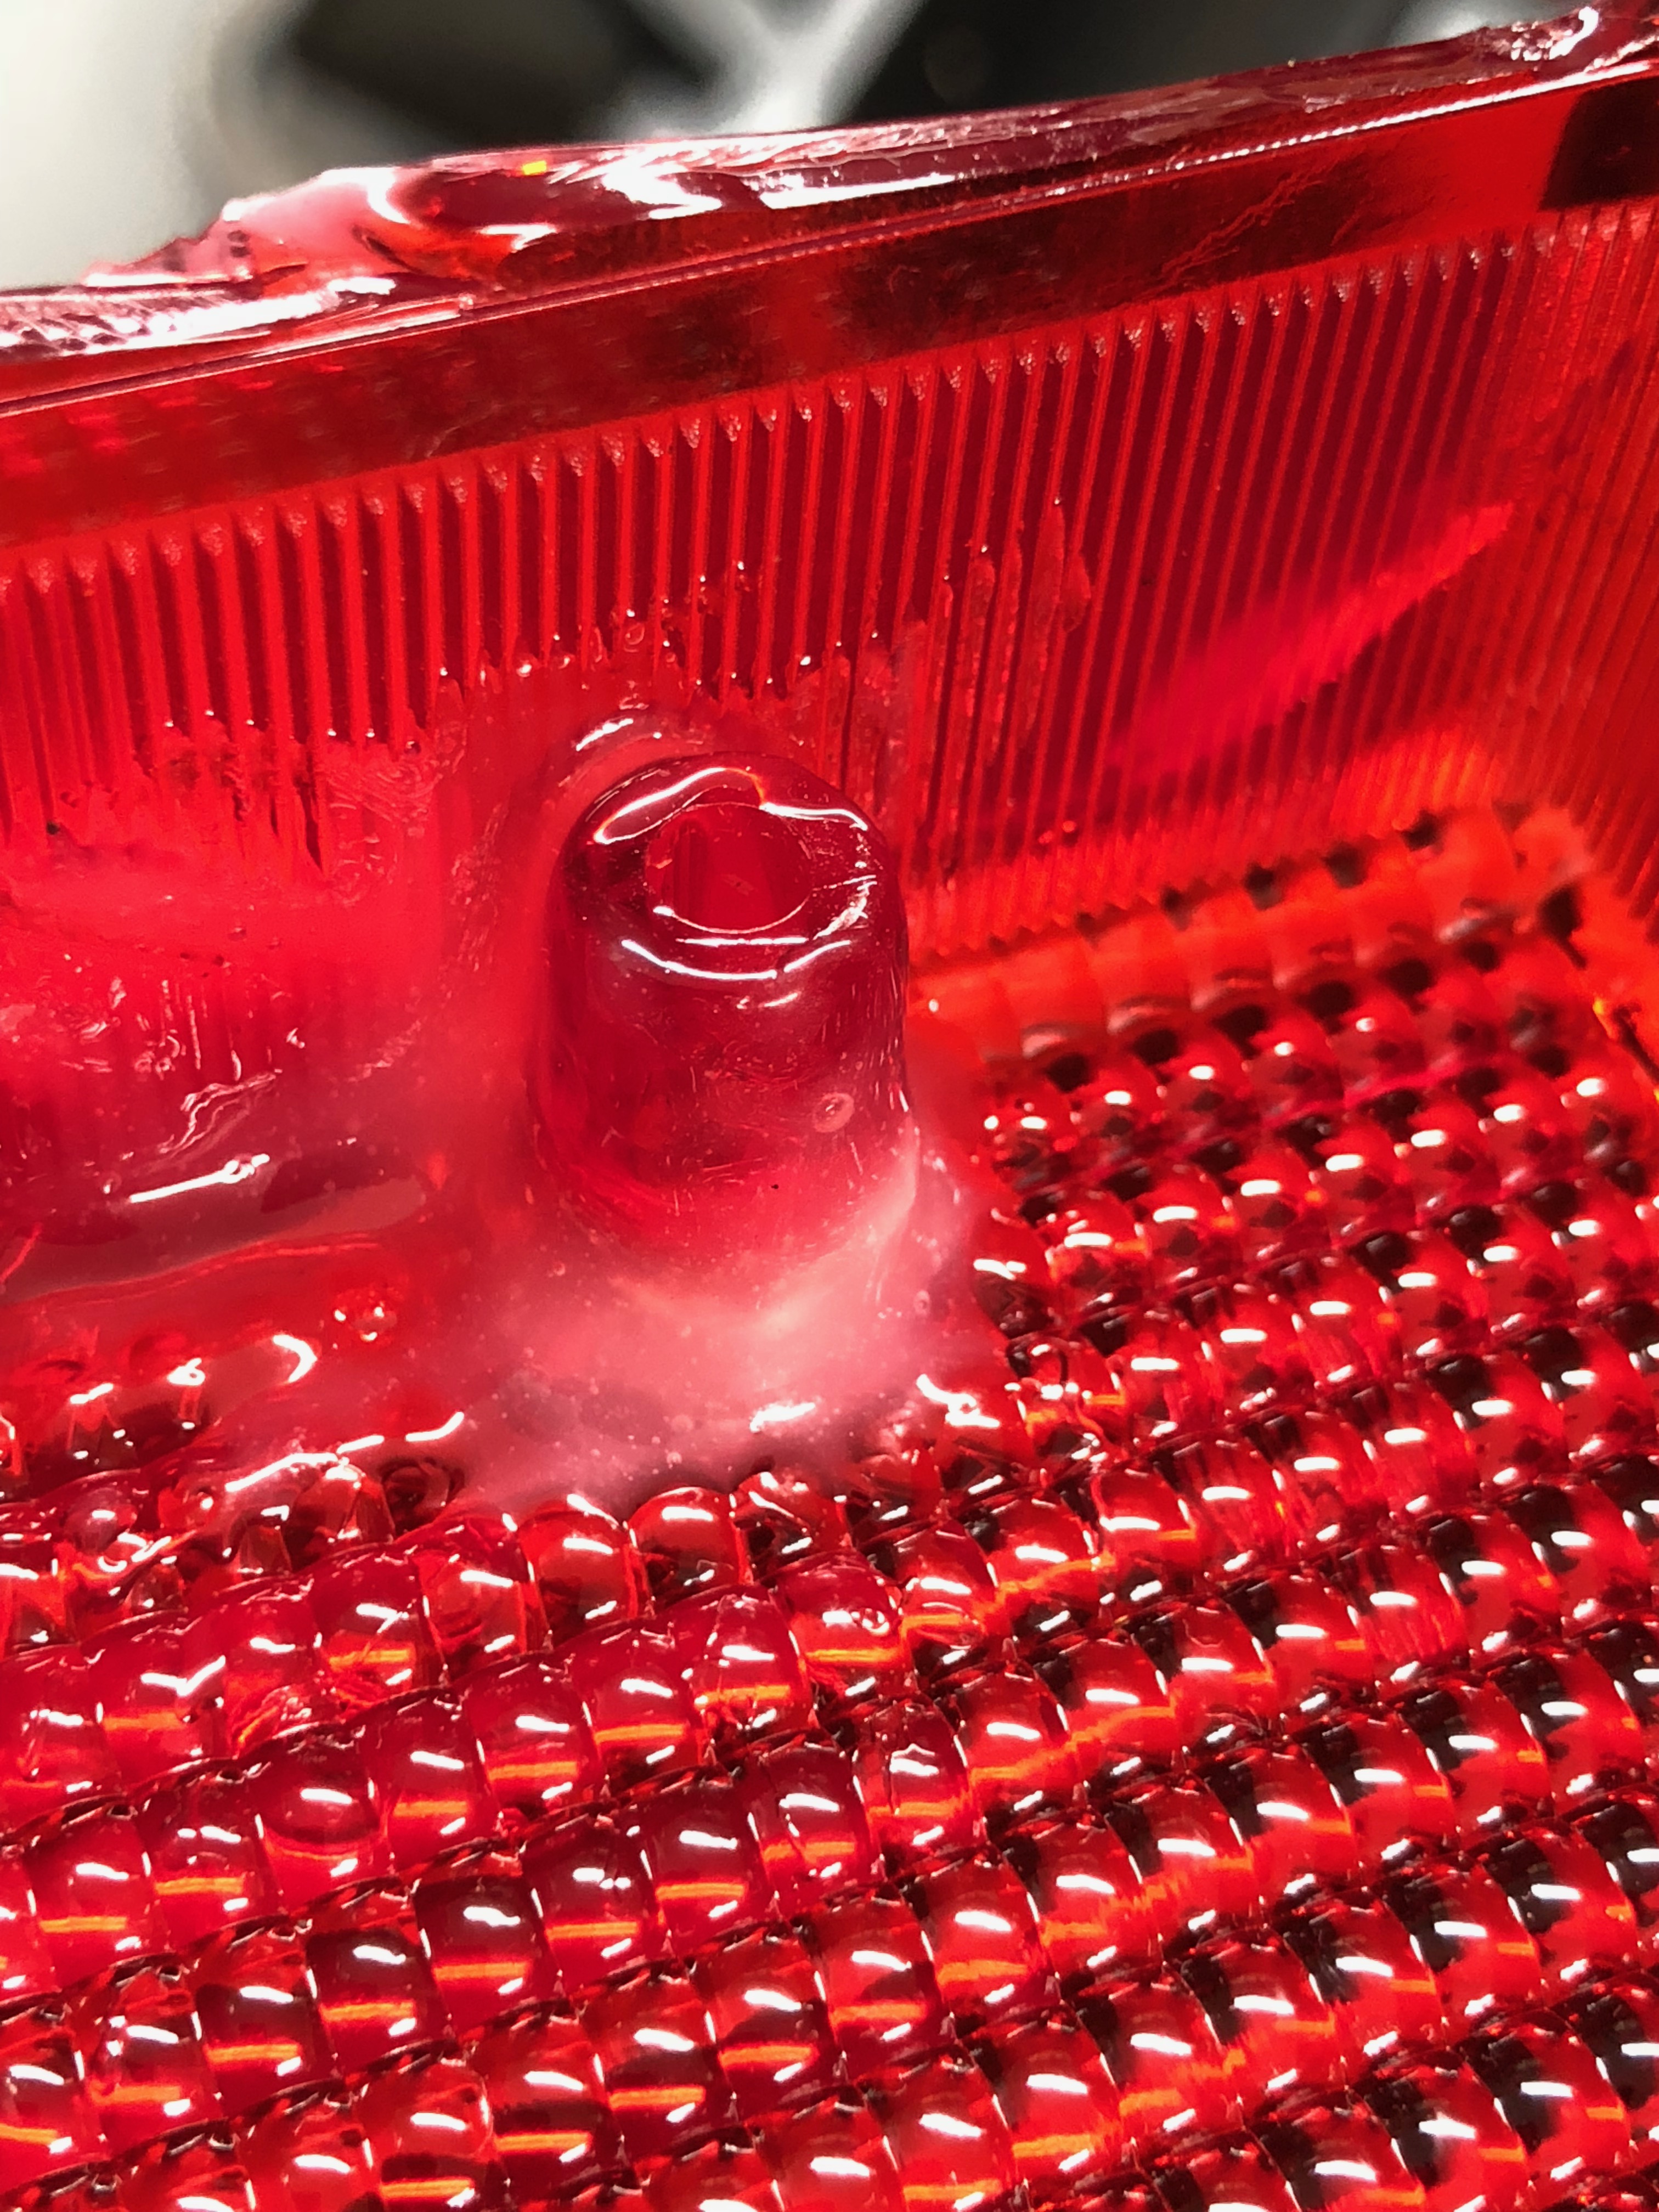
The end result wasn’t too bad – other than I’d overdone the amount of epoxy, as usual. The epoxy had wept onto the lens a little which made the lens appear a little milky from the front. But, this was still my best option.
I carefully fitted the lens back onto the car, gingerly tightened up the screws and sat back. It was a serious hack to get to this point but not the complete disaster it could have been.
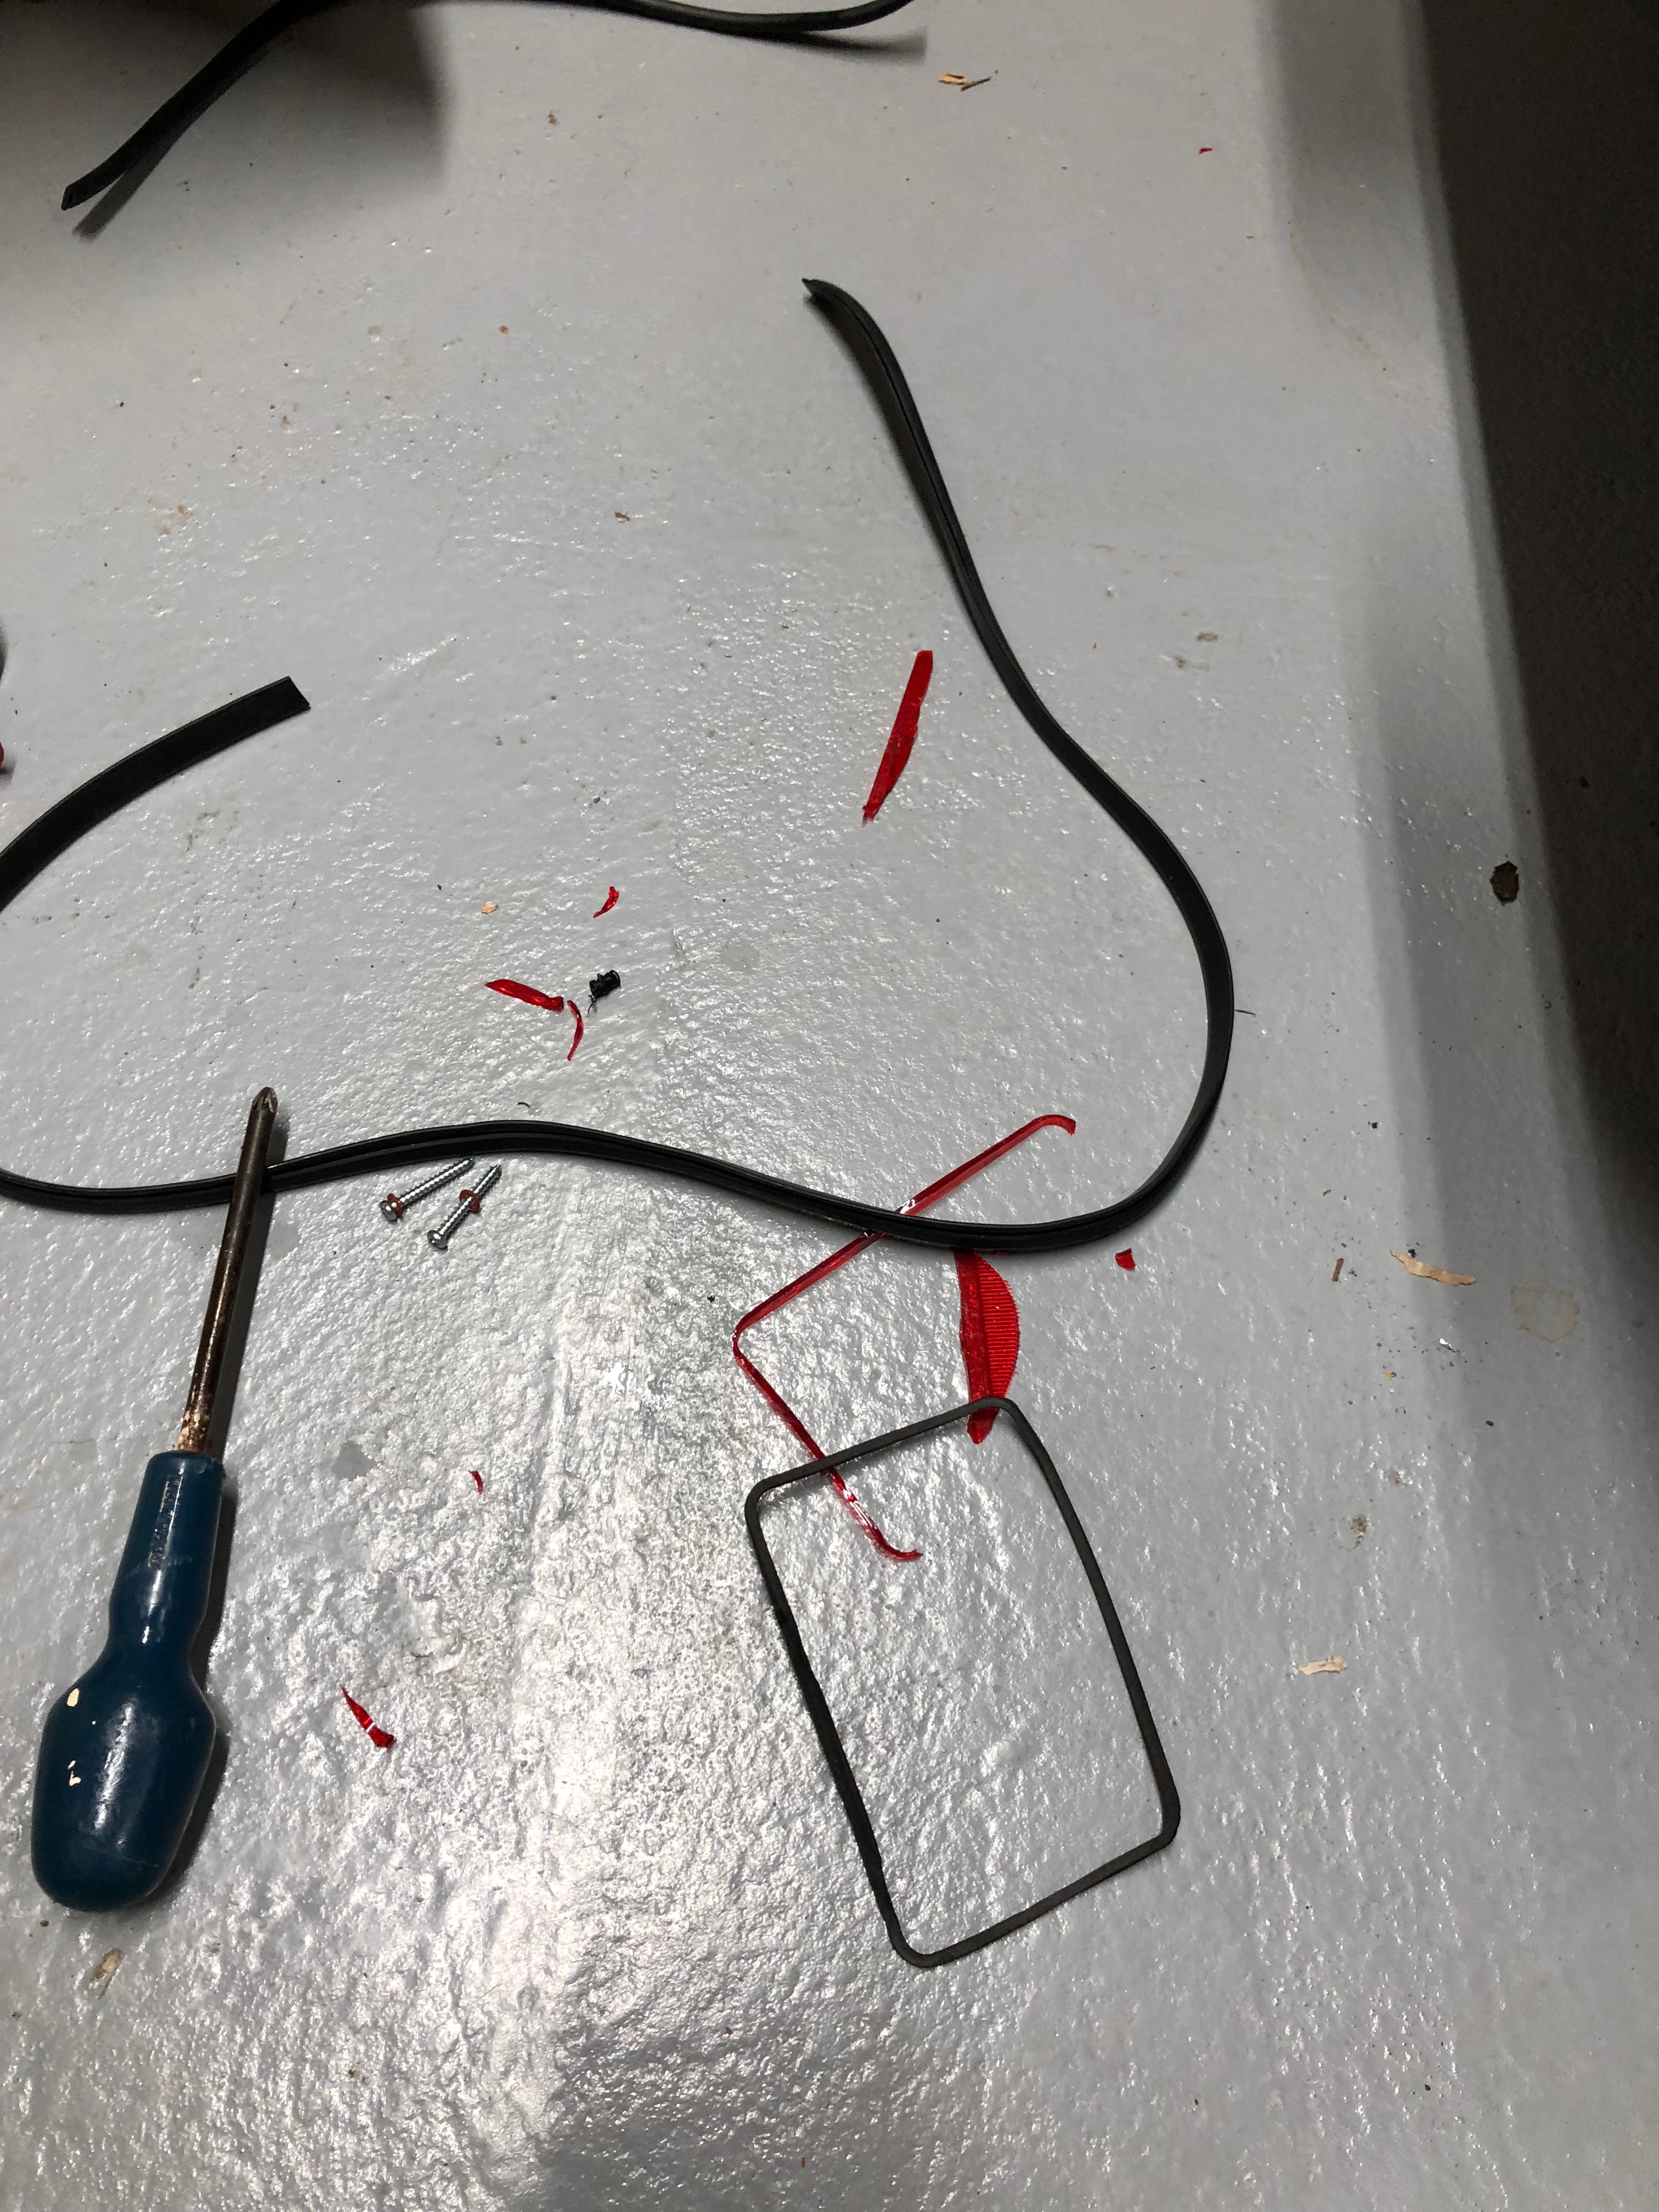
For some reason I was still prepared for more trouble this evening when I decided to still try and attach IVA trim to the fog and reversing light. This time, instead of taking the lenses out, I decided to go with my cosmetic-only approach… cut some IVA trim and glue it to the housing.
The fog light lens ended up looking like this, including the epoxy fix…

I did a similar cut-and-glue-job on the fog light.
Ok… so… a bit of disaster this evening but I think I recovered ok. We’ll have to see if the inspector does, or does not, like my fog light repairs…. along with the dozen other items I’m worried about.
Roll on tomorrow!

Leave a Comment